
There’s a special kind of magic that happens when water and pigment meet on paper. And there’s no better subject to capture that magic than the delicate, vibrant poppy.
Have you ever seen a field of poppies, or even just a single bloom, and felt a pull to recreate that breathtaking, paper-thin beauty? If you’ve ever wanted to paint a poppy flower watercolor but felt a wave of doubt about where to start, you are in the perfect place.
Painting should be a joyful escape, not a source of stress.
This guide is your friendly invitation into the world of watercolor poppies. We are going to demystify the process, breaking it down into simple, fun, and encouraging steps.
You’ll learn everything from the basic supplies you’ll need to stunning techniques like wet-on-wet and negative painting.
Forget about the pressure to be perfect. We will focus on the play of color and the beauty of the process.
By the end of this post, you’ll feel inspired and confident enough to pick up a brush and let a field of poppies bloom across your page.
Seeing a Poppy Through Watercolor Eyes
Before you dip your brush in water, let’s take a moment to truly see a poppy. Understanding its form, color, and texture from a painter’s perspective will make the entire process more intuitive and enjoyable.
- The Petals: Delicate Cups of Light: Poppy petals are not flat. Think of them as shallow, crinkled cups made of tissue paper. They are almost translucent. This means that light doesn’t just sit on top of them; it passes through them. This is why watercolor, with its transparent nature, is the perfect medium to capture them.
- The Colors: More Than Just Red: A red poppy is never just one flat red. Look closer. Where the light hits directly, it might be a fiery scarlet or orange-red. In the shadows and folds, it could deepen into a rich crimson or even have hints of purple. Where the petals are thin, the color is a pale, watery wash. Capturing these subtle shifts is what will make your painting feel alive.
- The Edges: Soft and Lost: In watercolor, you have “hard edges” and “soft edges.” Because poppy petals are so delicate, they are a perfect subject for creating soft, “lost” edges where the color seems to just melt into the paper. This is achieved with wet-on-wet techniques and gives your painting a dreamy, ethereal quality.
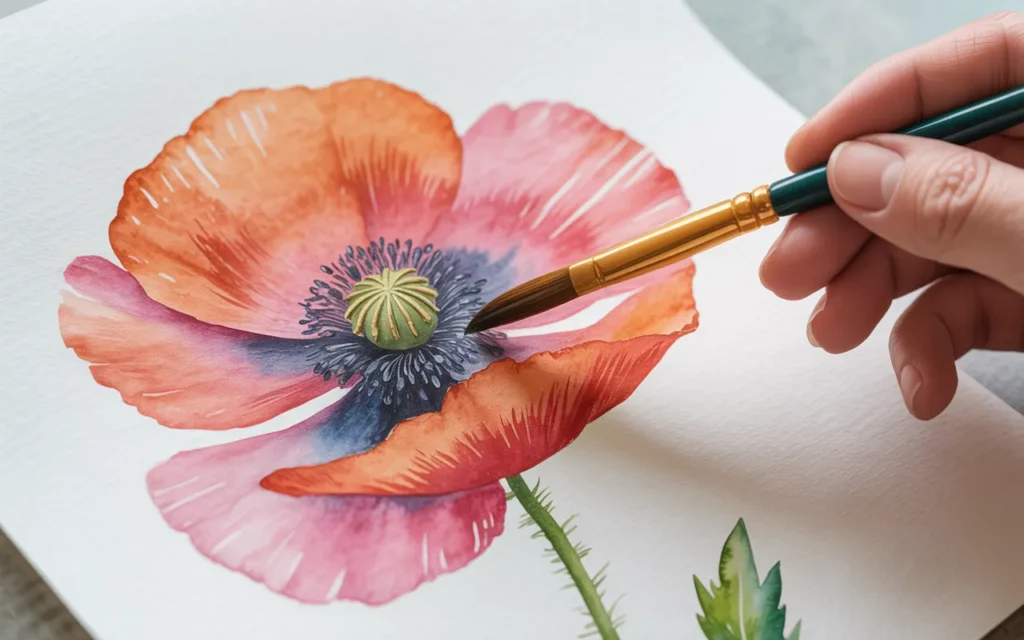
- The Center: A Point of Dark Contrast: The center of the poppy—the dark seed pod and fuzzy stamens—is a crucial anchor. It’s a point of deep, dark, and opaque color. This contrast is the secret to making the transparent red of the petals glow even brighter.
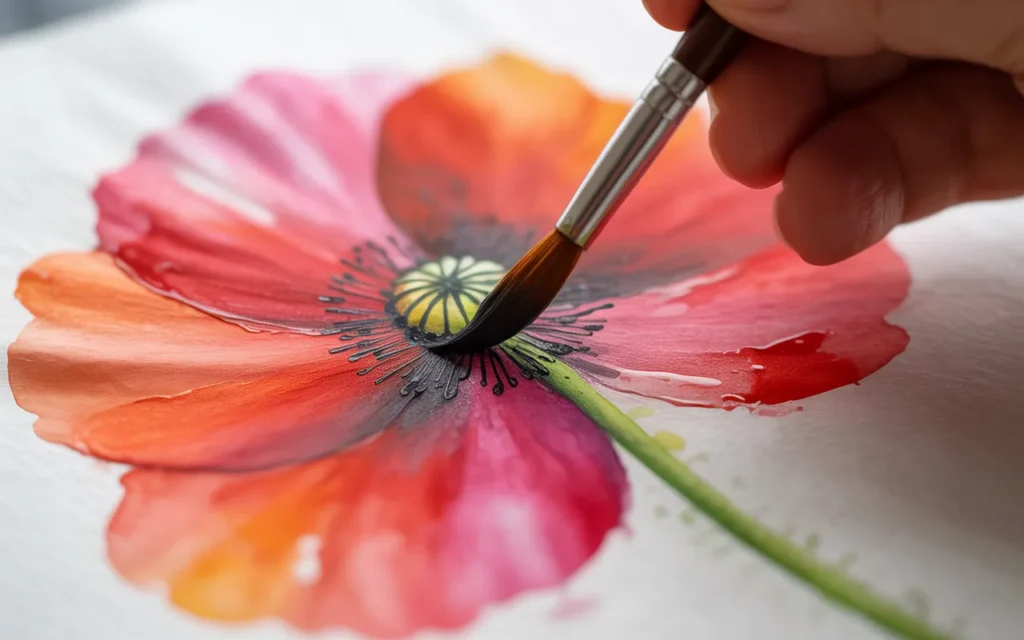
The Magic of Wet-on-Wet: Your First Poppy Bloom
The wet-on-wet technique is the heart and soul of loose floral watercolor. It’s where the magic happens, as the colors blend and bloom on the paper in beautiful, unpredictable ways.
Let’s paint a single, simple poppy using this technique.
Step 1: The Petal Shapes with Clean Water
- On your watercolor paper, use a round brush loaded with clean water to paint the shape of your first poppy petal. It should be a simple, wavy oval. You won’t see it clearly, but the paper will have a sheen where it’s wet.
- Repeat this for three or four more petals, arranging them around a central point. Let the wet shapes touch or slightly overlap.
Step 2: Dropping in the Color
- On your palette, mix a vibrant red (like Cadmium Red).
- Clean your brush, load it with the red paint, and then gently touch the tip of the brush to the wet petal shape on your paper.
- Watch what happens! The color will immediately bloom outwards, spreading to fill the wet area in a soft, organic way.
- While the petal is still wet, mix a darker red (add a touch of Alizarin Crimson or even a tiny bit of blue to your red). Drop this darker color in at the base of the petal, near the center. It will bleed into the lighter red, creating instant, effortless shading.
Step 3: Let It Dry (or Don’t!)
You have two options here. You can let this first layer dry completely, or you can work on the adjacent petals while it’s still damp.
If you paint a neighboring petal while the first is still wet, their colors will bleed together where they touch, creating a beautiful, soft-edged look that is perfect for poppies. This is a key part of the loose watercolor style.
Step 4: The Center and Stem
- Once the petals are completely dry, mix a very dark color for the center (Payne’s Gray, or a mix of black and dark green, works well).
- With a smaller brush, paint the dark center. While it’s still wet, you can use the tip of your brush or a craft knife to gently scratch out a few fine lines, suggesting the texture of the stamens. This is called “sgraffito.”
- Mix a green and, with a quick, confident stroke, paint a simple, curving stem.
This technique is all about embracing a lack of complete control and letting the water do the work. The result is a soft, dreamy, and expressive poppy flower watercolor.
Technique Exploration: Stunning Styles for Poppies
Beyond the simple wet-on-wet approach, there are many other stunning techniques and styles to explore for your poppy flower watercolor paintings.
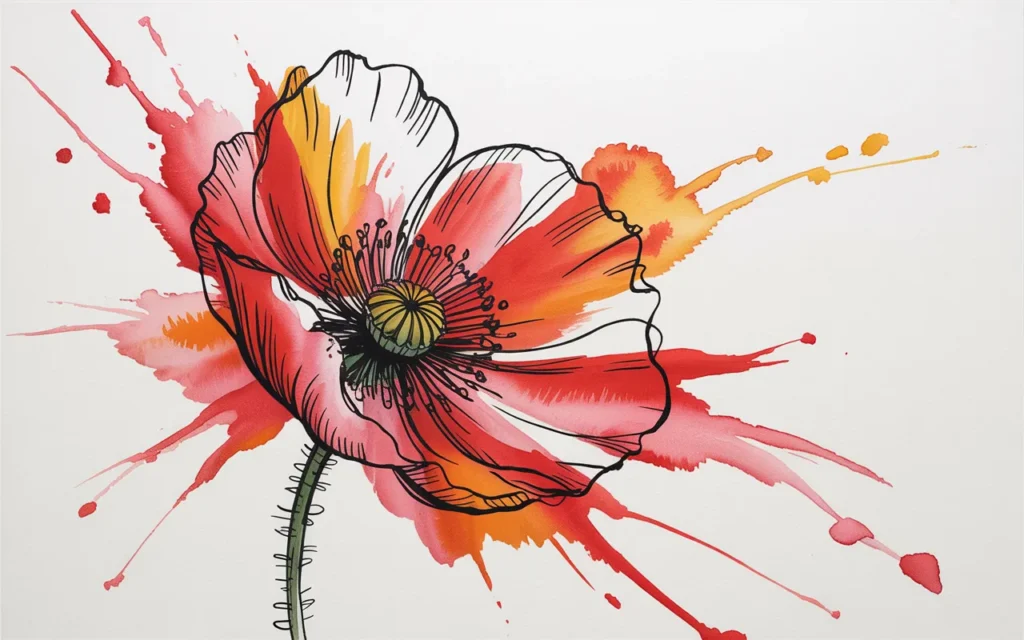
1. The “Ink and Wash” Poppy
This style combines the clean structure of an ink drawing with the loose, vibrant color of watercolor.
- The Technique: Start by drawing your poppy with a waterproof fineliner pen (like a Sakura Micron). You can choose to do a detailed, careful drawing or a quick, gestural sketch. Once the ink is completely dry, you can apply watercolor washes over the top.
- The Effect: The ink provides a strong foundation and defines the shapes, giving you the freedom to be very loose and expressive with your color. You don’t have to worry about the paint “staying in the lines.” In fact, it often looks best when the color splashes outside the ink outline.
2. The Negative Painting Poppy Field
This is a fascinating and slightly more advanced technique that can produce breathtaking results. Instead of painting the poppies themselves, you paint the space around them.
- The Technique:
- Start by wetting your entire paper and dropping in light washes of red, orange, and pink where you want your poppies to be. Let this dry.
- Now, mix a darker background color (like a muted green or a moody grey). You will start to paint the negative shapes—the gaps between the petals and stems.
- As you paint the background, you are essentially “carving out” the shapes of the poppies. The light, bright flowers are formed by the colors you left untouched.
- You can do this in multiple layers, getting darker with each layer of background to create more depth and define more poppies in the foreground.
- The Effect: This creates a painting with incredible depth and a beautiful, glowing quality, as the poppies are literally made of light and the white of the paper.

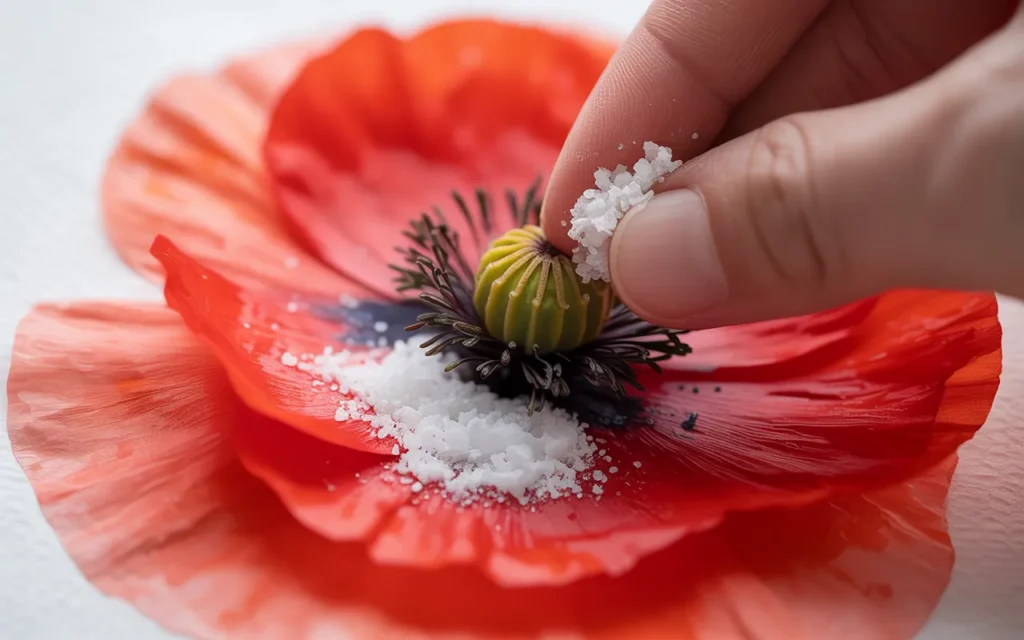
3. The Salt Technique for Texture
This is a simple, fun trick to add interesting texture to your poppy petals, mimicking their delicate, crinkled surface.
- The Technique: After you have applied a wash of color to your petals, while the paint is still wet and has a nice sheen (not too dry, not too puddled), sprinkle a little bit of regular table salt or coarse sea salt onto it.
- The Effect: The salt crystals will absorb the water and pigment around them, creating small, starburst-like patterns and textures. Once the paint is completely dry, you simply brush the salt crystals away. This is a wonderful way to add a touch of unpredictability and organic texture.
4. Lifting for Soft Highlights
“Lifting” is the technique of removing color from the paper to create highlights or soften edges. It’s the watercolor equivalent of an eraser.
- The Technique: While your paint is still damp, you can use a clean, thirsty brush (a brush that is damp but not wet) to “lift” out color. Simply press the brush to the paper, and it will suck up some of the pigment. You can also use a crumpled paper towel or a sponge.
- The Effect: This is the perfect way to create soft highlights on the top edge of a poppy petal or to soften an edge that has become too hard. It’s a subtle but powerful tool for controlling your painting.
5. Creating a Poppy Bouquet
Why stop at one? Painting a full bouquet allows you to play with composition, color harmony, and a mix of flowers.
- The Technique:
- Start by lightly sketching your composition. Place a few large poppies as your focal points.
- Add other complementary flowers. Blue or purple flowers, like delphiniums or lavender, create a beautiful color contrast with red poppies. Small, white flowers like baby’s breath add delicacy.
- Incorporate greenery. Loose, expressive leaves and stems will tie the bouquet together.
- Work from light to dark, and from the background to the foreground. Paint the flowers that are furthest away first, let them dry, and then paint the flowers that overlap them.
- The Effect: A loose, vibrant watercolor bouquet is a stunning piece of art. It allows you to use all the techniques you’ve learned to create a dynamic and harmonious painting.

Your Canvas is Waiting
You are now armed with a wealth of knowledge and a palette of stunning techniques to begin your poppy flower watercolor journey.
We’ve explored the magic of wet-on-wet, the structure of ink and wash, and the drama of negative painting. You’ve learned how to see the poppy not just as a flower, but as a dance of light, color, and water.
The most important step is the one you take next: to pick up your brush. Don’t wait for the perfect moment or for a surge of inspiration.
The inspiration is found in the doing. Allow yourself to play. Let the colors bleed. Embrace the happy accidents.
Your first painting doesn’t need to be a masterpiece; it just needs to be yours. Each brushstroke is a conversation, and the beautiful, simple poppy is waiting to tell its story through your hands.
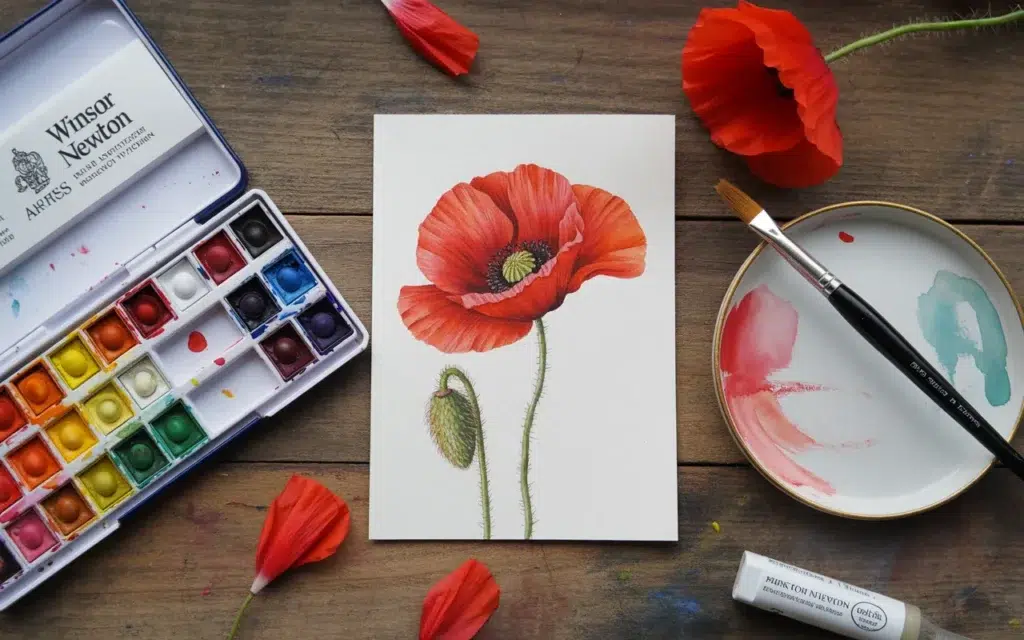
Recommended Watercolor Supplies
Here is a quick summary of the recommended products to help you get started on your beautiful poppy paintings.
| Product Name | Brand | Great For… |
|---|---|---|
| {Winsor & Newton Cotman Water Colour Sketchers’ Pocket Box} | Winsor & Newton | A high-quality, portable set with vibrant pigments. |
| {Arches Cold Press Watercolor Paper Pad, 9″x12″} | Arches | 100% cotton paper that can handle multiple washes of water. |
| {Princeton Neptune Series Synthetic Squirrel Brushes} | Princeton | Holding a large amount of water for big, juicy washes. |
| {Sakura Pigma Micron Fineliner Pens} | Sakura | Creating waterproof ink outlines for the “ink and wash” style. |
| {Mijello Mission Gold Watercolor Palette} | Mijello | An airtight palette for keeping your paints fresh. |
| {Dr. Ph. Martin’s Bleed Proof White Ink} | Dr. Ph. Martin’s | Adding final, opaque white highlights to your painting. |
| {“Everyday Watercolor Flowers” Book} | Jenna Rainey | Step-by-step inspiration for a variety of floral paintings. |