Growing your own onions is a kitchen game-changer. Imagine pulling a crisp, flavorful onion from your own garden soil, ready to be chopped into a fresh salsa or caramelized for a burger.
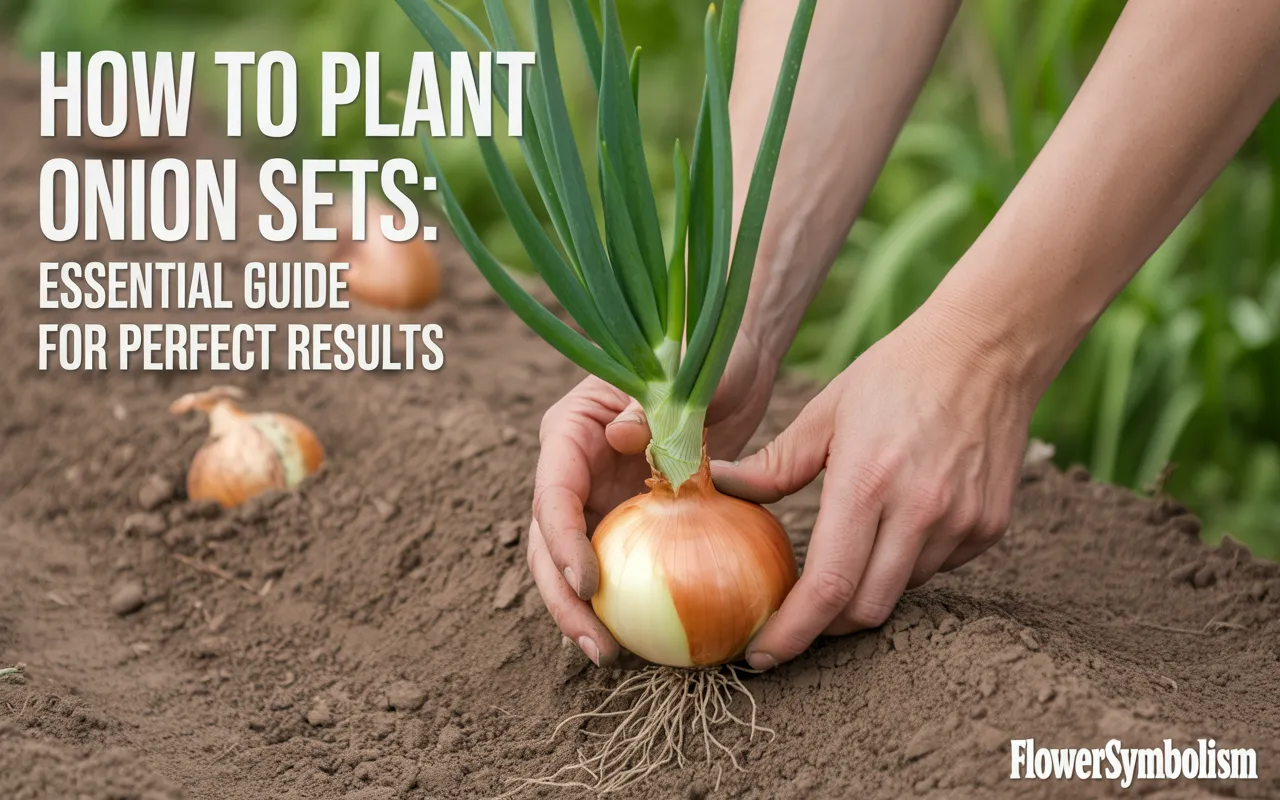
It’s easier than you think! This guide will show you the simplest and fastest way to a great harvest: learning how to plant onion sets.
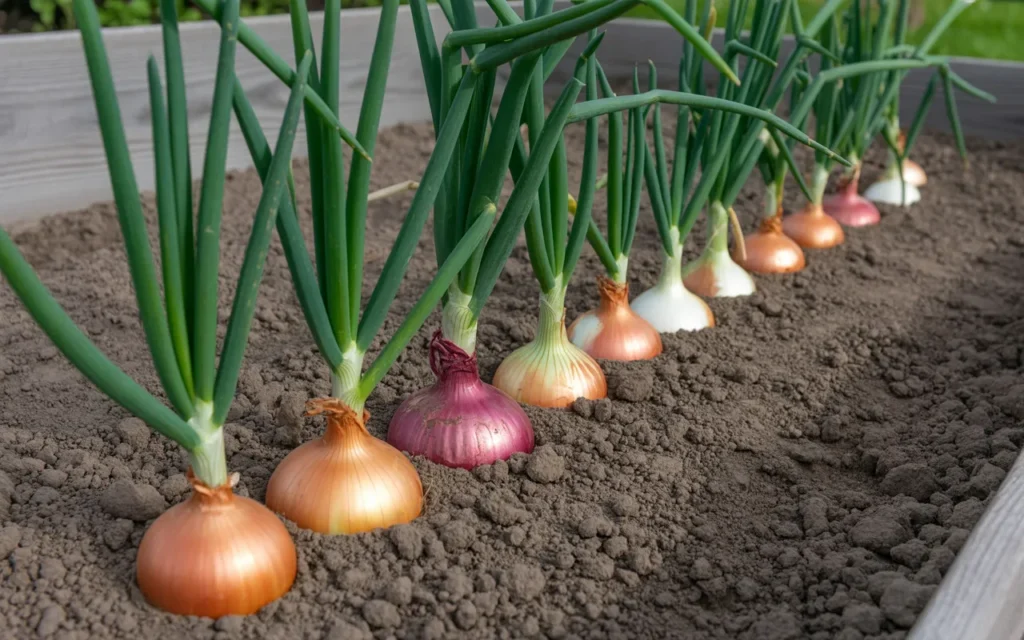
Onion sets are tiny, dormant onions that give you a huge head start in the garden. They are far easier and quicker than growing from seed.
We’ll break down every part of the process, from picking the right sets to knowing the perfect time to harvest. Get ready to grow the best onions you’ve ever tasted!
What Exactly Are Onion Sets?
Before we start planting, let’s quickly cover what an onion “set” is. It’s not a seed, and it’s not a full-grown onion.
An onion set is a small, immature onion bulb that was grown from seed the previous year. The growth process was stopped, and the tiny bulb was dried and stored so it would stay dormant. When you plant this tiny bulb, it awakens and continues its growth, maturing into a full-sized onion in just a few months.
Why Choose Onion Sets?
- They are easy to plant: They are large enough to handle easily, making them perfect for beginners and kids.
- They grow quickly: They have a huge head start over seeds, giving you a much faster harvest.
- They are reliable: Onion sets are very dependable and less prone to the problems that can affect tiny seedlings.
The Most Important Decision: Choosing the Right Onion Type
This is the most critical factor for successfully growing bulb onions. Onions decide when to form a bulb based on the number of daylight hours they receive. You must choose a variety that is appropriate for your location.
1. Long-Day Onions
These varieties start to form bulbs when they receive 14 to 16 hours of daylight.
- Best for: Northern gardeners (roughly Zones 6 and colder). If you live in the northern half of the U.S. or Canada, these are for you.
- Popular Varieties: ‘Walla Walla’, ‘Yellow Sweet Spanish’, ‘Red Zeppelin’.
2. Short-Day Onions
These varieties start to form bulbs when they receive only 10 to 12 hours of daylight.
- Best for: Southern gardeners (roughly Zones 7 and warmer). If you live in the southern half of the U.S., these are your best bet. Planting a long-day onion in the south will result in lots of green tops but no bulbs.
- Popular Varieties: ‘Texas SuperSweet’, ‘White Bermuda’, ‘Red Creole’.
3. Intermediate-Day (Day-Neutral) Onions
These varieties are the most flexible and form bulbs when they receive 12 to 14 hours of daylight.
- Best for: Gardeners in the middle of the country (roughly Zones 5 to 7). They can be grown successfully in many different regions.
- Popular Varieties: ‘Candy’, ‘Red Amposta’, ‘Cabernet’.
Gardener’s Tip: When you buy your onion sets, the bag or tag should tell you what type they are. If you’re not sure, ask someone at your local garden center. Choosing the right day-length type is the secret to a great harvest.
[Amazon Product: Mixed Onion Sets – Red, White, and Yellow Varieties]
Timing and Location: Getting It Right
Onions are a cool-season crop, which means they do their best growing before the weather gets too hot.
When to Plant
The ideal time to plant onion sets is in the early spring, as soon as the soil is workable. This means the ground is no longer frozen and has dried out enough that it doesn’t turn into a muddy clump when you squeeze it.
- For most gardeners, this will be between 2 to 4 weeks before the average last frost date.
- Don’t worry about late spring frosts; the young onion plants are very cold-hardy and can handle it.
Finding the Perfect Spot
- Full Sun is a Must: Onions need a location that gets at least 6 to 8 hours of direct, unfiltered sunlight per day to form large bulbs.
- Excellent Drainage: Onions have shallow root systems and are prone to rot. They cannot tolerate sitting in wet, soggy soil. Choose a spot that drains well after rain. A raised garden bed is an excellent choice for growing onions.
How to Plant Onion Sets: Preparing the Soil
Onions are heavy feeders and they hate competition from weeds. A little bit of prep work before you plant will pay off with a much bigger harvest.
Step 1: Get Rid of Weeds
Your onion sets are small and can easily be overwhelmed by aggressive weeds. It’s crucial to start with a completely weed-free planting area. Pull every weed you see, making sure to get the roots.
Step 2: Feed the Soil
To grow big bulbs, onions need rich, fertile soil.
- Add Compost: Spread a generous 2- to 3-inch layer of well-rotted compost or aged manure over your garden bed. Compost provides a wide range of nutrients and improves soil structure.
- Add a Balanced Fertilizer: Onions also benefit from a good dose of fertilizer at planting time. Sprinkle a balanced, all-purpose granular fertilizer over the bed according to the package directions. A fertilizer formulated for vegetables is a great choice. [Amazon Product: All-Purpose Organic Vegetable Fertilizer]
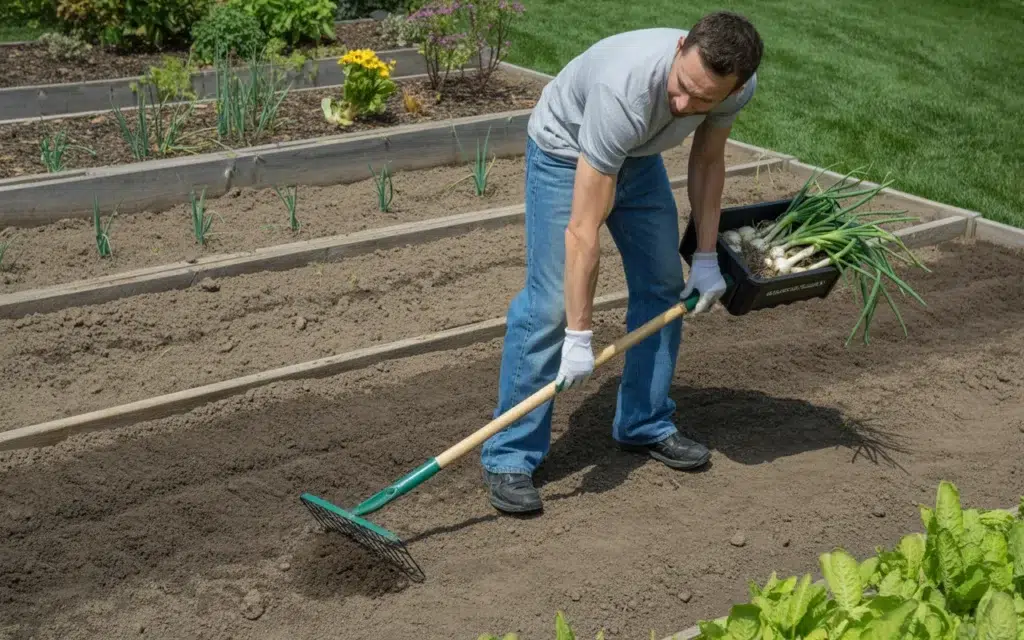
Step 3: Loosen the Soil
- Using a garden fork or tiller, work the compost and fertilizer into the top 6 to 8 inches of your soil.
- Break up any large clods of dirt. The goal is to create a light, loose, and crumbly soil texture. This allows the onion bulbs to expand easily without resistance from hard, compacted soil.
- Rake the surface of the bed smooth.
The Step-by-Step Planting Process
Your bed is prepped and ready to go. Now for the easy and fun part!
Sorting Your Sets
Before you plant, quickly sort through your onion sets.
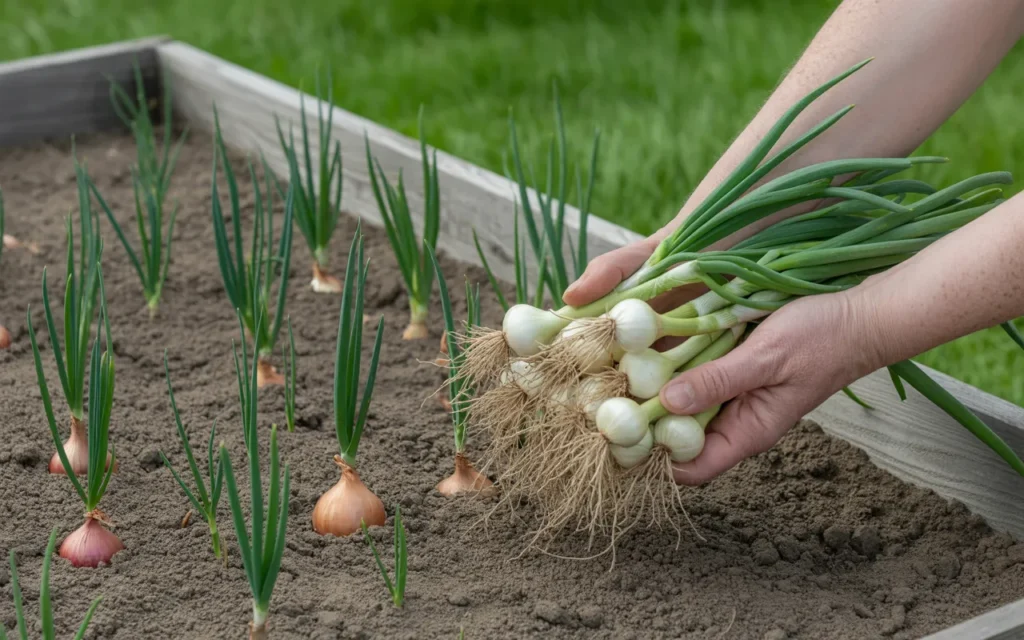
- You’ll notice they come in different sizes. The smaller, dime-sized sets (about ½ inch in diameter) are the best ones for growing large single onions.
- The larger sets are more likely to “bolt” (produce a flower stalk) and are better used as green onions. You can plant them closer together and harvest their green tops.
Step 1: Make a Trench (or Individual Holes)
- You can use the corner of a hoe or a stick to draw a shallow line in the soil about 1 inch deep.
- If you prefer, you can just use your finger to poke individual holes.
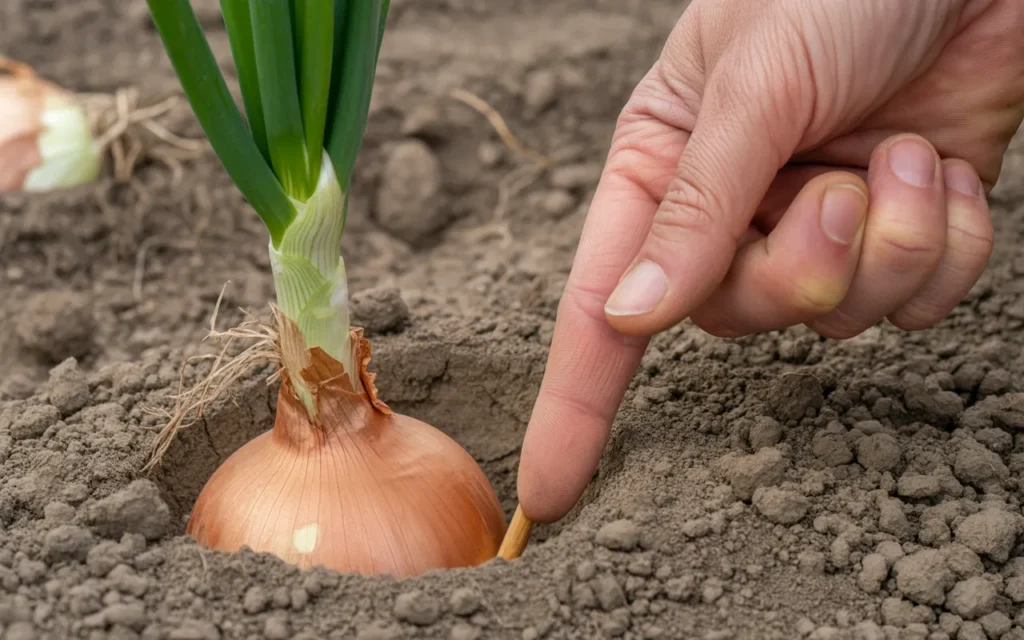
Step 2: Plant the Sets
- This is the most important part of knowing how to plant onion sets correctly. Take each tiny onion bulb and press it gently into the soil.
- The pointy end goes up! The flatter, wider end is where the roots will grow from.
- Plant the sets so they are about 1 to 2 inches deep. You just want to barely cover the top of the onion with soil.
Step 3: Spacing is Key
- For large bulb onions, you need to give them room to grow. Space your onion sets about 4 to 6 inches apart.
- Plant them in rows that are about 12 to 18 inches apart. This gives you enough room to walk and weed between the rows.
Step 4: Water Well
- After you have planted all your sets, water the area thoroughly but gently with a watering can or a soft spray from a hose.
- This helps settle the soil around the little bulbs and gives them the moisture they need to wake up and start growing.
Caring for Your Onions as They Grow
Onions are relatively low-maintenance, but a few simple tasks will ensure a great result.
Watering
- Onions have shallow roots, so they need consistent moisture to thrive. Aim to give them about 1 inch of water per week, including rainfall.
- During the final 2-3 weeks before harvesting, you can stop watering. Allowing the soil to dry out helps the onions cure and prepare for storage.
Weeding
- This is critical! Onions do not compete well with weeds.
- Stay on top of weeding, especially when the onion plants are young. Carefully pull any weeds by hand so you don’t disturb the shallow onion roots.
- Applying a 2-inch layer of mulch (like straw or grass clippings) between the rows can significantly reduce weed growth and help conserve soil moisture.
Fertilizing
- Onions are heavy feeders. About one month after planting, you can give them a booster feeding.
- “Side-dress” the rows by sprinkling a high-nitrogen fertilizer along the side of the plants (about 4-6 inches away from the stems) and gently scratching it into the soil.
[Amazon Product: Sturdy Hand Weeder and Cultivator Tool]
Harvest Time: How to Know When They’re Ready
Knowing when to harvest is easy. The onions will give you a very clear signal.
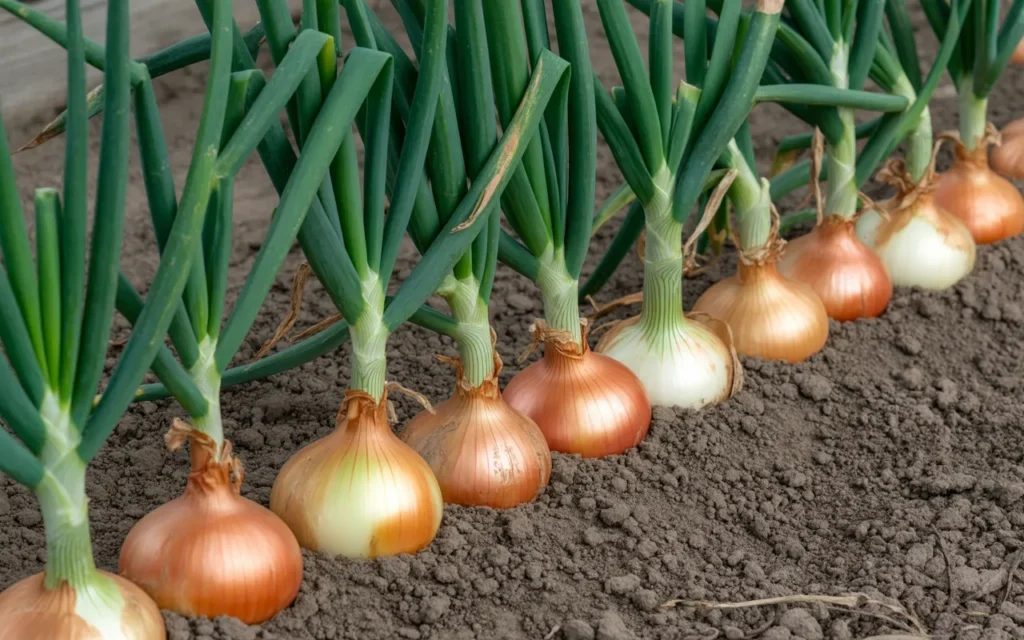
- The Sign: The green tops of the onions will begin to turn yellow and fall over. This is your cue that the bulbs are done growing.
- Harvesting Technique: Once about half of your onion tops have fallen over, you can gently bend the rest of them over to signal the whole crop to stop growing.
- Wait about a week, then choose a dry day to pull your onions. Loosen the soil around them with a garden fork if needed, and gently pull them from the ground.
Curing Onions for Long-Term Storage
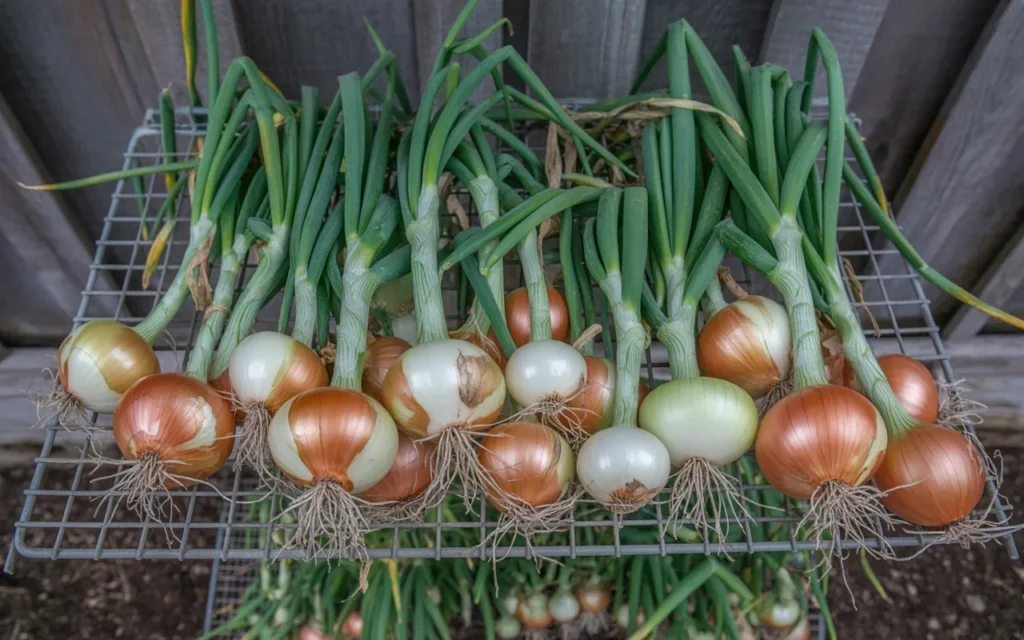
You can’t just throw your fresh onions in a bin. You need to “cure” them first if you want them to last for months. Curing is simply a drying process.
- Lay the harvested onions out in a single layer in a warm, dry, well-ventilated spot that is protected from direct sun and rain. A covered porch, a garage, or a shed works well.
- Let them cure for 2 to 3 weeks. During this time, the outer skins will become dry and papery, and the necks will shrivel up.
- Once they are fully cured, you can trim the tops and roots and store them in a cool, dark, dry place.
Conclusion
Congratulations! You have mastered the simple art of how to plant onion sets. From choosing the right type for your region to giving them the sunny, fertile home they need, you are well on your way to a delicious and satisfying harvest.
Enjoy the amazing flavor that only comes from homegrown onions, and take pride in the beautiful bulbs you grew yourself.
Frequently Asked Questions (FAQs)
1. How long does it take to grow onions from sets?
Onion sets grow quite quickly. You can expect to harvest full-sized onions in about 100 to 120 days (3-4 months) after planting.
2. What happens if you plant onions too close together?
If you plant onion sets too close, they won’t have enough space to form large bulbs. They will compete with each other for water and nutrients, and you will end up with a harvest of very small onions. Proper spacing (4-6 inches) is key for big bulbs.
3. Do you need to soak onion sets before planting?
No, you do not need to soak onion sets. They are dormant bulbs and should be planted directly into the soil. Soaking them can actually encourage them to rot.
4. Can I plant an onion from the grocery store?
You can, but it’s not the best method. Many store-bought onions are treated to prevent them from sprouting. It’s much more reliable to plant onion sets that are specifically grown for this purpose.
5. How deep should you plant onion sets?
Plant them just deep enough to cover the tiny bulb. A depth of 1 to 2 inches is perfect. The pointy tip of the onion set should be just below the surface of the soil.
6. What is the best fertilizer for onions?
Onions benefit from a balanced fertilizer at planting time. About a month after planting, you can give them a side-dressing of a fertilizer that is higher in nitrogen to help fuel the growth of their green tops, which in turn feeds the bulb.
7. Why are my onions not getting big?
The most common reasons for small onion bulbs are: not enough sunlight (they need full sun), not enough water, competition from weeds, or planting a “day-length” type that is incorrect for your region.