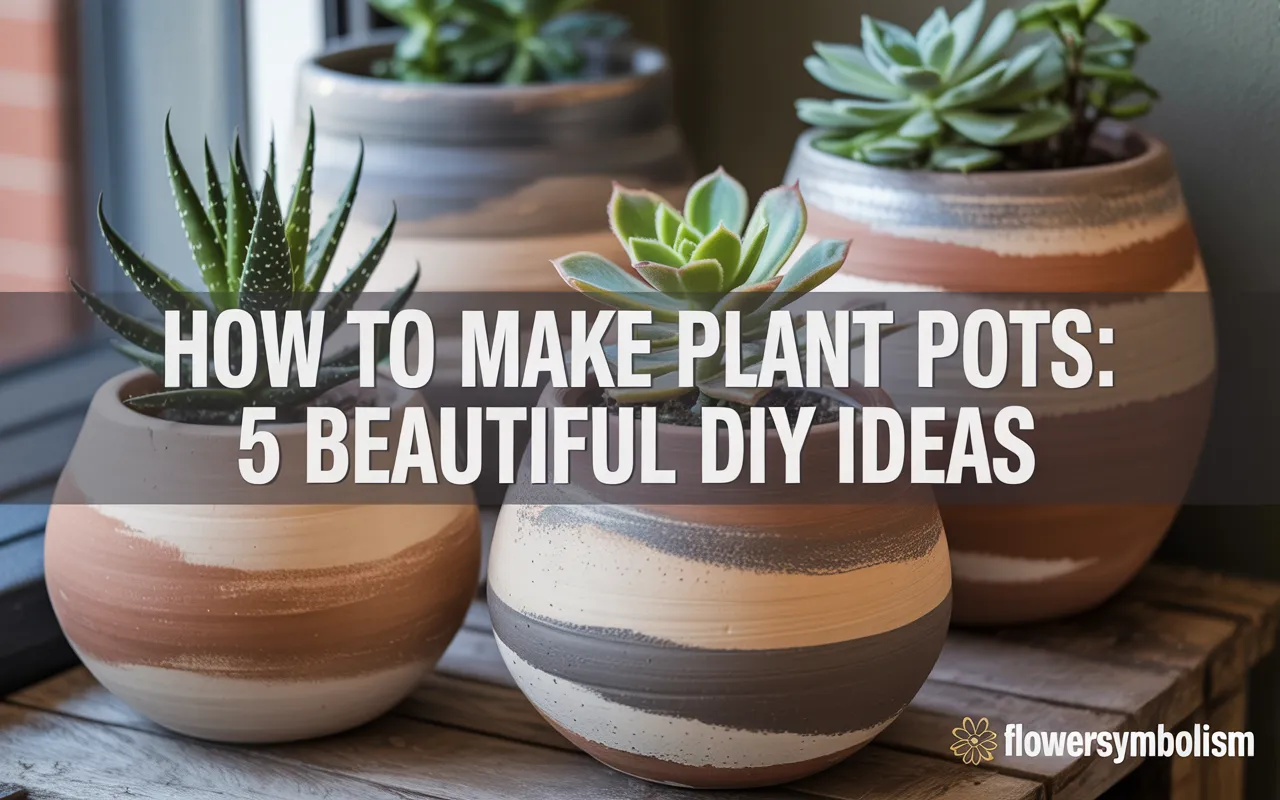
Finding the perfect pot for your houseplants can sometimes be as challenging as keeping the plants alive! Store-bought pots can be expensive or just not quite match your unique style.
But what if you could create stunning, one-of-a-kind containers yourself? This guide will show you how to make plant pots using simple materials, with five beautiful and easy DIY ideas that anyone can tackle.
Creating your own plant pots is a fantastic way to add a personal touch to your home decor, save money, and have a lot of fun in the process. We’ll explore projects using concrete, recycled cans, rope, and more. Let’s get our hands dirty and craft some beautiful new homes for your green friends!
Why Make Your Own Plant Pots?
Before we dive into the projects, let’s talk about why this is such a great idea. Moving beyond the standard terracotta pot opens up a world of creativity and benefits.
- Unleash Your Creativity: You are in complete control of the color, texture, shape, and size. You can create a pot that perfectly matches your home’s aesthetic, something you could never find in a store.
- It’s Budget-Friendly: Many of these DIY projects use recycled materials or inexpensive craft supplies. You can create a whole collection of beautiful pots for the price of one single designer pot.
- Upcycling for the Planet: Several of our ideas focus on turning “trash” into treasure. Giving items like tin cans and plastic bottles a new life is a small but meaningful way to be more eco-friendly.
- Perfectly Sized Pots: Ever find a plant you love but can’t find a pot that fits just right? When you make your own, you can customize the size to perfectly suit your plant’s needs.
- It’s a Fun and Relaxing Hobby: Working with your hands is a proven stress reliever. Spending an afternoon crafting is a wonderful way to unwind and create something beautiful and functional.
The Most Important Rule: Drainage is Everything
No matter which DIY pot you decide to make, there is one rule that you absolutely cannot ignore: your pot must have a drainage hole.
Plants absorb water through their roots, but they also need to breathe. If a pot has no way for excess water to escape, the soil becomes a soggy swamp. The roots will drown, rot, and the plant will eventually die. This condition, called root rot, is the #1 killer of houseplants.
For every project below, we will include instructions on how to add a drainage hole. Do not skip this step!
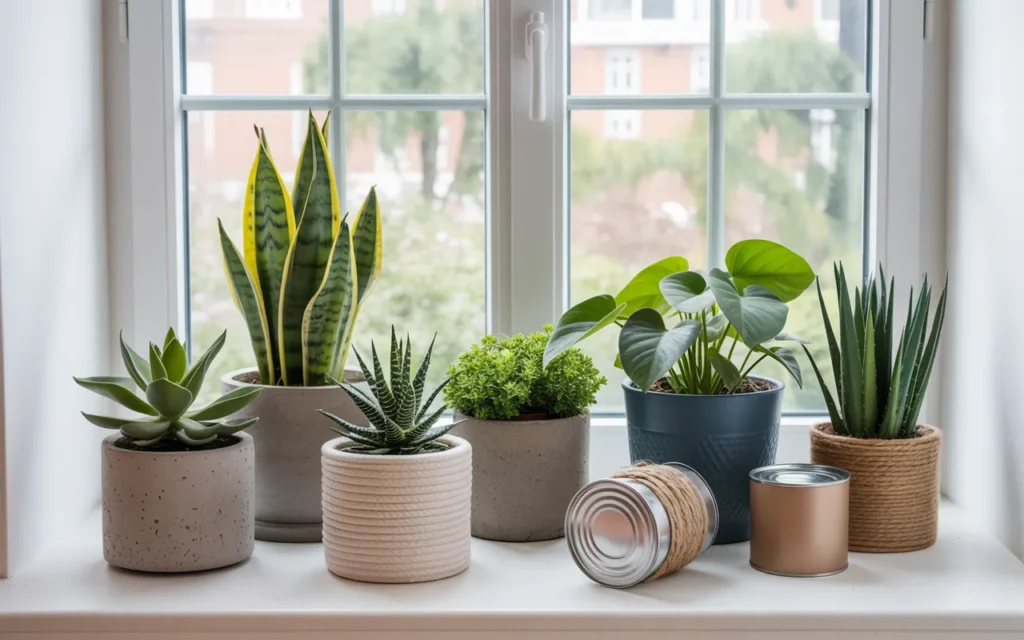
How to Make Plant Pots: 5 Easy and Stylish Ideas
Here are five fun projects, ranging from rustic and modern to chic and colorful. We’ll break down the materials and the step-by-step instructions for each one.
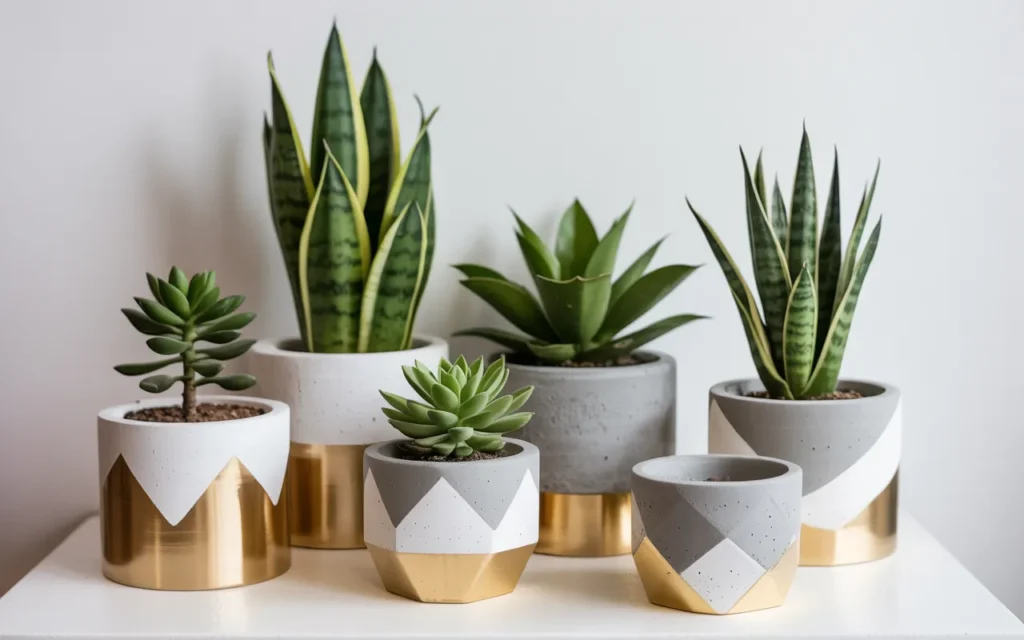
Idea #1: Modern Concrete Planters
This is the ultimate DIY for creating a high-end, modern look on a budget. Concrete planters are sturdy, stylish, and surprisingly simple to make.
Materials You’ll Need:
- Quick-setting concrete mix [Amazon Product: Fast-Setting Concrete Mix for Crafting]
- Disposable mixing bucket and stirring stick
- A mold: This consists of two containers. The outer container will form the outside shape of your pot, and the inner container will create the hollow space for the soil.
- Outer Mold Ideas: Plastic food containers, milk cartons, large yogurt tubs, silicone baking molds.
- Inner Mold Ideas: A plastic cup, a smaller food container—anything that will fit inside your outer mold with about a ½ to 1-inch gap around all sides.
- Cooking spray or petroleum jelly
- Small rocks or weights
- A drill with a masonry bit (for the drainage hole)
- Safety gear: Dust mask, safety glasses, and gloves. Concrete dust is harmful to inhale.
Step-by-Step Instructions:
Step 1: Prepare Your Molds
- Thoroughly coat the inside of your larger (outer) mold and the outside of your smaller (inner) mold with cooking spray or petroleum jelly. This is a crucial step that will act as a release agent, making it possible to remove the concrete later.
Step 2: Mix the Concrete
- Put on your dust mask, glasses, and gloves.
- In your disposable bucket, pour in some of the dry concrete mix. Slowly add small amounts of water and stir continuously.
- You are aiming for a consistency like thick, smooth pancake batter or brownie mix. It should be pourable but not watery. Follow the specific water-to-mix ratio on your concrete package.
Step 3: Pour the Concrete
- Pour the mixed concrete into your larger outer mold, filling it about halfway.
- Gently tap the sides of the mold for a minute or two. This helps to release any trapped air bubbles, which will give you a smoother finish.
Step 4: Create the Inner Cavity
- Now, push your smaller inner mold into the center of the wet concrete.
- Press it down until the rims of both molds are at the same level, ensuring you have a thick base at the bottom.
- The inner mold will try to float up. Place rocks or other weights inside it to hold it down in place.
Step 5: Let It Cure
- This requires patience! Let your concrete cure in a safe spot for at least 24 to 48 hours. Follow the curing time recommended on your concrete packaging. It needs to be completely hard before you demold.
Step 6: Demold and Drill
- Once fully cured, remove the weights and carefully pull out the inner mold. Then, turn the whole thing over and pop the concrete pot out of the outer mold.
- Now, it’s time to add the drainage hole. Flip the pot over. Using a drill fitted with a masonry bit, carefully and slowly drill one or two holes through the bottom of the pot.
Step 7: Customize! (Optional)
- You can leave the pot with its natural grey finish for a minimalist look, or you can paint it. Use acrylic craft paint to create patterns, or try a color-blocking effect by taping off a section and painting it.
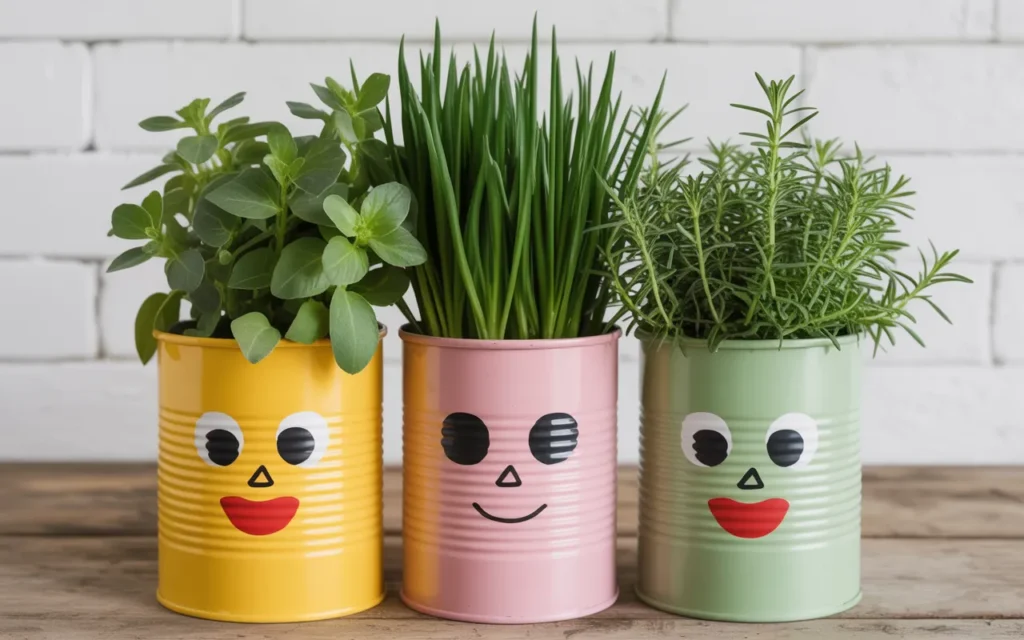
Idea #2: Chic Upcycled Tin Can Planters
Don’t throw away those tin cans from beans, tomatoes, or soup! With a little paint, you can turn them into adorable, stylish planters perfect for herbs or small succulents.
Materials You’ll Need:
- Empty tin cans, washed thoroughly with labels removed
- A hammer and a large nail
- Spray paint primer
- Acrylic craft paint in your choice of colors
- Paintbrushes
- Clear waterproof sealant spray [Amazon Product: Clear Matte Waterproof Sealer Spray]
Step-by-Step Instructions:
Step 1: Add Drainage Holes
- This is the first and most important step. Turn your clean, dry tin can upside down.
- Place the tip of a large nail on the bottom of the can and use a hammer to carefully punch 3 to 4 holes for drainage.
Step 2: Prime the Can
- In a well-ventilated area (preferably outdoors), spray the outside of the can with an even coat of metal-friendly primer.
- Primer is essential. It prevents rust and gives the acrylic paint a surface it can stick to properly. Let it dry completely.
Step 3: Paint Your Design
- Now for the fun part! Use your acrylic paints to create any design you can imagine.
- Design Ideas:
- Simple, solid colors for a modern look.
- Geometric patterns using painter’s tape.
- Cute faces (eyes, mouth, rosy cheeks).
- Abstract splatters or stripes.
- You may need two coats of paint for full, vibrant coverage. Let the paint dry completely between coats.
Step 4: Seal Your Work
- Once your masterpiece is fully dry, take it back to your ventilated area.
- Apply two light coats of a clear waterproof sealant spray. This will protect your paint job from chipping and water damage when you water your plant. Let it dry completely. Your beautiful new planter is now ready for a plant!
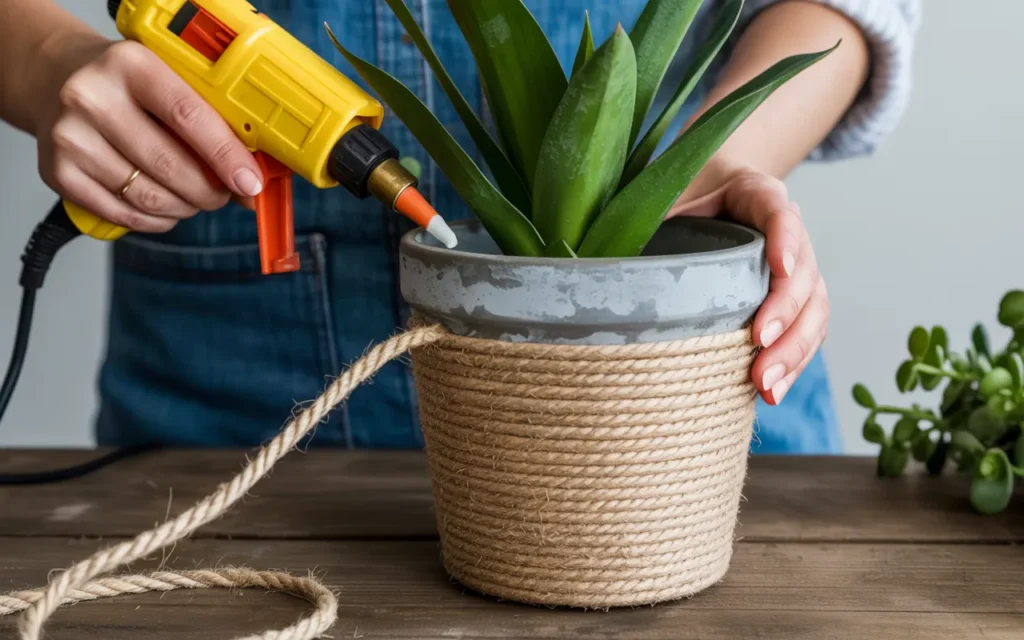
Idea #3: Rustic Rope-Wrapped Planters
This project is perfect for hiding a plain, ugly plastic nursery pot or giving a cheap pot a high-end, rustic makeover. It’s incredibly easy and adds wonderful texture to your space.
Materials You’ll Need:
- A plain pot to cover (a cheap plastic pot, an old ceramic pot, or even a large can)
- Thick rope (like jute or sisal for a rustic look, or cotton rope for a softer, modern vibe)
- A hot glue gun and plenty of glue sticks [Amazon Product: High-Temp Hot Glue Gun with Glue Sticks]
- Scissors
Step-by-Step Instructions:
Step 1: Prepare Your Pot
- Make sure the pot you are covering is clean and dry. If it’s a plastic pot that doesn’t have a drainage hole, be sure to drill one before you start.
Step 2: Start at the Bottom
- Apply a line of hot glue along the bottom edge of the pot.
- Press the end of your rope firmly into the glue and hold it for a few seconds.
Step 3: Wrap, Wrap, Wrap!
- Working in small sections, apply a line of hot glue directly onto the pot, just above the row of rope you just attached.
- Immediately press the next section of rope into the glue, keeping it tight against the previous row. You don’t want any gaps showing.
- Continue this process—glue, wrap, press—as you work your way up the pot in a spiral.
Step 4: Finish the Top
- When you reach the top rim of the pot, continue wrapping until you’ve covered the entire outer surface.
- Cut the rope, leaving just a little extra. Apply a final dab of hot glue and press the end of the rope down firmly to secure it. That’s it! This super-fast DIY is complete.
Idea #4: Painted Terracotta Pots
The classic terracotta pot is a gardener’s favorite for a reason—it’s great for plants! But the plain orange color can be a bit boring. Giving it a custom paint job is one of the easiest ways to create a personalized planter.
Materials You’ll Need:
- Terracotta pots of any size
- Acrylic craft paint
- Paintbrushes of various sizes, or foam pouncers for polka dots
- Painter’s tape (for creating clean lines)
- Clear waterproof sealant (either a spray or a brush-on type)
Step-by-Step Instructions:
Step 1: Prep the Pot (Important!)
- New terracotta pots are very porous and will soak up paint like a sponge.
- To prevent this, you need to seal the inside of the pot first. Apply a coat of a brush-on waterproof sealant to the entire inner surface of the pot. This prevents water from the soil from seeping through the clay and bubbling the paint on the outside. Let it dry completely.
Step 2: Paint Your Base Coat (Optional)
- If you want to completely change the color of the pot, now is the time to paint the entire outside with a solid base color. You may need 2-3 coats. Let it dry completely.
Step 3: Add Your Creative Designs
- This is your canvas! Use painter’s tape to mask off geometric shapes or stripes. Use foam pouncers to create perfect polka dots. Use a fine-tip brush to draw intricate patterns, faces, or even write a plant’s name.
Step 4: Seal the Outside
- Once your final design is completely dry, you must seal the outside of the pot. Apply two coats of a clear waterproof sealant over your entire paint job. This will protect it from water, dirt, and sun, keeping it beautiful for years.
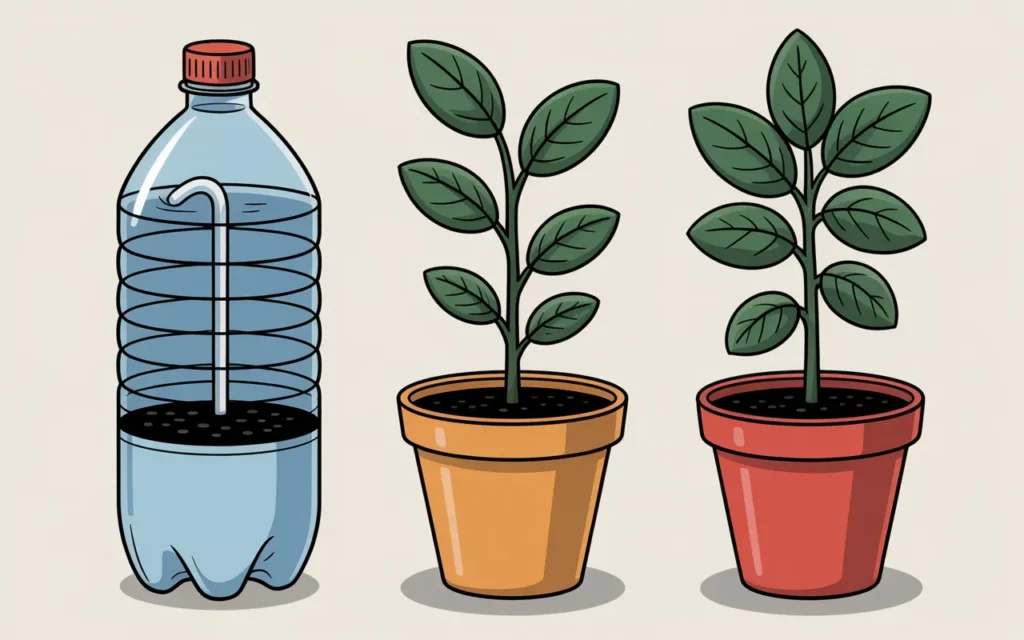
Idea #5: Self-Watering Soda Bottle Planter
This is a brilliant and functional upcycling project, perfect for water-loving plants like herbs. It turns a simple 2-liter soda bottle into a self-watering system.
Materials You’ll Need:
- An empty 2-liter soda bottle, washed with the label removed
- A sharp pair of scissors or a utility knife
- A thick piece of cotton string or a strip from an old cotton t-shirt (about 6 inches long)
- A nail or skewer
Step-by-Step Instructions:
Step 1: Cut the Bottle
- About halfway up the bottle, where it starts to curve inwards, carefully cut the bottle in half horizontally. You will now have a top funnel-shaped piece and a bottom cup-shaped piece.
Step 2: Prepare the Wick
- Take the top funnel piece (the one with the bottle cap end). Unscrew the cap and use a nail or the tip of your scissors to carefully poke a hole in the center of it.
- Thread your cotton string through the hole, leaving about 3 inches hanging down from the cap and 3 inches inside the funnel. This string will act as the “wick.”
- Screw the cap back onto the bottle top.
Step 3: Assemble the Planter
- Take the top funnel piece and flip it upside down. Place it into the bottom cup piece. The top piece will serve as your planting area, and the bottom piece will be the water reservoir.
Step 4: Plant and Water
- Fill the top funnel part with potting soil, making sure the wick is mixed into the soil. Plant your herb or small plant.
- Water the plant from the top for the first time to moisten all the soil.
- Now, lift the top section out and fill the bottom reservoir with about an inch or two of water.
- Place the top section back in. The cotton wick will slowly draw water up from the reservoir into the soil as the plant needs it, creating a self-watering system!
Conclusion
You are now officially a plant pot artisan! As you can see, you don’t need a kiln or a potter’s wheel to learn how to make plant pots. With a little creativity, a few simple supplies, and everyday items, you can create a whole family of beautiful, personalized containers for your plants.
This is your chance to express your style, save money, and have a wonderfully relaxing time crafting. So grab a tin can or a bag of concrete and start creating the perfect home for your leafy companions!
Frequently Asked Questions (FAQs)
1. What can I use to make homemade plant pots?
You can use a wide variety of materials! Some of the most popular choices for DIY plant pots include concrete, upcycled tin cans, plastic bottles, glass jars, old tires, wooden boxes, and fabric bags.
2. How do you make a simple plant pot at home?
The easiest and quickest way to make a simple plant pot is to upcycle a tin can. Simply hammer a few drainage holes in the bottom, prime it, paint it with a fun design, and seal it with a waterproof clear coat.
3. Is it necessary to put a hole in the bottom of a plant pot?
Yes, it is absolutely essential. A drainage hole allows excess water to escape, preventing the soil from becoming waterlogged. Without drainage, plant roots will rot, which will eventually kill the plant.
4. What paint is safe to use on plant pots?
Non-toxic, water-based acrylic craft paint is the best and safest choice for painting the outside of plant pots. Always make sure to seal your paint job with a clear, waterproof sealant to protect it.
5. How do you make sure a DIY pot is waterproof?
For projects like painted terracotta or tin cans, using a clear waterproof spray sealant is key. For materials that might degrade with moisture, like an unlined wooden box, it’s best to use them as a “cachepot”—a decorative outer pot that you slip a plain plastic nursery pot inside of.
6. Can I make a large planter myself?
Yes! The concrete method is excellent for creating large, heavy, and durable planters. You can use a large plastic storage bin as your outer mold and a slightly smaller bin as the inner mold to create a substantial planter for your patio or garden.
7. How do I make a self-watering planter?
A 2-liter soda bottle is perfect for this. By cutting the bottle in half, inverting the top into the bottom, and using a cotton string as a wick, you can create a simple system where the plant draws water up from a reservoir as needed.