There’s a special kind of magic in creating something beautiful with your own hands, a simple hook, and a ball of yarn.
If you’ve ever admired the vibrant, delicate beauty of a poppy and wished you could capture its charm forever, then you’re in for a treat.
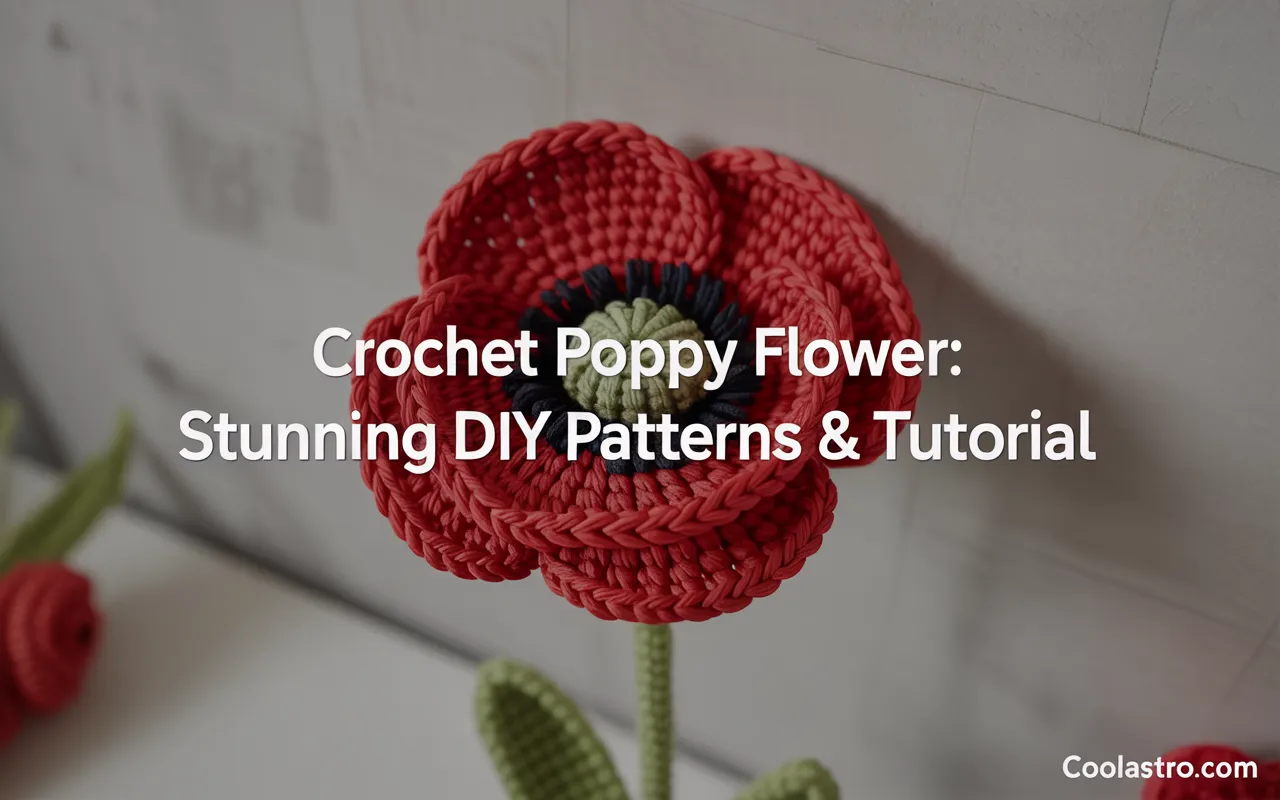
A crochet poppy flower is a wonderfully rewarding project, whether you’re a seasoned crafter or have never picked up a hook before.
It’s a chance to create a lasting symbol of remembrance, a cheerful embellishment for your home, or a heartfelt, handmade gift.
This guide is your friendly companion, here to demystify the process of creating your very own crochet poppies.
We’ll walk through everything together, from the basic supplies you’ll need to a simple, step-by-step tutorial that will have you hooking up a bloom in no time. We’ll also explore different patterns and creative ideas for using your finished flowers.
Forget complicated instructions and confusing jargon. We’re going to make this fun, easy, and incredibly satisfying. Get ready to watch a beautiful flower bloom from your hook!

Understanding Basic Crochet Stitches and Terms
Before we start the pattern, let’s quickly review the basic language of crochet. Don’t worry, it’s simpler than it looks! We’ll only be using a few simple stitches for our basic poppy.
(Note: All patterns use standard US crochet terminology.)
- ch: Chain. This is the foundation of most crochet projects. It’s a series of loops that creates a starting chain.
- sl st: Slip Stitch. This is the shortest stitch, used for joining rounds or moving your yarn without adding height.
- sc: Single Crochet. A basic, short stitch that creates a tight, dense fabric.
- hdc: Half Double Crochet. A stitch that’s halfway in height between a single crochet and a double crochet.
- dc: Double Crochet. One of the most common stitches, it’s about twice as tall as a single crochet and creates a more flexible fabric.
- tr: Treble Crochet (or Triple Crochet). A tall stitch that works up quickly and adds significant height.
- Magic Ring (or Magic Circle): A technique used to start crocheting in the round so that you can pull the center completely closed. It’s perfect for the center of our flower.
- st(s): Stitch(es).
- inc: Increase. This means working two stitches into the same stitch from the round below, making your circle larger.
- […] x 6: Repeat the instructions within the brackets a total of 6 times.
If any of these are new to you, a quick search on YouTube for a video tutorial will make it crystal clear in minutes!
Simple and Classic Crochet Poppy Flower: A Step-by-Step Tutorial
This pattern is perfect for beginners and creates a beautiful, classic poppy with four distinct petals. We’ll make it in two simple parts: the black center and the red petals.
Materials:
- DK weight yarn in Black and Red
- A crochet hook that matches your yarn size (e.g., 4.0mm)
- Yarn needle
- Scissors
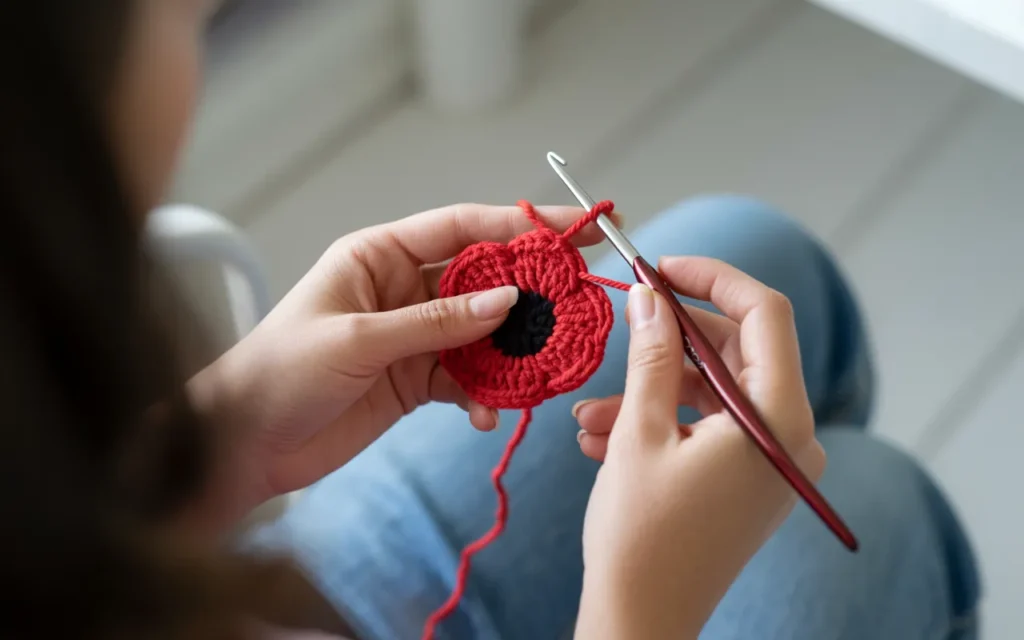
Part 1: The Black Center
We’ll start by creating a small, flat circle for the center of the poppy.
Round 1: Using your black yarn, create a magic ring. Work 6 single crochet (sc) stitches into the ring. Pull the tail to close the ring tightly. Join to the first sc with a slip stitch (sl st). (6 sts)
Round 2: Chain 1 (this does not count as a stitch). Work 2 sc into each stitch around (this is a sc increase). Join to the first sc with a sl st. (12 sts)
Fasten off, leaving a long tail (about 6-8 inches) for sewing later. Your black center is complete!
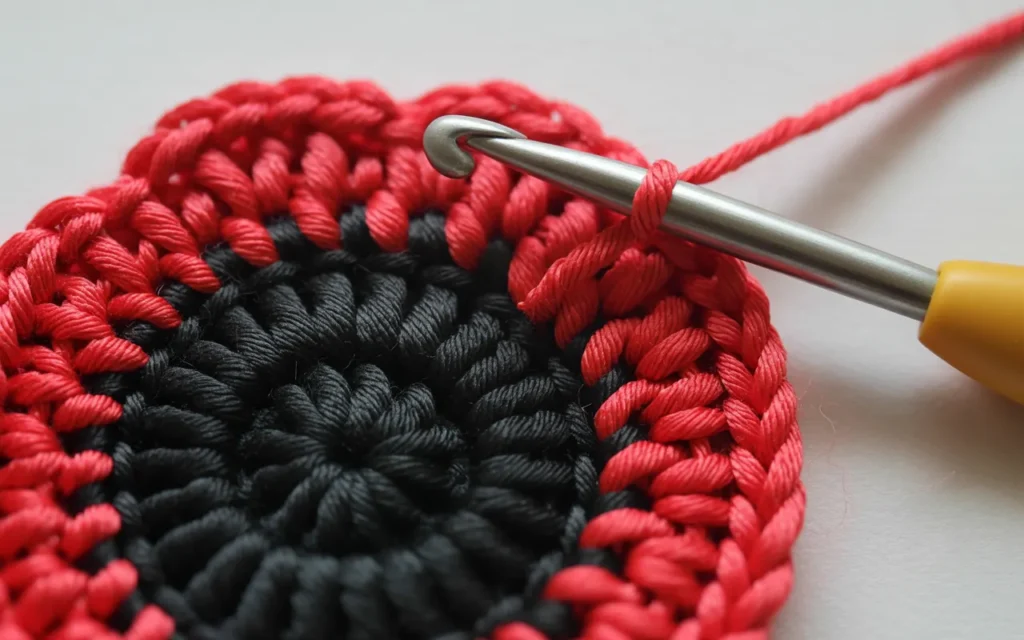
Part 2: The Red Petals
Now, we’ll attach the red yarn and build our petals.
Round 3: Join your red yarn with a slip stitch to any stitch on your black circle.
Now, we will create our four petals in this single round. Each petal is worked over the next 3 stitches of the black circle.
- Petal 1:
- Into the next stitch, work the following: [hdc, dc].
- Into the stitch after that, work: [tr, tr, tr].
- Into the stitch after that, work: [dc, hdc].
- Slip stitch into the same stitch to finish the petal shape.
- Petal 2:
- Slip stitch into the next stitch on the black circle to move over.
- Into the same stitch, work: [hdc, dc].
- Into the stitch after that, work: [tr, tr, tr].
- Into the stitch after that, work: [dc, hdc].
- Slip stitch into the same stitch.
- Petal 3 & 4: Repeat the instructions for Petal 2 two more times.
After your fourth petal, slip stitch into the base of the first petal to join. Fasten off and weave in your red yarn end using a yarn needle.
Use the long black tail from the center to sew a small black button into the middle, or use the tail to create a few French knots for a textured center.
Congratulations! You’ve just made a beautiful, simple crochet poppy flower!
Exploring Different Crochet Poppy Patterns
Once you’ve mastered the basic poppy, you can have fun experimenting with different styles. Small changes to the pattern can create poppies with completely different looks and personalities.
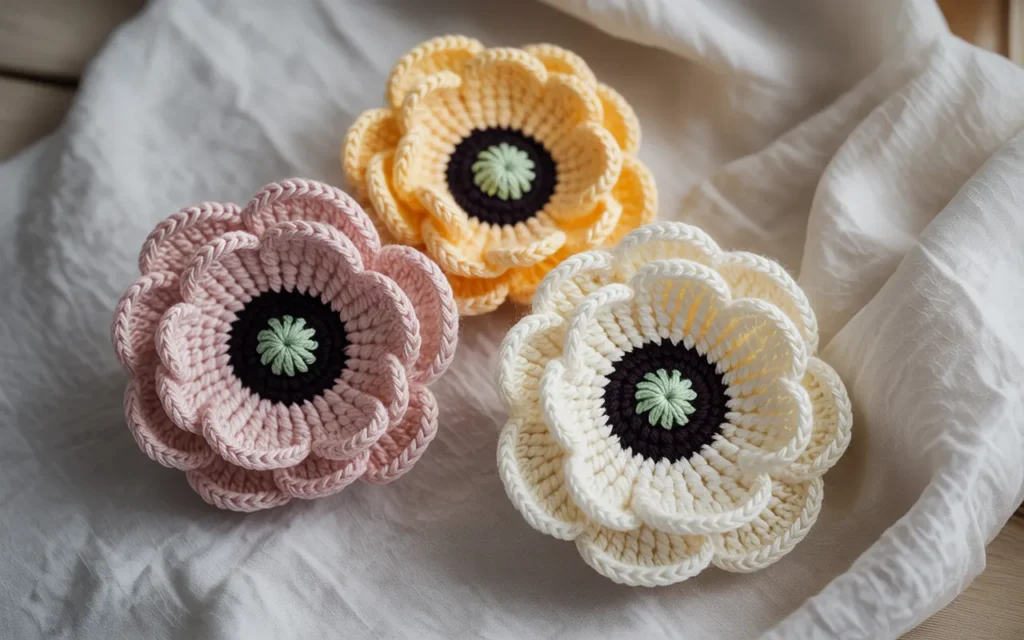
Pattern 2: The Ruffled, Multi-Layered Poppy
This pattern creates a fuller, more textured poppy with two layers of petals for a lovely 3D effect.
Materials: Same as the classic poppy.
Center: Create the black center exactly as in the first pattern (a flat circle of 12 sc). Fasten off black yarn.
Petal Layer 1 (Back Layer):
- Join red yarn to any stitch.
- Round 3: Chain 3. Working in the back loops only of your black circle, work 2 dc into each stitch around. Join with a sl st to the top of the initial ch-3. (24 sts)
- Round 4: Chain 3. Work 2 dc in the next stitch, then 1 dc in the next stitch. Repeat from * to * all the way around. Join with a sl st. (36 sts)
- Fasten off and weave in ends.
Petal Layer 2 (Front Layer):
- Turn your flower over. You will now work in the front loops of the black circle that you left unworked.
- Round 5: Join red yarn to any front loop. Chain 2. Work 2 hdc in the next front loop, then 1 hdc in the next front loop. Repeat from * to * all the way around. Join with a sl st. (18 sts)
- Fasten off, leaving a long tail for sewing. Add your button center.
This layered poppy has a beautiful, full look and is perfect for turning into a brooch.
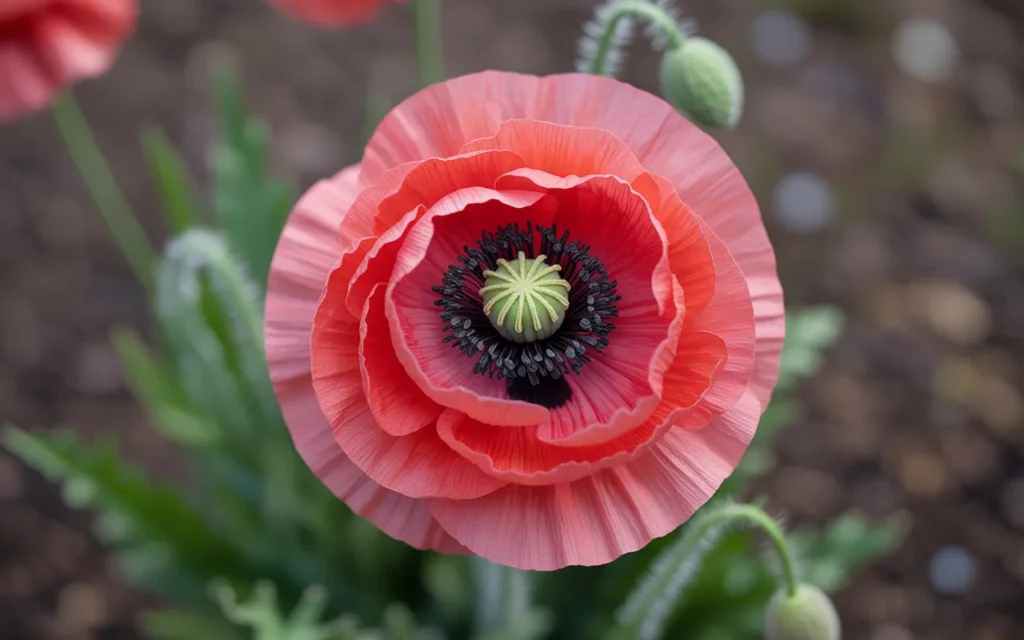
Pattern 3: The Delicate Icelandic Poppy
Icelandic poppies are known for their crinkled, delicate petals and come in a variety of colors like yellow, pink, and orange. This pattern uses chain spaces to create that signature ruffled look.
Materials: DK yarn in your chosen petal color (e.g., pale yellow) and a small amount of a brighter color (e.g., golden yellow) for the center.
Center:
- Using the brighter yellow, create a magic ring and work 10 hdc into it. Pull tight and join with a sl st.
- Fasten off, leaving a tail.
Petals:
- Join your pale yellow yarn to any stitch on the center circle.
- Round 1: Chain 4. Skip the next stitch, and sl st into the stitch after that. Repeat from * to * all the way around. You will have created 5 chain loops.
- Round 2: Into each chain-4 loop, work the following sequence: [sc, hdc, dc, tr, dc, hdc, sc].
- After the final petal, sl st to the base of the first petal. Fasten off and weave in ends. Gently shape the petals with your fingers to enhance the ruffles.
Creative Ways to Use Your Crochet Poppies
Now that you have a collection of beautiful handmade flowers, what can you do with them? The possibilities are endless!
- Create a Brooch or Pin: Sew a small pin backing onto the back of a poppy. This is a classic way to wear a poppy for Remembrance Day or as a beautiful accessory on a coat or scarf.
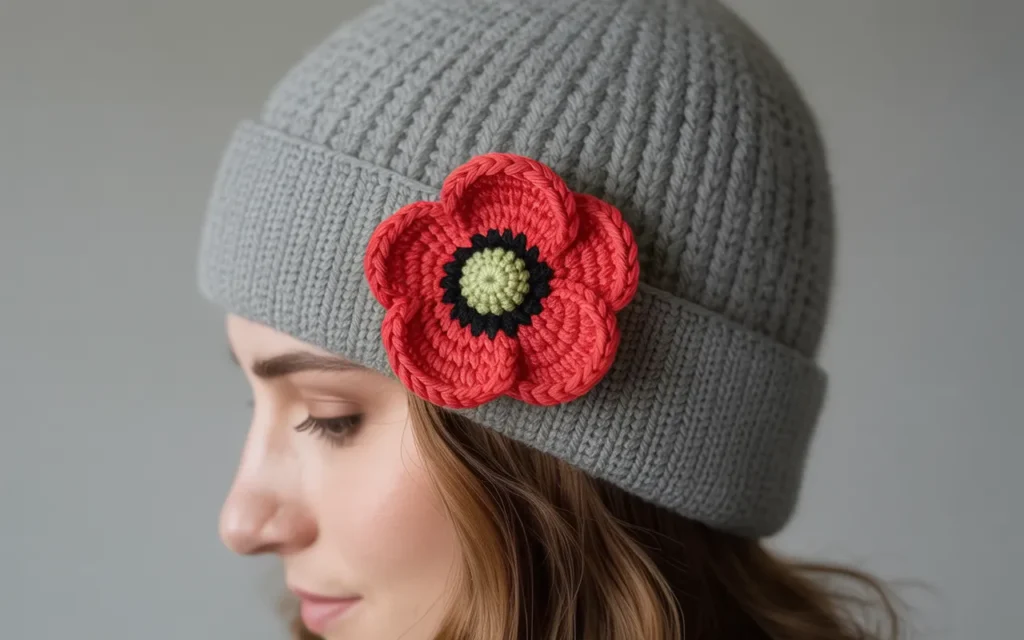
- Embellish a Hat or Bag: A single, bright poppy can add a pop of color and personality to a plain beanie, a sunhat, or a canvas tote bag.
- Make a Garland or Bunting: String a series of poppies together with a long chain of crochet or a piece of twine. This creates a beautiful, festive garland for decorating a mantelpiece, a wall, or a nursery.
- Create Wall Art: Arrange and sew several poppies of different sizes onto a piece of burlap or linen stretched inside an embroidery hoop. This makes for stunning, textured wall art.
- Gift Toppers: Instead of a disposable bow, tie a crochet poppy onto a wrapped gift. It’s a beautiful, personal touch that becomes part of the gift itself.
- Make a Wreath: Attach your crochet poppies to a simple grapevine or metal wreath form. Mix in some crochet leaves for a beautiful, everlasting floral wreath for your front door.
Tips for Perfect Poppies
Here are a few final tips to help make your crochet poppy flower project a success.
- Count Your Stitches: Especially as a beginner, it’s easy to lose or gain stitches. Count your stitches at the end of each round to make sure you’re on track. Using a stitch marker in the first stitch of each round is a huge help.
- Maintain Even Tension: Try to keep your stitches consistent—not too tight, not too loose. This comes with practice! Consistent tension will result in a more uniform and professional-looking flower.
- Don’t Be Afraid to Undo: If you make a mistake, don’t worry! Crocheting is very forgiving. You can simply pull on your working yarn (this is called “frogging” because you “rip-it, rip-it”) to undo the stitches and try again.
- Blocking Your Poppies: For a truly flat and perfectly shaped flower, you can “block” it. After you finish, pin your poppy to a foam board, spritz it lightly with water, and let it dry completely. This will set the stitches and give it a crisp, finished look.

Your Crochet Journey Begins
You are now ready to pick up your hook and start creating. You have a simple, step-by-step pattern, ideas for more complex designs, and a host of creative ways to use your beautiful finished flowers.
Crocheting is a wonderfully mindful and rewarding hobby. It’s a way to slow down, focus your hands and mind, and create something tangible and beautiful.
So, put on some music, pour a cup of tea, and give it a try. Don’t worry about being perfect. Embrace the process, celebrate your progress, and enjoy the simple magic of watching a vibrant crochet poppy flower bloom from a simple strand of yarn. Happy hooking!
Recommended Crochet Supplies
Here is a quick summary of the recommended products to get you started on your crochet poppy flower adventure.
| Product Name | Brand | Great For… |
|---|---|---|
| {Clover Amour Crochet Hook Set} | Clover | Comfortable, ergonomic hooks that make crocheting a joy. |
| {Lana’s Choice 8-Ply DK Cotton Yarn} | Lana’s Choice | Excellent stitch definition for creating neat flowers. |
| {Susan Bates Steel Yarn Needles} | Susan Bates | Easily weaving in ends for a professional finish. |
| {Clover Locking Stitch Markers} | Clover | Keeping your place when working in rounds. |
| {Gingher Stork Embroidery Scissors} | Gingher | Making clean, precise cuts in your yarn. |
| {Black Buttons for Crafts} | Outus | A quick and easy way to create a classic poppy center. |
| {“Crochet Cafe: Recipes for Amigurumi”} | Lauren Espy | Inspiration for more fun, small crochet projects. |