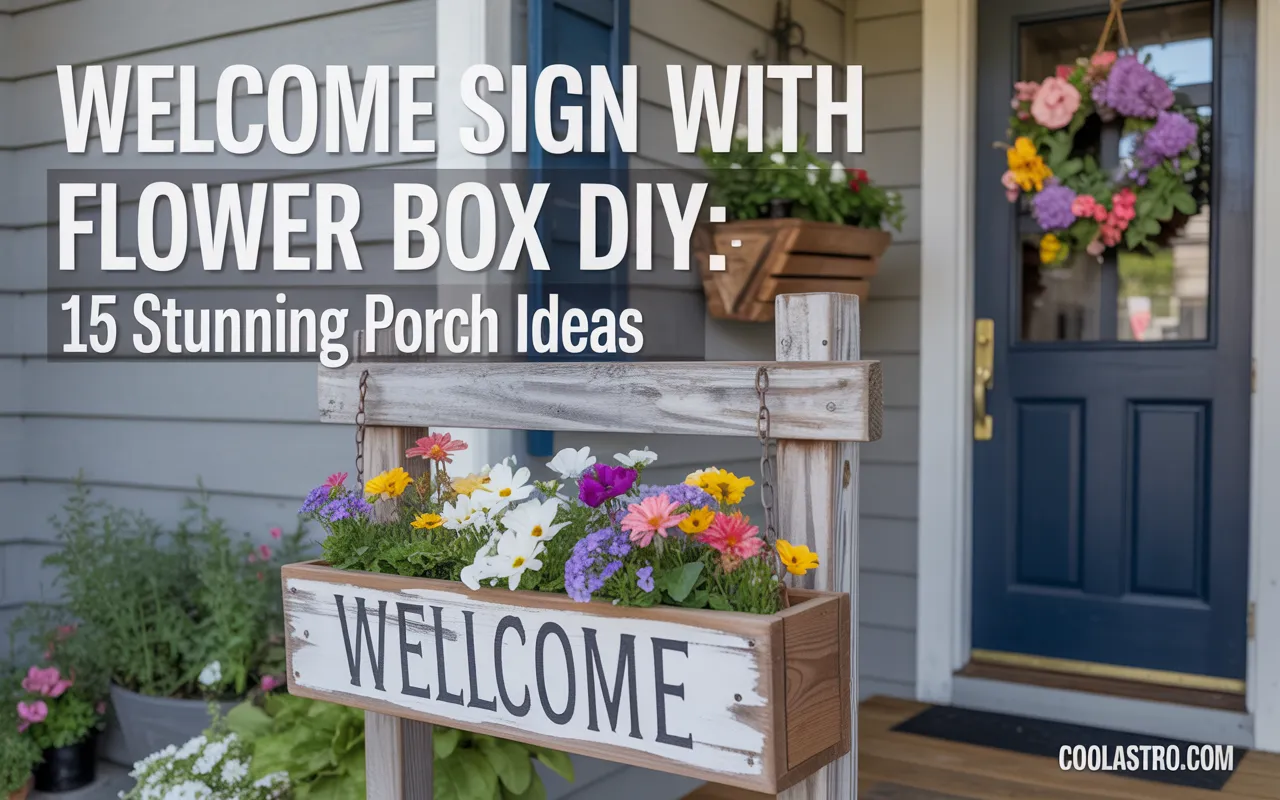
Your home’s entrance is the first hello you give to the world. It’s a preview of the warmth and personality that lies within. A beautiful front porch sets a tone of welcome, making friends feel cherished and family feel at home before they even step inside.
A welcome sign with a flower box is one of the most charming ways to create this feeling. It combines rustic personalization with the living beauty of flowers, creating a stunning piece of decor that instantly elevates your home’s curb appeal.
This guide is your personal workshop for creating the perfect porch greeter.
We’re going to walk through fifteen stunning welcome sign with flower box DIY ideas, each one designed to inspire you and show you just how easy it is to make something truly special.
From modern and sleek designs to rustic farmhouse classics, you’ll find a project that perfectly matches your style and skill level. It’s time to roll up your sleeves, get a little creative, and build a beautiful welcome for your home that is uniquely you.
Essential Supplies for Your Welcome Sign Project
Before we dive into the fun ideas, let’s gather the essential tools and materials that will make your welcome sign with flower box DIY project a success. Having these items ready will ensure a smooth, enjoyable process and a professional-looking result.
- {Kreg Pocket-Hole Jig 720} by Kreg: If you’re building your sign from scratch, this tool is a game-changer. It allows you to create incredibly strong, hidden joints with ease, giving your project a clean, professional finish without visible screws. It’s the secret to sturdy, long-lasting outdoor wood projects.
- {DEWALT 20V MAX Cordless Drill/Driver Kit} by DEWALT: A reliable cordless drill is the most essential power tool for any DIYer. This DEWALT kit has everything you need to drill holes and drive screws for assembling your welcome sign and flower box structure.
- {Rust-Oleum Chalked Ultra Matte Spray Paint} by Rust-Oleum: For that classic, rustic farmhouse look, chalk paint is the perfect choice. This spray version makes it incredibly easy to get a smooth, matte, and slightly distressed finish on your wooden sign. It comes in a variety of beautiful colors.
- {Cricut Explore 3} by Cricut: To create perfect, professional-looking lettering for your sign, a Cricut machine is your best friend. You can design and cut your “Welcome” message from permanent vinyl in any font you can imagine, eliminating the need for tricky hand-painting or stenciling.
- {Gorilla Waterproof Wood Glue} by Gorilla: For any outdoor project, you need a glue that can stand up to the elements. This waterproof wood glue from Gorilla creates an incredibly strong bond that is essential for assembling the flower box portion of your sign and ensuring it lasts for years.
- {Suncast 12″ Flower Box Planter} by Suncast: If you’d rather not build the box from scratch, this lightweight and durable resin planter is a great shortcut. You can simply build the signpost and then easily attach this ready-made box to the front.
15 Stunning Welcome Sign With Flower Box DIY Ideas
Ready to create a showstopper for your porch? Here are fifteen beautiful and inspiring ideas for your next welcome sign with flower box DIY project.
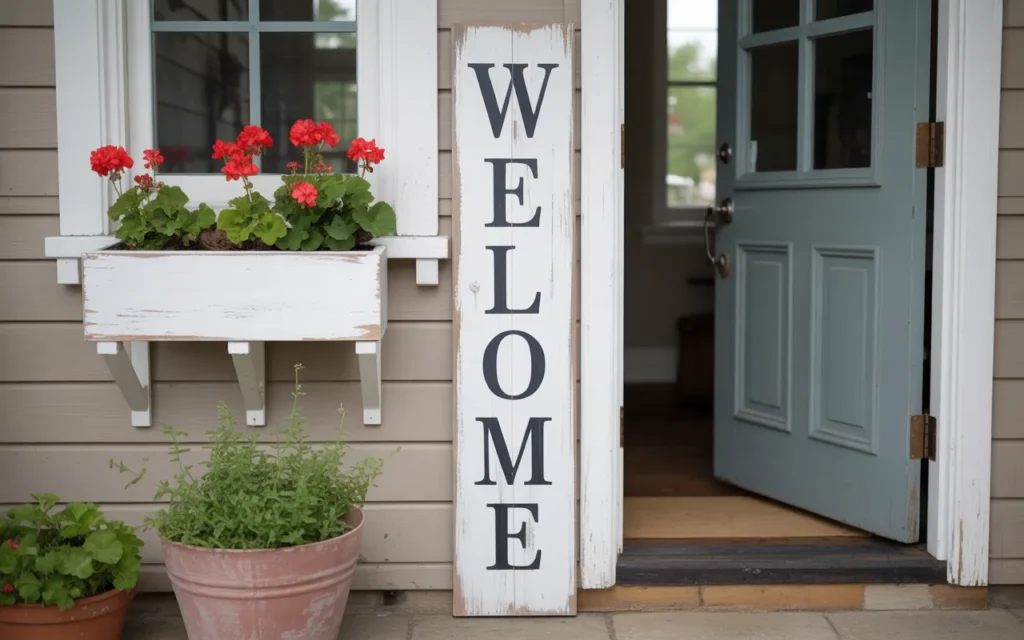
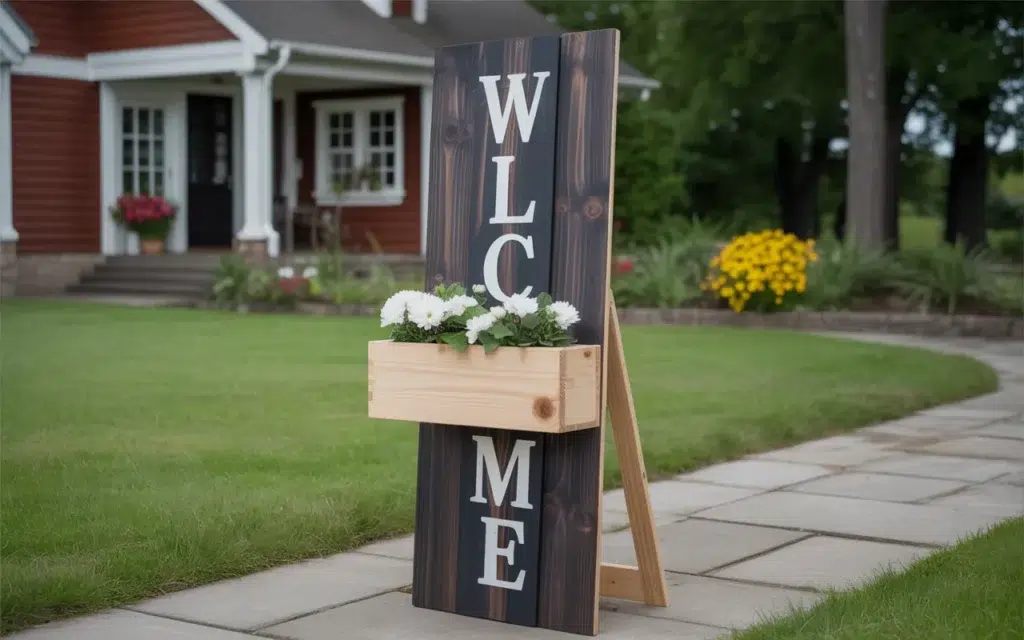
1. The Classic Farmhouse Welcome Post
This is the quintessential welcome sign with flower box DIY project, embodying the warm, rustic charm of modern farmhouse style. It typically features a tall, substantial wooden post, often made from a 4×4 or 6×6, painted or stained, with a small flower box mounted on the front.
- The Build: Start with a simple wooden post cut to your desired height (usually 4-5 feet). Build a small, simple box from cedar or pine boards to fit the front.
- The Finish: Paint the entire sign with white or black chalk paint and lightly distress the edges with sandpaper for a weathered look.
- The Lettering: Use a classic serif or a pretty script font for the word “WELCOME” painted vertically down the post.
- The Flowers: Fill the box with classic, hardy flowers like red geraniums or cheerful petunias.
This timeless design is a warm and inviting addition to any front porch.
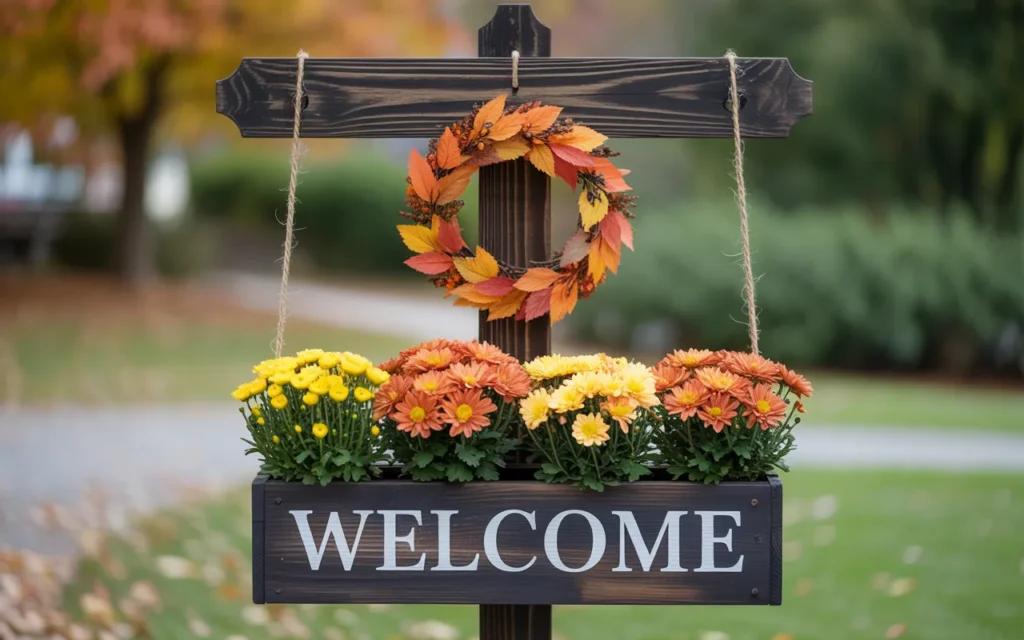
2. The Interchangeable Seasonal Sign
Why have one sign when you can have a sign for every season? This clever welcome sign with flower box DIY idea features an interchangeable element, usually a small wreath or painted icon, that you can swap out for different holidays and seasons.
- The Design: Build a classic welcome sign, but add a small hook or a piece of velcro near the top, above the flower box.
- Create Your Icons:
- Spring: A small grapevine wreath with a few faux cherry blossoms.
- Summer: A painted wooden cutout of a sun or a starfish.
- Fall: A small bundle of autumn leaves or a mini pumpkin.
- Winter: A large snowflake cutout or a small evergreen wreath.
- The Flowers: Change the flowers in the box to match the season! Pansies for spring, marigolds for summer, mums for fall, and evergreen sprigs for winter.
This interactive design keeps your front porch decor fresh and festive all year long.
3. The Modern House Number Display
For a look that is clean, sleek, and contemporary, integrate your house numbers directly into your welcome sign with flower box DIY project. This design is both stylish and highly functional, boosting your curb appeal while making your address easy to see.
- The Structure: Use smooth, high-quality wood and aim for clean lines and sharp angles. A dark stain or a solid coat of black, white, or gray paint works well.
- The Numbers: Choose large, modern house numbers in a brushed nickel or matte black finish. Mount them horizontally or vertically on the signpost above the flower box.
- The Flowers: Keep the planting simple and architectural. A row of spiky snake plants, a cluster of ornamental grasses, or a simple arrangement of all-white flowers will complement the modern aesthetic.
This project is a perfect blend of form and function for a modern home.

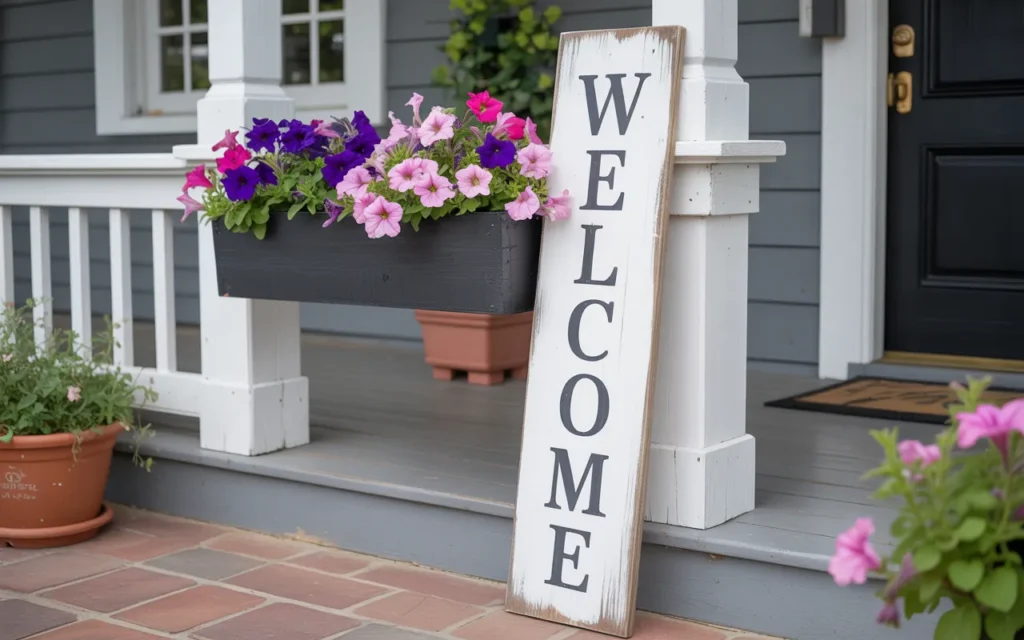
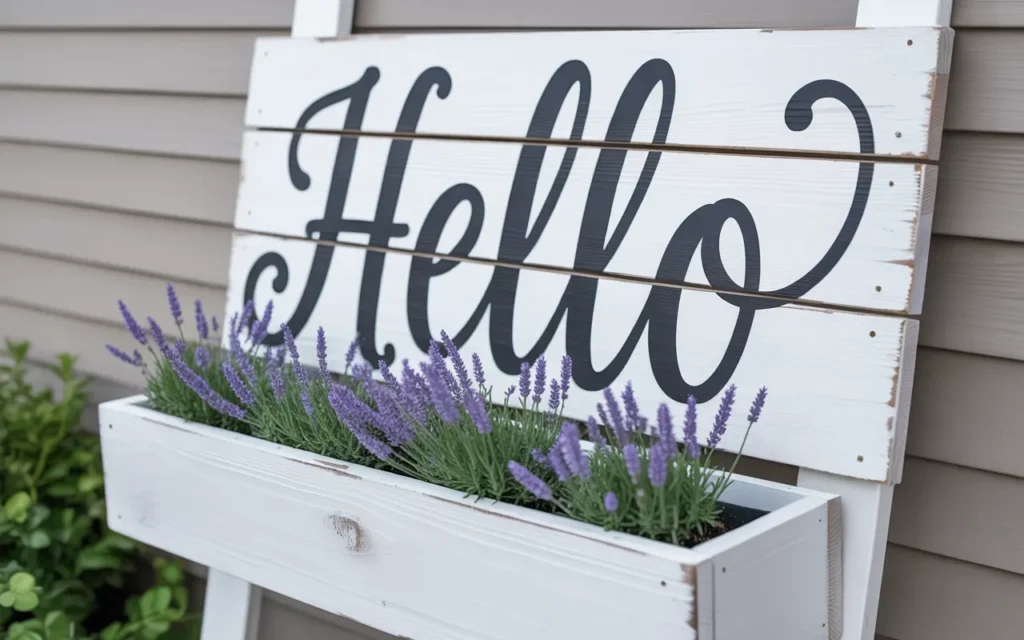
4. The “Hello” Horizontal Sign
Move away from the traditional vertical post with a charming horizontal welcome sign. This design is often wider and shorter, making it a great option to hang on a wall or lean against a railing. It feels a bit more casual and playful.
- The Build: Use several horizontal planks of wood joined together to create a wider sign panel. Build a long, narrow flower box that runs the entire length of the sign’s base.
- The Finish: A whitewashed or weathered gray finish looks fantastic for this style.
- The Greeting: Instead of “Welcome,” try a more casual greeting like “Hello” or “Hello Sunshine” painted in a pretty, flowing script across the sign.
- The Flowers: A loose, airy arrangement of wildflowers or a simple row of lavender would perfectly match the casual, friendly vibe.
This is a sweet and unique take on the classic welcome sign with flower box DIY project.
5. The Two-Toned Stain Design
Create a sophisticated, high-contrast look by using two different shades of wood stain on your project. This technique adds visual interest and a custom-built feel to your welcome sign with flower box DIY design.
- The Plan: Decide which parts of your sign will be light and which will be dark. A great combination is to have a dark-stained main post with a lighter-stained flower box, or vice versa.
- The Staining: Use a dark walnut or ebony stain for the dark sections and a light oak or natural stain for the lighter sections. Be sure to apply the stain evenly and wipe away the excess.
- The Details: The contrast between the two tones will highlight the construction of your piece. Use a simple, elegant font for your “Welcome” that won’t compete with the wood tones.
This technique results in a rich, custom piece that looks much more expensive than it is.
6. The Chalkboard Message Center
Add a fun, interactive element to your porch with a welcome sign that features a built-in chalkboard. This allows you to change the message daily, leaving notes for delivery people, counting down to a holiday, or simply writing a cheerful greeting for the day.
- The Build: Construct a welcome sign with a large, flat panel area. Instead of painting it, apply several coats of chalkboard paint to this section.
- The Frame: Frame the chalkboard section with wood trim to give it a finished look. Place your flower box at the base of the sign.
- Get Creative: Keep a container of colorful chalk nearby and have fun with it! Write “Welcome Friends,” “Happy Fall Y’all,” or “Packages can be left here.”
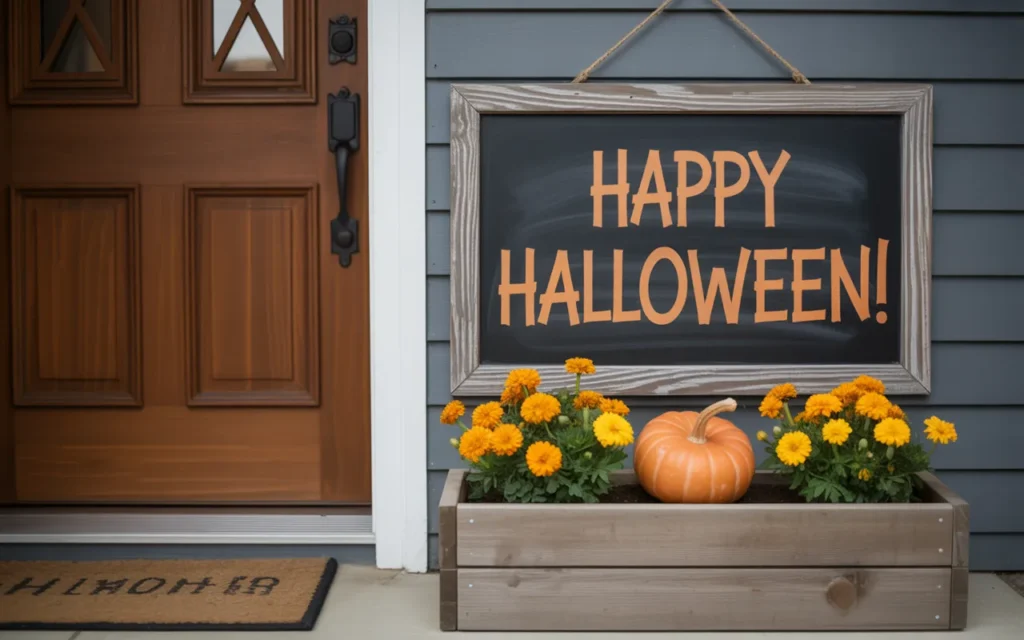
This is a fun and functional welcome sign with flower box DIY idea that the whole family can enjoy.
7. The Rustic Reclaimed Pallet Wood Sign
For a truly rustic, eco-friendly, and budget-friendly project, build your welcome sign using reclaimed pallet wood. The natural weathering, nail holes, and imperfections of pallet wood add instant character and charm.
- The Prep: Carefully disassemble a wooden pallet. You may need to sand the boards lightly to remove splinters, but don’t over-sand or you’ll lose the rustic character.
- The Assembly: Arrange the pallet boards vertically or horizontally to create the back of your sign. Build the flower box from the same wood.
- The Finish: You can leave the wood raw for a natural look, apply a light stain, or dry-brush it with white paint to enhance the texture.
- The Lettering: A simple, hand-painted “Welcome” or stenciled letters work best with the rustic aesthetic.
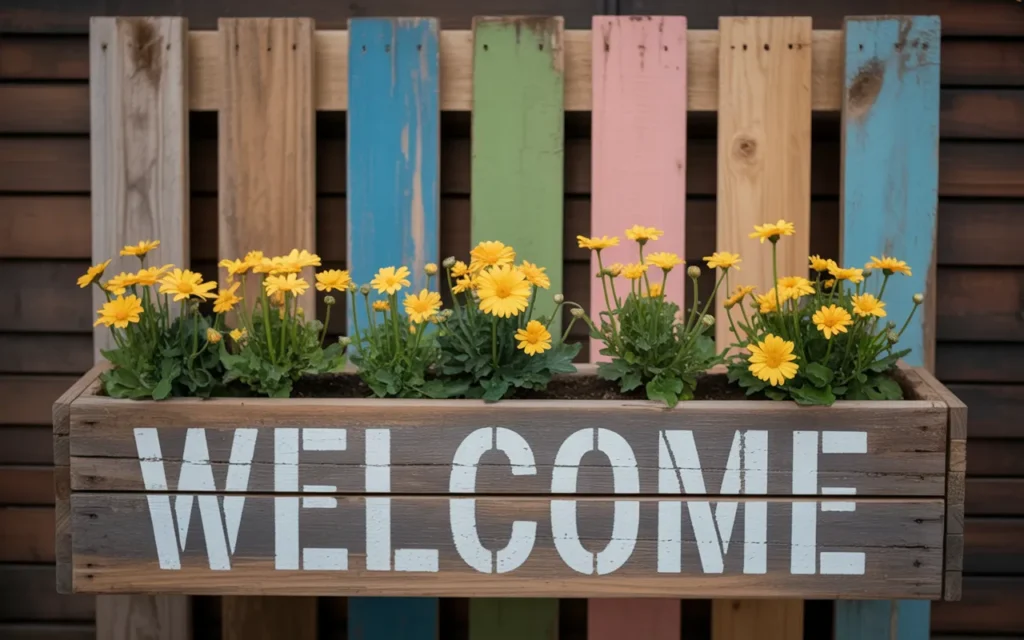
This welcome sign with flower box DIY project is full of character and tells a story.
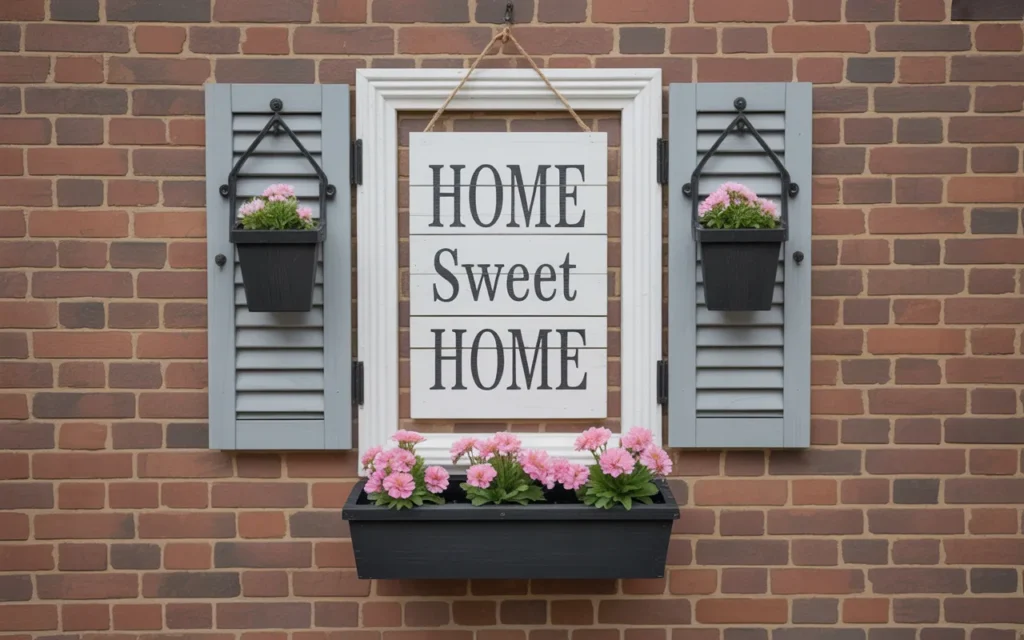
8. The “Home Sweet Home” Sign with Shutters
Add a touch of architectural charm to your sign by flanking it with a pair of small, decorative shutters. This creates a cute, window-like effect that is incredibly charming and unique.
- The Build: Start with a central vertical board for your sign. Then, build or buy two small, decorative board-and-batten or louvered shutters to attach to either side.
- The Flower Box: The flower box should be the width of the central sign and mounted below it, acting as the “windowsill.”
- The Greeting: Instead of “Welcome,” this design is perfect for a phrase like “Home Sweet Home” or “Bless This Nest.”
- The Color: Painting the shutters a contrasting color to the main sign (e.g., a white sign with black or blue shutters) creates a beautiful pop.
This is an adorable and creative design that is sure to get compliments.
Recommended Product Summary
Here is a quick-glance table of the essential products that will help you create a stunning and durable welcome sign with a flower box.
| Product Name | Brand | Use Case |
|---|---|---|
| {Kreg Pocket-Hole Jig 720} | Kreg | For creating strong, hidden joints for a professional finish. |
| {DEWALT 20V MAX Cordless Drill} | DEWALT | The essential power tool for assembly and mounting. |
| {Rust-Oleum Chalked Matte Spray Paint} | Rust-Oleum | An easy way to achieve a trendy, rustic, and distressed look. |
| {Cricut Explore 3} | Cricut | For creating perfect, custom vinyl lettering in any font. |
| {Gorilla Waterproof Wood Glue} | Gorilla | Provides a strong, weather-resistant bond for outdoor projects. |
| {Suncast 12″ Flower Box Planter} | Suncast | A great, durable, ready-made option if you don’t want to build the box. |
It’s Time to Create Your Welcome
A welcome sign with a flower box is more than just a DIY project; it’s a way to pour a little bit of your heart and personality into your home’s first impression. It’s a cheerful greeting for your guests, a beautiful sight to come home to each day, and a testament to your own creativity.
Whether you build a classic farmhouse post or a sleek modern design, the process of creating something beautiful with your own hands is incredibly rewarding.
So pick an idea that sparks your joy, gather your tools, and get ready to build a warm welcome that will make your whole home shine.