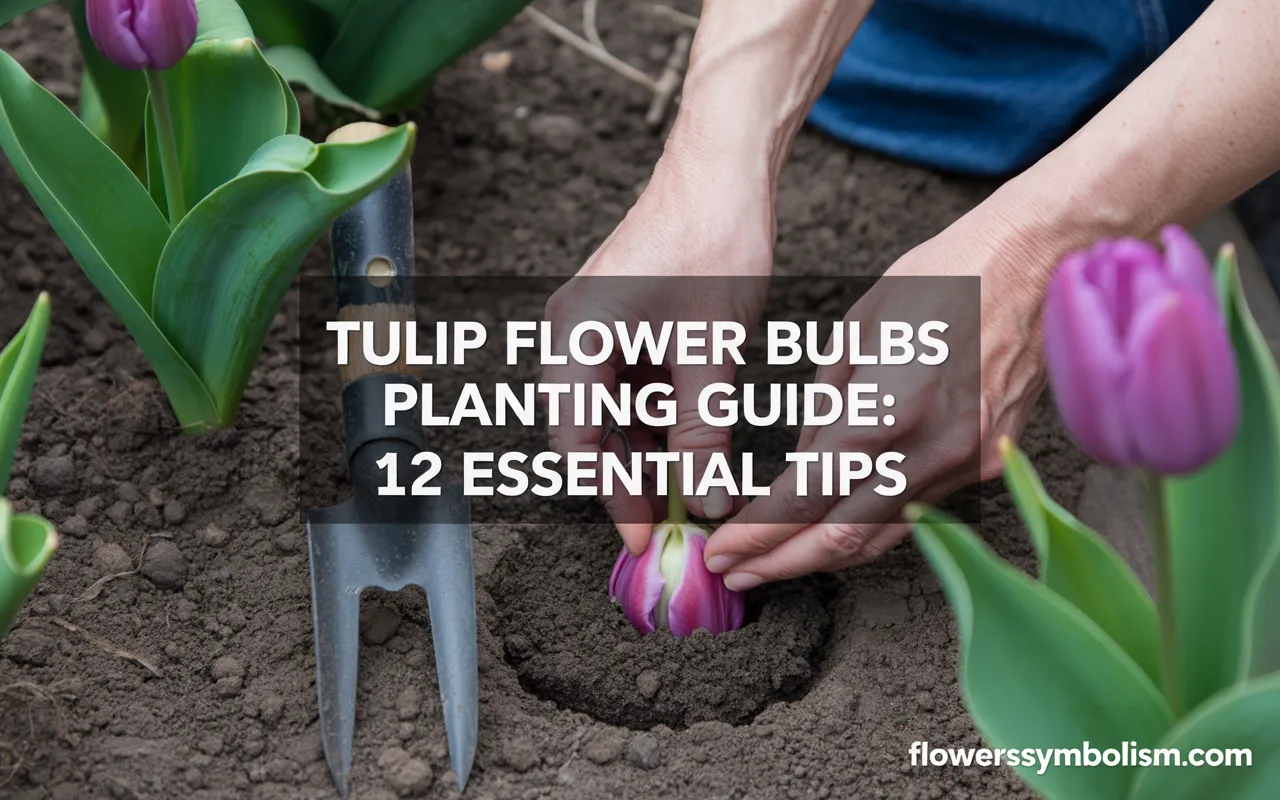
When spring arrives, there is no flower that announces the season’s return quite like the tulip. With their elegant silhouettes and a seemingly endless spectrum of colors, tulips can transform a garden from a sleepy winter plot into a vibrant masterpiece.
The secret to this breathtaking spring display begins with a little work in the fall. Planting tulip flower bulbs is a simple and deeply rewarding ritual that promises a spectacular payoff.
For many new gardeners, the thought of planting bulbs can seem mysterious, but it’s one of the easiest ways to guarantee a beautiful garden. Tulips are surprisingly low-maintenance and offer a huge return on investment.
With a few essential tips, you can create a stunning floral display that will be the envy of your neighborhood. This guide will walk you through 12 essential tips for planting and caring for your tulip bulbs.
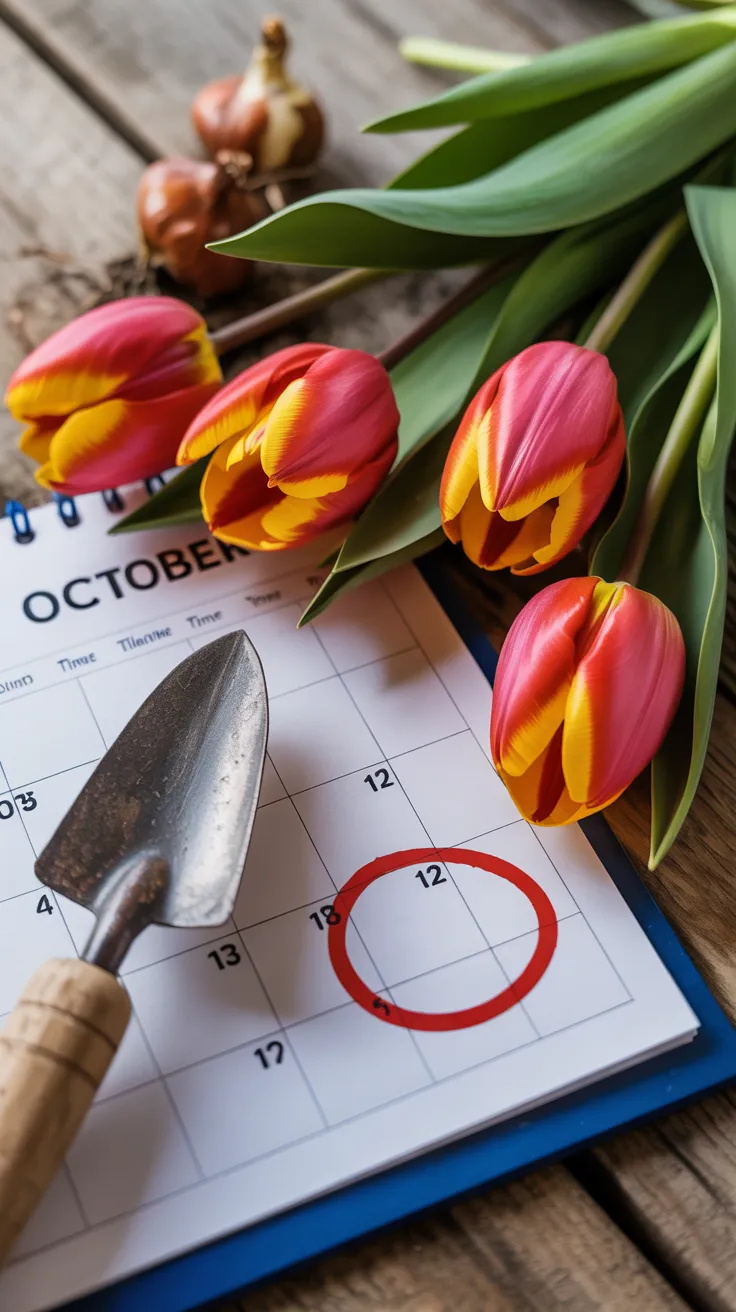
1. Plant in the Fall for Spring Blooms
The most critical rule of tulip planting is timing. Tulip flower bulbs must be planted in the autumn to bloom in the spring. They require a long period of cold dormancy (a process called vernalization) to trigger flower production.
The ideal planting window is when nighttime temperatures consistently stay between 40-50°F. For most of the US, this is from September to November. Planting too early can cause them to sprout prematurely, while planting too late might not give them enough time to establish roots before the ground freezes solid.
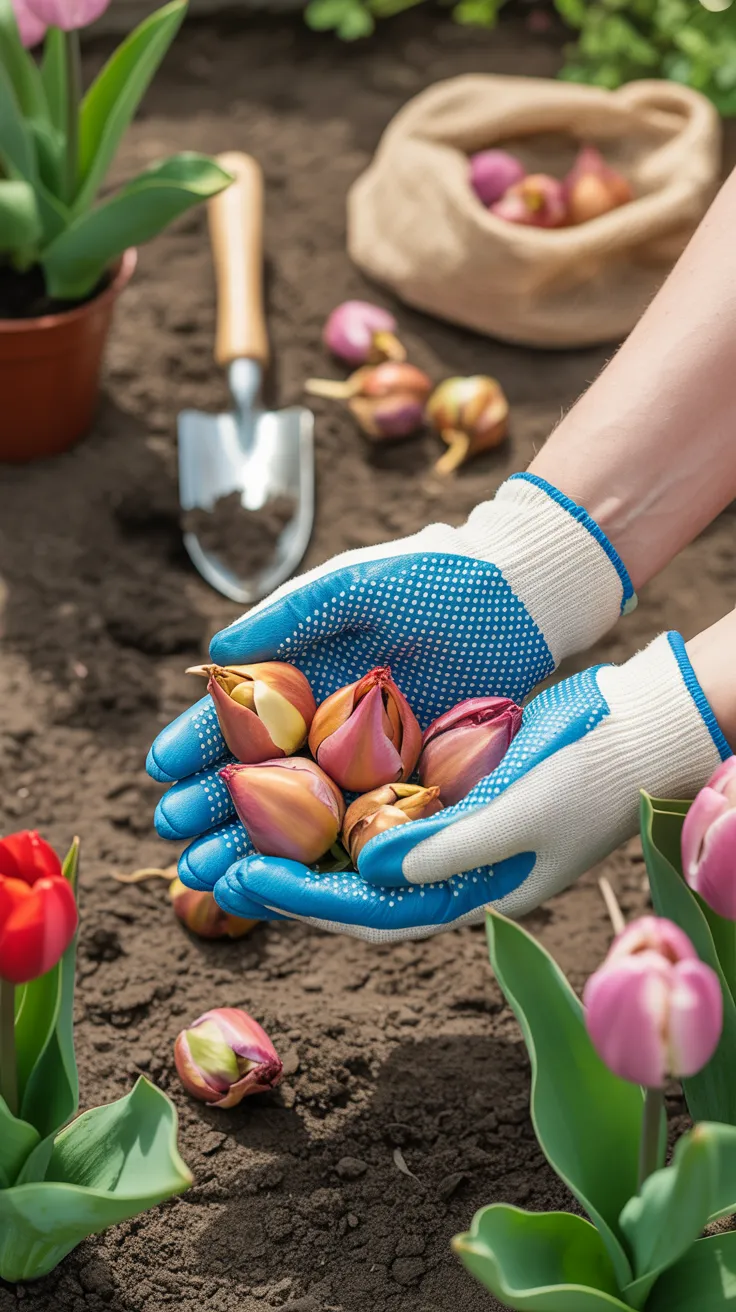
2. Choose High-Quality Bulbs
The quality of your bloom starts with the quality of your bulb. When selecting bulbs, look for those that are firm, plump, and heavy for their size, with their papery skin mostly intact. Think of it like picking out produce at the grocery store.
Avoid any bulbs that are soft, shriveled, moldy, or showing signs of rot. A larger, healthier bulb has more stored energy, which almost always results in a bigger and more vigorous plant.

3. Find the Perfect Sunny Spot
Tulips are sun-worshippers. For the straightest stems and most vibrant colors, you need to plant them in a location that receives at least six hours of direct sunlight per day.
They also despise “wet feet,” so well-draining soil is a must. If your garden has heavy clay soil, consider amending it with compost to improve drainage or plant your tulips in raised beds or containers. Soggy soil is the number one cause of bulb rot.
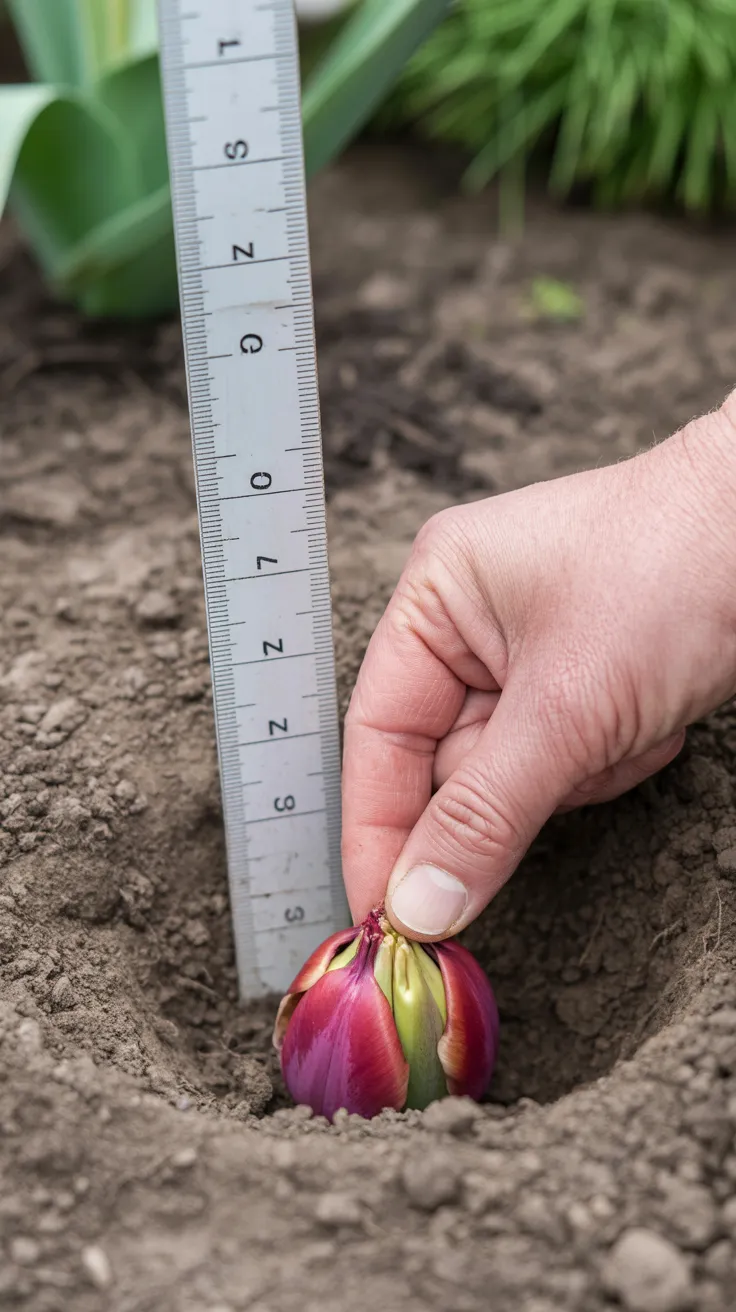
4. Plant Them Deep Enough
A common mistake beginners make is not planting their tulips deep enough. The general rule of thumb is to plant bulbs at a depth that is three times their height. For most standard tulip flower bulbs, this means planting them about 6-8 inches deep.
Planting them this deep helps insulate them from temperature fluctuations and protects them from hungry squirrels who are less likely to dig that far down. A specialized tool like an {Edward Tools Bulb Planter} is incredibly helpful, as it removes a perfect plug of soil, allowing you to get to the correct depth easily.
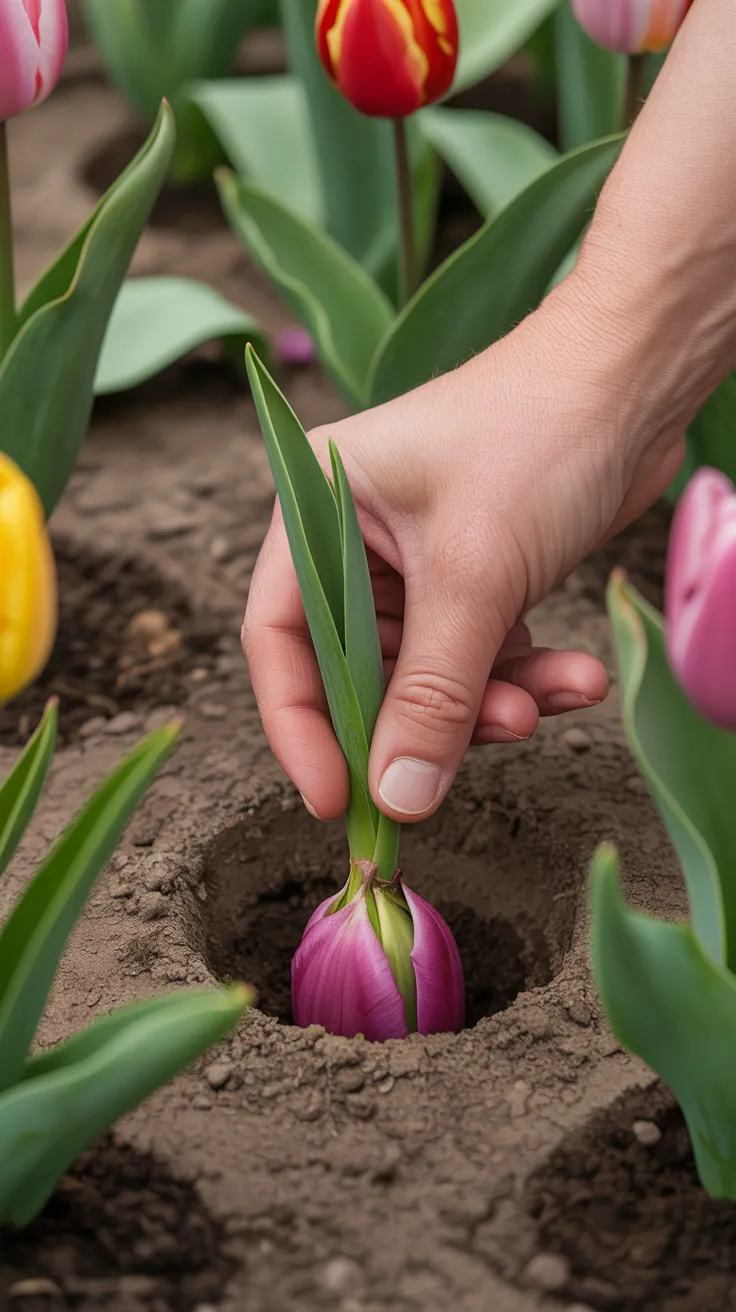
5. Pointy End Up!
This might sound obvious, but it’s an important detail. Bulbs have a top and a bottom. The top is the pointed end where the shoot will emerge, and the bottom is the flatter side where the roots will grow.
Make sure you place each bulb in its hole with the pointy end facing up. If you accidentally plant one upside down or sideways, it will likely still find its way to the sun, but it will waste a lot of energy doing so, resulting in a weaker plant.
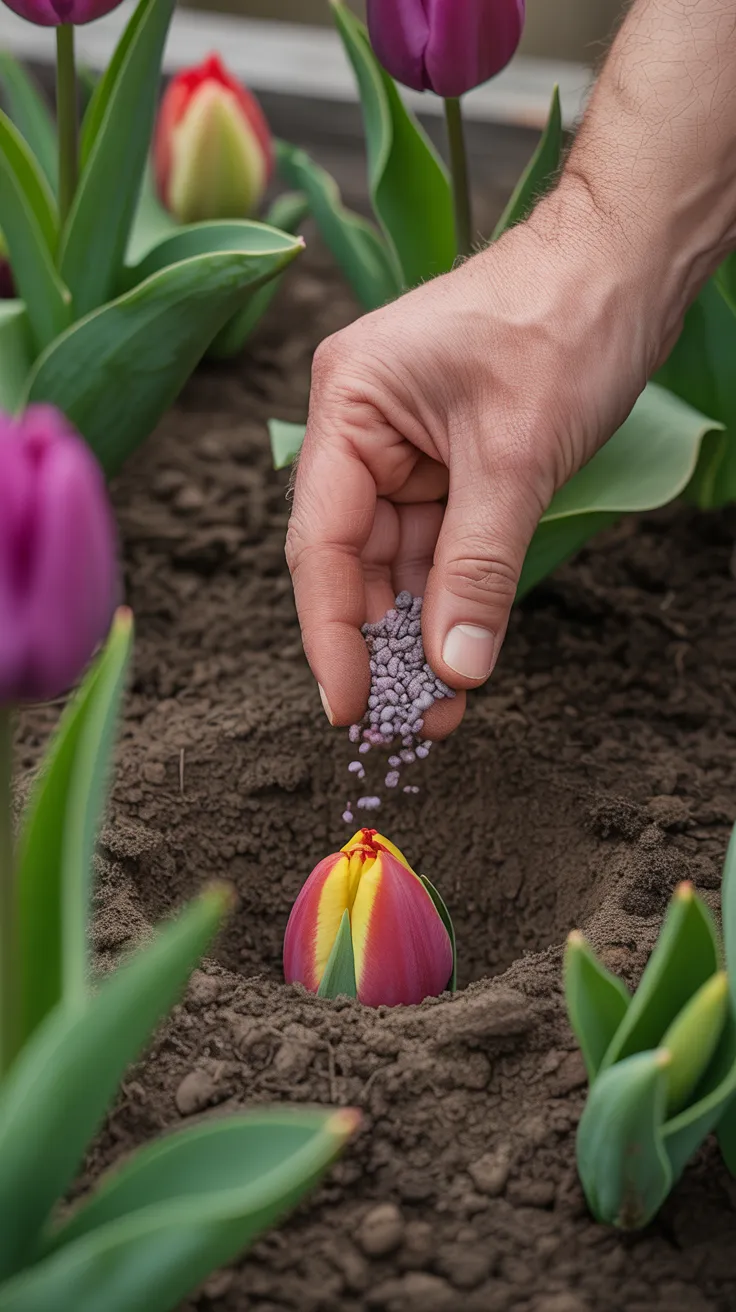
6. Feed Your Bulbs at Planting Time
Tulips use a tremendous amount of energy to produce their stunning flowers. To give them a strong start and encourage them to perform well in subsequent years (if they are a perennial variety), it’s a great idea to feed them when you plant them.
Mix a slow-release fertilizer formulated specifically for bulbs into the soil at the bottom of the planting hole. A product like {Espoma Organic Bulb-tone} is perfect, as it provides the essential nutrients needed for robust root development and energy storage.
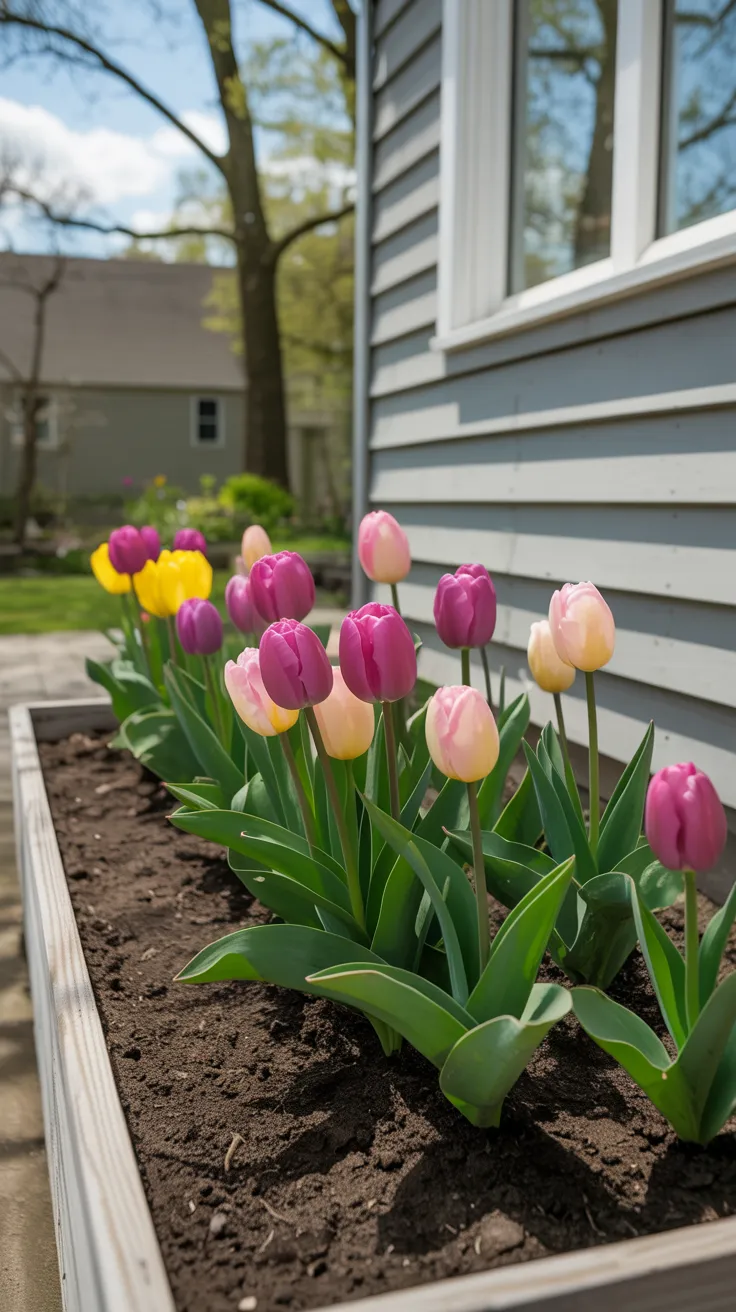
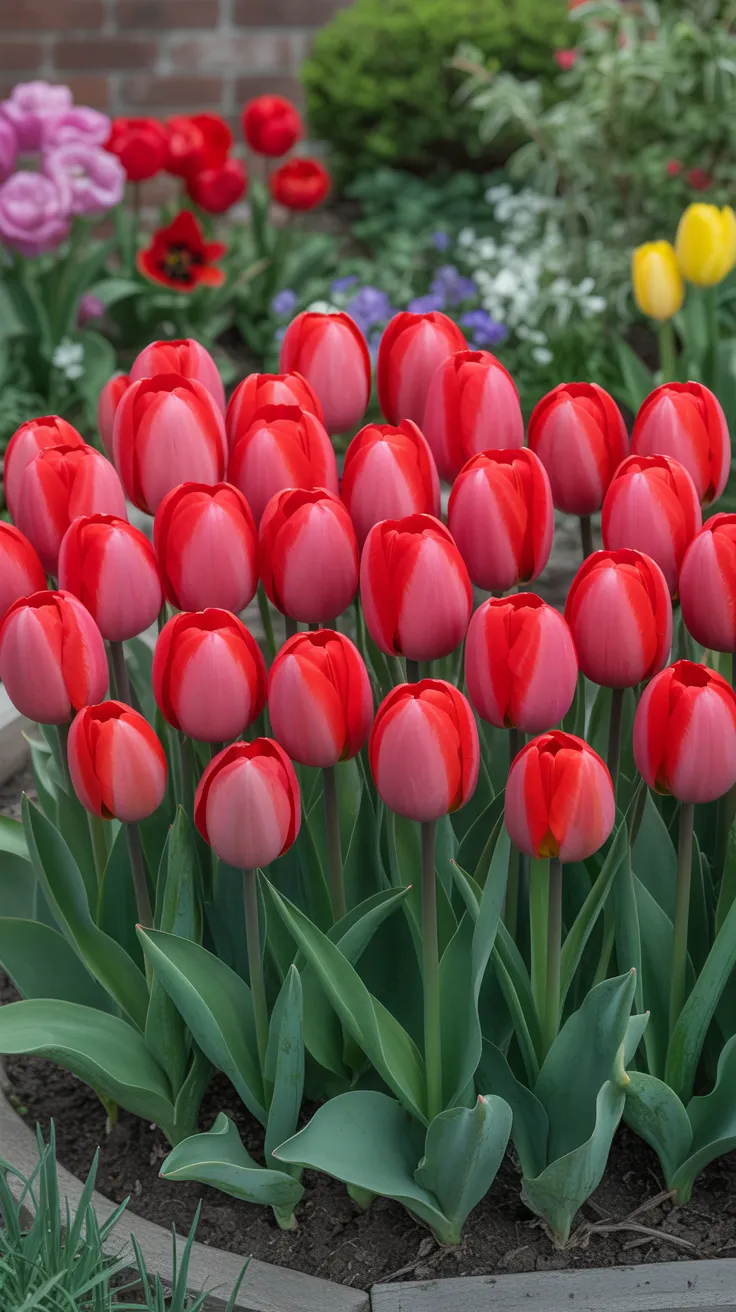
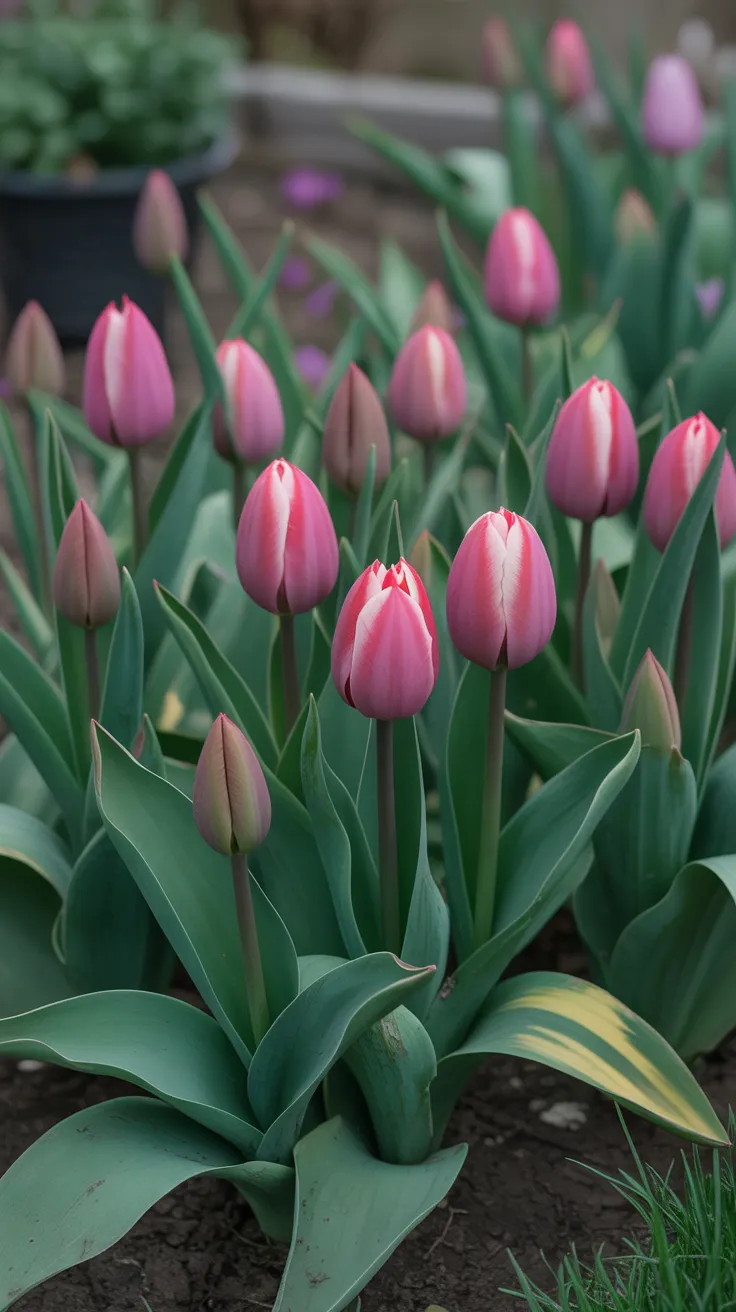
7. Plant in Groups for Visual Impact
For the most dramatic and natural-looking display, resist the urge to plant your tulips in single, straight lines. Instead, plant them in large, generous clusters or “drifts” of at least 5 to 9 bulbs.
A single tulip can look a bit lonely, but a large group creates a powerful block of color that really draws the eye. To achieve a natural look, you can gently toss the bulbs onto the prepared area and plant them where they land. For this kind of mass planting, a comfortable {Garden Kneeler and Seat} can be a real lifesaver for your back and knees.
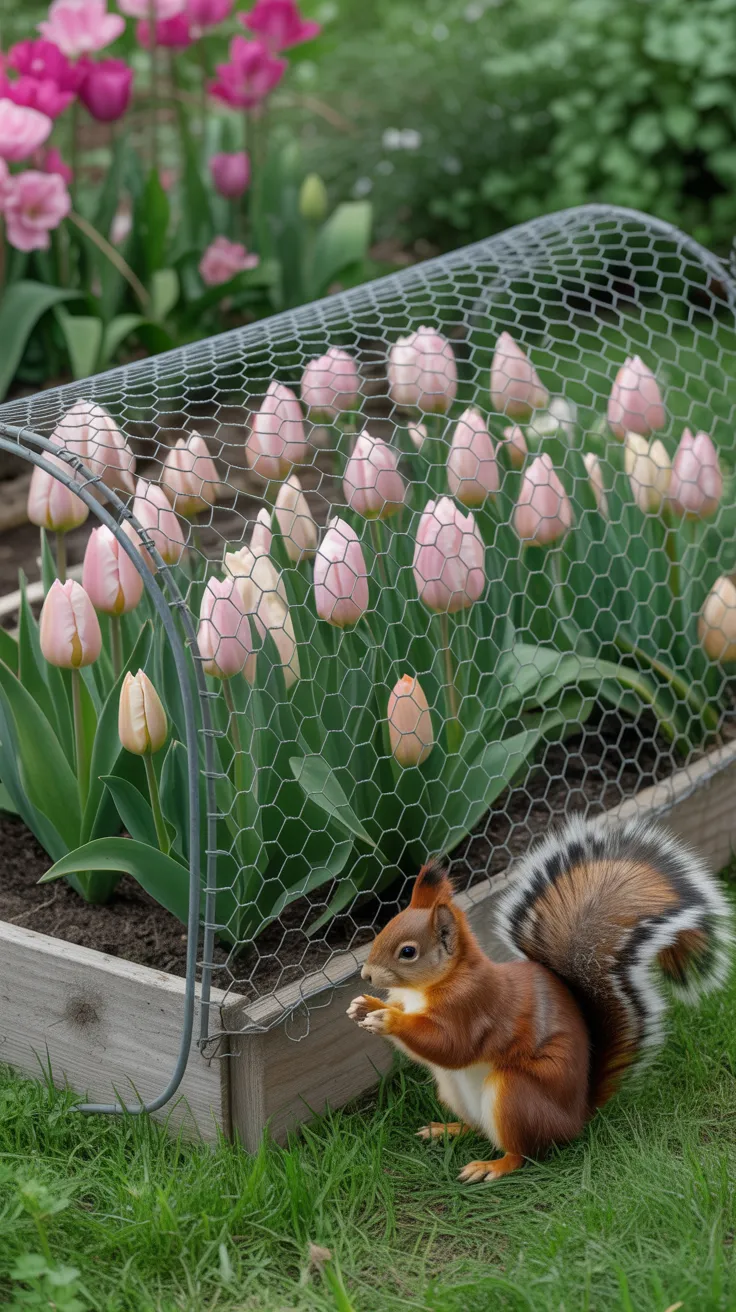
8. Defend Against Critters
It’s a heartbreaking reality: squirrels, chipmunks, and voles find tulip flower bulbs to be a delicious snack. It’s crucial to protect your investment from these hungry pests.
One of the most effective methods is to lay down a piece of {Chicken Wire Mesh} over your planting area before covering it with soil and mulch. The shoots will easily grow through the openings in the spring, but critters won’t be able to dig down to the bulbs. You can also try interplanting with pest-repellent bulbs like daffodils and alliums.
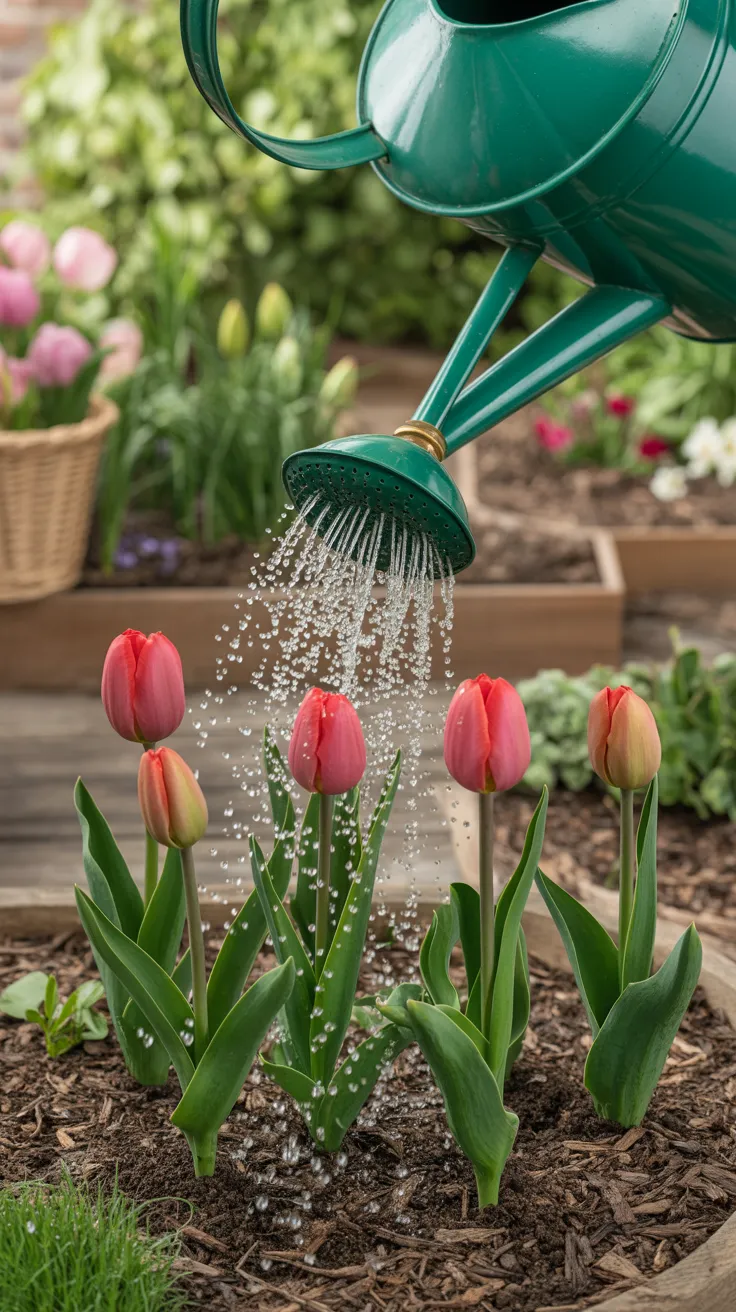
9. Water Them In After Planting
After you’ve planted and covered your bulbs, give the area a good, thorough watering. This helps to settle the soil around the bulbs, eliminating air pockets, and signals to the bulb that it’s time to start growing roots.
You won’t need to water them again until spring unless you live in a very dry climate with a winter drought. The autumn rains and winter snowmelt will typically provide all the moisture they need.
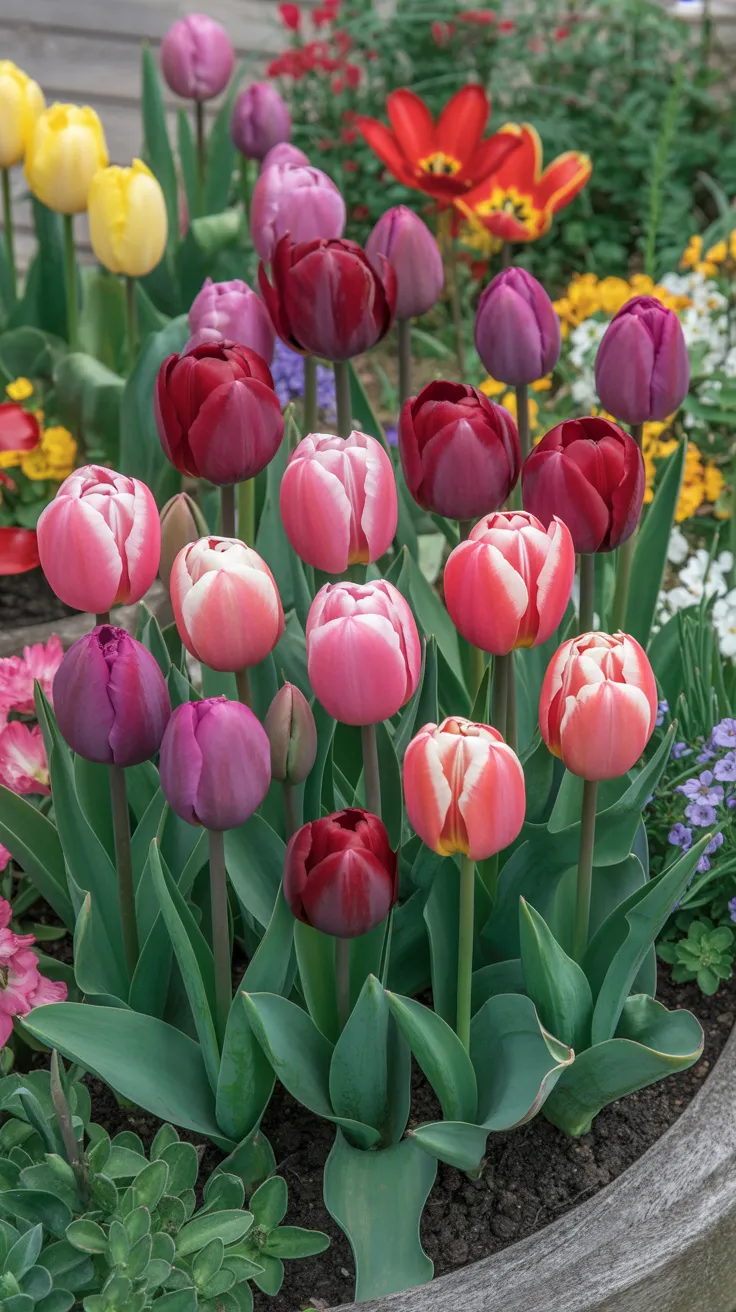
10. Choose Varieties for a Longer Bloom Season
Tulips are categorized by their bloom times: early, mid, and late season. By planting a mix of varieties from all three categories, you can have tulips blooming in your garden for six weeks or even longer.
Plant early-blooming Emperor tulips for the first wave of color, followed by mid-season Triumph or Darwin Hybrid tulips, and finish the show with late-blooming Single Late or Lily-flowered varieties. Planning this succession ensures a continuous and dynamic display.
11. Let the Foliage Die Back Naturally
Once the beautiful flowers have faded, you’ll be left with the green leaves. It can be tempting to cut them back to tidy up the garden, but this is a critical mistake. The leaves are the plant’s food factory.
They need to absorb sunlight to create energy, which is then stored in the bulb for next year’s flower. You must allow the foliage to turn yellow and die back completely on its own. Once it’s brown and withered, you can easily remove it. Protect your hands while tidying up with a flexible pair of {COOLJOB Gardening Gloves}.
12. Try Growing Tulips in Containers
If you’re short on garden space, you can absolutely grow a stunning display of tulips in pots! This is also a great way to protect them from voles and other underground pests.
Use a large, deep pot with drainage holes and fill it with a quality potting mix. You can pack the bulbs in tightly for a very full look. You can even try the “lasagna planting” method, layering different types of bulbs for a long-lasting, multi-layered show.

Recommended Products for Tulip Planting
| Product | Use Case |
|---|---|
| {Edward Tools Bulb Planter} | Creates uniform holes at the perfect depth for planting tulips. |
| {Espoma Organic Bulb-tone} | Provides essential slow-release nutrients at planting time. |
| {Garden Kneeler and Seat} | Offers crucial comfort for your knees and back during mass plantings. |
| {Chicken Wire Mesh} | An effective and humane barrier to protect bulbs from squirrels. |
| {COOLJOB Gardening Gloves} | Keeps hands clean and protected while working in the garden. |
Plant the Promise of Spring
Planting tulip flower bulbs is an act of faith and a gift to your future self. With a little work on a crisp autumn day, you are setting the stage for a symphony of color that will lift your spirits after a long winter. By following these simple tips, you can ensure your garden puts on its best possible performance, year after year.