Have you ever stood before a canvas, brush in hand, with a vivid image in your mind of a field of red poppies, but felt a wave of uncertainty about where to even begin? There’s a special magic to poppies—their paper-thin, vibrant petals and bold, dark centers are a joy to behold, and an even greater joy to paint.
If you’ve been longing to translate that beauty onto your canvas but feel held back by technical fears or a lack of inspiration, this guide is for you.
Painting should be a freeing, expressive process, not a stressful one. We’re going to demystify the art of the poppy flower painting, breaking it down into simple, enjoyable steps.
This post is packed with breathtaking ideas, from loose watercolor washes to thick, textured acrylics.
You’ll learn about color mixing, different artistic styles, and how to capture the unique personality of a poppy. Forget perfectionism and complex rules.
By the end of this guide, you’ll feel inspired and equipped to create a poppy painting that is full of life and uniquely yours.
Understanding the Poppy Through a Painter’s Eyes
Before you can paint a poppy, you have to truly see it. Let’s break down its essential elements from an artist’s perspective. Thinking in terms of shape, color, and light will make your poppy flower painting process much more intuitive.
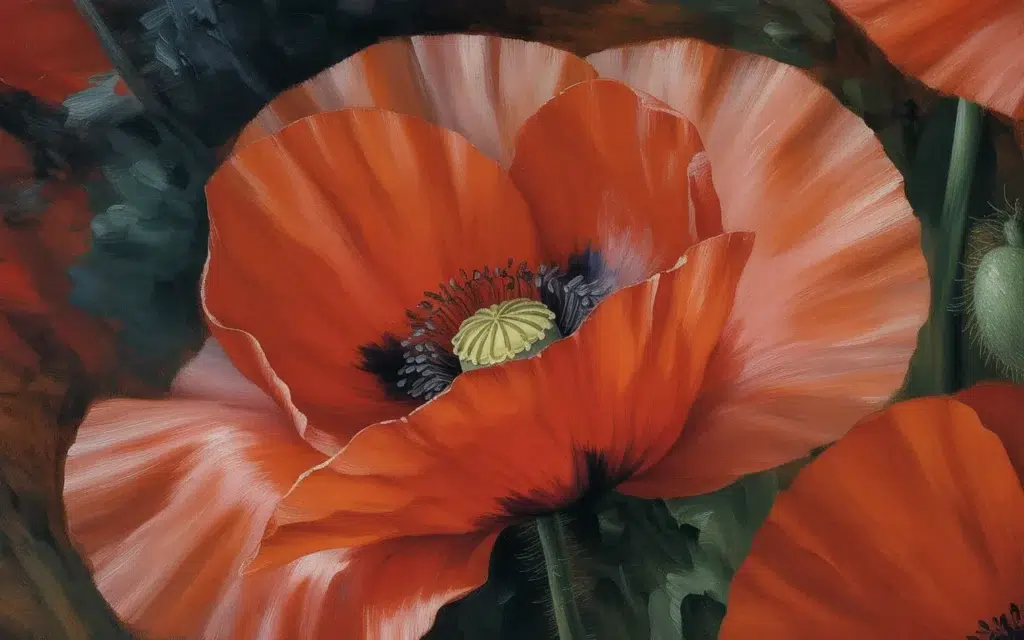
- The Petals: Cups of Color: Poppy petals are not flat circles. Think of them as shallow, crinkly cups. They catch the light on their outer edges and fall into shadow toward the center. Their edges are not smooth but have a delicate, ruffled texture like tissue paper. When you paint them, you’re not just filling in a shape; you’re sculpting a form with light and shadow.
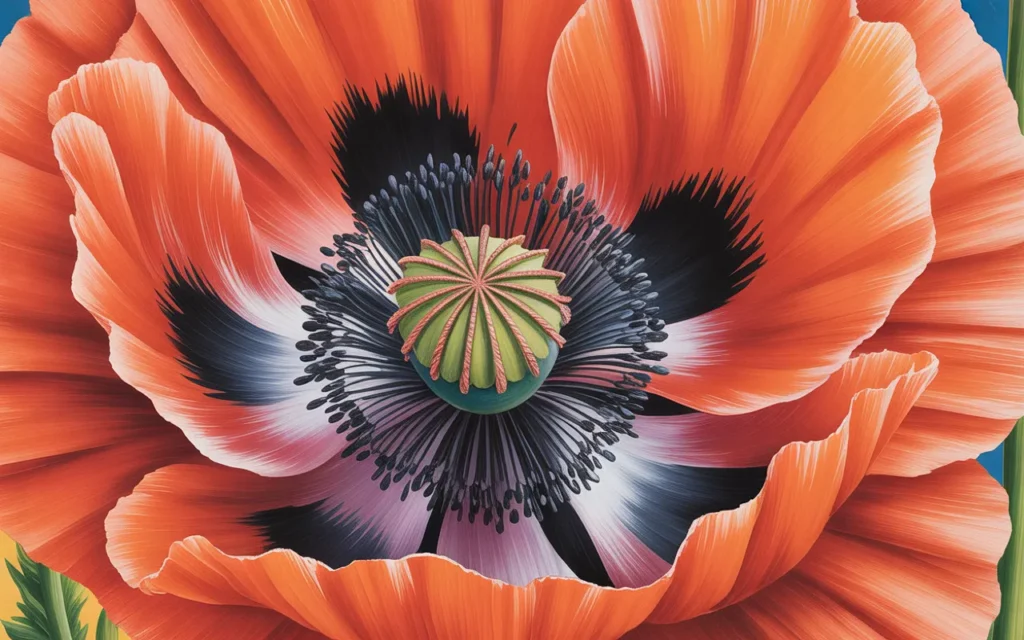
- The Center: A Point of Contrast: The center of a poppy is a hub of darkness and texture. It consists of the central seed pod (ovary) and a surrounding ring of pollen-dusted stamens. This dark, almost black, center creates a powerful focal point and makes the red of the petals appear even more vibrant. It’s the secret to making your poppy “pop.”
- The Colors: More Than Just Red: A red poppy is never just one shade of red. Look closely. Where the sun hits, it might be a fiery orange-red. In the shadows and folds, it could be a deep crimson or even have hints of purple. Capturing these subtle shifts in color is what will give your painting life and realism.
- The Light: Creating Form and Mood: How does light interact with the poppy? Is it strong overhead sunlight creating bright highlights and dark, defined shadows? Or is it soft, diffused light from an overcast day, resulting in gentle, subtle transitions? Deciding on your light source is a key first step that will dictate every brushstroke you make.
Style Exploration: Finding Your Poppy Painting Voice
A poppy can be painted in a thousand different ways. The style you choose is a form of self-expression. Let’s explore some popular and breathtaking approaches to a poppy flower painting.
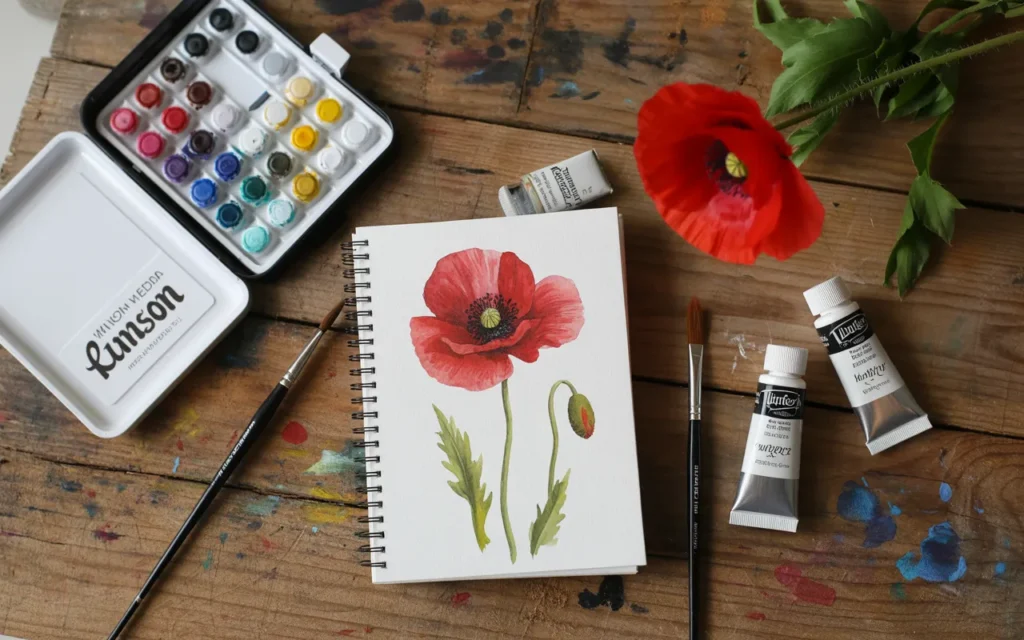
1. The Ethereal Watercolor Poppy
Watercolor is the perfect medium to capture the delicate, translucent nature of poppy petals.
- The Vibe: Soft, dreamy, and light-filled. This style is less about perfect realism and more about capturing the feeling and essence of the flower.
- Key Techniques:
- Wet-on-Wet: Wet your paper with clean water first, then touch your brush loaded with red paint to the paper. Watch the color bloom and spread in a beautiful, organic way. This is perfect for creating soft, out-of-focus backgrounds or the initial layers of your petals.
- Lifting: While the paint is still damp, you can use a clean, thirsty brush or a paper towel to “lift” out some color, creating instant soft highlights on the petal edges.
- Negative Painting: Instead of painting the poppies themselves, you paint the space around them. This technique can create stunning compositions where the white of the paper becomes the sunlit poppies.
- Color Palette: Start with a bright Cadmium Red or Pyrrol Red. Mix in some Alizarin Crimson for shadows and a touch of Cadmium Yellow or Orange for warm highlights. For the center, a dense mix of Payne’s Gray and Burnt Umber works wonders.
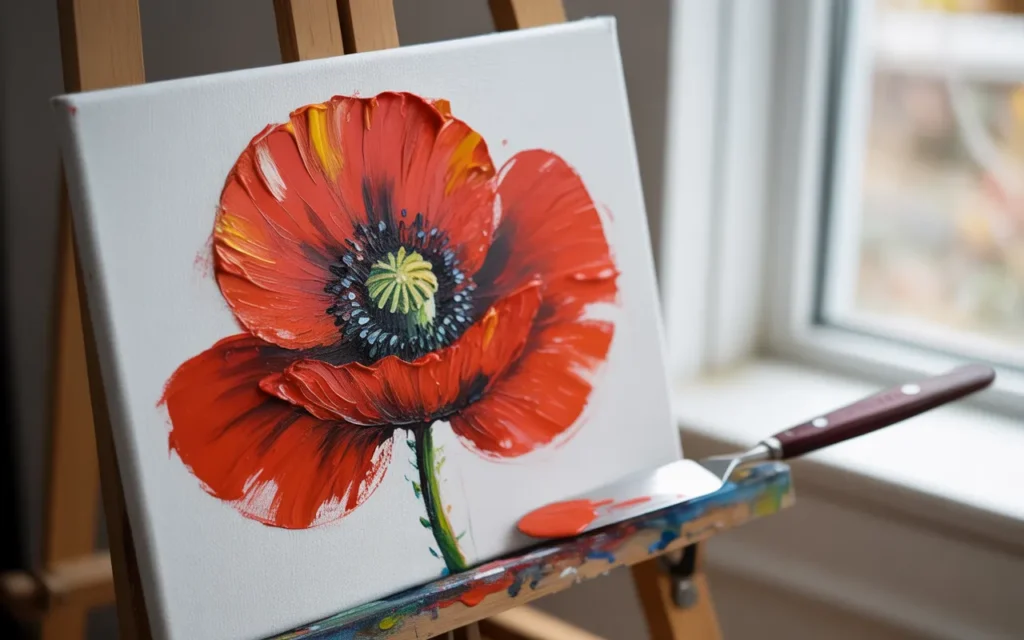
2. The Bold and Textured Acrylic Poppy
If you love vibrant color and tactile surfaces, acrylics are your friend. This style is all about energy and impact.
- The Vibe: Expressive, confident, and full of life. This approach uses thick paint and visible brushstrokes to create a painting with physical presence.
- Key Techniques:
- Impasto: Applying thick paint directly from the tube or with a palette knife. Don’t smooth it out! Let the thick strokes create the shape and texture of the petals. This technique makes your painting wonderfully three-dimensional.
- Palette Knife Painting: Ditch the brushes altogether! Use palette knives of different sizes to scoop up paint and apply it to the canvas. You can create sharp edges, scrape away layers, and build up incredible texture that mimics the crinkle of poppy petals.
- Layering: Start with a dark underpainting (a mix of red and a little black, for example). Once dry, layer your brighter reds on top, allowing small bits of the dark underlayer to show through in the shadows. This creates instant depth.
3. The Classic and Rich Oil Painting Poppy
Oil painting offers a richness of color and a luxurious blending capability that is unmatched. This is the path to a timeless, classic poppy flower painting.
- The Vibe: Realistic, luminous, and sophisticated. Oils allow for a depth of color and subtlety of blending that can make your poppy look like you could reach out and touch it.
- Key Techniques:
- Alla Prima (Wet-on-Wet): This involves completing the painting in a single session, applying new layers of wet paint into existing wet layers. This allows for beautiful, soft blending and is a very immediate and expressive way to work.
- Glazing: This is a more traditional, layered approach. You apply very thin, transparent layers of color over a dry underpainting. For example, a transparent glaze of Alizarin Crimson over a dried red petal can create a shadow of incredible depth and luminosity.
- Fat Over Lean: This is the golden rule of oil painting. Each successive layer of paint should have more oil content than the one before it. This ensures the painting dries properly and prevents cracking over time. Start your initial layers thinned with a solvent (like Gamsol), and add more oil medium to your paint in later layers.
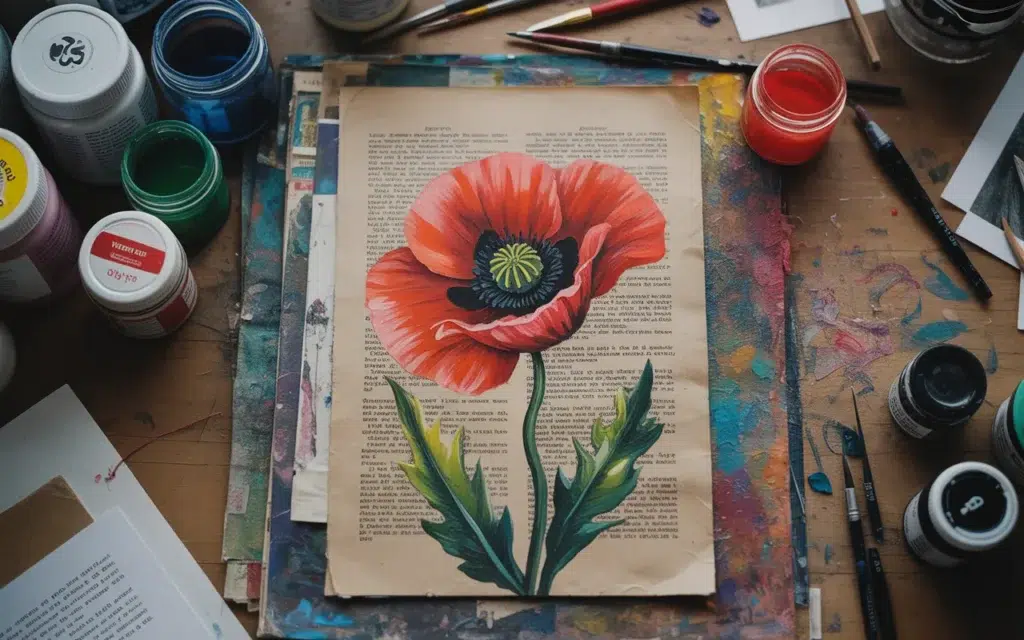
4. The Modern Mixed-Media Poppy
Why stick to just one medium? A mixed-media approach lets you play and experiment, creating a poppy flower painting that is truly unique.
- The Vibe: Creative, experimental, and personal. This style is all about combining materials to create surprising textures and effects.
- Key Techniques:
- Collage and Paint: Start by creating a background with collaged elements like old book pages, sheet music, or textured paper. Then, paint your poppy on top, letting parts of the background show through.
- Ink and Watercolor: Draw your poppy first with a waterproof black ink pen (like a Micron). Once the ink is dry, add loose washes of watercolor to bring it to life. The ink provides structure, while the watercolor adds softness and color.
- Acrylics and Texture Paste: Mix modeling or texture paste with your acrylics to create super thick, sculptural petals. You can also apply the paste first, let it dry, and then paint over the textured surface.
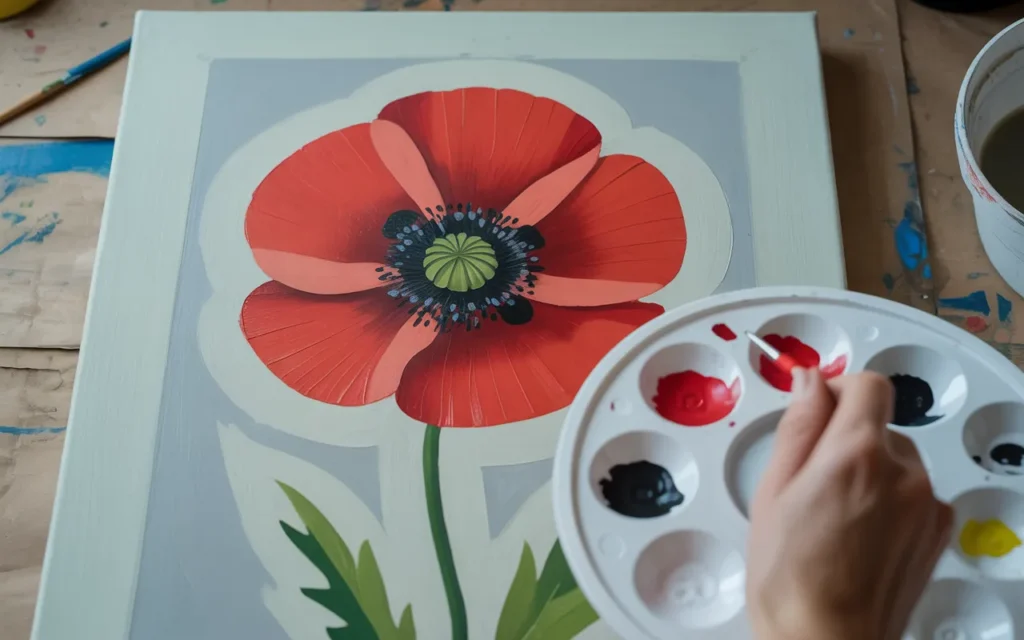
Step-by-Step Acrylic Poppy Painting for Beginners
Ready to try it yourself? Let’s walk through creating a simple but beautiful single poppy with acrylics. Grab a small canvas or a piece of mixed-media paper, your paints, and a couple of brushes.
Step 1: The Background Wash
A simple background makes your poppy the star. Mix a neutral color—a soft grey, a creamy off-white, or a pale blue. Using a large, flat brush, apply a thin, even coat to your entire surface. Let it dry completely.
Step 2: Sketching Your Poppy
Using a pencil, very lightly sketch the basic shapes of your poppy. Don’t worry about details. Just a circle for the center and four or five large, overlapping petal shapes around it. Add a simple curved line for the stem.
Step 3: Blocking in the Main Colors
This is the fun part!
- Petals: Mix a bright, medium red. Using a medium-sized brush, fill in your petal shapes. Don’t worry about staying perfectly in the lines. Keep your brushstrokes loose and follow the curve of the petals.
- Center: Mix a dark color—black, or a mix of black and dark green. Fill in the center circle with this color.
- Stem: Mix a medium green and paint in your stem.
Let this initial layer dry.
Step 4: Adding Shadows for Depth
To make your flower look 3D, you need shadows.
- Mix your medium red with a tiny bit of your dark center color (or a touch of blue) to create a darker, shadow red.
- Identify where shadows would be: at the base of the petals near the center, where one petal overlaps another, and in any folds or crinkles.
- Lightly apply this shadow color to these areas. While the paint is still wet, you can use a clean, slightly damp brush to soften the edge between the shadow and the mid-tone red.
Step 5: Adding Highlights for Light
Highlights are what bring your painting to life.
- Mix your medium red with a tiny bit of white or yellow to create a lighter, brighter red.
- Think about where the light is hitting your flower. Apply this highlight color to the top edges of the petals and any raised folds that would be catching the light.
- For a final “pop,” add a tiny dot of pure white to the most prominent highlight point.
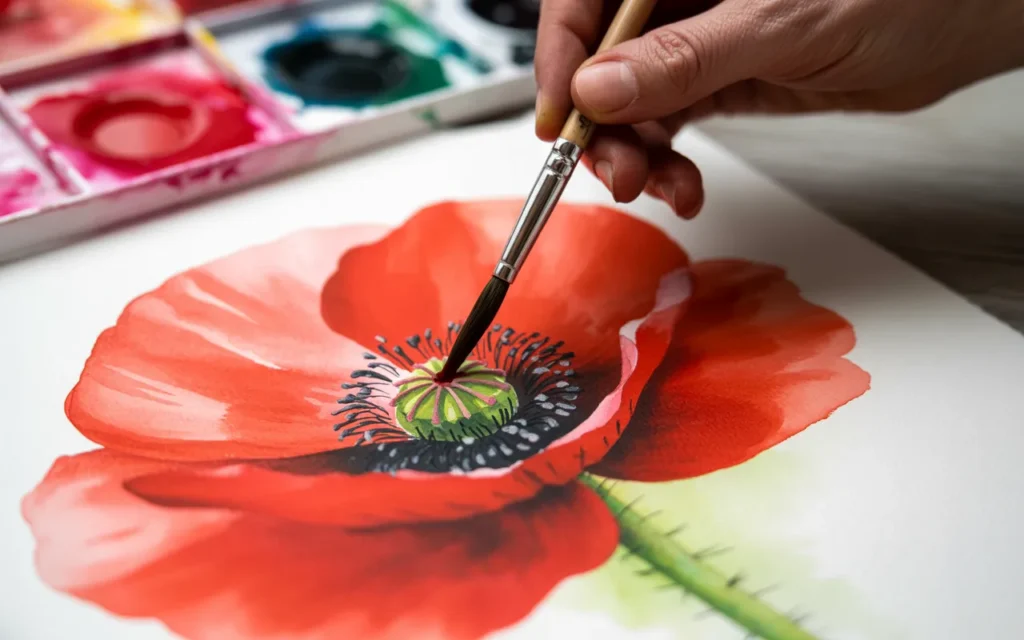
Step 6: Detailing the Center
Use a small, fine-tipped brush for this.
- Dip your brush in a light color (like a light green or yellow) and paint tiny radiating lines coming out from the central pod. These are the stamen filaments.
- Clean your brush, and using your dark center color, add a tiny dot at the end of each filament.
Let your finished poppy flower painting dry completely. Step back and admire your work! You’ve just created a beautiful painting full of depth and color.
Your Canvas is Waiting
You now have a wealth of ideas and a clear, step-by-step path to begin your journey with poppy flower painting.
We’ve explored different styles, from the gentle flow of watercolor to the bold texture of acrylics, and broken down the process into manageable steps.
The most important advice is simply to begin. Don’t wait for the “perfect” idea or for a moment when you feel you have more skill. The skill comes from the doing.
The joy is in the process. Pick a style that excites you, put some color on your palette, and allow yourself to play. Paint a poppy that’s realistic.
Paint one that’s abstract. Paint one from your imagination. Each brushstroke is a conversation between you and the canvas. We can’t wait to see the beautiful art you bring into the world.
Recommended Painting Supplies
Here is a quick summary of the recommended products to help you get started on your poppy painting masterpiece.
| Product Name | Brand | Great For… |
|---|---|---|
| {Liquitex BASICS Acrylic Paint Set, 48-Tube} | Liquitex | A wide, vibrant color range for acrylic painting. |
| {Winsor & Newton Cotman Water Colour Paint Sketchers’ Box} | Winsor & Newton | A high-quality, portable set for watercolor artists. |
| {ARTIFY 15 Pcs Paint Brush Set} | ARTIFY | A versatile set of brushes for all media and techniques. |
| {Canson XL Series Mix Media Pad} | Canson | Durable paper for practice and mixed-media experiments. |
| {Masterson Sta-Wet Palette Seal} | Masterson | Keeping acrylic paints fresh and workable for days. |
| {Gamblin Gamsol Odorless Mineral Spirits} | Gamblin | Safely thinning oil paints and cleaning brushes. |
| {Golden Heavy Body Artist Acrylics, Cadmium Red Medium} | Golden | A professional, pigment-rich, perfect poppy red. |