
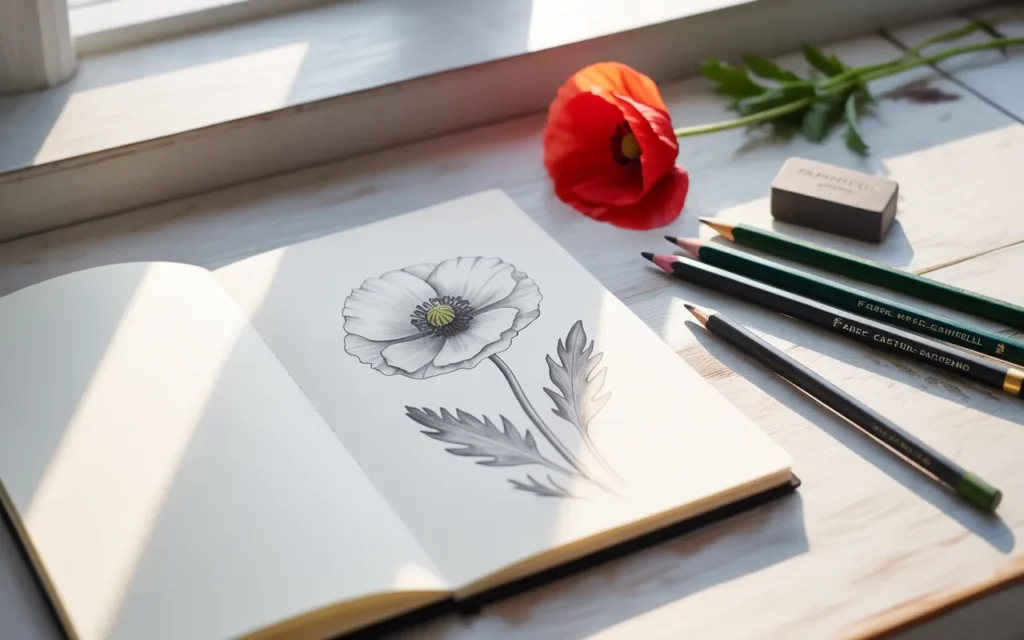
Have you ever gazed at the delicate, crinkled petals of a poppy and wished you could capture that simple elegance on paper? There’s something so captivating about their graceful form, but the thought of trying to draw one can feel intimidating.
If you’ve ever told yourself, “I’m not an artist,” or “I don’t know where to start,” then this guide is meant for you. Drawing isn’t an exclusive talent; it’s a skill that anyone can learn and enjoy.
This guide will be your friendly companion, walking you through the simple joy of drawing a poppy flower. We’ll break down the process into easy, confidence-boosting steps, transforming what seems complex into a series of basic shapes.
You’ll learn several beautiful methods, from a simple line drawing to a fully shaded sketch. Forget the pressure of perfection.
Let’s embrace the relaxing process of bringing a beautiful flower to life, one line at a time, and unlock the artist you didn’t know was there.
Deconstructing the Poppy: Seeing in Simple Shapes
The secret to drawing anything is to stop seeing the whole object and start seeing the basic shapes that build it. A poppy can be broken down into wonderfully simple components. By learning to see like an artist, the process becomes much less daunting.
- The Center (Your Anchor): This is the heart of the flower and your starting point. You can simplify it into a small circle or a slightly flattened oval. This represents the seed pod.
- The Stamens (The Fuzzy Collar): Surrounding the center is a ring of stamens. We can represent this with a series of tiny lines, dots, or a simple scribble around the central circle. It provides texture and a point of contrast.
- The Petals (The Main Event): Poppy petals are beautifully imperfect. They are not perfect ovals. Think of them as large, wavy, crumpled “C” shapes or heart shapes. The most crucial detail is that they overlap. Some petals are in front, while others are tucked behind. Capturing this overlap is what creates the illusion of a real flower.
- The Stem (The Graceful Support): A poppy stem is rarely ramrod straight. It’s usually long, thin, and slightly fuzzy. Drawing it with a gentle, graceful S-curve will make your poppy look far more natural and dynamic than a straight line.
When you break it down, a poppy is just a circle, some scribbles, a few wavy ovals, and a curved line. By assembling these simple parts, you can build a beautiful flower.
Tutorial 1: The Simple Line Drawing (A Perfect First Step)
This poppy flower drawing step by step tutorial focuses purely on the outline, or “line art.” It’s the ideal place to begin because it teaches you the fundamental form of the flower without the added complexity of shading.
Step 1: Draw the Center and Guidelines
Using a light pencil (like an HB or 2H), press very gently. These are just guides that you will erase later, so think of them as whispers on the page.
- Draw a small circle near the middle of your page. This will become the poppy’s central seed pod.
- Draw a much larger, very faint circle around it. This outer circle is a guide for the overall size and shape of your flower, helping you keep the petals from becoming too lopsided.
Step 2: Draw the Front Petals
These are the petals that are closest to the viewer and overlap the others.
- Starting from the base of your small center circle, draw a large, wavy line that curves outwards toward your larger guide circle. Think of a crumpled “C” shape or the top of a heart.
- Complete the petal by drawing another wavy line that brings you back towards the center of the flower. Add a few extra dips and ruffles to the edge to make it look delicate and papery.
- Now, draw a second petal right next to the first one. The key here is to make it overlap the first petal slightly. This simple action is what instantly begins to create the illusion of depth.
Step 3: Tuck in the Back Petals
These petals are what will make your flower look full and three-dimensional.
- Find a gap between your two front petals. Starting from behind where they overlap, draw just the top, wavy edge of a back petal. The rest of the petal is hidden.
- Repeat this process in the other gaps, adding two or three more back petals that are peeking out from behind the front ones.
- Use your kneaded eraser to clean up the lines. Carefully erase any part of a back petal that you accidentally drew “through” a front petal. This simple act of cleaning up the overlaps is what makes the drawing convincing.
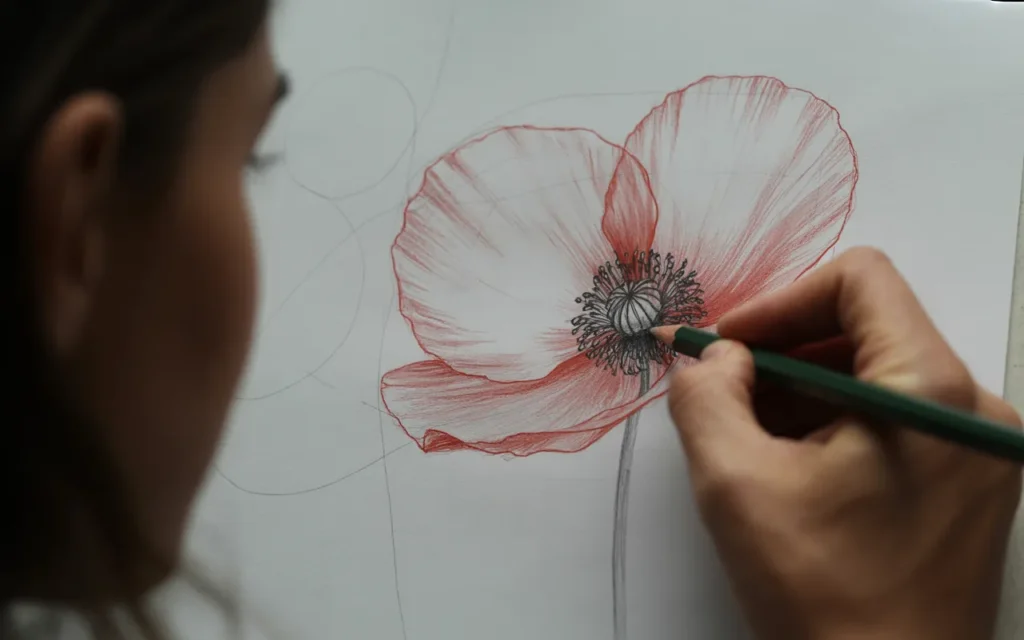
Step 4: Add the Center Details and Stem
- Around your small center circle, add a ring of small, sketchy lines or stippling (dots) to represent the fluffy stamens.
- From the base of the flower head, draw two parallel lines curving gently downwards to form the stem. Give it a slight “S” curve for a more natural look.
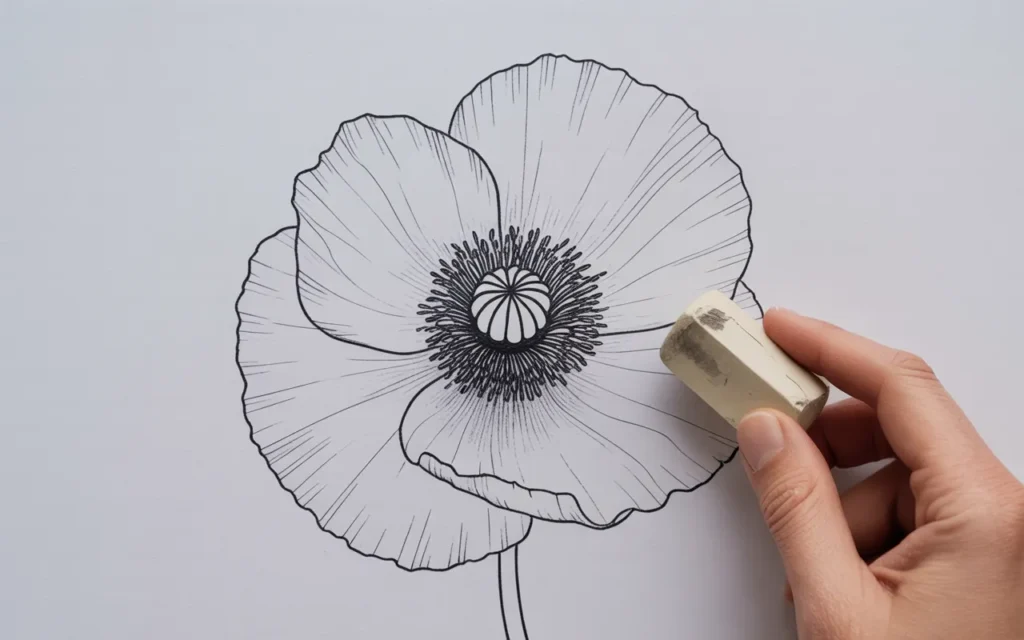
Step 5: Final Outline
- Take a darker pencil (like a 2B) or a fineliner pen (like a Sakura Micron) and carefully trace over your final pencil lines. Go slowly and be deliberate.
- Once your final lines are in place (and the ink is completely dry, if you used a pen), use your kneaded eraser to remove all the underlying pencil guides and the large faint circle.
You are left with a stunningly simple and elegant poppy flower outline!
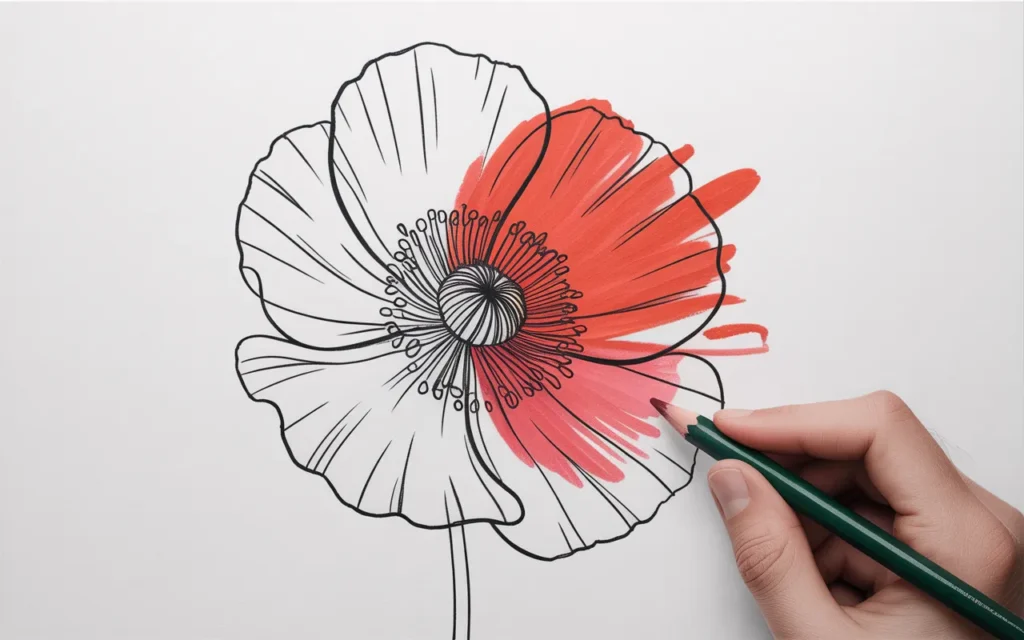
Tutorial 2: The Shaded Pencil Drawing (Creating 3D Form)
This tutorial builds on the line drawing by adding light and shadow, which will transform your flat sketch into a flower with depth and volume. This is where your drawing truly comes to life.
Step 1: Create Your Light Line Drawing
Start by creating a very light pencil line drawing of your poppy, as detailed in the first tutorial. Do not ink it, and press as lightly as possible.
Step 2: Establish Your Light Source and Map the Shadows
This is the most important step in shading. Decide where your imaginary light is coming from. Let’s imagine it’s coming from the top left corner of your page.
This means the darkest shadows will be on the bottom right of the flower and its petals. The main shadow areas will be:
- At the very base of each petal, where it connects to the dark center.
- Where one petal overlaps another, casting a shadow on the one behind it.
- In the deep folds and crinkles of the petals.
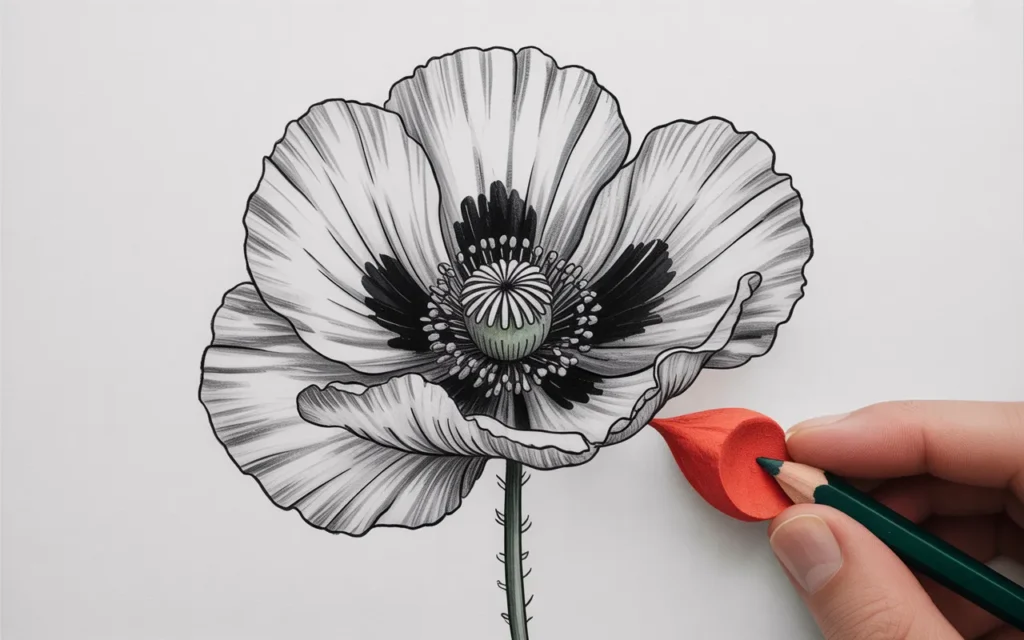
Step 3: Apply Your Shading in Layers
- Base Tone: Using a soft pencil (like a 2B or 4B) held on its side, gently apply a light layer of shading to all the shadow areas you identified. Keep it light and consistent.
- Build Up Dark Tones: Switch to an even softer pencil (like a 4B or 6B) or apply slightly more pressure with your 2B. Go back over the darkest areas—the base of the petals and the deep cast shadows from overlaps. Don’t be afraid to create a strong contrast between your darkest darks and lightest lights! This is what will make your poppy “pop.”
- Add Details: Use a sharpened pencil point to add very faint, delicate lines radiating from the base of the petals outwards. These suggest the veins of the petal and enhance the form. Fill in the center with a rich, dark tone to make it a strong focal point.
- Blend Your Tones: Using a blending stump (or your finger, in a pinch), gently smudge the graphite in the shaded areas. This will create smooth, seamless transitions from shadow to light, mimicking the soft surface of a petal.
Step 4: Lift Out the Highlights
This is the final touch of magic. Take your kneaded eraser and mold it into a sharp point or a thin edge. Gently dab or “draw” with it along the very top edges of the petals that are facing your light source (in this case, the top left edges).
This will lift the graphite from the paper and create bright highlights, making the petals look thin, delicate, and sun-kissed.
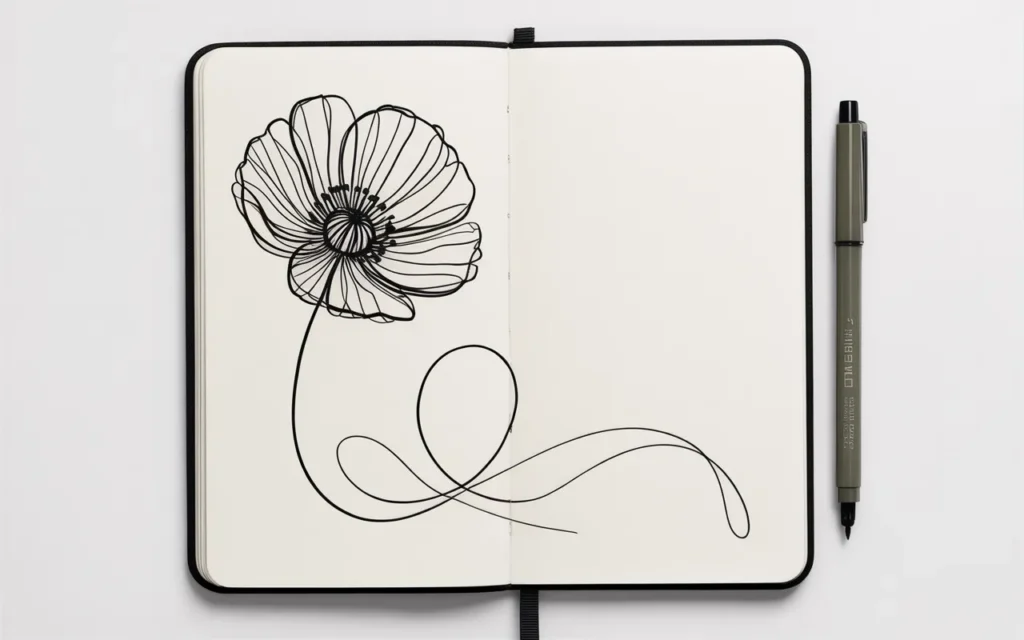
Tutorial 3: The Minimalist Continuous Line Drawing
This is a wonderful, meditative drawing exercise that produces unique and highly artistic results. The challenge is to draw the entire poppy without lifting your pen or pencil from the paper. It forces you to simplify and focus on the essence of the form.
Step 1: Find a Starting Point
Place your pen on the paper. A good starting point is often the bottom of the stem or the very center of the flower.
Step 2: Let Your Line Flow and Trust the Process
Begin drawing, moving your hand slowly and steadily. Draw the stem upwards. As you reach the flower head, let your line flow seamlessly into the wavy edge of a petal.
Loop around to create the petal’s shape, then, without lifting the pen, cross over your existing lines to start forming the next petal.
Step 3: Embrace the “Imperfections”
The lines will inevitably cross and overlap. The shapes might be wobbly or distorted.
That is the entire point and the beauty of this technique! It’s not about creating a photorealistic drawing; it’s about capturing the energy and gesture of the poppy in one fluid, unbroken motion.
Create the center with a spiral or a dense scribble before completing your final petal and finishing the stem.
The result is a drawing that feels alive, dynamic, and full of personality.
Your Creative Journey Begins Now
You are now equipped with several distinct, beautiful, and accessible poppy flower drawing step by step methods.
You have the knowledge to break the flower down into simple shapes and build it back up into a piece of art that is uniquely yours, whether it’s a clean outline, a shaded sketch, or an expressive gesture.
The most important step is the one you take next: to pick up your pencil. Don’t wait for a moment of perfect inspiration or until you feel “ready.” The joy, the relaxation, and the skill all come from the simple act of doing.
Choose the tutorial that excites you the most, find a quiet moment, and put your pencil to paper. Draw one poppy, or draw a whole field.
Each line you make is a step forward on your own creative path. The blank page is not a test to be passed; it is an invitation to play.
Recommended Drawing Supplies
Here is a quick summary of the essential products to help you learn how to draw a poppy flower with confidence.
| Product Name | Brand | Great For… |
|---|---|---|
| {Strathmore 400 Series Sketchpad} | Strathmore | High-quality, durable paper for practice and finished work. |
| {Faber-Castell 9000 Graphite Sketch Set} | Faber-Castell | A full range of pencil grades for sketching and shading. |
| {Sakura Pigma Micron Fineliner Pens} | Sakura | Creating crisp, clean, permanent ink outlines. |
| {Prismacolor Premier Kneaded Eraser} | Prismacolor | Precisely erasing and lifting highlights without smudging. |
| {General’s Charcoal Pencil Kit} | General’s | Creating dramatic, expressive sketches with high contrast. |
| {Derwent Blending Stumps} | Derwent | Smoothly blending pencil and charcoal for soft shadows. |
| {Moleskine Art Sketchbook} | Moleskine | A durable, portable sketchbook for drawing anywhere. |