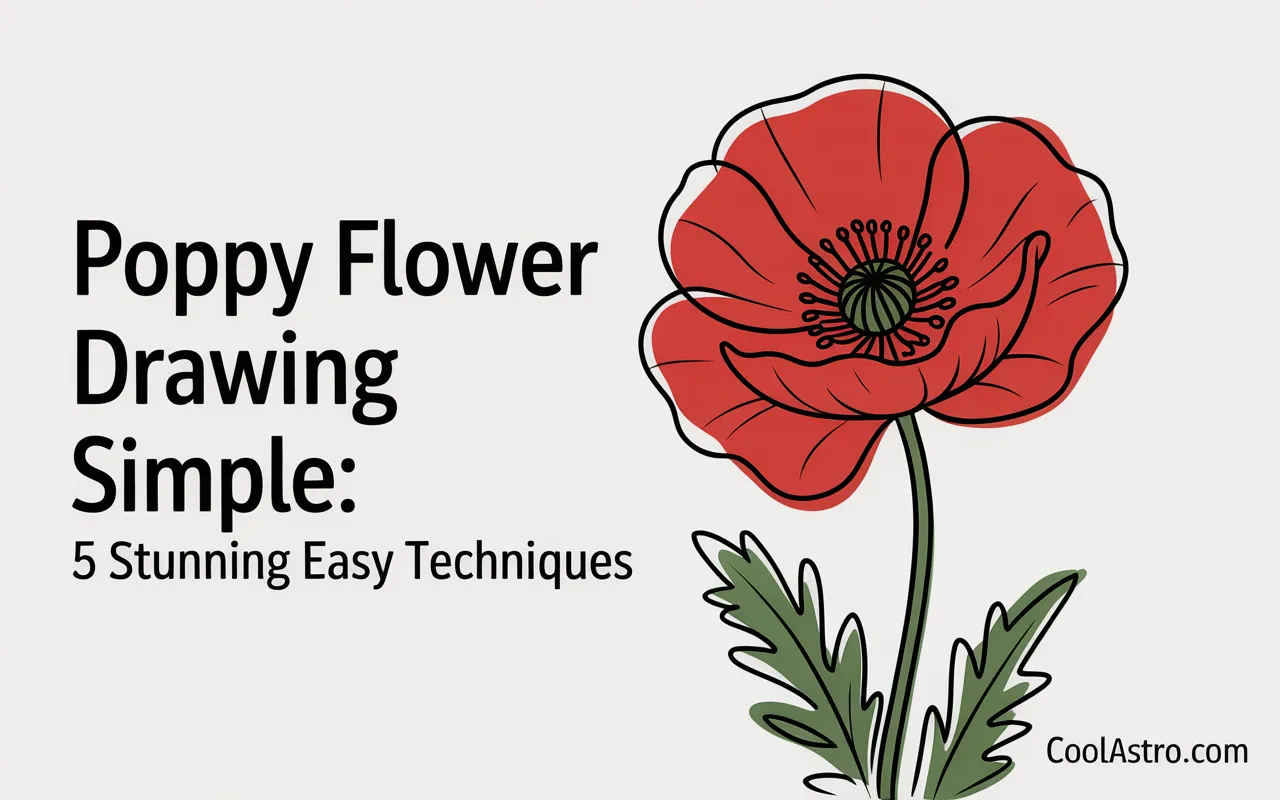
Have you ever looked at a delicate, vibrant poppy and wished you could capture its simple beauty on paper? There’s something so captivating about their papery petals and graceful stems.
If the thought “I could never draw that” has ever crossed your mind, I’m here to tell you that you absolutely can.
Drawing isn’t an exclusive talent; it’s a skill, and a simple poppy flower is the perfect subject to begin your creative journey.
This guide is designed to be your friendly companion, leading you from a blank page to a collection of beautiful poppy drawings you’ll be proud of.
We’re going to throw complicated rules and intimidating jargon out the window. Instead, we’ll explore five stunningly simple techniques, each broken down into easy, confidence-boosting steps.
You’ll learn how to see the poppy in basic shapes, create elegant outlines, and even add a touch of color.
By the end, you’ll have a new creative outlet and the skills to create a simple poppy flower drawing anytime inspiration strikes.
Seeing Simply: The Basic Shapes of a Poppy
The secret to a simple poppy flower drawing is to stop seeing a “poppy” and start seeing basic shapes. By breaking the flower down into its component parts, the entire process becomes much more manageable and less intimidating.
- The Center: This is your anchor point. Think of it as a small circle or oval. Everything else will build around this.
- The Petals: These are the star of the show. Don’t think of them as perfect, symmetrical shapes. Instead, see them as large, wavy, and slightly crumpled ovals or “C” shapes. The key is that they overlap each other.
- The Stem: This is just a long, graceful, curved line. It’s rarely perfectly straight, so a gentle “S” curve will make it look more natural and elegant.
That’s it! A poppy is just a few wavy ovals clustered around a small circle, all sitting on top of a curved line. When you look at it this way, you realize you’re just assembling simple shapes you already know how to draw.
Now, let’s explore five fun and easy techniques to bring these shapes together into a stunningly simple poppy flower drawing.
Technique 1: The Simple Single Line Outline
This technique is all about embracing the clean, elegant power of a single line. It’s a perfect starting point because it focuses only on the form of the poppy, without worrying about shading or color.
Step-by-Step Guide
- Start with the Center: In the middle of your page, draw a small circle or a slightly flattened oval. This will be the seed pod at the center of your poppy.
- Draw the First Front Petal: Start at the base of your center circle. Draw a large, wavy “C” shape curving outwards. Don’t try to make it smooth; add a few gentle ruffles and dips along the edge.
- Complete the Petal: From the end of your “C” shape, draw another wavy line back to the other side of the center circle. You’ve just created your first petal!
- Add the Second Front Petal: Repeat the process for a second petal, but this time, make sure it slightly overlaps the first one. This overlap is what will give your drawing a sense of depth.
- Tuck in the Back Petals: In the gaps between your front petals, draw just the top, wavy edge of a few more petals. These are “peeking” out from behind, and this simple trick instantly makes the flower look full and three-dimensional.
- Draw the Stem: From the very bottom of the flower head, draw a single, long, curving line downwards. A gentle S-curve is perfect.
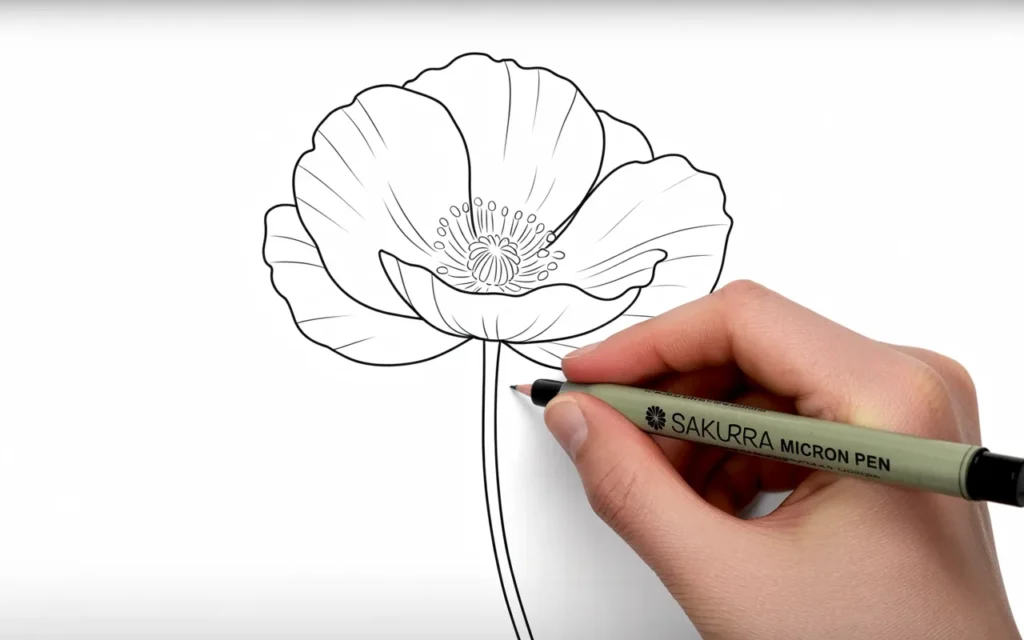
- Refine and Ink: Go over your light pencil sketch with a fineliner pen (like a Sakura Micron 05). Take your time. Once the ink is dry, erase the pencil lines.
You’re left with a beautiful, clean, and simple poppy flower drawing that celebrates the elegance of its form.
Technique 2: The Continuous Line Challenge
This is a fun, meditative exercise that produces incredibly artistic results. The challenge is to draw the entire poppy without lifting your pen from the paper. Don’t worry about perfection; the beauty is in the fluid, uninterrupted line.
Step-by-Step Guide
- Find Your Starting Point: A good place to start is at the base of the stem. Place your pen on the paper.
- Draw the Stem and First Petal: Draw your curving stem upwards. When you get to the flower head, seamlessly transition into the wavy outline of the first petal, looping around to form its shape.
- Loop into the Next Petal: Without lifting your pen, cross over your lines as needed and loop into the shape of the next petal. Continue this process, building the overlapping petal shapes.
- Create the Center: As you loop around, create the center of the poppy by drawing a small spiral or a dense scribble in the middle.
- Finish the Line: You can either finish by connecting back to where you started or simply end the line on the tip of a final petal.
This technique is all about letting go. The lines will cross, the shapes might be wobbly, but the result is a dynamic, gestural, and completely unique simple poppy flower drawing every single time.

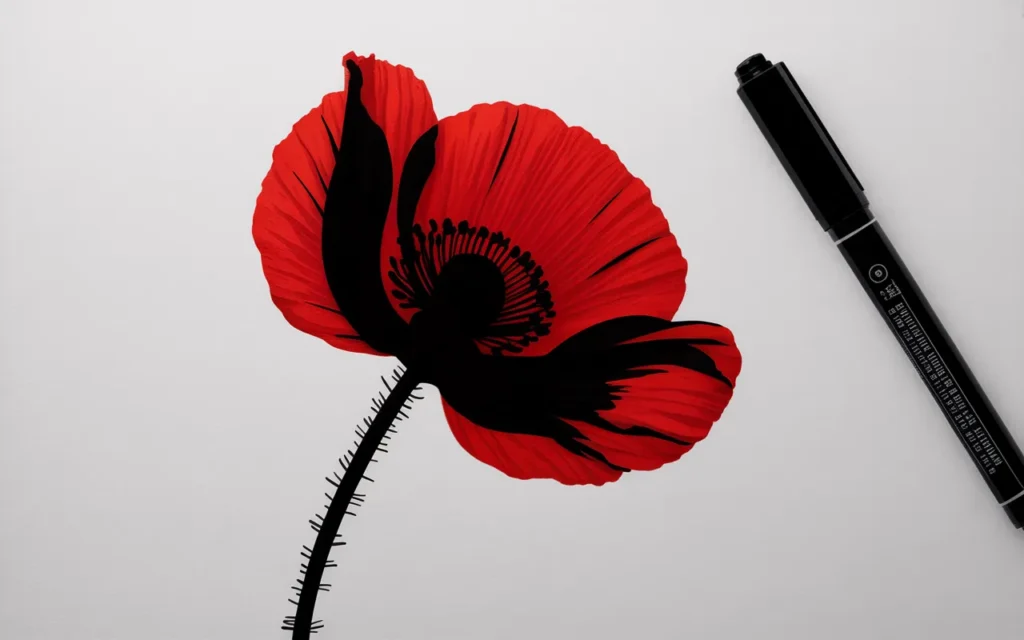
Technique 3: The Minimalist Shape Block
This modern and graphic technique focuses on the silhouette of the poppy rather than its internal details. It’s a bold and simple approach that makes a big impact.
Step-by-Step Guide
- Lightly Sketch the Outline: Follow the steps from Technique 1 to create a very light pencil outline of your poppy. Make sure you are happy with the overall shape and the overlapping petals.
- Choose Your Tool: A thick black marker, a brush pen, or even black paint is perfect for this.
- Fill the Shape: Carefully fill in the entire shape of the poppy flower head and stem with solid black.
- Create a Clean Silhouette: The goal is to create a single, solid shape. You won’t see any of the individual petal lines on the inside, just the overall silhouette of the flower against the white of the paper.
This technique is fantastic for creating striking, graphic art. You can also experiment with using a single color, like a bold red, instead of black. A simple poppy flower drawing in this style looks amazing framed as minimalist home decor.
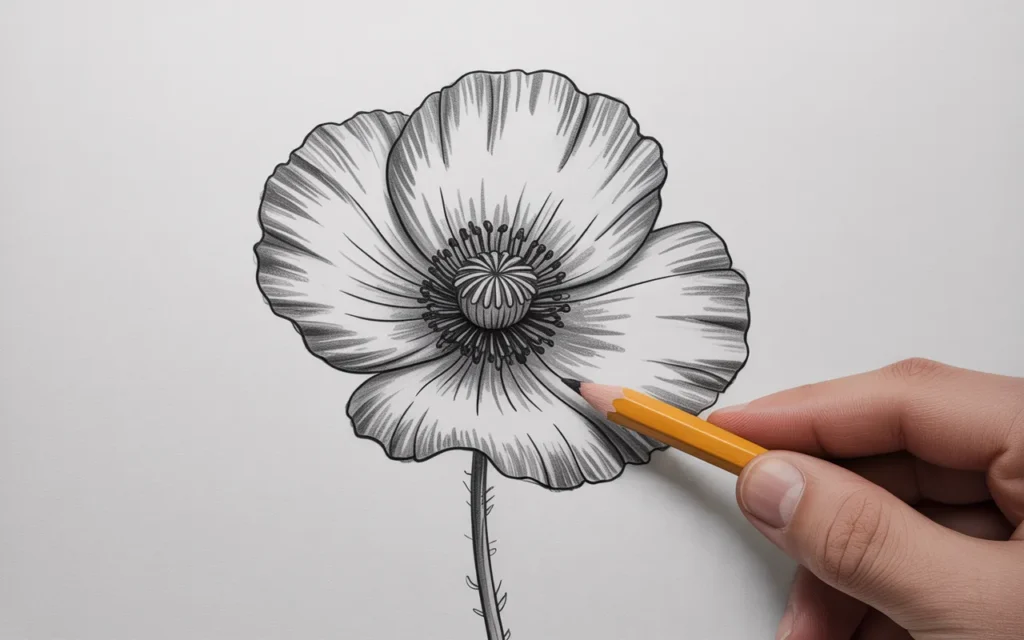
Technique 4: The Simple Shading Method
This technique introduces the concept of light and shadow in a very simple, beginner-friendly way. It will take your flat outline and give it a beautiful sense of three-dimensional form.
Step-by-Step Guide
- Create Your Poppy Outline: Start by drawing a clean poppy flower outline using the steps from Technique 1. You can keep this in pencil; no need to ink it yet.
- Identify Shadow Areas: Imagine a light source, for example, coming from the top left. The shadows will be on the opposite side. The key shadow areas on a poppy are:
- At the very base of the petals, where they meet the center.
- Where one petal tucks in behind another.
- Inside the little crinkles and folds of the petals.
- Apply Gentle Shading: Take a soft pencil (like a 2B). Using the side of the pencil lead, gently apply a soft layer of shading to the areas you identified. Keep it light!
- Darken the Center: The center of the poppy is usually the darkest part. Use your pencil to create a dark, rich tone for the stamens and seed pod. This contrast will make the petals pop.
- Soften the Shading (Optional): You can use your fingertip or a blending stump to gently smudge and soften the pencil shading, creating a smooth, gradual transition from dark to light.
This simple addition of shading instantly elevates your drawing, making it look more realistic and full of depth without any complicated techniques.
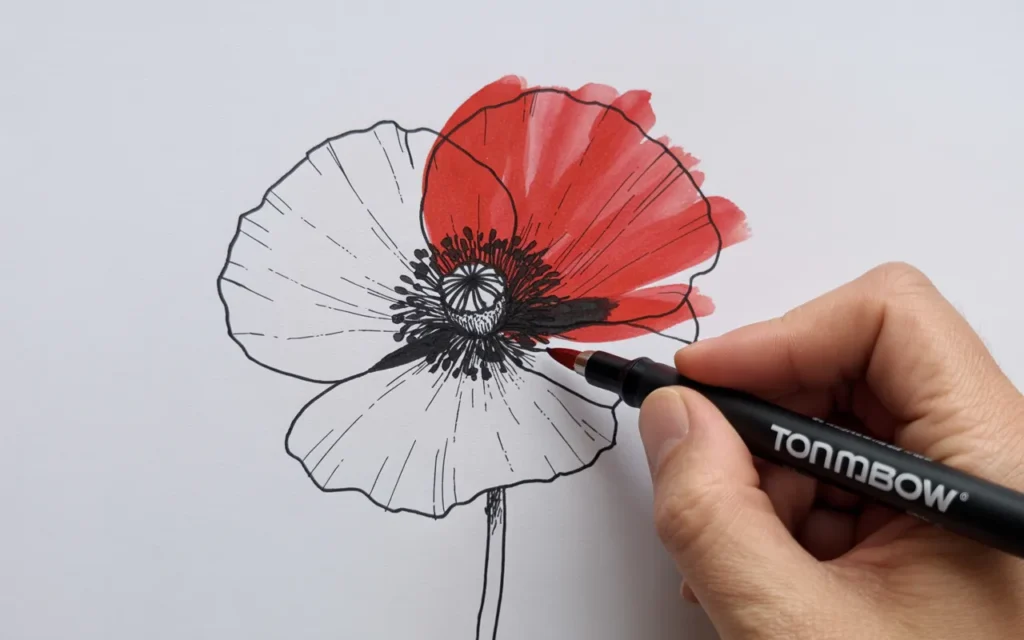
Technique 5: A Pop of Color
This technique shows you how to add color to your simple poppy flower drawing in an easy and impactful way. A single splash of red can bring your sketch to life.
Step-by-Step Guide
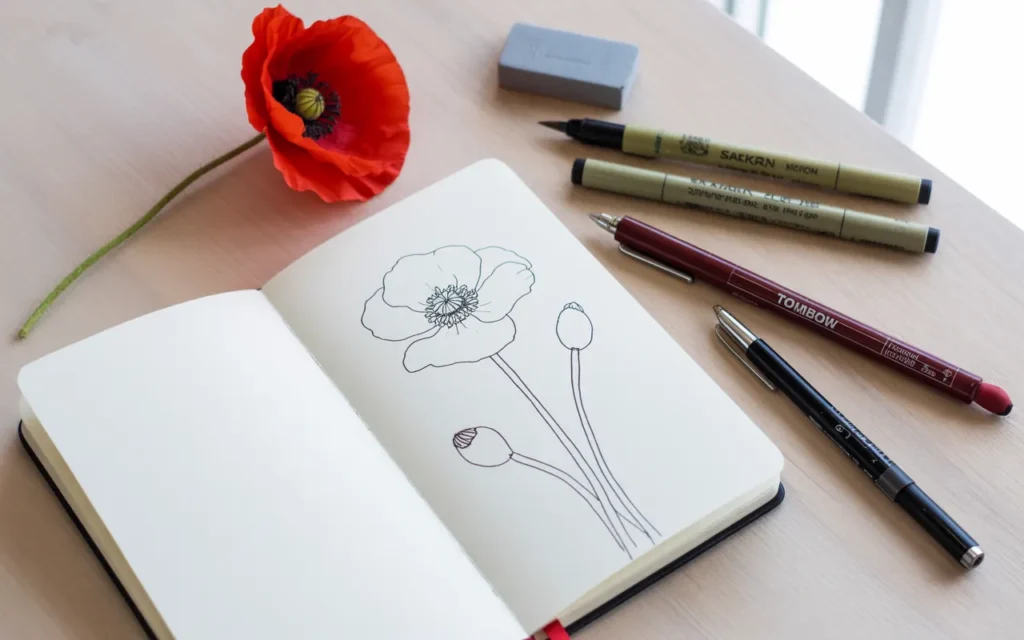
- Draw Your Poppy Outline: Create a clean, beautiful poppy outline in ink using a waterproof fineliner pen like a Sakura Micron. It’s important that the ink is waterproof for this technique. Let it dry completely.
- Choose Your Color: A single red marker (like a Tombow Dual Brush Pen), a red colored pencil, or even red watercolor paint will work perfectly.
- Apply the Color Loosely: This is not about staying perfectly within the lines. The beauty of this technique is its loose, artistic feel.
- With a Marker: Use the brush tip to add a wash of red to the petals. Let it be a bit streaky and imperfect. You can leave some white spaces to act as highlights.
- With a Colored Pencil: Apply the red color more heavily at the base of the petals and let it fade out towards the edges.
- With Watercolor: Wet the petals with a clean, damp brush, then touch the tip of your red watercolor brush to the paper and watch the color bloom and spread.
- Color the Center: Use a black pen or a dark-colored pencil to fill in the center, creating that essential point of contrast.
This technique combines the clean structure of a line drawing with the expressive freedom of color, resulting in a stunningly simple and vibrant piece of art.
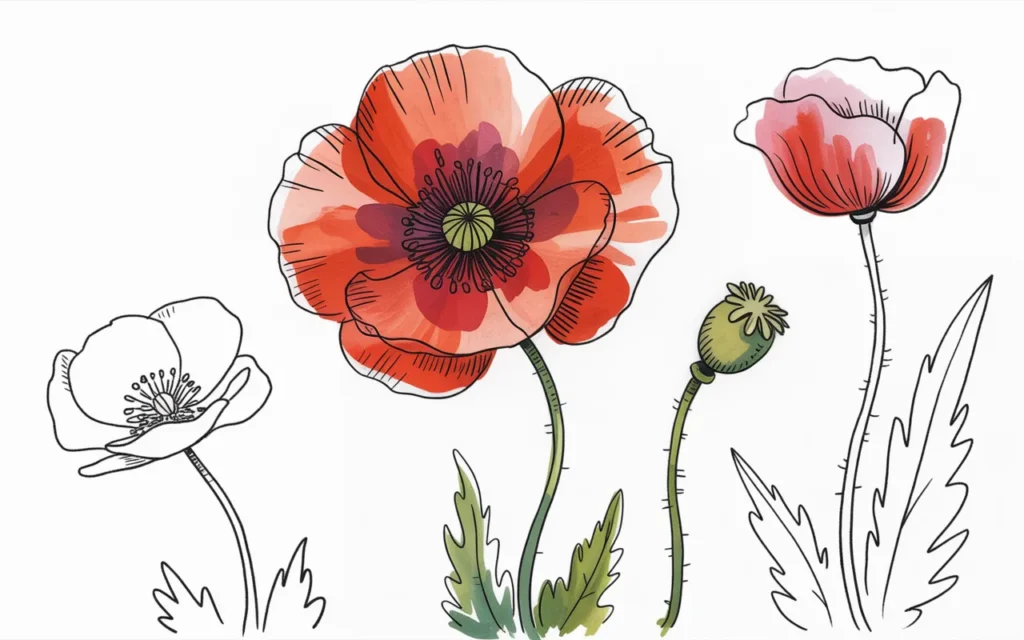
Putting It All Together: Creating a Poppy Composition
Once you feel comfortable with these techniques, why not combine them into a single piece? A composition of several poppies is a beautiful way to create a more complex drawing using simple methods.
- Vary the Size and Angle: Draw three or five poppies on a single page. Make some larger and closer to the viewer, and others smaller and further away. Draw some facing forward, some in profile, and maybe one as a simple bud.
- Overlap the Stems: Let the stems cross over each other to create the feeling of a real bouquet.
- Mix Your Techniques: You could have one poppy as a clean outline, another with simple shading, and a third with a pop of red. This creates a visually interesting and dynamic composition that showcases your new skills.
Your Creative Journey Starts Now
Drawing is not about achieving perfection. It’s about the simple joy of creating something with your own two hands.
You are now equipped with five simple, fun, and accessible techniques to create beautiful poppy drawings. You’ve learned how to see the world like an artist—in simple shapes, lines, and colors.
So, the next time you have a quiet moment, grab a pen and a piece of paper. Don’t wait for inspiration to be perfect. Just start.
Draw a single wavy petal. Draw a curved stem. Try the continuous line challenge and see where your pen takes you. Each simple poppy flower drawing you create is a step forward on your creative path and a beautiful reminder that you are an artist.
Recommended Simple Drawing Supplies
Here is a quick summary of the recommended products that are perfect for getting started with your simple poppy drawings.
| Product Name | Brand | Great For… |
|---|---|---|
| {Strathmore 400 Series Sketchpad} | Strathmore | Durable, high-quality paper perfect for practice. |
| {Sakura Pigma Micron Fineliner Pens} | Sakura | Creating crisp, clean, permanent outlines. |
| {Faber-Castell 9000 Graphite Sketch Set} | Faber-Castell | Light initial sketching and adding simple shading. |
| {Prismacolor Premier Kneaded Eraser} | Prismacolor | Erasing pencil lines cleanly without damaging the paper. |
| {Tombow Dual Brush Pen Art Markers, Red} | Tombow | Adding a quick, simple, and vibrant pop of color. |
| {Moleskine Art Sketchbook} | Moleskine | A portable, high-quality book for drawing anywhere. |