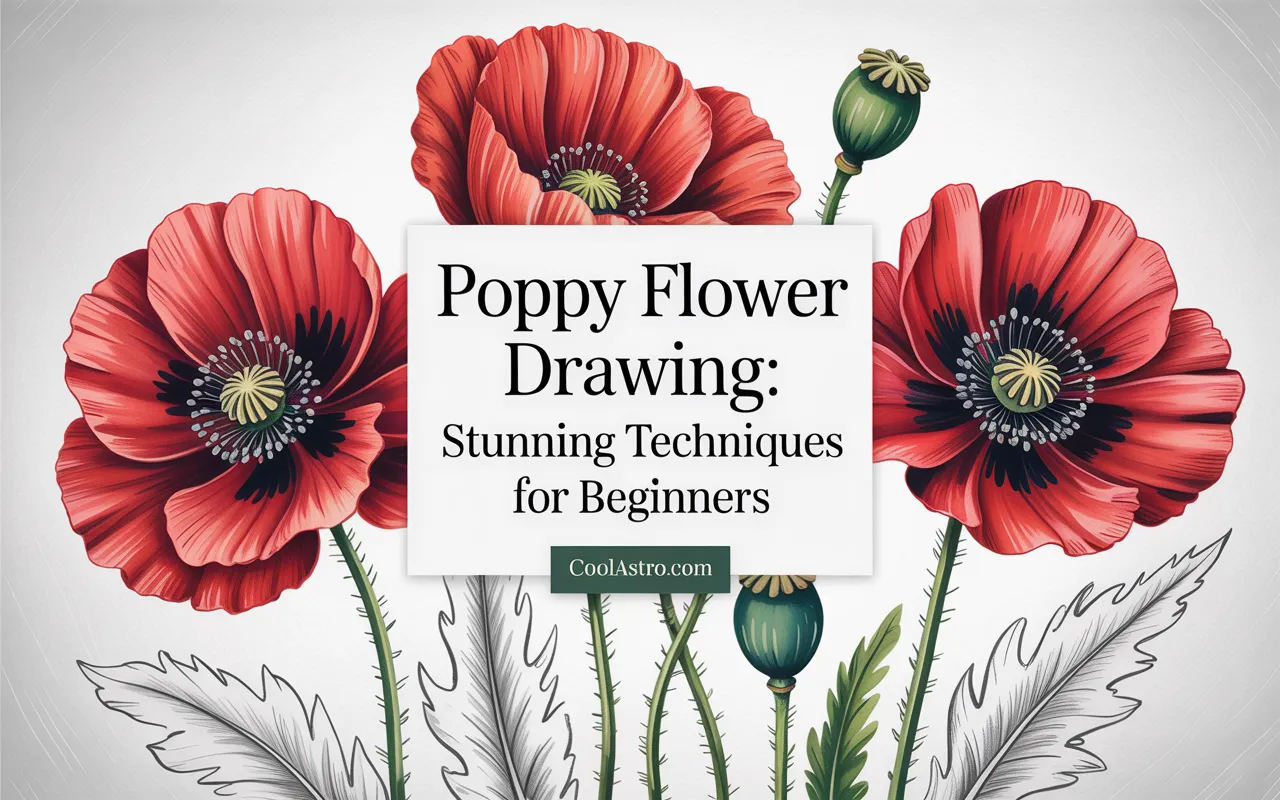
Have you ever looked at a field of poppies and felt a pull to capture their delicate, papery beauty on paper? There’s something so captivating about their vibrant red petals and unique, fuzzy stems.
If you’ve ever thought, “I wish I could draw that,” but felt unsure where to start, you’ve come to the right place.
Drawing is a skill anyone can learn, and a poppy flower drawing is a perfect and rewarding subject for beginners.
This guide is designed to take you from a blank page to a stunning poppy drawing you can be proud of.
We will walk through everything, step-by-step, from the basic supplies you’ll need to the simple shapes that form a poppy.
You will learn how to sketch the petals, add dimension with shading, and bring your drawing to life with color. Forget about complicated techniques and confusing jargon.
We’re going to keep it simple, fun, and encouraging. By the end of this post, you’ll have the confidence and skills to create your very own beautiful poppy flower drawings.
Understanding the Anatomy of a Poppy
Before you put pencil to paper, it helps to know what you’re actually drawing. Let’s take a moment to look at the simple parts of a poppy. Understanding its structure will make the drawing process much easier and more intuitive.
- The Petals: Poppies typically have four to six large petals. The key thing to notice is that they aren’t perfect or symmetrical. They are often crinkled, thin, and overlap in a beautifully messy way. Think of them as pieces of delicate tissue paper.
- The Center (Ovary and Stamen): In the middle of the petals is the seed pod, or ovary. It’s a distinct, bulbous shape, almost like a tiny crown. Surrounding this pod is a ring of stamens—thin filaments with dark tips (anthers) that carry pollen. This dark center creates a striking contrast with the bright petals.
- The Stem: A poppy’s stem is usually long, thin, and covered in fine, fuzzy hairs. It’s not always perfectly straight; it can have gentle curves and bends, which adds character to your drawing.
- The Bud: A poppy bud is also unique. It’s an oval shape that hangs downwards from the stem, covered in a fuzzy casing (sepals) that splits open as the flower blooms.
Thinking about the poppy in terms of these simple shapes removes the intimidation factor. You’re not drawing a “poppy”; you’re drawing a few overlapping crinkled ovals, a central pod, some fuzzy lines, and a hairy stem. See? Much more manageable!
Step-by-Step Guide: Your First Pencil Poppy Flower Drawing
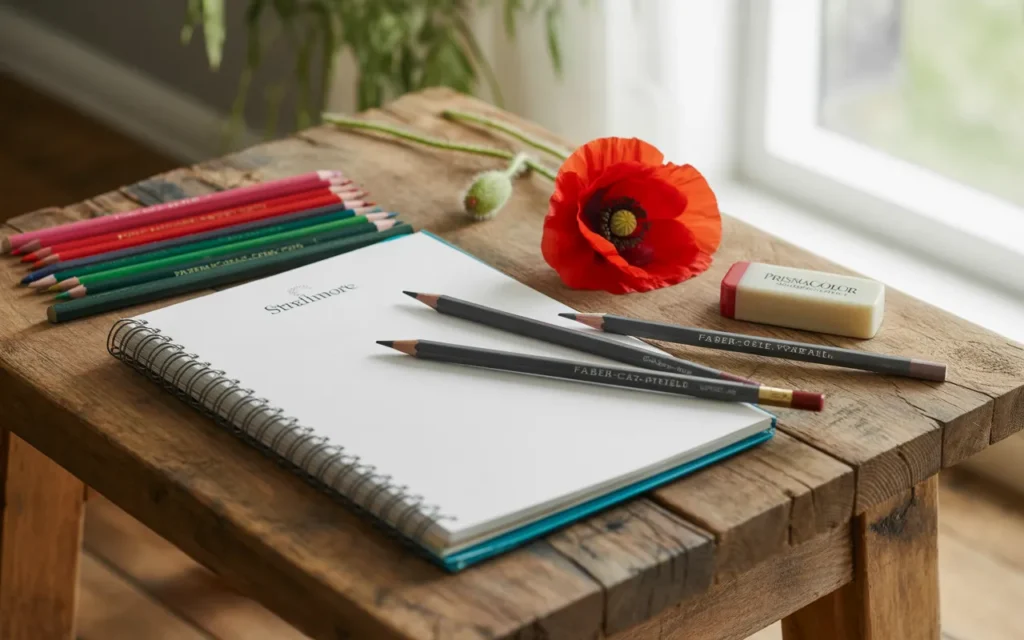
Alright, grab your sketchpad and a light graphite pencil (like a 2H or HB). We’re going to create a beautiful single poppy together. Remember to press lightly at first. These initial lines are just guides that you can erase later.
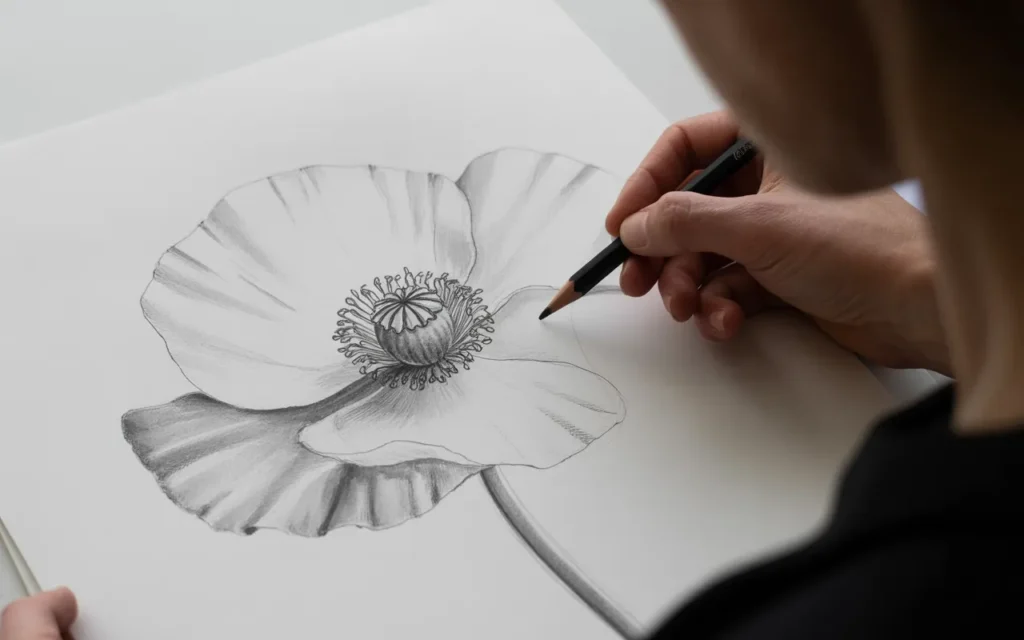
Step 1: Drawing the Center Pod
Everything in a poppy radiates from the center, so that’s where we’ll start.
- Near the middle of your page, draw a small, slightly flattened circle. This will be the top of the seed pod.
- From the bottom of that circle, draw a “U” shape to create the body of the pod. It should look a bit like a small vase or an urn.
- On top of the flat circle, draw a series of small, radiating lines to create the “crown” effect of the stigma.
This central pod is your anchor. All the petals will connect to its base.
Step 2: Sketching the Main Petals
Now, let’s add the petals. We’ll start with the two front petals, as they are foremost in the viewer’s perspective.
- Starting from the base of the pod, draw a large, loose “C” shape curving out to the left.
- From the end of that C-shape, draw another wavy line back to the other side of the pod’s base. This creates your first petal. Don’t make it perfectly smooth! Add a few gentle ruffles and dips along the outer edge.
- Repeat this on the right side for the second front petal. Make this one slightly different in size and shape. Maybe it overlaps the first petal just a tiny bit. Imperfection is what makes a poppy flower drawing look natural.
Step 3: Adding the Back Petals
The back petals are what give your poppy depth. They will be partially hidden behind the front petals and the center pod.
- Between your two front petals, peeking out from behind the pod, draw the top edge of a third petal. You won’t see the whole thing, just the top wavy part.
- Add a fourth petal in the same way on the other side. You can even add a fifth or sixth small petal peeking out from behind if you like.
- The key here is overlapping. The back petals go behind the front ones. Use your eraser to clean up any lines from the back petals that cross over into the front petals. This simple trick instantly creates a 3D effect.
Step 4: Drawing the Stem and Bud (Optional)
Now, let’s give our flower something to stand on.
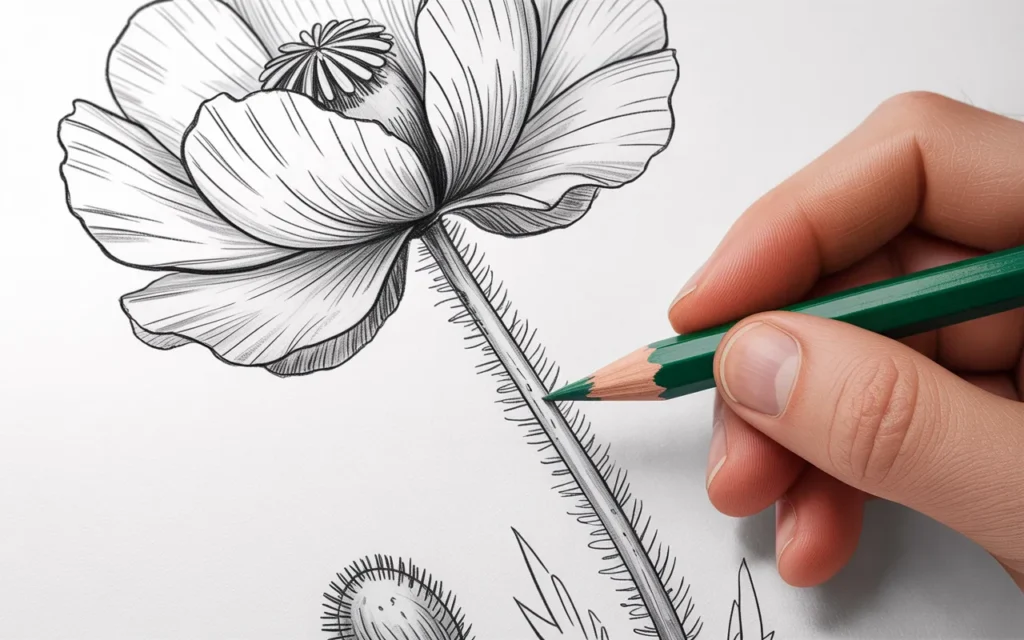
- From the very bottom of the flower, where the petals meet, draw two parallel lines curving downwards. This is your stem. Don’t make them perfectly straight. A slight “S” curve will give it a more organic feel.
- To make the stem look fuzzy, add very short, light, flicking lines all along its edges.
- If you want to add a bud, draw a stem branching off the main one. At the end, draw an oval shape that droops downwards. Add that same fuzzy texture to the outside of the bud.
Step 5: Adding Details to the Center
Let’s bring the center of your poppy to life. This is where you can add some beautiful contrast.
- Around the base of the central pod, draw a dense ring of thin lines radiating outwards. These are the stamens.
- At the tip of each of these lines, add a tiny, dark dot or oval for the anthers. Let them be a little messy and clustered together.
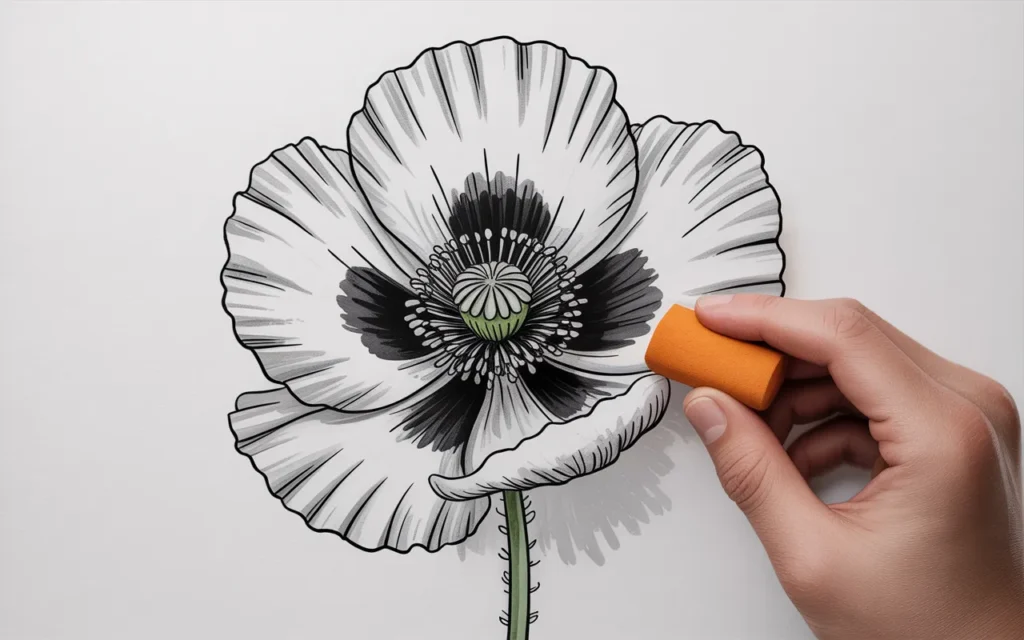
- Using a softer, darker pencil (like a 2B or 4B), begin to shade the area of the stamens. This part of the poppy is usually very dark, almost black. Don’t be afraid to press a little harder here to create that deep shadow.
Your basic poppy flower drawing is now complete! You have a well-proportioned sketch with clear, defined parts. Now, we can move on to the magic of shading.
Bringing Your Poppy to Life with Shading
Shading is what transforms a flat outline into a three-dimensional object. The secret is to think about where the light is coming from.
For this exercise, let’s imagine the light is coming from the top left. This means the top left parts of your poppy will be the lightest, and the bottom right parts will be the darkest.
Shading the Petals
Poppy petals are delicate, so we want to use soft, gradual shading.
- Identify Shadow Areas: The darkest areas will be where the petals overlap and at the very base of each petal where it meets the dark center. The folds and ruffles in the petals will also have small shadows inside them.
- Apply Light Tones: Using a light pencil (HB), gently shade these shadow areas. Use the side of your pencil lead, not the tip, to apply a soft, even layer of graphite.
- Build Up Darker Tones: Switch to a softer pencil (2B or 4B). Go back over the darkest parts—the overlaps and the base—to deepen the shadows. This contrast will make the petals look like they are curling forward.
- Add Veins: Poppies have very subtle veins running through their petals. With a sharpened HB pencil, draw a few very light, thin lines that radiate from the base of each petal outwards towards the edge. Make them faint and slightly curved.
- Lift Highlights: Take your kneaded eraser and shape it into a fine point. Gently dab away some of the graphite along the top edges of the petals where the light would be hitting directly. This creates bright highlights and makes the petals look thin and almost translucent.
Shading the Center and Stem
- The Center Pod: The pod is a rounded form. Since our light is from the top left, the top left side of the pod will be lightest. The right side and bottom will be in shadow. Shade the pod with curved lines that follow its form to make it look round. Leave a small, unshaded spot on the top left for a highlight.
- The Stem: The stem is a cylinder. Shade the right side of the stem darker than the left side to give it a rounded appearance. Don’t forget to keep that fuzzy texture visible.
Take a step back and look at your drawing. You’ve just created a realistic, three-dimensional poppy flower drawing using nothing but a pencil!
Exploring Different Poppy Drawing Styles
Now that you’ve mastered the basic pencil sketch, you can have fun exploring other styles. Your poppy flower drawing can be whatever you want it to be!
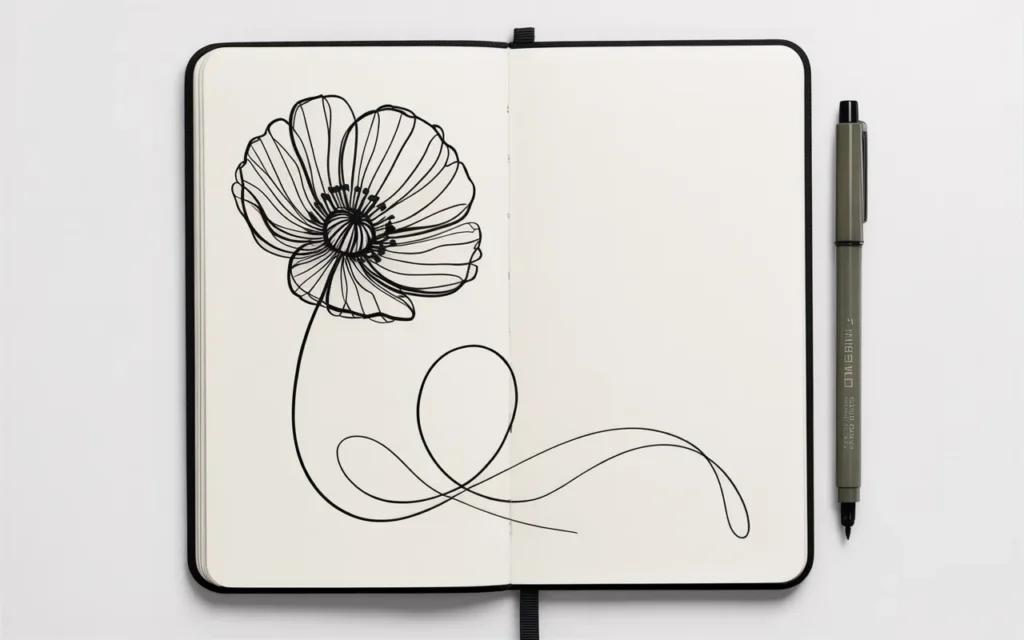
The Minimalist Line Drawing
This style is elegant, modern, and very popular. It focuses on the pure form of the poppy without any shading.
- Technique: Use a fineliner pen (like the Staedtler pens mentioned earlier) to create a clean, continuous-line drawing. Try to draw the entire poppy without lifting your pen from the paper. This creates a fluid, artistic look.
- Focus: Concentrate on the beautiful curves of the petals and the stem. The simplicity is what makes it striking.
The Bold Charcoal Drawing
If you love drama and high contrast, charcoal is an incredible medium for a poppy flower drawing.
- Technique: Use a charcoal pencil for your initial sketch. Then, use a stick of soft compressed charcoal to lay in the dark, rich blacks of the poppy’s center and the deep shadows of the petals.
- Blending: Use your fingers or a blending stump (tortillon) to smudge and soften the charcoal, creating soft, smoky grays. Use a kneaded eraser to lift out bold highlights on the petal edges.
- Result: This creates a moody, expressive, and powerful piece of art.
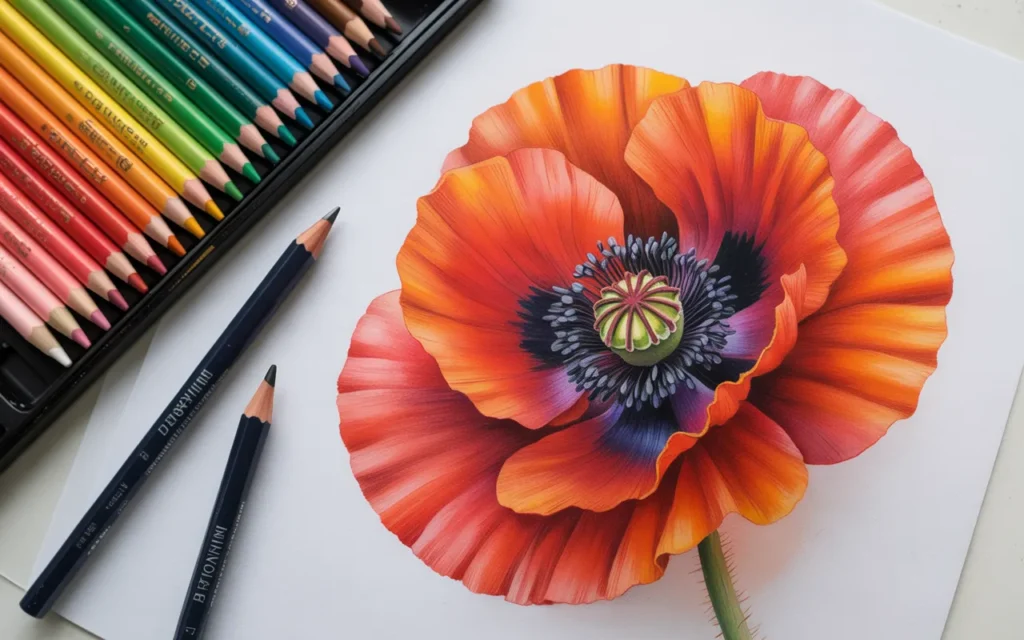
The Vibrant Colored Pencil Drawing
This is where your poppy truly comes to life! Adding color is an exciting step.
- Layering Colors: Don’t just use one red pencil. Start with a light layer of a bright red or even an orange-red over the entire petal. Then, use a deeper red or even a dark purple to shade the shadow areas. Layering colors creates incredible depth and realism.
- Blending: Use a white or colorless blender pencil to go over your layered colors. This will smooth them together, eliminating the pencil strokes and creating a rich, painterly effect.
- For the Stem: Use several shades of green. A yellow-green for the highlighted side and a darker, olive green for the shadow side. Add little flicks of brown and white to capture the fuzzy texture.
Common Mistakes for Beginners and How to Avoid Them
As you practice your poppy flower drawing, you might run into a few common hurdles. Don’t worry, every artist does! Here’s how to get past them.
- Drawing “Cartoon” Petals:
- The Mistake: Drawing perfectly symmetrical, balloon-like petals that don’t overlap.
- The Fix: Remember that poppy petals are messy! Embrace imperfection. Study photos of real poppies and notice how they fold, wrinkle, and overlap in a chaotic but beautiful way. Start by drawing the front petals first, then tuck the back ones behind them.
- “Scaredy-Cat” Shading:
- The Mistake: Being afraid to add dark shadows, resulting in a flat-looking drawing.
- The Fix: Contrast is your friend! It’s what creates depth. Don’t be afraid to use a soft, dark pencil (like a 4B or 6B) to push the shadows in the petal overlaps and the flower’s center. If you go too dark, you can always lift some of it with a kneaded eraser. A good rule is to make your darkest darks as dark as you can, and your lightest lights as light as you can.
- Smudging Your Work:
- The Mistake: Resting your hand on the drawing and accidentally smearing the graphite or charcoal everywhere.
- The Fix: Place a spare sheet of paper under your drawing hand. This creates a barrier and allows you to move freely across the page without smudging the finished parts. If you’re right-handed, always try to work from left to right. If you’re left-handed, work from right to left.
- Using the Wrong Paper:
- The Mistake: Using thin printer paper that tears when you erase and doesn’t hold pencil layers well.
- The Fix: Invest in a decent sketchpad. Paper with a bit of “tooth” (a slight texture) will grab the pigment from your pencils much better and will be durable enough to handle erasing and blending. The Strathmore 400 series is a fantastic and affordable choice for beginners.
Your Turn to Create!
You now have all the tools, techniques, and confidence you need to create a stunning poppy flower drawing.
We’ve broken down the anatomy of the flower, walked through a simple pencil sketch, explored shading, and looked at different artistic styles.
The most important thing to remember is that drawing should be enjoyable. Don’t stress about making it perfect on your first try.
Every drawing you create is a step forward. Each one teaches you something new. Art is a journey, not a destination.
So, find a quiet moment, put on some music, and let your pencil dance across the page. Draw a single poppy.
Draw a whole field of them. Experiment with pencils, charcoal, and color. The blank page is your playground. We can’t wait to see the beautiful art you create!
Recommended Art Supplies
Here is a quick summary of the recommended products to help you on your poppy drawing journey.
| Product Name | Brand | Great For… |
|---|---|---|
| {Strathmore 400 Series Sketchpad} | Strathmore | A durable, all-purpose paper for practice. |
| {Faber-Castell 9000 Graphite Sketch Pencil Set} | Faber-Castell | Creating a wide range of values from light to dark. |
| {Prismacolor Premier Kneaded Eraser} | Prismacolor | Erasing precisely and lifting out highlights. |
| {Prismacolor Premier Colored Pencils, 72-Pack} | Prismacolor | Adding vibrant, blendable color to your drawings. |
| {General’s Charcoal Pencil Kit} | General’s | Creating dramatic, high-contrast drawings. |
| {Staedtler Pigment Liner Fineliner Pens} | Staedtler | Clean, waterproof outlines and minimalist art. |
| {Derwent Blender and Burnisher Set} | Derwent | Blending colored pencils for a smooth finish. |