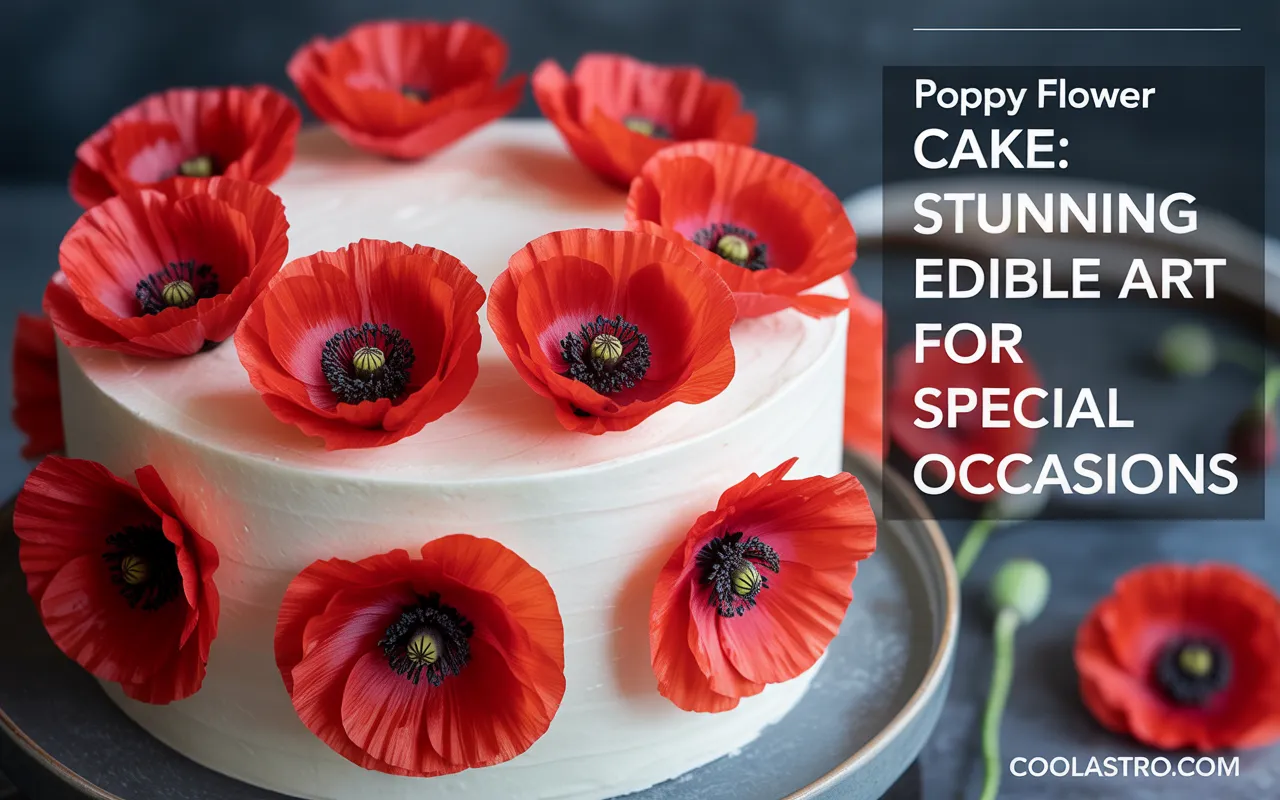
A cake is always the heart of a celebration, but a cake decorated with beautiful flowers? That’s a showstopper. Imagine a stunning cake, elegantly adorned with vibrant, delicate poppies.
Their paper-thin petals and bold red color can turn a simple dessert into a breathtaking piece of edible art.
A poppy flower cake is more than just a treat; it’s a statement piece for a wedding, a thoughtful tribute for a memorial occasion, or a cheerful centerpiece for a spring garden party.
If you’ve ever admired these intricate sugar flowers on Pinterest or a baking show and felt a wave of admiration mixed with a little intimidation, you are in the right place.
This guide is your friendly invitation into the world of edible flower art.
We will demystify the process, breaking down different techniques for creating stunning poppy flower cakes, from simple buttercream painting to crafting realistic sugar paste poppies.
You don’t need to be a professional pastry chef to create something truly special. Let’s explore how you can bring the timeless beauty of poppies to your next baking creation.
Understanding the Poppy: An Artist’s View
Before you start decorating, take a moment to really look at a poppy. Understanding its structure and character will help you recreate it, no matter which technique you choose.
- The Petals: Poppy petals are known for their delicate, crinkled, paper-like texture. They are not perfectly smooth. They have ruffles and veins, and they cup inwards. Most poppies have between four and six petals. The key to a realistic look is thinness and texture.
- The Center: The center of a poppy is a distinct and crucial feature. It consists of a central seed pod (the ovary), which is often a light green or blackish bulbous shape, surrounded by a dense ring of fuzzy stamens, which are typically black or very dark purple. This dark center creates a beautiful contrast that makes the red petals pop.
- The Colors: While we often think of poppies as bright red, they can also be orange, yellow, pink, white, or even deep plum. The red of a classic poppy is rarely a flat color. There are often darker tones near the center and lighter, almost translucent areas near the edges where the light shines through.
Technique 1: The Simple Buttercream Poppy Cake
This is one of the most accessible ways to create a poppy flower cake. You are essentially “painting” with buttercream directly onto the frosted cake. It’s perfect for beginners and creates a beautiful, rustic, and impressionistic look.
You Will Need:
- A cake, crumb-coated and chilled
- White or off-white buttercream for the final coat
- Red, black, and green buttercream in separate bowls
- An offset spatula and a smaller tapered spatula or palette knife
- A small round piping tip (optional, for the center)
Step-by-Step Instructions:
- Create Your Canvas: Frost your chilled cake with a smooth, final coat of white or light-colored buttercream. Use your offset spatula and a bench scraper to get the sides as smooth as possible.
- Place Your Colors: On a small plate or palette, place a dollop of your red buttercream and a smaller dollop of your black buttercream.
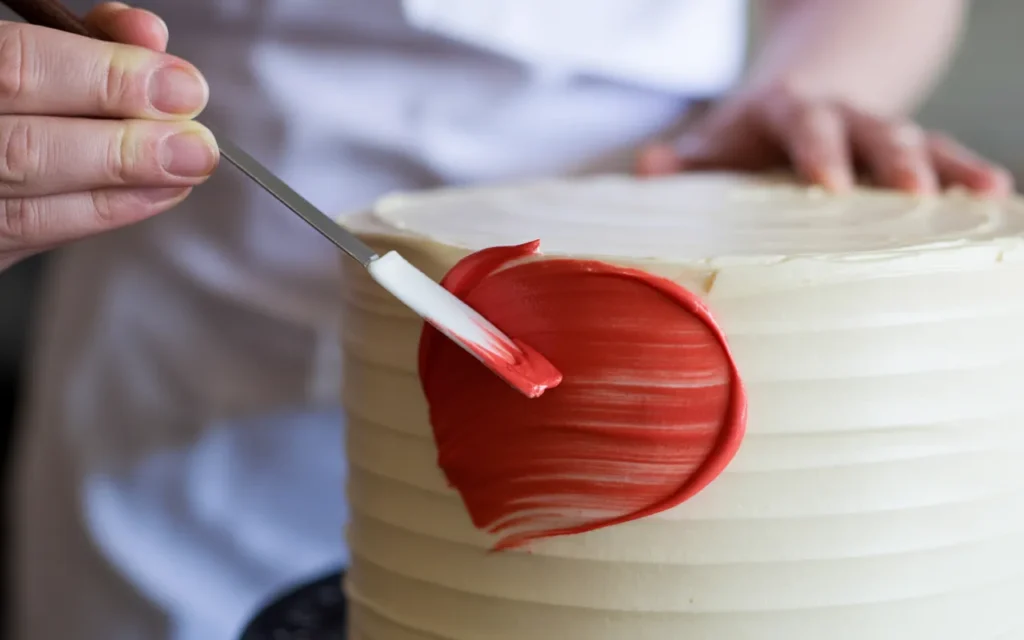
- Paint the First Petal: Dip the tip of your small, tapered spatula into the red buttercream. Place the spatula flat against the side of the cake and swipe inwards, towards the center of where your flower will be. The motion is similar to spreading butter, but with a lift at the end. This creates a single petal shape.
- Paint the Remaining Petals: Repeat this motion four or five times in a circle to create your full poppy flower. Don’t worry if the petals overlap or blend slightly—this adds to the painterly effect.
- Create the Center: You have two options for the center. You can either use the very tip of your spatula to carefully dab a small amount of black buttercream in the middle, or you can use a small round piping tip to pipe a cluster of tiny black dots for a more textured look.
- Add Stems and Leaves: Use your spatula or a palette knife dipped in green buttercream to create simple, straight lines for stems and small swipes for leaves.
Technique 2: The Elegant Gum Paste Poppy (For a Realistic Look)
This technique requires more patience but results in stunningly realistic, three-dimensional flowers that you can make ahead of time. These sugar poppies can be arranged on the cake for a truly showstopping effect.
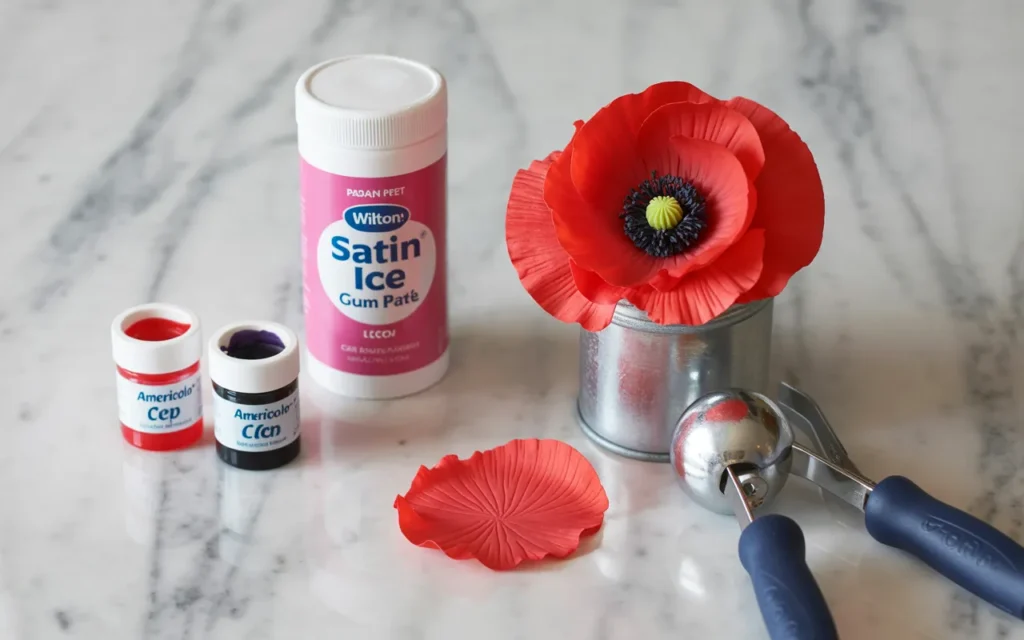
You Will Need:
- Gum paste
- Red and black gel food coloring
- A poppy petal cutter or a 5-petal flower cutter
- A small rolling pin
- A ball tool
- A foam flower-shaping pad
- Flower forming cups
- Edible glue or water
- Floral wire (optional, for wired flowers)
- Black and red petal dust (optional)
Step-by-Step Instructions:
- Create the Center: Knead a small amount of black gel color into a tiny piece of gum paste. Roll it into a small ball to form the seed pod. If you’re wiring your flowers, insert a hooked piece of floral wire into the ball with a bit of edible glue. Let this dry.
- Color and Roll the Gum Paste: Knead your red gel color into a larger portion of gum paste until you achieve a vibrant poppy red. On a surface dusted with cornstarch, roll the gum paste out very thin—almost paper-thin.
- Cut the Petals: Use your poppy cutter to cut out the petal shapes. If using a 5-petal cutter, you can separate the petals or use it as a base.
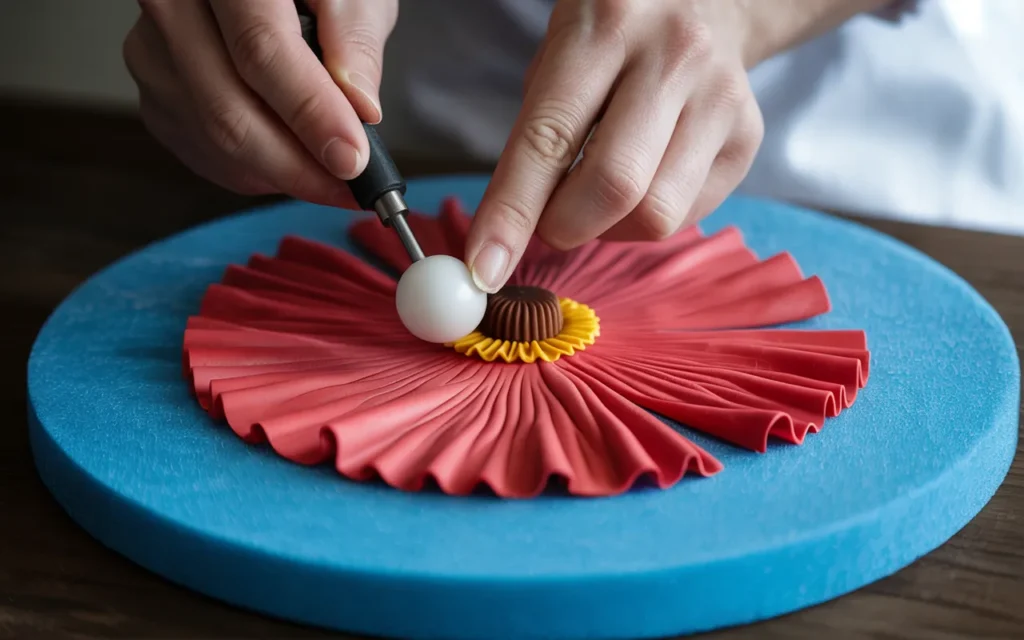
- Thin and Ruffle: Place a petal on your foam pad. Use the large end of your ball tool to gently thin and soften the edges. Roll the ball tool halfway on the petal and halfway on the foam, pressing gently to create a natural-looking ruffle.
- Add Veins: Use a veining tool or the back of a knife to press faint lines radiating from the base of the petal outwards.
- Dry the Petals: Place the thinned and ruffled petals into your flower forming cups. This will help them dry in a beautiful, cupped, natural shape. Let them dry for several hours or overnight until they are hard.
- Assemble the Flower: Once the petals and center are dry, attach the petals around the black center using a small amount of edible glue. Start with two petals opposite each other, then fill in the gaps with the remaining petals, overlapping them slightly.
- Add Depth with Petal Dust (Optional): Using a small, soft, dry brush, dust a little black petal dust at the very base of the red petals, where they meet the center. This adds a shadow and an incredible amount of realism.
Technique 3: Poppies from Wafer Paper
Wafer paper is an edible paper made from potato starch. It’s incredibly light and can be used to create flowers with an ethereal, delicate quality that perfectly mimics poppy petals.
You Will Need:
- Wafer paper sheets
- Red and black food-safe markers or an edible ink printer
- Scissors
- A small amount of water or wafer paper conditioner
- A black gum paste center (made as in Technique 2)
Step-by-Step Instructions:
- Color the Wafer Paper: You can color your wafer paper by lightly airbrushing it red, or by printing a red texture onto it with an edible ink printer. For a simpler method, use a red food-safe marker to color a sheet of wafer paper.
- Cut the Petals: Cut out 5-6 heart-shaped or teardrop-shaped petals.
- Shape the Petals: This is the magic of wafer paper. Lightly moisten your finger with water or wafer paper conditioner and gently run it along the edge of a petal. The moisture will cause the wafer paper to curl and bend. You can also press it gently into a flower-forming cup to give it a cupped shape as it dries. Be careful—too much water will dissolve it!
- Assemble: Once the petals have their shape, attach them one by one around your pre-made black gum paste center using a tiny dab of water or edible glue. The result is an incredibly lightweight and delicate flower.

Design Ideas for Your Poppy Flower Cake
Now that you know the techniques, let’s explore some beautiful design concepts.
- The Single Statement Poppy: A single, large, beautifully made gum paste poppy placed on the top or side of a simple white cake is a statement of minimalist elegance. It’s modern, sophisticated, and incredibly striking.
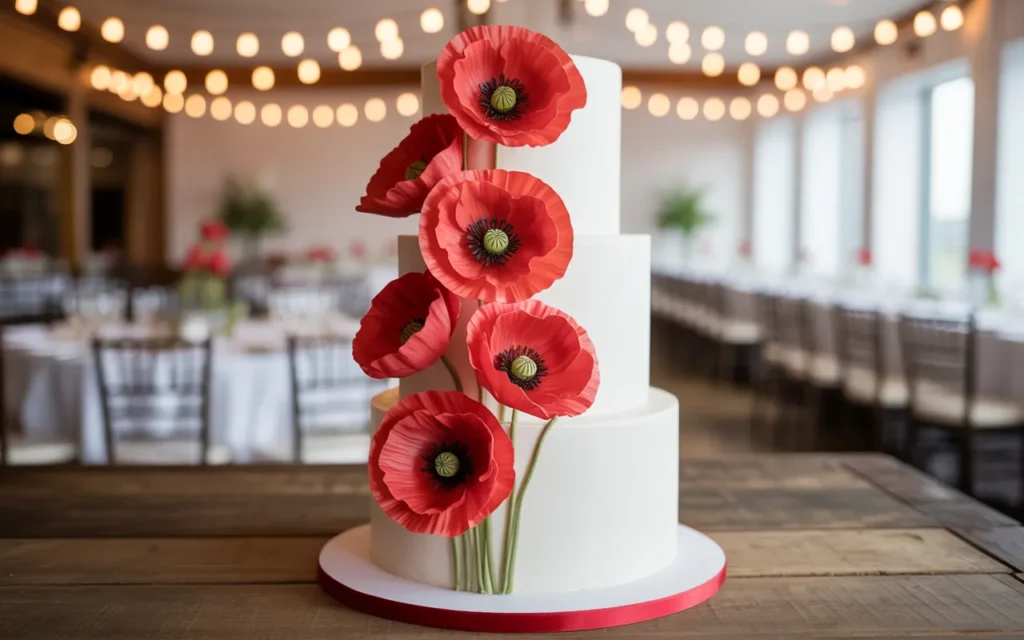
- The Cascading Poppy Field: For a multi-tiered cake, create a cascade of poppies in various sizes tumbling down the side of the cake. Start with larger flowers at the top and have them get smaller as they flow downwards. Intersperse them with some simple green gum paste leaves for contrast.
- Painted Poppy Meadow: Use the buttercream painting technique to cover the entire bottom tier of your cake with a “meadow” of red poppies. This creates a beautiful, artistic, and colorful base for a stacked cake.
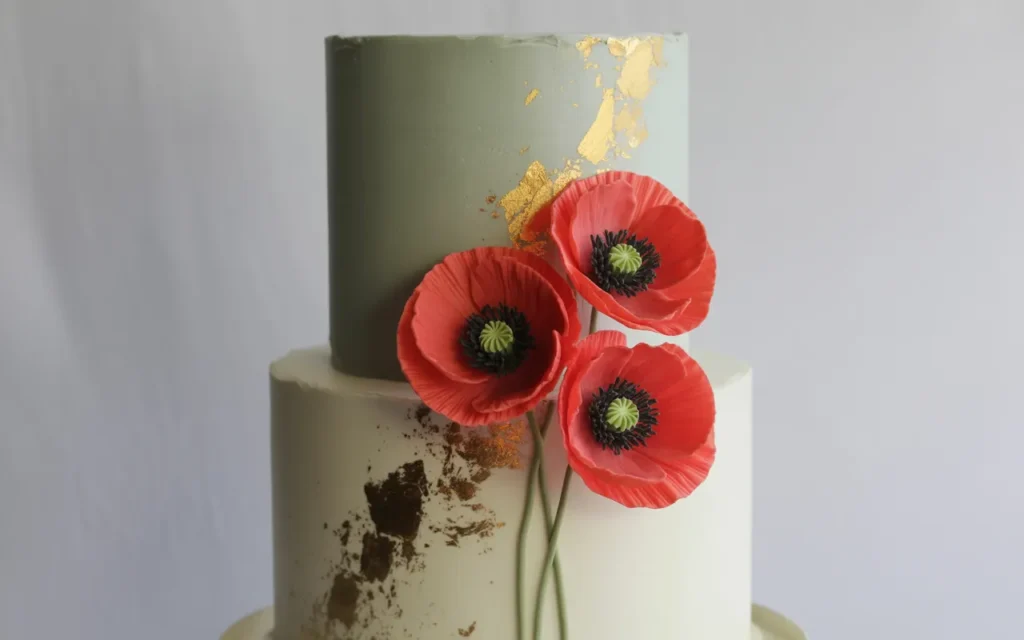
- Poppies and Gold Leaf: Combine the boldness of red poppies with the luxury of gold. A white cake adorned with a few gum paste poppies and accented with delicate flakes of edible gold leaf is a glamorous and timeless look, perfect for a wedding.
- Remembrance Cake: A simple, elegant cake with a single, perfectly placed poppy is a beautiful and respectful way to honor a veteran or for a Memorial Day or Remembrance Day occasion. The symbolism of the poppy makes the cake deeply meaningful.
Your Edible Masterpiece Awaits
Creating a poppy flower cake is a journey into the beautiful world of edible art. Whether you choose the rustic charm of painted buttercream, the stunning realism of gum paste, or the delicate nature of wafer paper, the process is a rewarding act of creation.
The key is to start, to play, and not to fear imperfection. Your first sugar flower might not be perfect, but it will be yours. Each cake you decorate is a chance to learn and grow as a baker and an artist.
So choose a technique that excites you, gather your tools, and get ready to transform your next cake into a memorable, edible work of art that will wow your friends and family.
Recommended Cake Decorating Supplies
Here is a quick summary of the essential products to help you get started on your poppy flower cake creations.
| Product Name | Brand | Great For… |
|---|---|---|
| {Wilton Fondant and Gum Paste Tool Set} | Wilton | Shaping, veining, and ruffling petals for a realistic look. |
| {Fondant & Gum Paste Flower Cutter Set} | FONDANTIP | Cutting consistent and uniform petal shapes quickly. |
| {Satin Ice Gum Paste} | Satin Ice | A reliable, pre-made paste for creating thin, sturdy petals. |
| {AmeriColor Gel Paste Food Color} | AmeriColor | Achieving vibrant, true red and black colors without watering down icing. |
| {Flower Forming Cups} | Ateco | Drying your petals in a natural, cupped shape. |
| {Petal Dust Set for Cake Decorating} | U.S. Cake Supply | Adding realistic depth and shadow to dried sugar flowers. |
| {Wilton Icing Spatula Set} | Wilton | Creating a perfectly smooth buttercream base for your designs. |