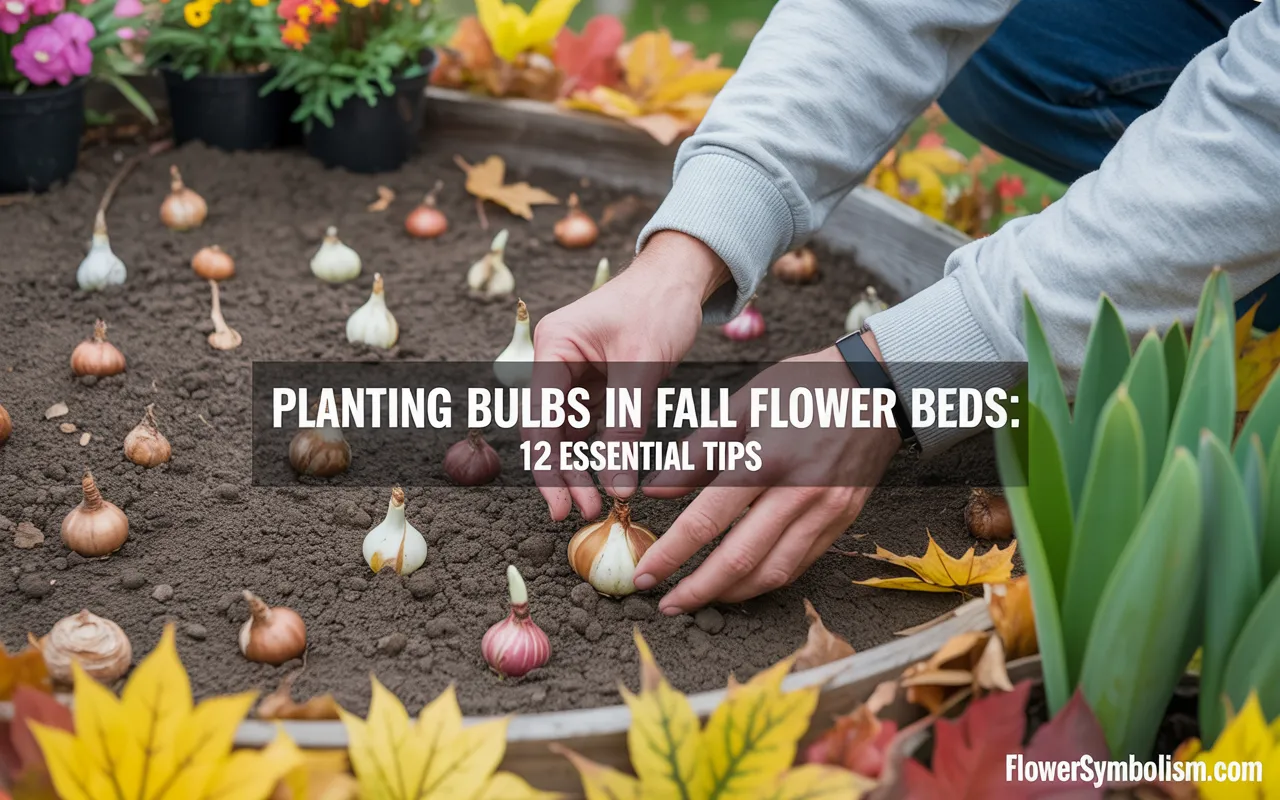
There is a distinct crispness in the air, the leaves are turning brilliant shades of orange and gold, and sweater weather has officially arrived. For most people, autumn signals the end of the gardening season, a time to pack away the tools and retreat indoors. But for those in on the secret, fall is actually the beginning.
Planting bulbs in fall flower beds is an act of optimism, a promise you make to yourself that spring will return—and when it does, it will be spectacular.
While the rest of the garden is going to sleep, you have the chance to tuck away potential treasures like tulips, daffodils, and hyacinths. It requires a bit of delayed gratification, but there is nothing quite like the thrill of seeing those first green shoots push through the thawing soil months later.
If you are ready to set the stage for a breathtaking spring display, here are the essential tips you need to get started.

1. Wait for the Soil to Cool Down
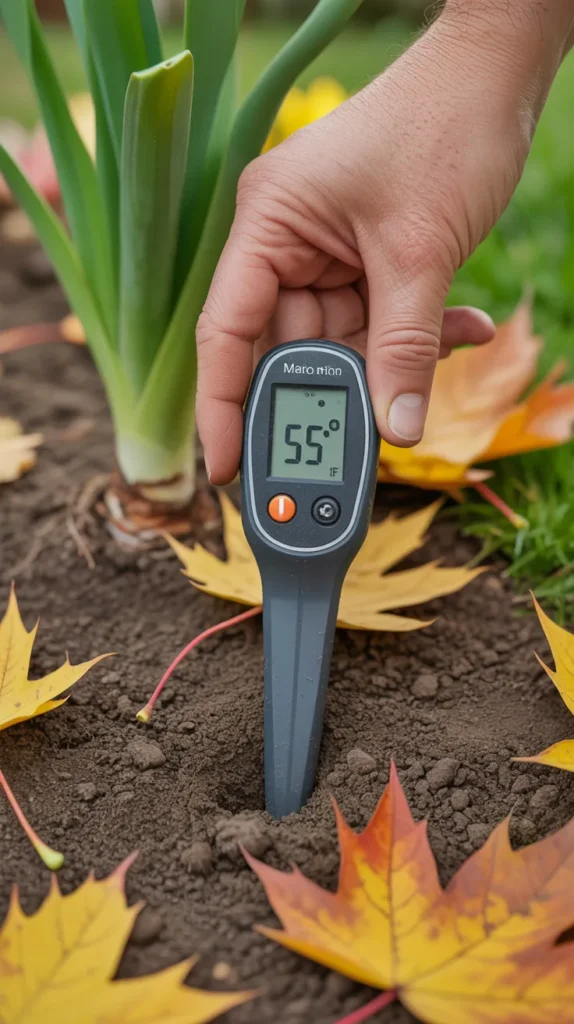
It can be tempting to rush out and plant your bulbs as soon as they appear in stores in late August or September. However, patience is key. If you plant too early while the soil is still warm, your bulbs might get confused and start sprouting before winter, or worse, they could rot.
The ideal time for planting bulbs in fall flower beds is when the nighttime temperatures consistently drop to the 40-50°F range. This usually means waiting until October or even November in many parts of the US. You want the soil to be cool (below 60°F) but not frozen.
Using a {Govee Bluetooth Thermometer} with a soil probe is a fantastic way to take the guesswork out of timing. It lets you monitor the exact soil temperature so you can plant at the perfect moment.
2. Choose the Right Location
Most spring-flowering bulbs are sun-worshippers. They crave sunlight to produce those vibrant blooms and strong stems. When choosing a spot, look for areas that receive at least six hours of direct sunlight per day.
Remember that early in the spring, deciduous trees (trees that lose their leaves) won’t have leafed out yet. This means you can often plant bulbs under large trees that provide dense shade in summer but allow plenty of sun in March and April. Just ensure the soil drains well; bulbs hate “wet feet” and will rot in soggy, waterlogged soil.

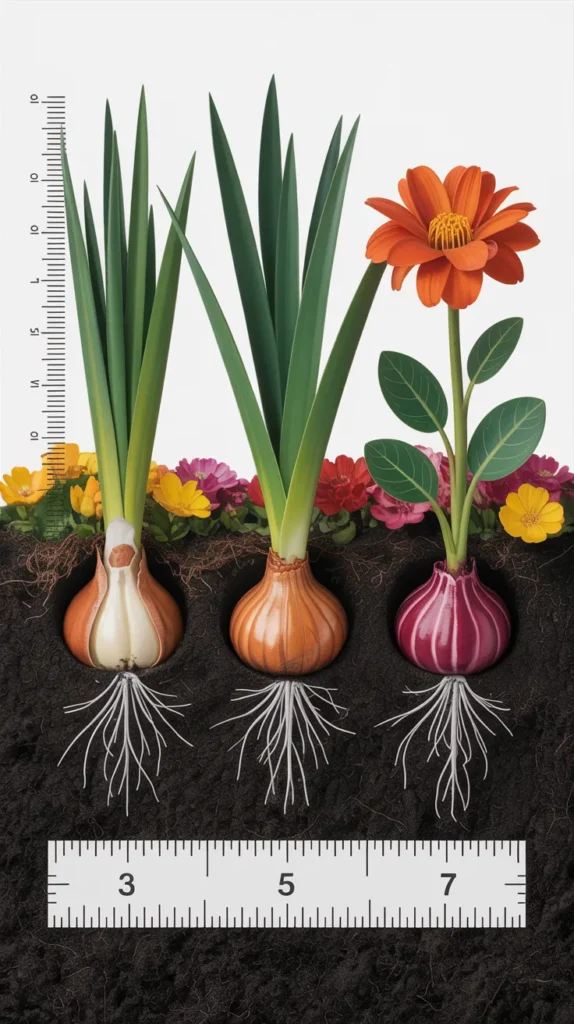
3. Dig Deeper Than You Think
One of the most common mistakes beginners make is planting too shallow. Shallow bulbs are more vulnerable to temperature fluctuations, pests, and frost heaving (where the freeze-thaw cycle pushes the bulb out of the ground).
A general rule of thumb is to plant the bulb two to three times as deep as the bulb is tall. For a large tulip bulb, that’s about 6 to 8 inches deep. For smaller crocus corms, 3 inches is sufficient.
To make digging uniform holes easier and faster, an {Edward Tools Bulb Planter} is an essential tool. It removes a clean core of soil, allowing you to drop the bulb in at the perfect depth without straining your wrist.
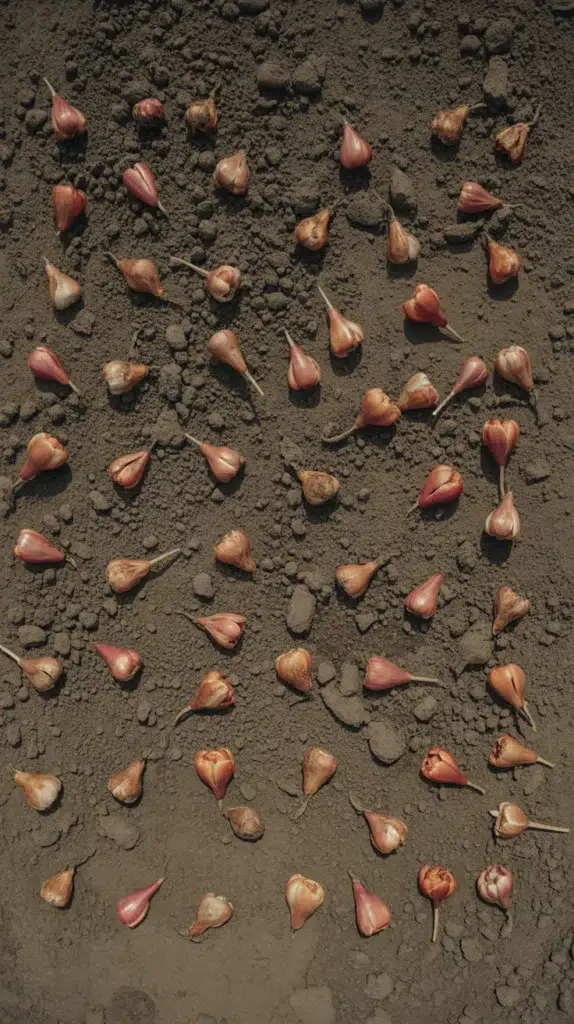
4. Plant in Drifts, Not Rows
Avoid the “soldier” look of planting bulbs in straight, rigid lines. In nature, flowers don’t grow in rows; they grow in clusters and drifts. To achieve a professional, natural-looking display, plant your bulbs in irregular groups of 5, 7, or 9.
A great trick is to gently toss a handful of bulbs onto the prepared soil and plant them exactly where they land. This creates an organic, flowing look. When you see them bloom in the spring, it will look like a lush, effortless carpet of color rather than a stiff, man-made arrangement.
5. Feed Them for the Future
Bulbs are amazing packages of energy; they contain everything the flower needs to bloom for the first season. However, if you want them to return year after year (perennialize), they need a little help.
When planting bulbs in fall flower beds, mix a slow-release, organic fertilizer into the soil at the bottom of the planting hole. {Espoma Organic Bulb-tone} is a favorite among gardeners because it provides the specific nutrients roots need to establish quickly before winter. Avoid high-nitrogen fertilizers, which promote leaf growth but can hurt the flower production.

6. Protect Your Investment from Critters
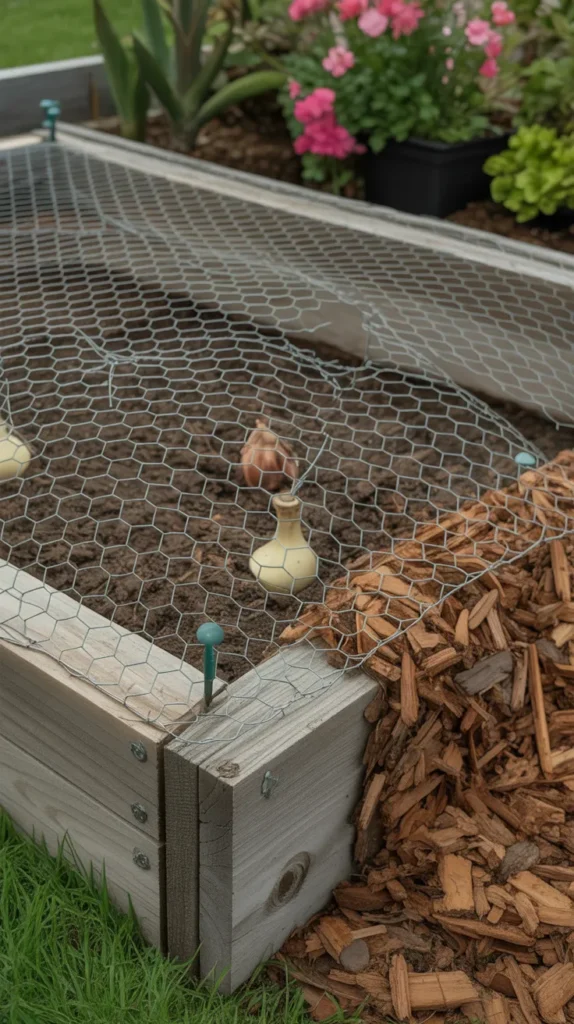
There is nothing more heartbreaking than spending a weekend planting hundreds of bulbs only to find them dug up and eaten by squirrels or chipmunks the next morning. Tulips and crocuses are like candy to rodents.
To protect your hard work, you can lay a piece of {Chicken Wire Mesh} over the planted area before covering it with mulch. The wide openings allow the shoots to grow through in the spring, but the wire stops animals from digging down to the bulbs. Alternatively, planting daffodils (Narcissus) is a great strategy, as they are naturally toxic and unappealing to pests.
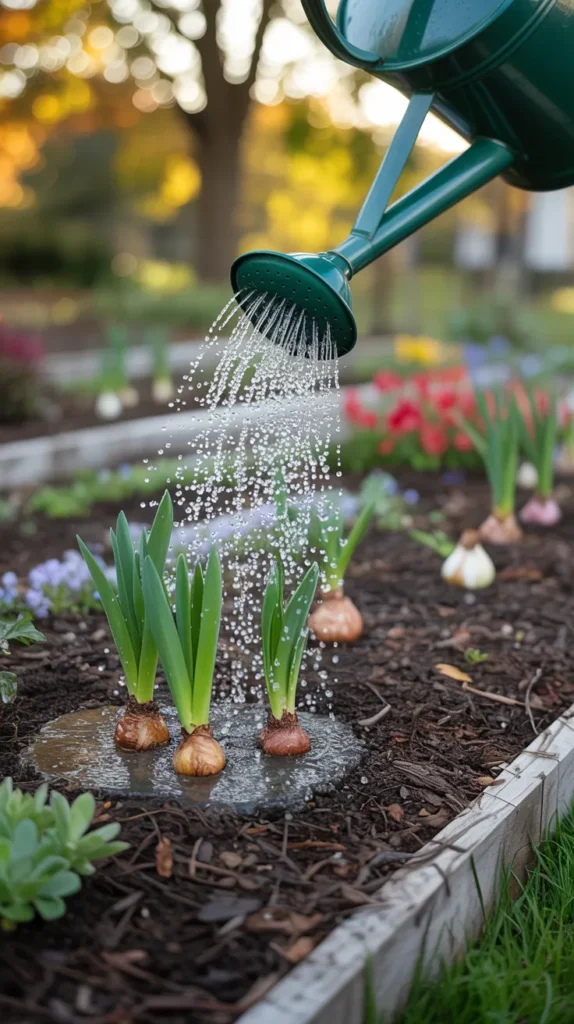
7. Water Once, Then Wait
After you have tucked your bulbs into the soil, give them a good drink of water. This settles the soil around the bulb, removing air pockets that could dry them out. It also signals the bulb to start waking up just enough to grow roots.
However, once that initial watering is done, you generally don’t need to water again until spring foliage appears, unless you live in an extremely dry climate. Excessive winter moisture can lead to rot. Let nature take its course with winter rain and snow.
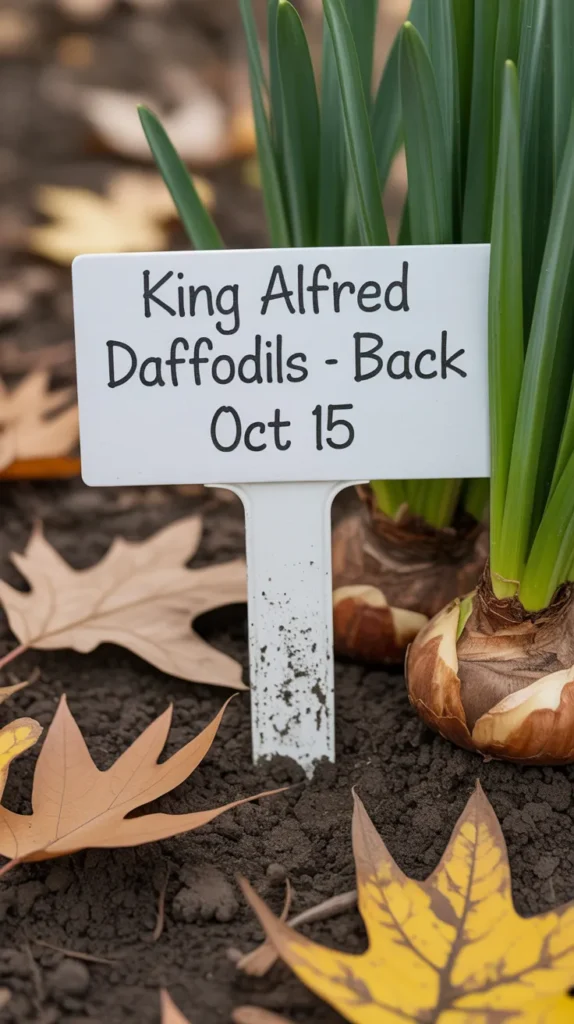
8. Mark Your Spots
It is surprisingly easy to forget exactly where you planted those 50 daffodil bulbs once the ground is covered in snow or leaves. Come spring, you might accidentally dig them up while trying to plant something else.
Save yourself the frustration by labeling your planting sites immediately. Use durable, weatherproof markers like {WHATOOK Plant Labels}. Write the variety name and the planting date. This is not only helpful for avoiding accidental digging but also great for tracking which varieties perform best in your garden over time.
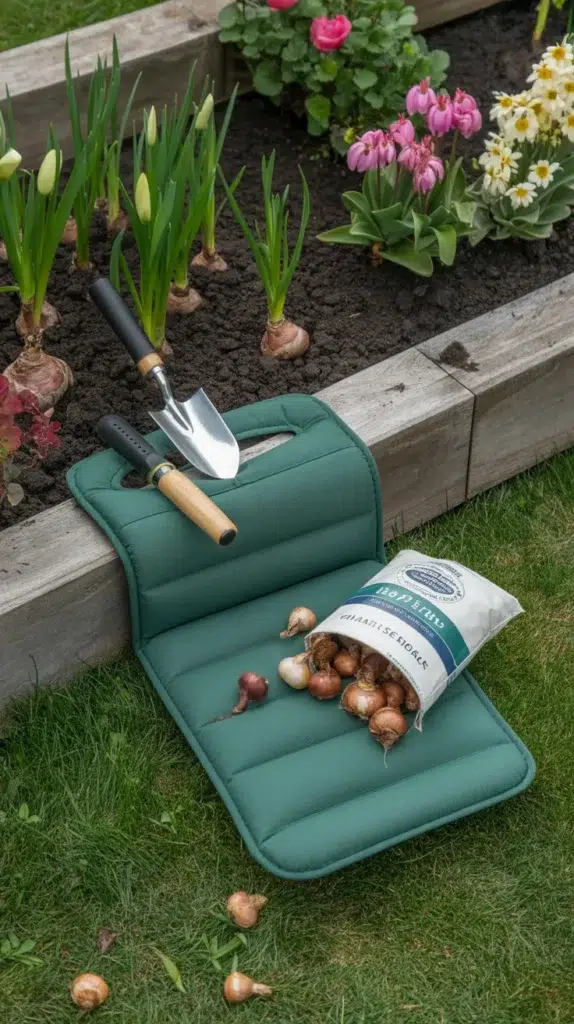
9. Don’t Forget the Knees
Planting bulbs involves a lot of time spent near the ground. Whether you are planting 20 or 200, all that kneeling can take a toll on your joints. Gardening should be a joy, not a pain.
Using a comfortable kneeler is essential for long planting sessions. The {Garden Kneeler and Seat} is particularly useful because it provides a thick foam cushion to protect your knees, and it has handles to help you push yourself back up. It can also be flipped over to serve as a seat if you prefer to sit while working in raised beds.
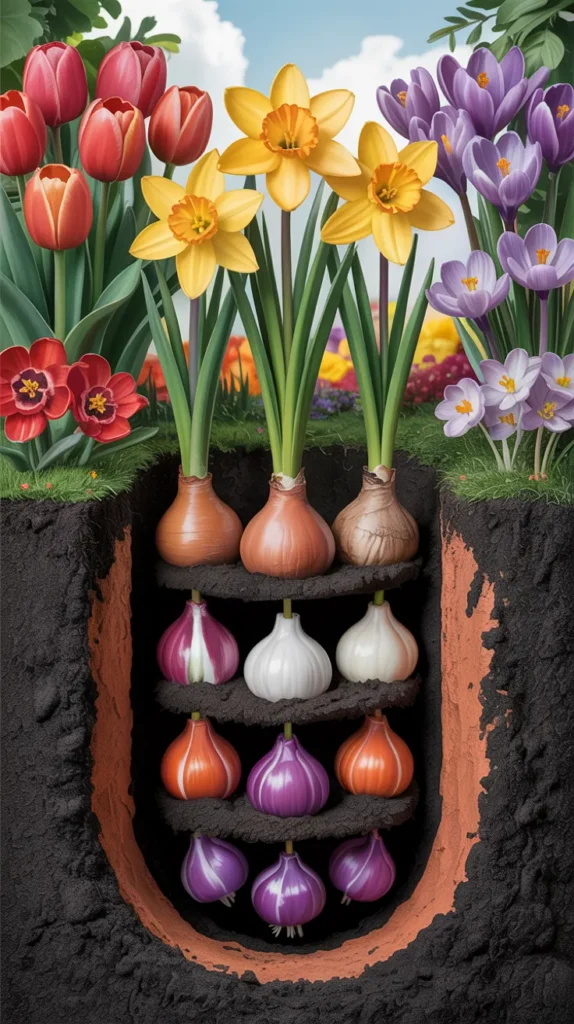
10. Layer for Maximum Impact
If you have limited space but want maximum color, try the “lasagna” planting method. This involves planting bulbs in layers within the same hole or trench based on their size and bloom time.
Dig a deep hole (about 8-10 inches). Plant large, late-blooming bulbs like tulips at the bottom. Cover with a few inches of soil. Plant mid-season daffodils in the next layer. Cover with more soil. Finally, plant early bloomers like crocus on top. This creates a succession of blooms in one spot, maximizing your planting bulbs in fall flower beds strategy.
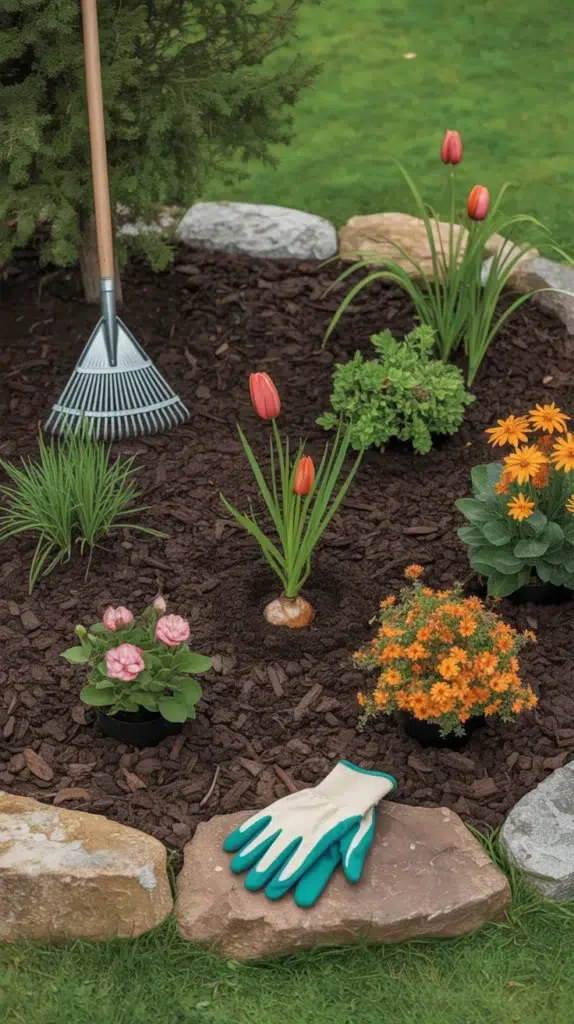
11. Cleanup and Mulch
Once all your bulbs are in the ground, watered, and labeled, it’s time to tidy up. Remove any debris or weeds from the bed. Finally, apply a 2-3 inch layer of mulch, such as shredded bark, leaves, or straw.
Mulch acts as an insulator, keeping the soil temperature stable and preventing the rapid freeze-thaw cycles that can heave bulbs out of the ground. It also helps retain moisture and suppress weeds in the spring. Wearing {COOLJOB Gardening Gloves} during this final step protects your hands from cold, damp soil and rough mulch materials.
Recommended Products for Fall Planting
| Product | Use Case |
|---|---|
| {Govee Bluetooth Thermometer} | Monitors soil temperature to ensure perfect planting timing. |
| {Edward Tools Bulb Planter} | Creates uniform holes at the correct depth quickly and easily. |
| {Espoma Organic Bulb-tone} | Provides essential nutrients for root development and future blooms. |
| {Chicken Wire Mesh} | Protects planted bulbs from digging squirrels and chipmunks. |
| {WHATOOK Plant Labels} | Helps identify planting locations and varieties through the winter. |
| {Garden Kneeler and Seat} | Saves knees and back during long planting sessions. |
| {COOLJOB Gardening Gloves} | Protects hands from cold soil, blisters, and rough mulch. |
The Promise of Spring
There is something undeniably magical about burying a dry, brown bulb in the cold earth and trusting that it holds the spark of life. Planting bulbs in fall flower beds is more than just a gardening chore; it is an investment in hope.
By following these tips—getting the timing right, planting deep, and protecting your work—you are ensuring that your garden will wake up from its winter slumber with a riot of color and joy. So grab your trowel, put on your favorite sweater, and get planting. Your future self will thank you when the first snowdrops bloom.