
Is your aloe vera plant looking a little crowded? Maybe it’s sprouting lots of little baby plants, or it just looks too big for its current home. If so, it’s time for an upgrade! This guide will show you everything you need to know about how to transplant aloe vera plant, turning a potentially tricky task into a simple and successful project.
Giving your aloe a new pot is like giving it a fresh start. It provides more room for roots to grow, fresh nutrients, and encourages a healthier, happier plant.
We’ll cover everything from spotting the signs it’s time for a move to the perfect soil mix and aftercare. Let’s get our hands dirty and give your amazing aloe the new home it deserves!
Why Transplanting Is So Important for Aloe Vera
Before we dive into the “how,” let’s quickly cover the “why.” Aloe vera plants are succulents, and they are incredibly resilient. However, they can’t stay in the same pot forever. Transplanting is a crucial part of their long-term health for several key reasons.
- More Room for Roots: Aloe plants have surprisingly robust root systems. Over time, they will fill the entire pot, becoming “root-bound.” When this happens, there’s no more space for the roots to grow, which stunts the growth of the entire plant.
- Fresh Nutrients: The soil in a pot only has a finite amount of nutrients. After a year or two, your aloe has likely used up all the good stuff. Transplanting into fresh soil provides a much-needed boost of food.
- Preventing Rot: Old, compacted soil can lose its ability to drain properly. This can lead to waterlogged soil, which is the #1 cause of root rot in succulents. Fresh, well-draining soil is essential.
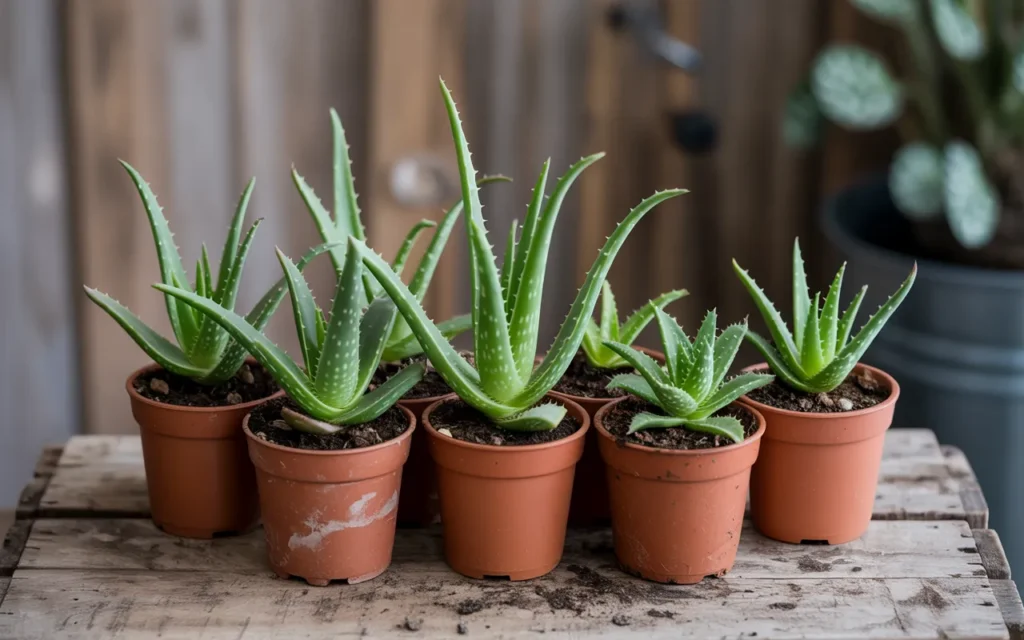
- Separating the “Pups”: Healthy aloe plants are famous for producing little baby plants, called “pups” or “offsets.” These pups grow from the base of the mother plant and eventually crowd the pot. Transplanting is the perfect time to separate these babies and create new plants to keep or give away!
Is It Time? Signs Your Aloe Vera Needs a New Pot
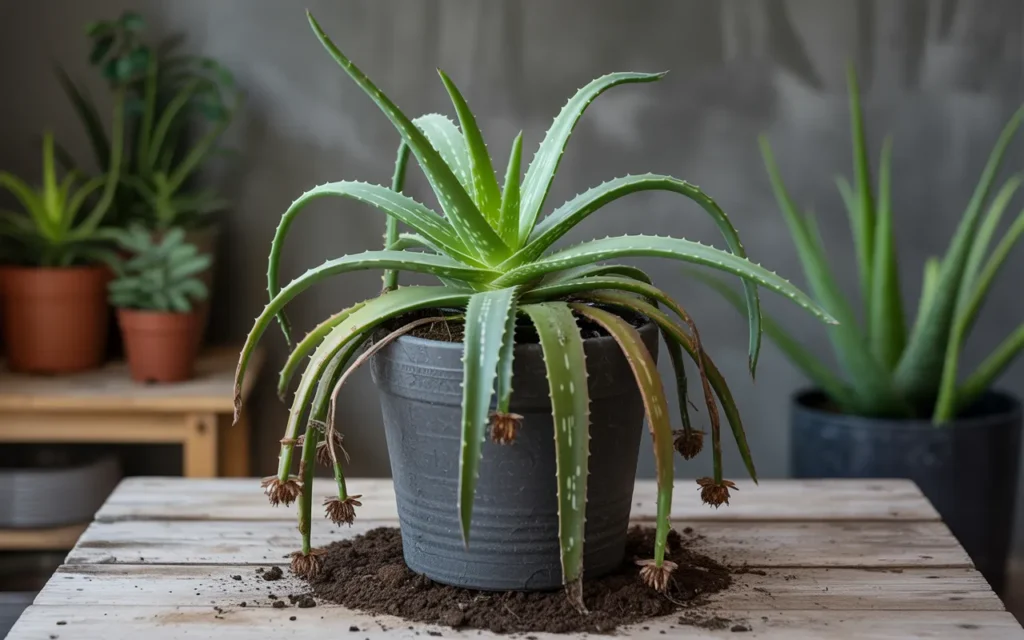
Your aloe plant will give you some very clear signals when it’s feeling cramped and ready for a move. Look for these tell-tale signs:
- It’s Top-Heavy or Tipping Over: If your aloe has grown so large that it’s constantly trying to fall over, it’s a sure sign that the pot is too small and light to support its weight.
- Pups Are Crowding the Pot: The most obvious sign! If your pot is filled with lots of little aloe pups pushing against the mother plant and the sides of the pot, it’s definitely time to give everyone some more space.
- Roots Are Escaping: Check the drainage holes at the bottom of the pot. If you see roots growing out, the plant is desperately searching for more room.
- Water Rushes Right Through: When you water the plant, does the water seem to run straight out the bottom almost instantly? This can mean the pot is so full of roots that there’s very little soil left to absorb any moisture.
- It’s Been a While: As a general rule, you should plan on transplanting your aloe vera every 2 to 3 years, or whenever you notice it has outgrown its current pot.
The Best Time to Transplant: The ideal time to transplant your aloe is in the spring or early summer. This is the beginning of their active growing season, which means they will have plenty of energy to recover from the move and establish themselves in their new home.
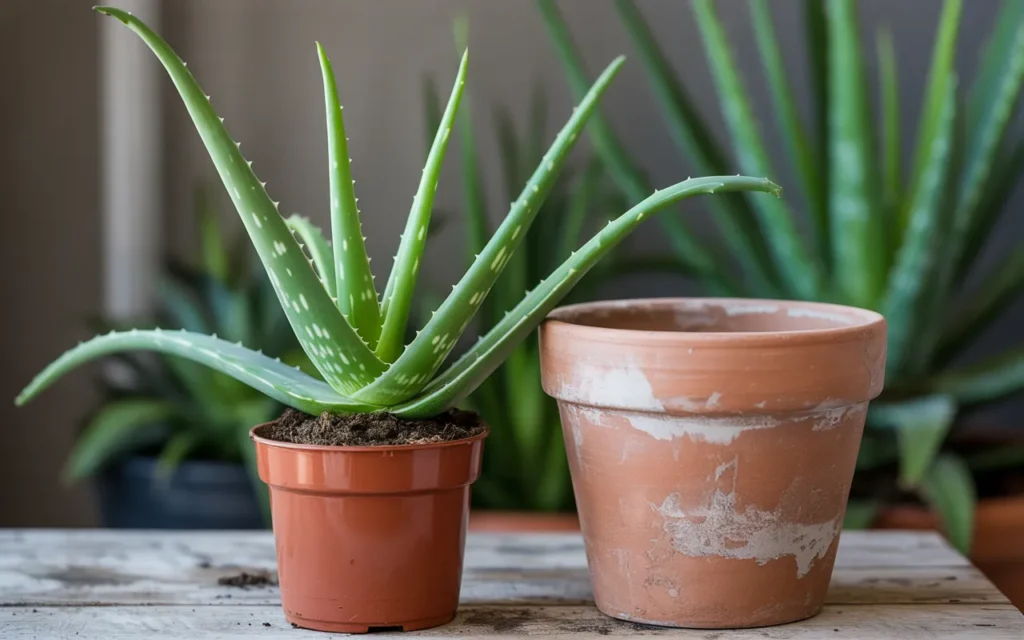
Choosing the Perfect New Pot
Picking the right home for your aloe is a critical step. It’s about more than just looks; the right pot is key to preventing root rot and ensuring a healthy plant.
The Material Matters: Terracotta is King
For succulents like aloe vera, the pot material is incredibly important.
- Terracotta (Clay): This is the best choice for aloe vera. Terracotta is porous, meaning air and water can pass through the walls of the pot. This helps the soil dry out more quickly and evenly, which is exactly what aloe plants need. It dramatically reduces the risk of overwatering.
- Glazed Ceramic or Plastic: You can use these, but you must be much more careful with your watering. These materials are non-porous and hold moisture for a long time. They increase the risk of the soil staying too wet.
The Right Size: Don’t Go Too Big!
It might be tempting to give your aloe a huge new pot to grow into, but this is a common and dangerous mistake.
- The Golden Rule: Choose a new pot that is only 1-2 inches larger in diameter than the current one. For example, if your aloe is in a 6-inch pot, move it to an 8-inch pot.
- Why is this so important? A pot that is too large will hold a massive volume of soil that the plant’s roots can’t reach. This excess soil stays wet for a long time, creating the perfect soggy conditions for root rot, the #1 killer of aloe plants. A modest size increase ensures the roots can grow into the new soil quickly.
Drainage is Non-Negotiable
Your new pot MUST have a drainage hole. No exceptions. Aloe vera will not survive in a pot where water can’t escape. If you find a decorative pot you love that has no hole, use it as a “cachepot”—just keep your aloe in a terracotta pot and place it inside the decorative one.
[Amazon Product: Set of 3 Classic Terracotta Pots with Saucers (6, 7, 8-inch)]
The Best Soil for Aloe Vera: A Recipe for Success
Aloe vera plants are native to arid, desert-like regions. They absolutely cannot tolerate dense, heavy, water-retentive soil like standard potting mix or garden soil. Using the wrong soil will lead to root rot. You need a soil mix that is gritty, airy, and drains incredibly fast.
You can buy a pre-made “cactus or succulent mix,” which is a good option. However, it’s very easy and often better to create your own superior mix.
DIY Aloe Vera Soil Mix:
Gather these ingredients and mix them together. This recipe provides the perfect balance of structure, nutrients, and drainage.
- 1 part high-quality potting mix
- 1 part perlite (these little white volcanic rocks create airflow and prevent compaction)
- 1 part coarse sand, pumice, or small gravel (this adds the grittiness and weight that ensures fast drainage)
Mixing these three ingredients in equal parts creates a perfect, chunky, fast-draining medium that your aloe’s roots will love.
[Amazon Product: Cactus and Succulent Potting Mix Bundle with Perlite]
How to Transplant an Aloe Vera Plant: Your Step-by-Step Guide
Alright, you have your new pot and your special soil mix. It’s time for the main event! It’s a good idea to do this outside or on a large tarp to make cleanup easy.
Step 1: Gather Your Supplies
- Your aloe vera plant
- The new terracotta pot
- Your prepared soil mix
- Gardening gloves (aloe leaves can have small, sharp “teeth” on the edges)
- A trowel
- A butter knife or a thin spatula (optional, to help loosen the plant)
- A clean, sharp knife or pruning shears (if you plan to separate pups)
[Amazon Product: Durable Gardening Gloves for Men & Women]
Step 2: Carefully Remove the Aloe from Its Old Pot
- This can be the trickiest part. Don’t just grab the plant and pull!
- Turn the pot on its side and gently tap the bottom and sides to loosen the root ball.
- Try to slide the plant out, supporting the base of the leaves with one hand.
- If it’s really stuck, you can run a butter knife or spatula around the inside edge of the pot to help free it.
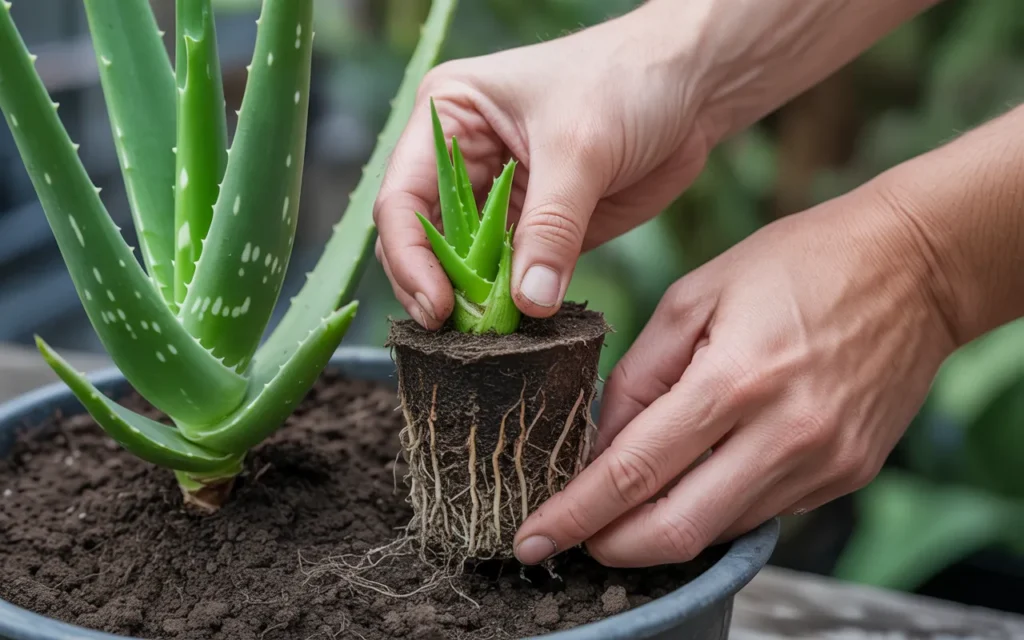
Step 3: Inspect the Roots and Separate the Pups
Now that the plant is free, take a look at the root system.
- Gently brush away the old soil so you can see the roots clearly.
- Healthy aloe roots should be firm and white or light orange/yellow. If you see any black, mushy, or smelly roots, this is root rot. Trim these away with clean scissors.
- Separating the Pups: Now is the perfect time to separate the baby plants. Look for pups that have formed their own small root systems.
- Gently tease them away from the mother plant with your fingers. If they are stubbornly attached, use a clean, sharp knife to cut the connecting root, making sure each pup has some of its own roots attached.
- Set the pups aside. You can pot them up separately later!
Step 4: Prepare the New Pot
- If your new terracotta pot has a large drainage hole, you can place a piece of broken pot or a mesh screen over it to prevent soil from falling out.
- Add a layer of your new, gritty soil mix to the bottom of the pot. Add enough so that when you place your aloe plant inside, the base of the plant (where the leaves start) sits about an inch below the rim of the pot.
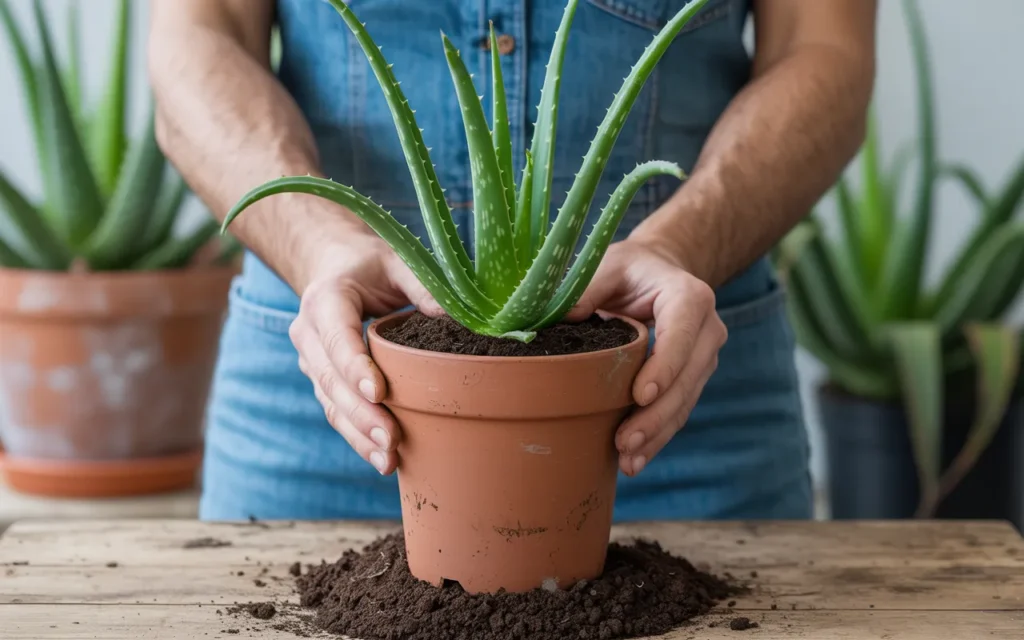
Step 5: Position and Plant Your Aloe
- Hold your aloe vera plant in the center of the new pot at the correct height.
- Begin filling in around the plant with your fresh soil mix. Use your hands or a trowel to work the soil down around the roots.
- Make sure the plant is stable and upright. Pat the soil down gently, but don’t compact it.
The Most Important Step: Post-Transplant Care
You might think the next step is to give your plant a big drink of water, but for succulents, you must do the opposite!
Do NOT Water Immediately!
This is the most critical rule of transplanting succulents.
- Wait at least one full week before you give your newly transplanted aloe its first watering.
- Why? During the transplanting process, the delicate roots will have experienced some minor breakage and damage. Watering right away can introduce moisture to these open wounds, which can easily lead to rot.
- Waiting a week allows these tiny wounds to heal and callus over, protecting the plant from infection when you do water.
Light and Location
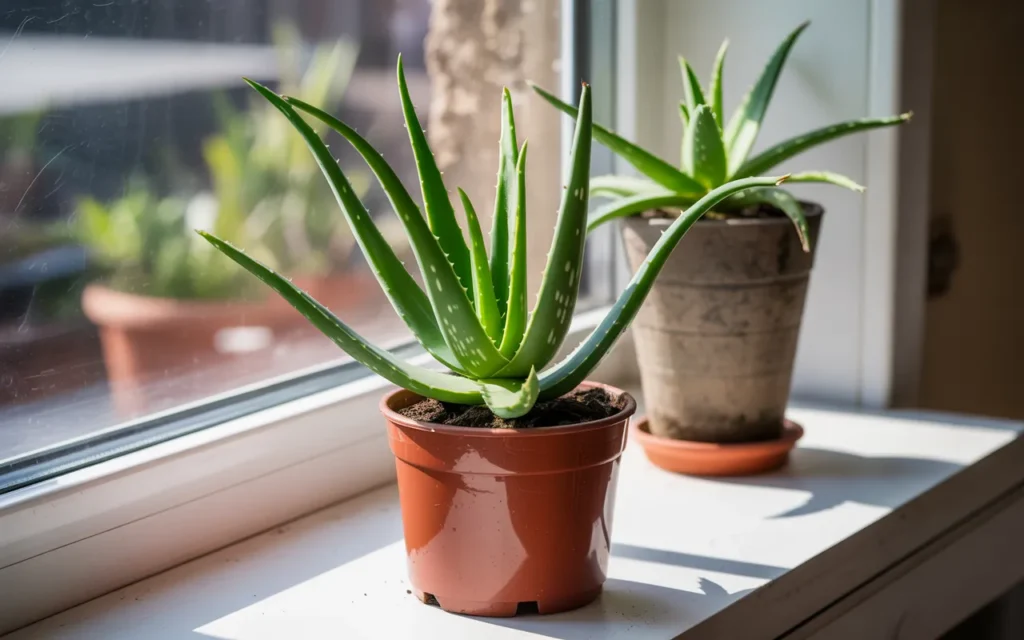
- After transplanting, place your aloe in a spot where it receives bright, but indirect, sunlight.
- Do not put it in intense, direct sun for a couple of weeks. The plant is stressed from the move and can easily get sunburned while it’s recovering.
Watering After the First Week
- After the one-week waiting period has passed, you can give the plant its first watering.
- Water thoroughly until you see water flowing out of the drainage hole. This encourages the roots to grow down deep.
- After that, return to a normal aloe watering schedule: only water again when the soil has completely dried out.
Potting Up Your New Aloe Pups
Don’t forget about the babies you separated!
- Let the pups sit out in a dry, shady spot for a few days. This allows any cuts to callus over.
- Pot each pup in its own small terracotta pot (a 3-4 inch pot is usually perfect) using the same gritty soil mix.
- Just like the mother plant, wait a week before watering them.
Conclusion
Congratulations, you are now a pro at knowing how to transplant an aloe vera plant! By giving your plant a slightly bigger home with the right kind of soil, you are setting it up for years of healthy growth. And as a bonus, you now have a whole new family of aloe pups to grow your collection or share with friends. Remember the golden rule—wait a week before watering—and your aloe will thank you with lush, beautiful growth in its new pot.
Frequently Asked Questions (FAQs)
1. When should you transplant an aloe vera plant?
The best time is in the spring or early summer, during its active growing season. You should transplant it when it becomes top-heavy, is overcrowded with pups, or has roots growing out of the drainage holes—typically every 2-3 years.
2. What kind of pot is best for an aloe vera plant?
A terracotta (clay) pot with a drainage hole is the absolute best choice. The porous nature of terracotta helps the soil dry out quickly, which is crucial for preventing root rot in succulents.
3. Why shouldn’t I water my aloe right after transplanting?
You must wait at least a week. The plant’s roots get slightly damaged during transplanting. Watering immediately can introduce bacteria into these tiny wounds and cause the roots to rot. Waiting allows the roots time to heal and callus over first.
4. How do I know if my aloe has root rot?
The signs of root rot are a wilted or mushy plant, yellowing leaves, and soil that never seems to dry out. When you inspect the roots, rotted roots will be black, brown, and mushy instead of firm and white/yellow.
5. Can I use regular potting soil for my aloe vera?
No, you should not use regular potting soil by itself. It’s too dense and holds too much water, which will lead to root rot. You must use a special cactus/succulent mix or create your own gritty mix by adding perlite and sand.
6. My aloe plant’s leaves are thin and curling. What’s wrong?
Thin, curling, or concave leaves are a classic sign that the aloe is thirsty. This is its way of conserving moisture. If the soil is bone dry, it’s time for a deep and thorough watering.
7. How do I care for the aloe vera pups I separated?
After separating them, let the pups sit out for a few days to let any cuts heal. Then, pot them in small pots with fast-draining soil. Wait a full week before giving them their first watering.