Gardening is a cycle of anticipation and reward, and for many bulb enthusiasts, the work doesn’t end when the flowers fade. In colder climates, tender summer-blooming bulbs like dahlias, gladiolus, and cannas simply cannot survive the winter frost in the ground. This is where learning how to store flower bulbs becomes an essential skill. It allows you to save your favorite varieties, save money, and enjoy an even bigger display next year.
Even for hardy spring bulbs like tulips, you might find yourself with extras that didn’t make it into the ground before the freeze. Knowing the right preservation methods can make the difference between a shriveled loss and a vibrant spring garden.
It might sound technical, but storing bulbs is actually quite simple. Think of it as putting your garden to sleep for a cozy winter nap. Here is your step-by-step guide to preserving your floral treasures.
1. Wait for the Right Moment to Dig
Timing is critical when preserving tender bulbs. You shouldn’t rush to dig them up while they are still green and growing. The foliage needs time to feed the bulb one last time before winter.
Wait until the first hard frost has blackened the foliage. This signal tells the plant to go dormant. Once the tops look withered and brown, it’s time to grab your spade. This usually happens in late autumn, just before the ground freezes solid.

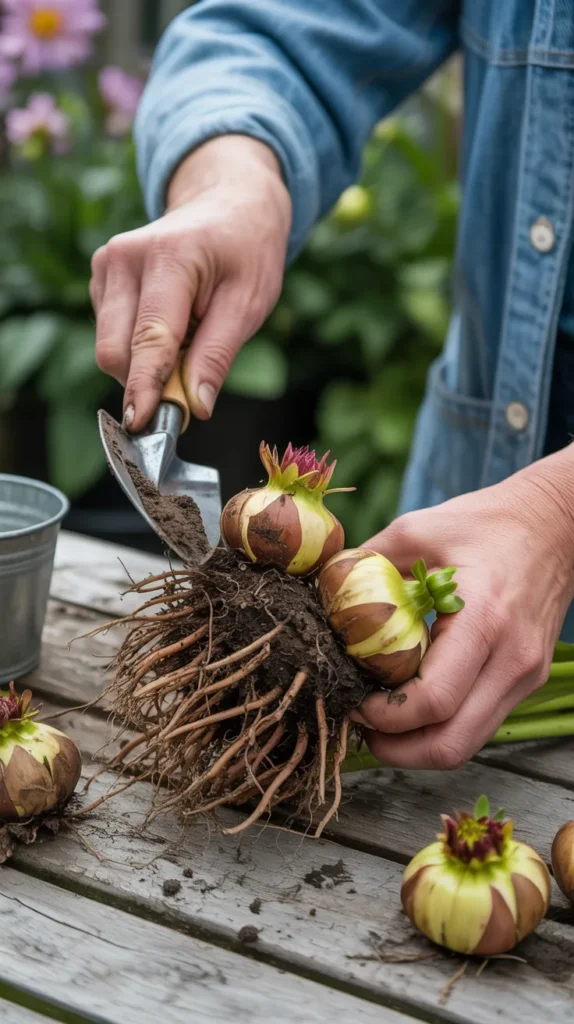
2. Dig Carefully and Clean Gently
When you are ready to lift your bulbs, be gentle. Use a garden fork rather than a shovel to minimize the risk of slicing through the tubers or corms. Start digging several inches away from the stem to avoid accidental damage.
Once lifted, shake off the excess soil. You don’t need to scrub them perfectly clean yet; just remove the heavy clumps of dirt. Use a sharp pair of {Gonicc Professional Pruning Shears} to cut off the stems, leaving about an inch or two attached to the bulb.
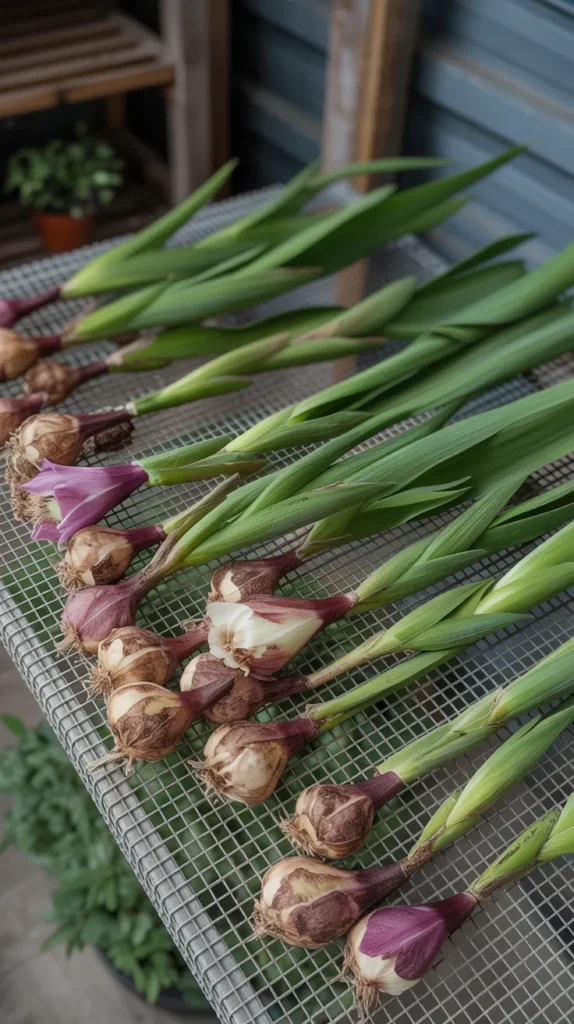
3. The Curing Process: Drying is Key
Before you can pack your bulbs away, they must be “cured” or dried. This toughens the skin and prevents rot during storage. Lay them out in a single layer in a warm, dry, and airy spot, like a garage or a covered porch, for a few days to a week.
Avoid direct sunlight, which can dry them out too much. For smaller corms like gladiolus, a week is usually enough. Larger tubers might need a bit longer. Placing them on a {Stackable Mesh Drying Rack} ensures excellent air circulation from all sides, speeding up the process evenly.
4. Inspect and Sort
Once your bulbs are cured, give them a final inspection. This is the most important step in learning how to store flower bulbs successfully. One rotten apple spoils the bunch, and the same is true for bulbs.
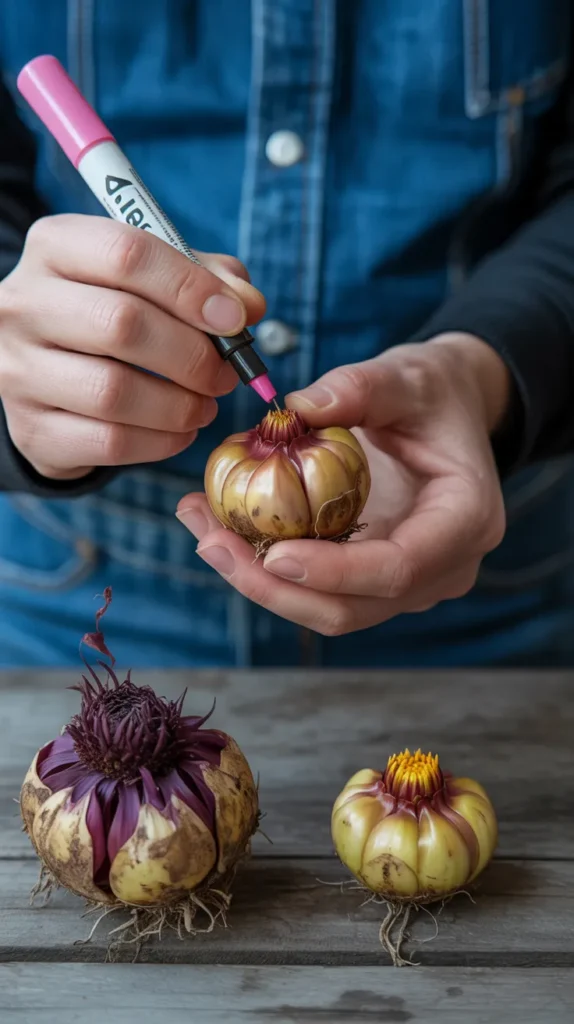
Discard any bulbs that are soft, mushy, or show signs of disease. You want only firm, healthy bulbs for storage. This is also a great time to label them if you haven’t already. Use a permanent marker directly on the bulb or attach {WHATOOK Plant Labels} to the stem stubs so you know exactly what color you are planting come spring.
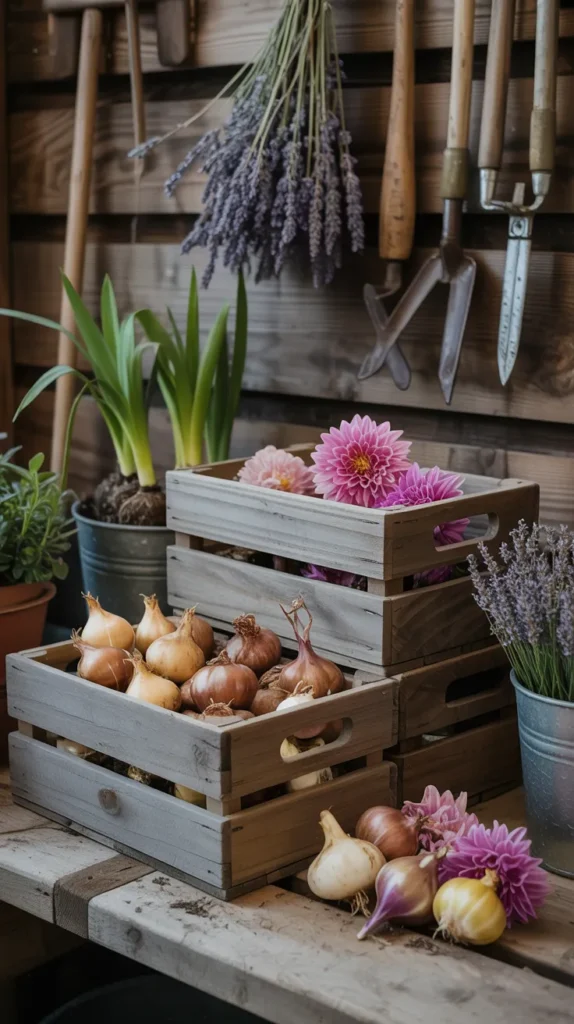
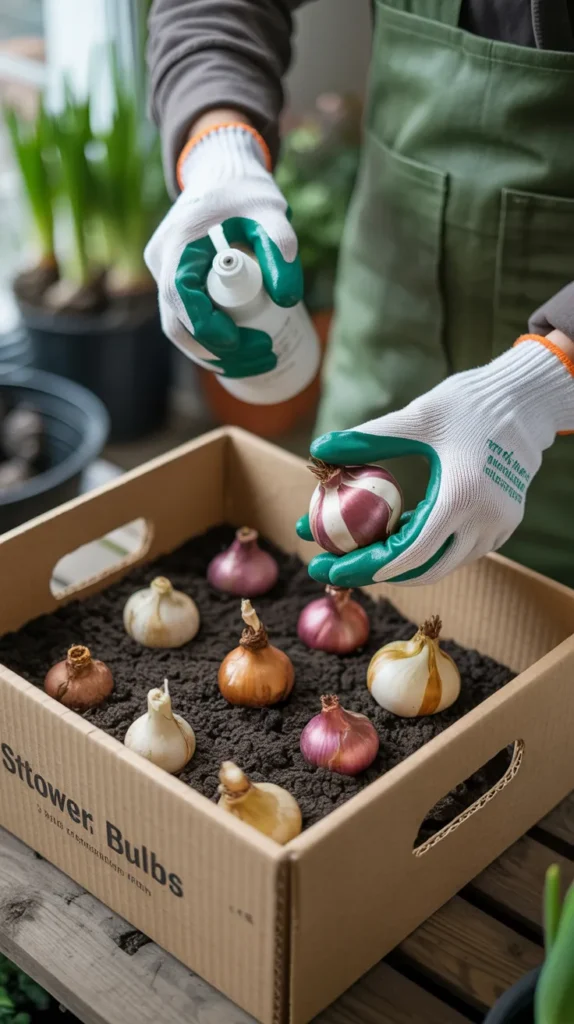
5. Choose the Right Packing Material
You can’t just throw bulbs in a plastic bag; they need to breathe, but they also need to stay slightly plump. The goal is to keep them dry enough to prevent rot but moist enough to prevent shriveling.
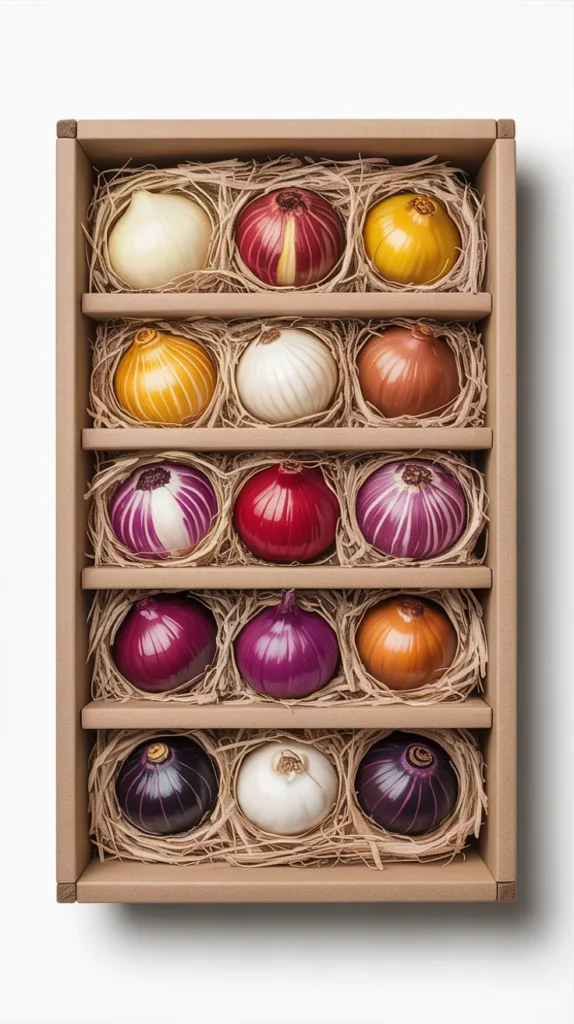
Pack your bulbs in a box filled with a breathable medium like peat moss, sawdust, vermiculite, or even shredded paper. {Hoffman Horticultural Vermiculite} is a favorite among gardeners because it naturally regulates moisture, keeping the environment around the bulb stable.
6. The “Don’t Touch” Rule
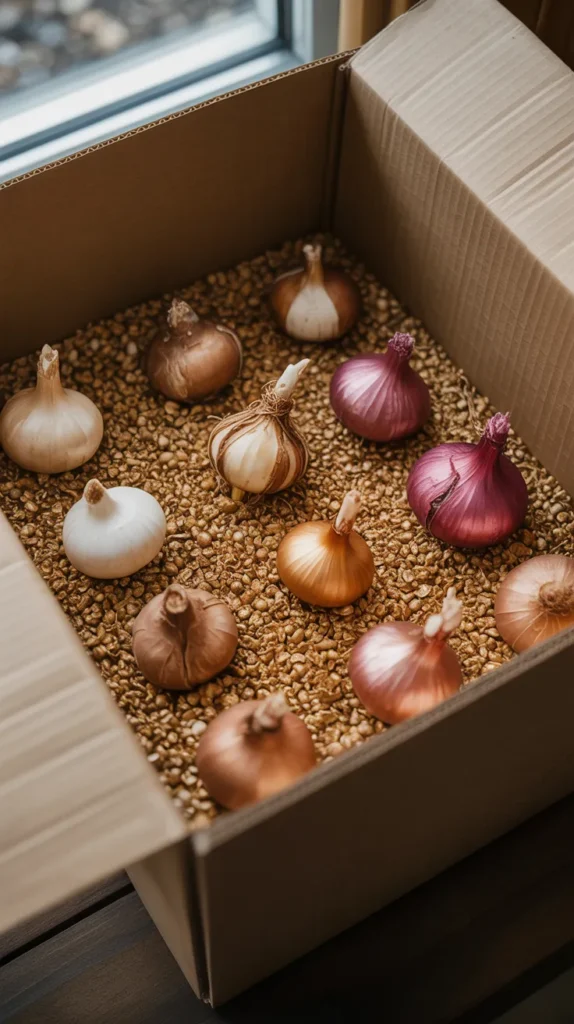
When packing your bulbs into their storage containers, make sure they aren’t touching each other. If one bulb starts to rot, the infection can easily spread to its neighbors if they are in direct contact.
Layer your packing material (like vermiculite or peat moss) between the bulbs. Think of it like social distancing for your plants. Using a {VIVOSUN Grow Bag} or a cardboard box with ventilation holes works well as a container because it allows for air exchange while holding the packing material securely.
7. Find the Cool Spot
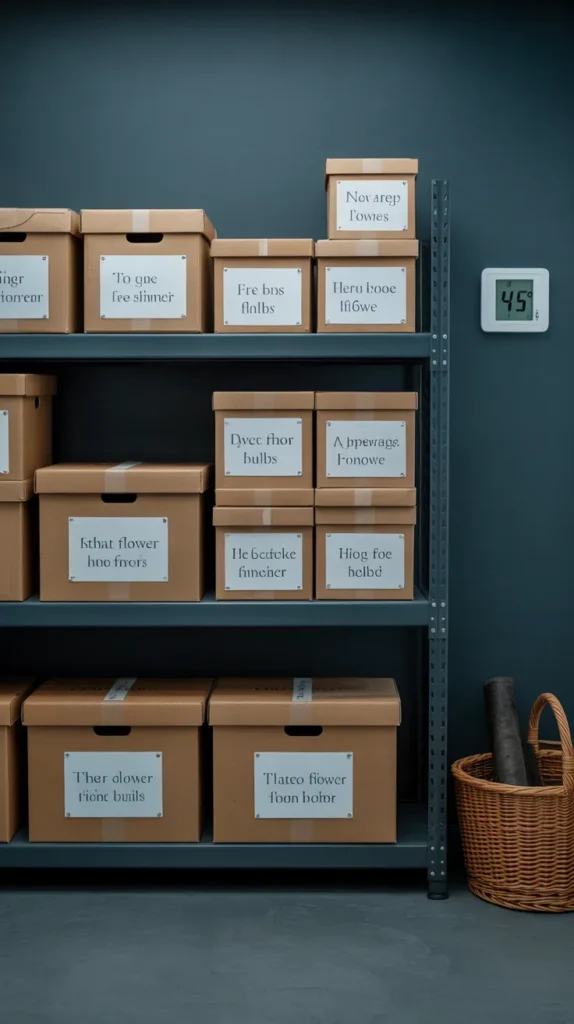
Now that your bulbs are packed, where do they go? They need a cool, dark place to stay dormant. The ideal temperature range is between 35°F and 50°F.
An unheated basement, a root cellar, or an attached garage that doesn’t freeze are perfect locations. Avoid storing them near fruit (like apples), which release ethylene gas that can cause the bulbs to rot or bloom prematurely. A simple {Govee Bluetooth Thermometer} placed near your boxes can help you monitor the temperature from your phone to ensure it doesn’t get too freezing or too warm.
8. Monthly Check-Ups
Don’t just forget about them until April! Check your stored bulbs once a month. This proactive step is crucial for mastering how to store flower bulbs.
Feel around in the boxes. If you find a bulb that has turned to mush, throw it out immediately to save the others. If the bulbs seem shriveled and dry, lightly mist the packing material with water (don’t soak the bulbs directly). Wearing {COOLJOB Gardening Gloves} during these checks keeps your hands clean and protects you from any potential mold spores.
Recommended Products for Bulb Storage
| Product | Use Case |
|---|---|
| {Gonicc Professional Pruning Shears} | Essential for cleanly cutting back stems before storage. |
| {Stackable Mesh Drying Rack} | Provides optimal airflow for curing bulbs evenly. |
| {WHATOOK Plant Labels} | Helps identify bulb varieties during the long winter storage. |
| {Hoffman Horticultural Vermiculite} | Regulates moisture in storage boxes to prevent rot and shriveling. |
| {VIVOSUN Grow Bag} | A breathable container option for holding packing material and bulbs. |
| {Govee Bluetooth Thermometer} | Monitors storage temperature remotely to prevent freezing or overheating. |
| {COOLJOB Gardening Gloves} | Protects hands during digging, cleaning, and monthly inspections. |
Dreaming of Spring
Storing your own flower bulbs is a bridge between the seasons. It connects the glory of last summer’s garden with the promise of the next. It’s a small investment of time that pays off in huge dividends when you unearth those firm, healthy tubers in the spring, ready to grow again.
By following these simple steps on how to store flower bulbs, you turn your garage or basement into a floral bank vault. So go ahead, dig up those dahlias and cure those cannas. Your future garden will thank you for it.