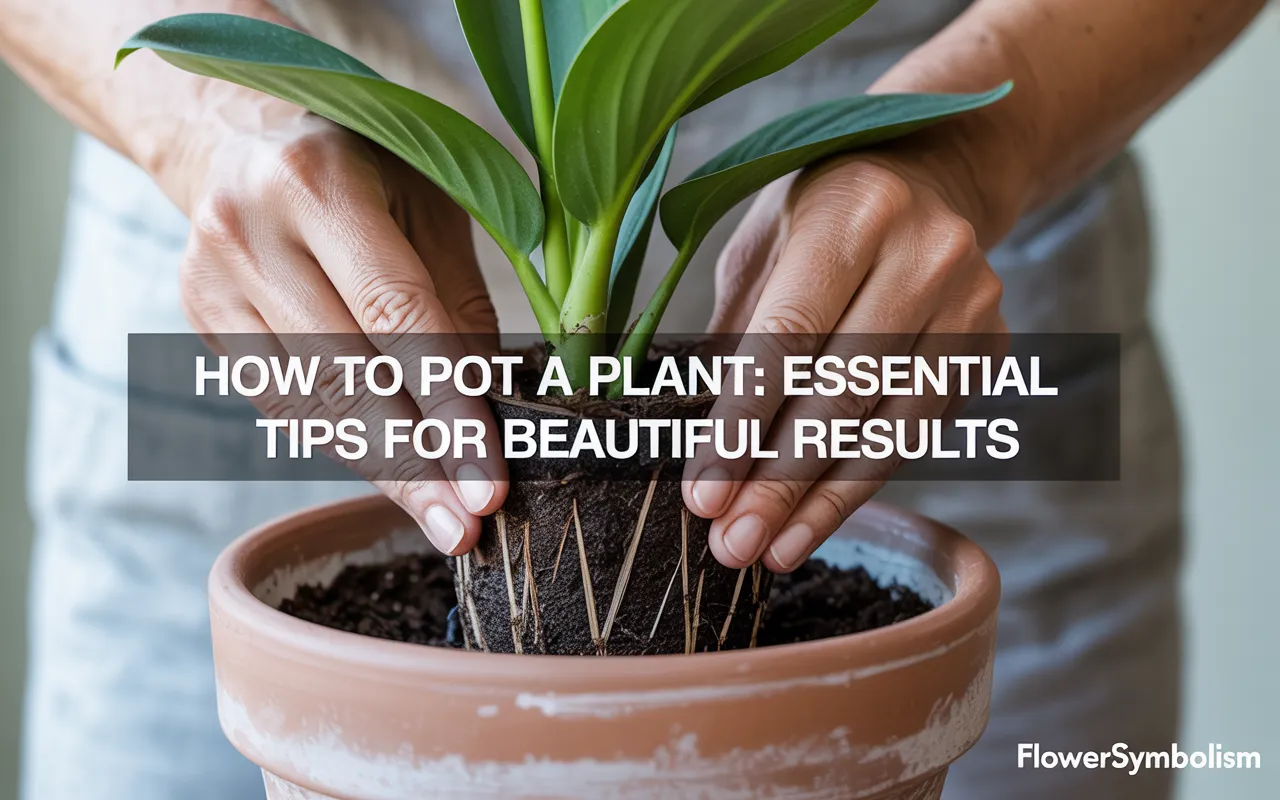
Bringing a new plant home is exciting! It’s full of potential and ready to brighten up your space. But then comes the slightly intimidating part: moving it from that flimsy plastic nursery container into a proper pot. This guide is here to demystify the process and show you exactly how to pot a plant with confidence. It’s one of the most basic and important skills for any plant parent.
Potting a plant isn’t just about finding a prettier container. It’s about giving your plant the right foundation to thrive for years to come. We’ll cover everything from choosing the perfect pot and soil to the step-by-step process and aftercare.
Let’s get your new green friend settled into its forever home!
The “Why” Behind Potting: More Than Just a Pretty Face
You might wonder if you can just leave your new plant in the plastic pot it came in. While you can for a little while, potting it into a new container is crucial for its long-term health and happiness.
- Fresh Nutrients: The soil in nursery pots is often low-quality and has been depleted of nutrients. Fresh potting mix provides a new source of food for your plant to grow strong.
- Room to Grow: Plants purchased from a store are often “root-bound,” meaning their roots have completely filled the container. A slightly larger pot gives the roots space to expand, which is essential for the plant’s overall growth.
- Proper Moisture Control: A good pot and fresh soil work together to hold the right amount of water. Nursery pots often have drainage issues, leading to soil that is either too wet or too dry.
- Stability: As plants grow taller, they need a heavier, more stable base to keep them from tipping over. A sturdy ceramic or terracotta pot provides that anchor.
- Aesthetics: Let’s be honest—a beautiful pot is like the perfect frame for a piece of art. It completes the look and integrates the plant into your home’s decor.
If you’re looking to further explore plant care and gardening techniques, here are some helpful guides:
• Want to grow monstera plant and give it the right environment? How to grow monstera plant tips
• Curious about decorating your plant pots to match your space? How to decorate plant pots
• After potting, you might want to know how to replant aloe vera plant when it outgrows its container. How to replant aloe vera plant
• For seasonal interest, check out how to plant flower seeds to fill those pots with blooms. How to plant flower seeds
• And if you want to pot veggies, here’s a guide on planting herbs in pots. How to plant herbs in pots
Step 1: Choosing the Perfect Pot
This is a critical decision that directly impacts your plant’s health. The two most important factors are drainage and size.
Drainage, Drainage, Drainage!
This is the number one, non-negotiable rule of potting plants. The pot you choose must have a hole in the bottom.
- Why? A drainage hole allows excess water to escape. Without it, water pools at the bottom of the pot, creating a swampy environment. This drowns the roots, leading to a deadly condition called root rot.
- What about pots without holes? If you fall in love with a decorative pot that has no hole (often called a “cachepot”), do not plant directly into it. Instead, keep your plant in a plastic pot with drainage holes that fits inside the decorative one. When you water, take the inner plastic pot out, water it in the sink, let it drain completely, and then place it back in the cachepot.
Sizing It Up: Bigger is Not Better
This is the most common mistake new plant owners make. It seems logical to give your plant a huge new pot with lots of room to grow, but this is actually very dangerous for the plant.
- The Golden Rule: Choose a new pot that is only 1 to 2 inches larger in diameter than the current pot the plant is in. For very large plants (in a 10-inch pot or bigger), you can go up by 3 inches.
- Example: If your plant is currently in a 6-inch plastic nursery pot, its new home should be a 7-inch or 8-inch pot. That’s it!
- Why is this so important? A pot that is too large holds a massive amount of soil that the plant’s roots can’t reach yet. This unused soil stays wet for a very long time, creating the perfect conditions for root rot. A small size increase ensures the roots can grow into and use the new soil quickly.
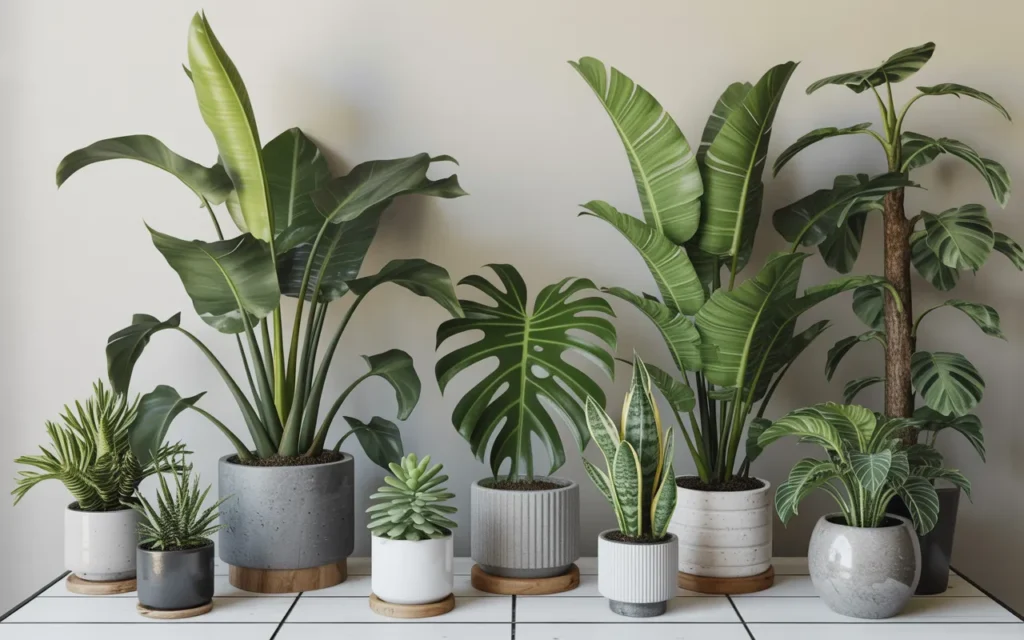
Material Matters
- Terracotta (Unglazed Clay): This is a fantastic choice for most plants, especially for beginners and for plants that like to dry out (like succulents, cacti, and snake plants). The clay is porous, which means water can evaporate through the sides, helping the soil to dry out more evenly and providing oxygen to the roots.
- Glazed Ceramic, Plastic, or Metal: These pots are non-porous, meaning they hold moisture for much longer. They are a good choice for plants that prefer to stay consistently moist (like ferns and calatheas). If you tend to overwater your plants, be extra careful when using these pots.
[Amazon Product: Set of 3 Modern Ceramic Planters with Drainage]
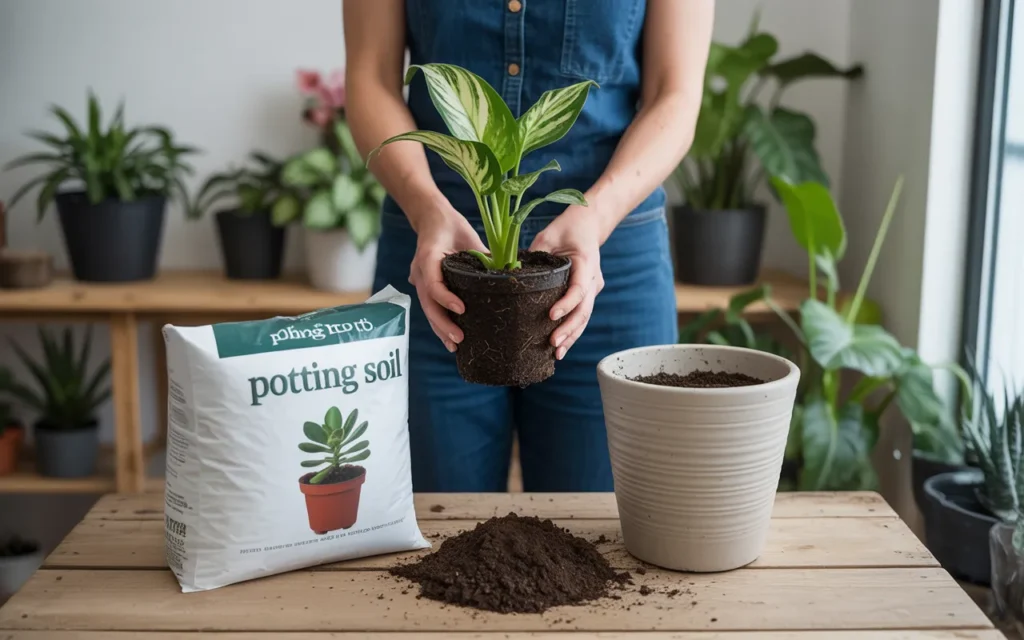
Step 2: Selecting the Right Soil
Using soil from your backyard is a big no-no. Garden soil is heavy, contains pests and weed seeds, and compacts easily, which smothers roots. You need to use a bagged “potting mix.”
Potting mix is a specially formulated, soil-less blend of ingredients designed for container plants. It’s light, airy, and sterile.
One Size Does Not Fit All
Different plants have different needs. Using the right type of potting mix is just as important as choosing the right pot.
- All-Purpose Potting Mix: This is a great starting point for the majority of common houseplants, like pothos, philodendrons, and monsteras. It typically contains peat moss or coco coir, perlite, and compost. [Amazon Product: Premium All-Purpose Organic Potting Mix]
- Cactus & Succulent Mix: This mix contains much more sand, gravel, or perlite. It’s very gritty and drains extremely fast, which is exactly what desert plants like succulents, cacti, and snake plants need to prevent root rot.
- Orchid Mix: This isn’t soil at all! It’s a very chunky mix of bark, charcoal, and perlite. It’s designed to provide the excellent airflow that orchid roots require.
Pro Tip: Even for an all-purpose mix, it’s always a good idea to add an extra handful or two of perlite. Perlite looks like little white Styrofoam balls and it works wonders to increase aeration and drainage in any potting mix.
Once your plant is potted, you’ll likely want to move forward with care and maintenance. These articles can help:
• To ensure your plant thrives, check how to take care of a monstera plant after potting. How to take care of a monstera plant
• If your plant grows too big, here’s how to repot a monstera plant safely. How to repot a monstera plant
• For succulents or aloe, you might need to propagate snake plant in water as part of division. How to propagate snake plant in water
• Want more ideas for container gardening? Learn how to plant tomatoes from seeds even in pots. How to plant tomatoes from seeds
• And for aromatic herbs, here’s how to take care of rosemary plant in containers. How to take care of rosemary plant
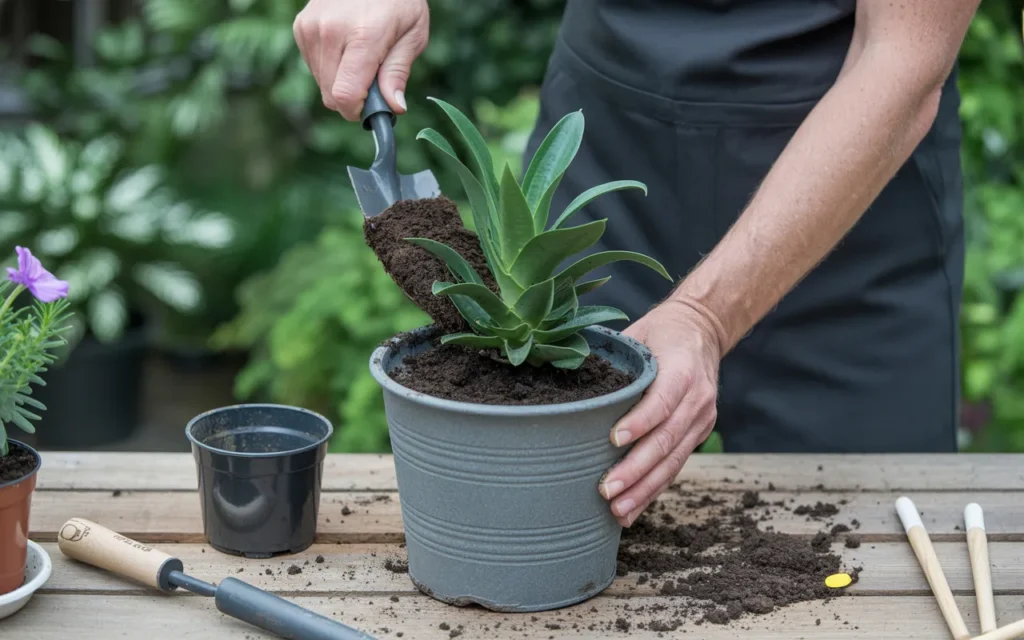
How to Pot a Plant: The Step-by-Step Process
You have your pot and your soil. Now it’s time for the main event! It’s best to do this outdoors or lay down some newspaper to make cleanup easier.
Your Potting Checklist:
- Your new pot
- Your chosen potting mix
- Your plant in its nursery pot
- A small piece of mesh or a coffee filter (optional)
- A trowel or scoop
- Gardening gloves (optional)
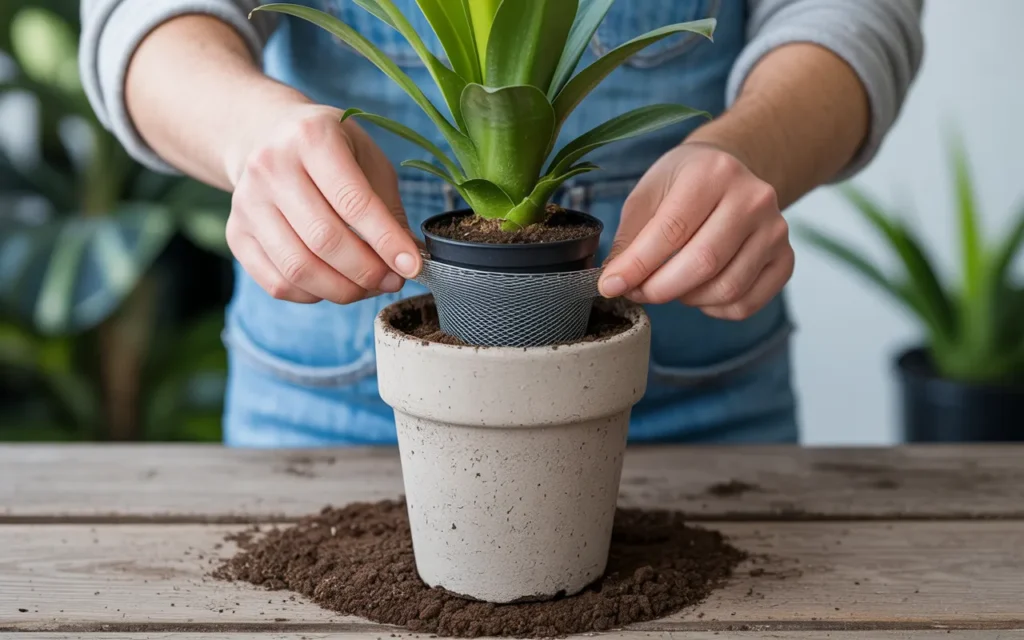
Step 1: Prepare the New Pot
- If your pot’s drainage hole is very large, you can place a small piece of screen mesh, a coffee filter, or a broken piece of a terracotta pot over it. This prevents soil from washing out the bottom while still allowing water to escape.
- The Myth of a “Drainage Layer”: You may have heard that you should put a layer of rocks or gravel at the bottom of the pot for drainage. This is an old myth and is actually harmful to the plant. It creates a perched water table, which means water sits in the soil just above the rocks, keeping the roots wetter, not drier. Just use soil all the way down.
- Add a layer of fresh potting mix to the bottom of your new pot.
Step 2: Remove the Plant from its Old Pot
- Never pull a plant out by its stem! This can cause serious damage.
- Turn the pot on its side and gently squeeze the plastic pot to loosen the root ball.
- Support the base of the plant with one hand and gently slide or wiggle the plant out. If it’s really stuck, you can tap the bottom of the pot to help dislodge it.
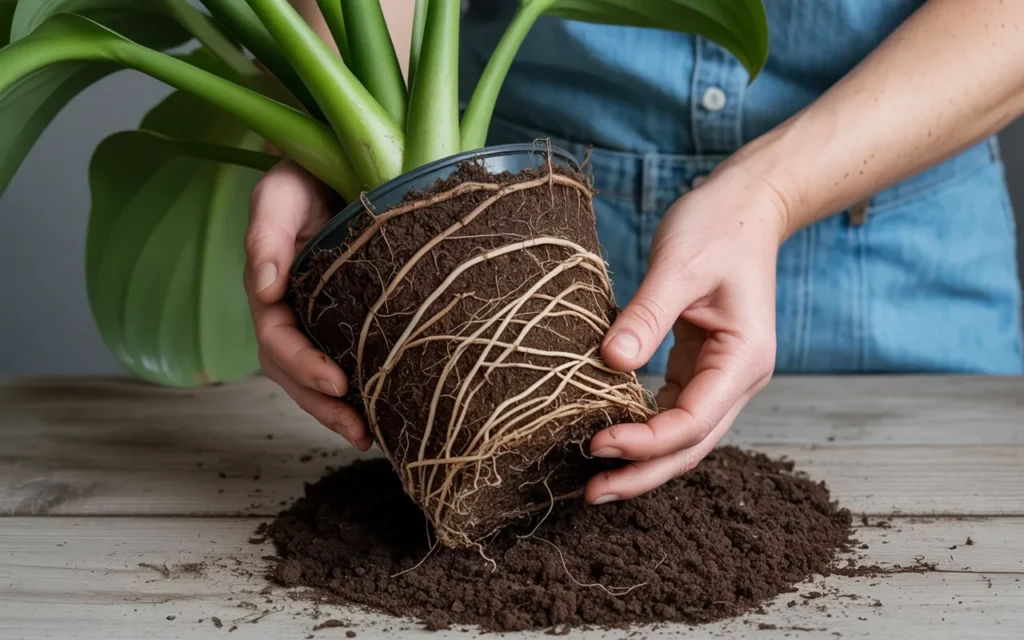
Step 3: Inspect and Loosen the Roots
- Once the plant is free, take a look at the roots. If they are a dense, tangled mass circling the shape of the pot, the plant is “root-bound.”
- You need to encourage these roots to grow outwards into the new soil. Gently use your fingers to tease apart and loosen the bottom third of the root ball. Don’t be afraid to break a few small roots; this is healthy for the plant.
If you’d like to experiment with different plants or styles, these posts will inspire you:
• Try planting mint in pot — great for indoor herb gardens. How to plant mint in pot
• Want to grow curry leaves plant in a container? Here’s how. How to grow curry leaves plant
• For flowering interest, see this guide on planting marigold seeds in containers. How to plant marigold seeds
• Planning a vegetable pot garden? Read how to plant cucumbers in a pot. How to plant cucumbers in a pot
• For a showy addition, this explores how to plant sunflowers even in small spaces. How to plant sunflowers
Step 4: Position the Plant
- Place the plant in the center of the new pot.
- The goal is for the top of the root ball to sit about 1 inch below the rim of the new pot. This space is important for watering.
- Add or remove soil from the bottom of the pot until the plant is at the correct height.
Step 5: Fill with Soil
- Holding the plant steady, begin adding fresh potting mix around the sides of the root ball.
- Use your hands or a small trowel to fill in all the gaps.
- Gently press the soil down to eliminate any large air pockets, but do not compact it tightly. You want the soil to remain light and airy.
Step 6: Water Thoroughly
- This is a critical final step. Immediately after potting, you need to give the plant a deep and thorough watering.
- Take the plant to a sink or bathtub and water it until water runs freely from the drainage hole at the bottom.
- This first watering helps to settle the soil around the roots and reduces the stress of transplant shock.
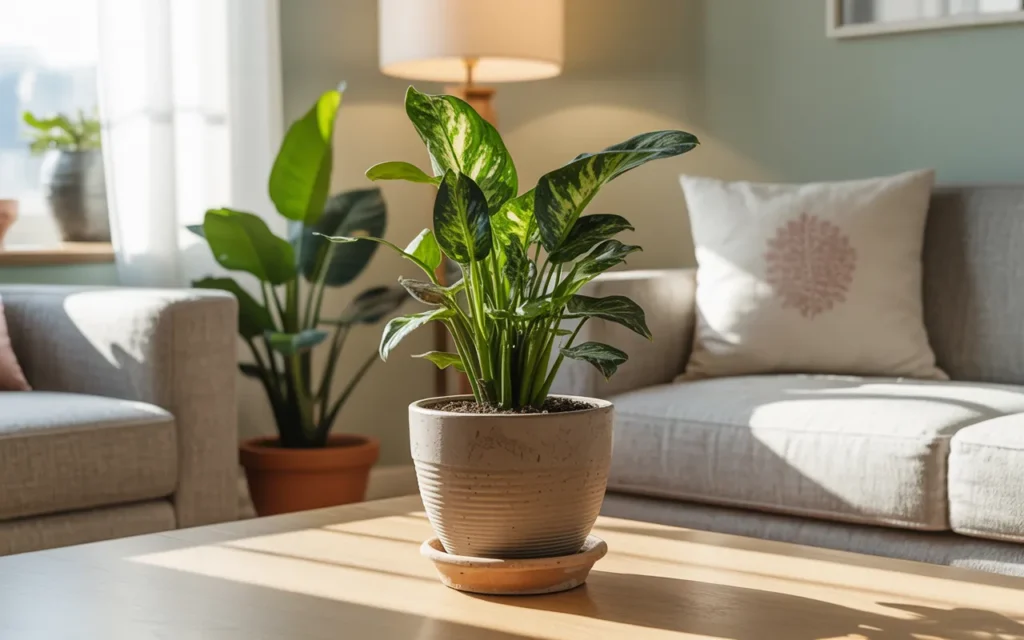
Aftercare: Helping Your Plant Settle In
Your plant has been through a big change. A little TLC over the next few weeks will help it recover and start thriving.
- Location: Place the plant back in a spot where it receives the appropriate amount of light. Avoid moving it to a drastically different environment right away.
- Watering: After the initial deep watering, do not water again until the soil begins to dry out. The new soil will hold moisture differently, so check it with your finger every few days.
- Fertilizer: Do not fertilize your plant for at least one month after repotting. Fresh potting mix contains nutrients, and the plant’s roots are sensitive after being disturbed. Fertilizing too soon can burn the roots.
Conclusion
You’ve done it! You now know all the essential secrets for how to pot a plant successfully. By choosing the right size pot with drainage, using the appropriate soil, and following a few simple steps, you have given your plant the best possible start in its new home.
Potting is a fundamental skill that connects you with your plants and sets them up for a long, beautiful, and healthy life. Enjoy watching your happy plant grow!
Frequently Asked Questions (FAQs)
1. How do you properly pot a plant?
Properly potting a plant involves choosing a pot with a drainage hole that’s 1-2 inches larger than the current one, using fresh potting mix, loosening the plant’s root ball, placing it in the new pot so the top of the roots is an inch below the rim, filling with soil, and watering thoroughly.
2. Should you put rocks in the bottom of a planter?
No, this is a common myth. Putting rocks at the bottom of a pot does not improve drainage. It actually raises the water table inside the pot and keeps the roots wetter, which can lead to root rot. It’s best to use potting mix all the way to the bottom.
3. How big should a pot be for a new plant?
The new pot should only be 1-2 inches wider in diameter than the pot the plant is currently in. Choosing a pot that is too big is a very common mistake that often leads to overwatering and root rot.
4. Is it better to pot a plant in a plastic or ceramic pot?
It depends on the plant and your watering habits. Porous terracotta (a type of ceramic) is great for plants that like to dry out and for people who tend to overwater. Non-porous plastic or glazed ceramic pots hold moisture longer and are good for plants that like to stay moist.
5. How long should you wait to water a plant after potting?
You should water a plant immediately and thoroughly right after potting. This helps to settle the soil around the roots and reduces transplant shock. The only exception is for cacti and succulents, which should be left to dry for about a week before their first watering.
6. Do you need to change all the soil when repotting?
You don’t need to remove all the old soil. It’s good practice to gently loosen the root ball and shake off some of the loose, old soil, but the soil that is tightly packed in the root system can stay. The goal is to surround this existing root ball with fresh, nutrient-rich potting mix.
7. How do I know if my plant needs to be repotted?
Look for clear signs like roots growing out of the drainage hole, the plant looking too large for its pot, water running straight through the pot without soaking in, or the soil drying out extremely quickly. As a general rule, most houseplants benefit from being repotted every 1-2 years.