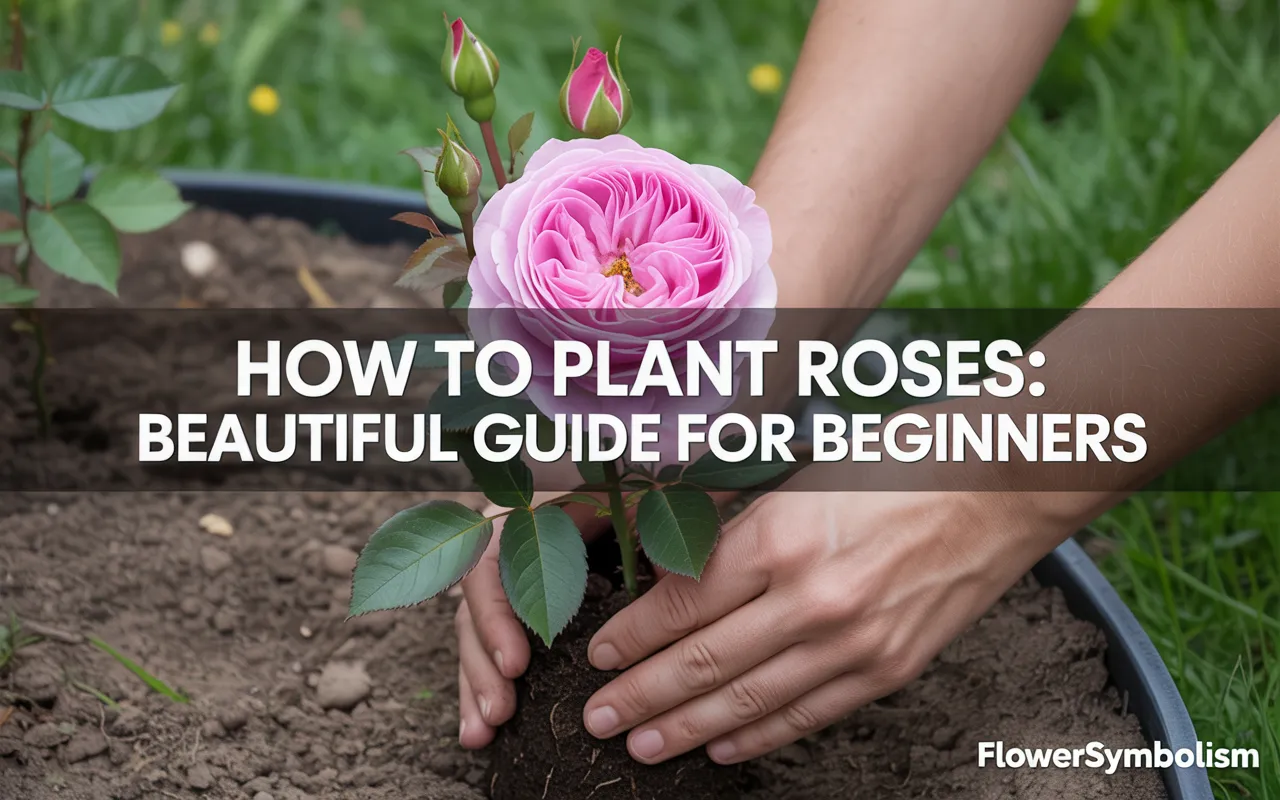
Roses are the undisputed queens of the garden. With their elegant blooms, enchanting fragrance, and timeless charm, they can turn any outdoor space into a personal paradise.
If you’ve been dreaming of growing your own but feel intimidated, this guide is for you. We will show you exactly how to plant roses and set them up for a lifetime of beautiful blooms.
The process is much simpler than you might think, and with a little knowledge, any beginner can succeed.
This beautiful guide will walk you through everything, from choosing the perfect rose for your garden to the step-by-step planting process that ensures a healthy, thriving plant. Get ready to build your confidence and create the rose garden you’ve always wanted.
Understanding the Types of Roses You Can Buy
When you decide to plant a rose, you’ll typically find them sold in one of two forms. Understanding the difference is the first step in learning how to plant roses correctly.
- Bare-Root Roses: These are dormant plants, usually sold in late winter or early spring through mail-order catalogs or at nurseries.
They arrive looking like a bundle of thorny sticks with roots packed in sawdust or wood shavings. While they may look lifeless, they are simply asleep.
Planting bare-root roses is often cheaper and offers a wider selection of varieties. They establish very strong root systems once planted. - Container-Grown Roses: These are roses that have been planted in a pot and are actively growing. You can buy them throughout the growing season.
They are a great option for beginners because you can see the plant’s health, and sometimes it’s already blooming. The planting process is very straightforward, as you are simply moving the plant from its nursery pot to your garden.
This guide will provide detailed instructions for planting both types.
Step 1: Choosing the Perfect Location
Before you even buy your rose, you need to find the perfect spot for it to live. Roses have three main requirements for their home.
- Full Sun: Roses are sun-worshippers. They need a location that receives at least six to eight hours of direct sunlight per day. Morning sun is particularly beneficial as it helps to quickly dry dew off the leaves, which prevents fungal diseases like black spot.
- Well-Drained Soil: Roses hate having “wet feet.” They will not survive in soil that is constantly waterlogged, as this leads to root rot. To check your drainage, dig a hole about one foot deep and fill it with water. If it drains away within an hour, your drainage is excellent. If it takes several hours, you may need to amend your soil.
- Good Air Circulation: Planting roses where there is good airflow helps to keep their leaves dry and disease-free. Avoid planting them too close together or against a solid wall where air can stagnate.
Step 2: Preparing the Planting Hole
Proper soil preparation is the most important gift you can give your new rose. Taking the time to prepare the planting site will pay off for years to come.
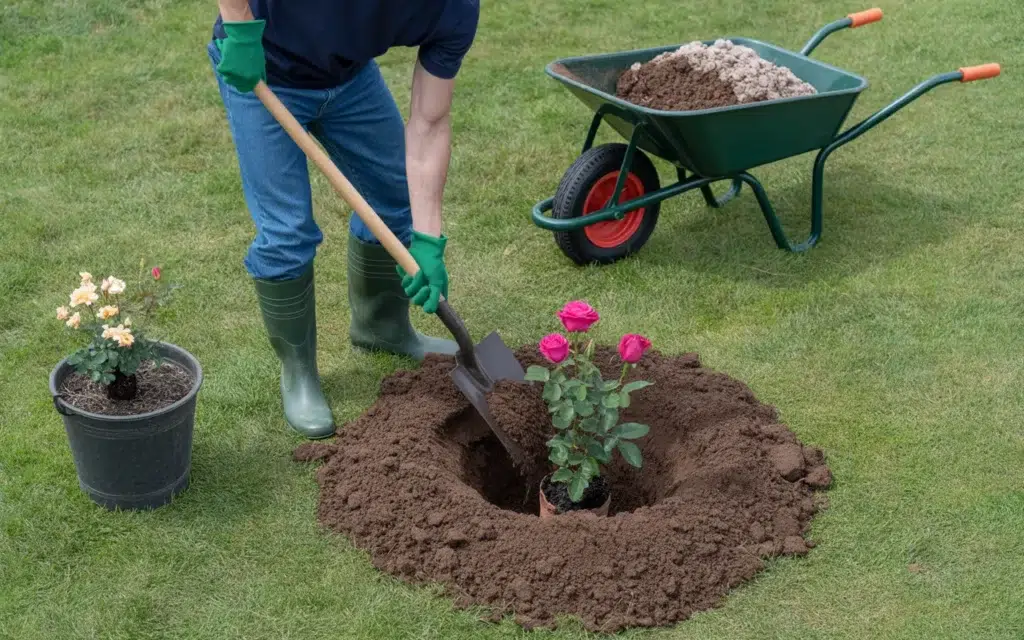
- Dig a Big Hole: Whether you have a bare-root or container rose, dig a hole that is both wider and deeper than the root system. A good rule of thumb is about 18-24 inches wide and 18 inches deep. This loosens the surrounding soil, making it easy for the new roots to spread out.
- Amend the Soil: Roses are heavy feeders and thrive in rich, loamy soil. Improve the soil you dug out of the hole by mixing it with a generous amount of organic matter. A 50/50 mix of your native soil and Organic Compost or Aged Manure is a perfect recipe for success. This mixture improves soil structure, adds vital nutrients, and helps with moisture retention.
- Consider a Starter Fertilizer: You can also mix a slow-release fertilizer designed for roses, such as one containing bone meal or a [Rose Starter Fertilizer], into the bottom of the planting hole to give your plant an extra boost.
Step 3: How to Plant Roses (Bare-Root Method)
Planting a bare-root rose requires a few specific steps to wake it up from dormancy and get it settled in its new home. The best time to plant is in the early spring, while the plant is still dormant.
- Unpack and Inspect: As soon as your bare-root rose arrives, unpack it. Remove all the packing material from the roots. The roots should be light-colored and firm; trim away any that are broken, mushy, or look dead with a pair of Sharp Pruning Shears.
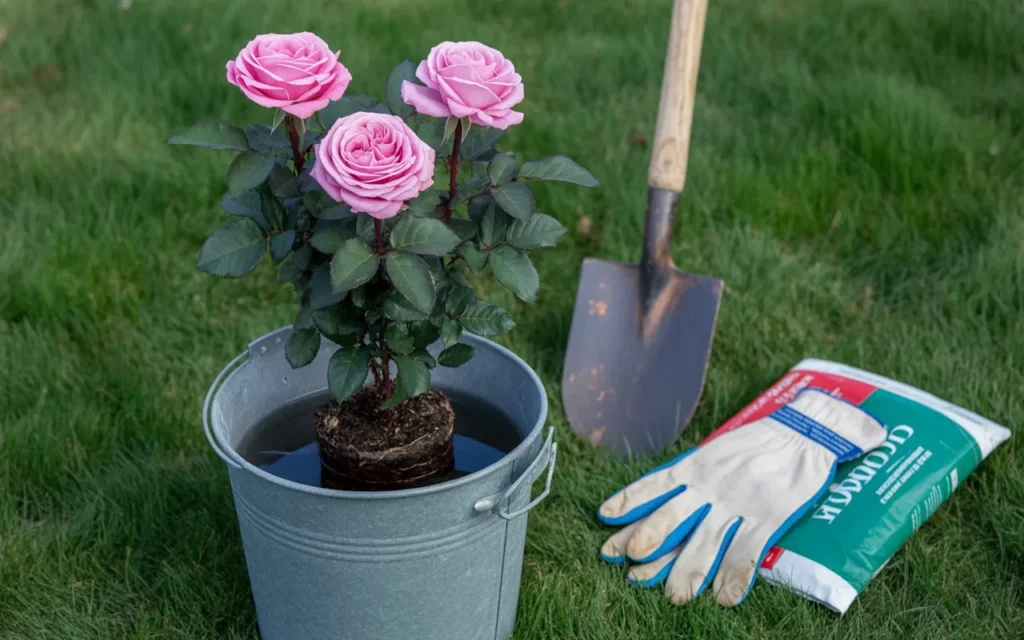
- Soak the Roots: This is a critical step. Rehydrate your dormant rose by soaking its roots in a bucket of water for at least 2-4 hours, but no more than 12 hours. This gives the plant a much-needed drink after its journey to you.
- Create a Soil Mound: In the center of your prepared planting hole, form a cone-shaped mound of the amended soil. The peak of the mound should be high enough so that when you place the rose on top, the “bud union” will be at the correct height. The bud union is the swollen knob on the main stem where the rose variety was grafted onto the rootstock.
- Position the Rose: Place the rose on top of the mound, draping the roots down and around the sides of the cone.
- In warmer climates (Zone 7 and above): The bud union should be about 1-2 inches above the soil level.
- In colder climates (Zone 6 and below): The bud union should be about 1-2 inches below the soil level to protect it from harsh winter freezes.
- Backfill the Hole: Begin filling the hole with your amended soil, working it gently around the roots to eliminate any air pockets. When the hole is about two-thirds full, water it well to settle the soil.
- Finish Filling and Water Again: Fill the rest of the hole with soil, gently firming it down with your hands. Create a shallow basin or “moat” around the base of the plant to help hold water. Water the new rose thoroughly one more time.
Step 4: How to Plant Roses (Container-Grown Method)
Planting a container-grown rose is very simple and can be done anytime during the growing season.
- Water the Rose: Water the rose well in its nursery pot about an hour before you plan to plant it. This helps the root ball slide out more easily.
- Dig and Prepare: Dig your planting hole and amend the soil as described in Step 2.
- Remove from Pot: Gently turn the container on its side and carefully slide the rose out. If it’s stuck, you can tap the sides of the pot. Do not pull the plant out by its stems.
- Inspect the Roots: Gently loosen the root ball with your fingers, especially if the plant is “root-bound” (meaning the roots are circling tightly). This encourages the roots to grow out into the new soil.
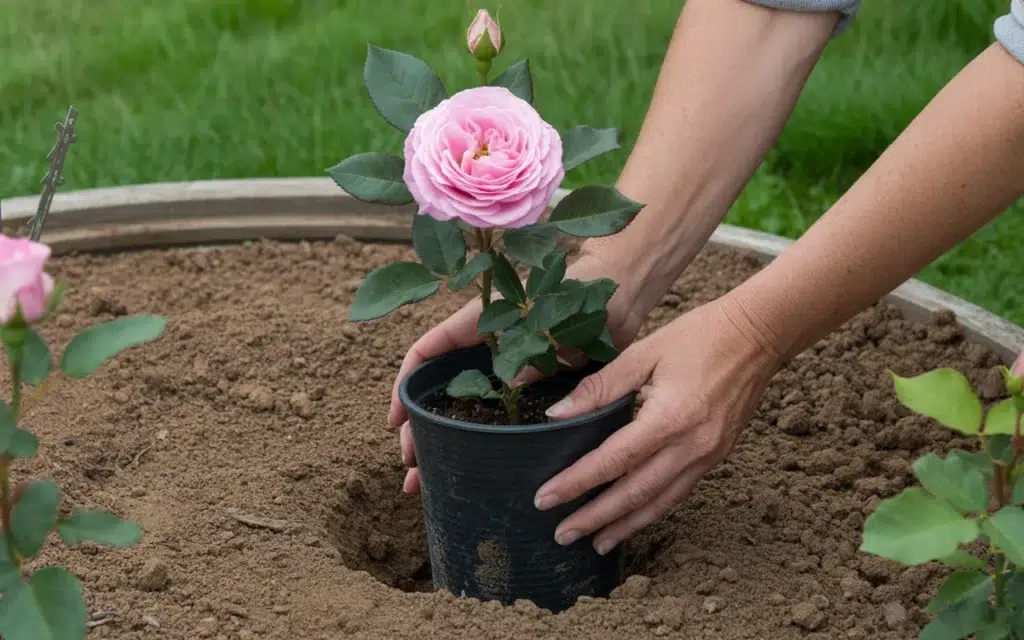
- Position and Plant: Place the entire root ball into the center of the hole. The top of the root ball should be level with the surrounding ground.
- Backfill and Water: Fill the hole with your amended soil, firming it gently around the root ball. Create a soil moat and water the plant thoroughly to settle the soil and eliminate air pockets.
Step 5: Aftercare for Your New Rose
Your rose is planted, but the care doesn’t stop there. The first few weeks are crucial for your plant to get established.
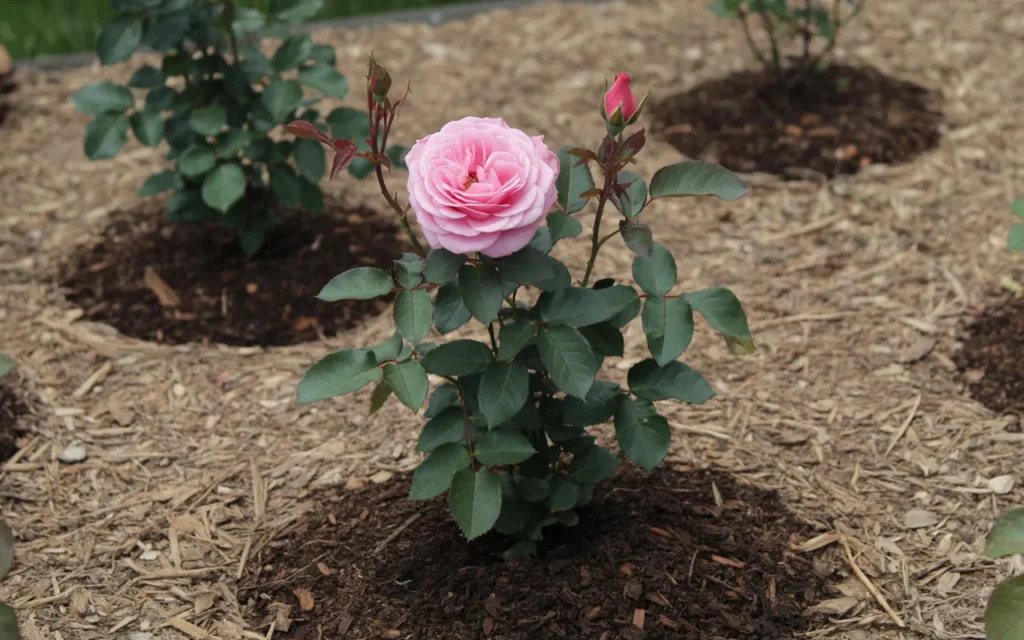
- Mulching: Apply a 2-3 inch layer of organic mulch, such as shredded bark or wood chips, around the base of your rose. Keep the mulch a few inches away from the main stem. Mulch helps to conserve soil moisture, suppress weeds, and keep the roots cool.
- Watering: Your new rose needs consistent water to establish its root system. Check the soil every few days and give it a deep, slow watering whenever the top 2-3 inches of soil feel dry. This is far more effective than a light, daily sprinkle. A Soaker Hose is a great tool for deep watering.
- Be Patient with Fertilizer: Do not apply strong chemical fertilizers immediately after planting. Wait until the rose has gone through its first bloom cycle. The compost and starter fertilizer in the planting hole will provide plenty of nutrients for the first few months.
Frequently Asked Questions (FAQ)
Q1: When is the best time of year to plant roses?
The best time to plant bare-root roses is in the early spring, as soon as the soil is workable. For container-grown roses, you can plant them anytime from spring through fall, though spring and autumn are ideal as the cooler temperatures cause less stress on the plant.
Q2: Should I prune my new rose after planting?
For bare-root roses, you can prune back any canes that are overly long, damaged, or crossing. Aim to leave 3-5 healthy, outward-facing canes. For container roses, no pruning is necessary immediately after planting unless you need to remove a broken branch.
Q3: How soon will my new rose bloom?
A container-grown rose may already be in bloom or will likely bloom within a few weeks of planting. A bare-root rose needs to focus on growing roots and leaves first but will typically produce its first flowers about 8-12 weeks after planting.
Q4: My new rose’s leaves are turning yellow. What’s wrong?
A little yellowing of the lower leaves can be normal as the plant experiences some transplant shock. It is usually a sign of inconsistent watering. Ensure you are watering deeply and allowing the soil to dry slightly between waterings. If the new growth is yellow, it may indicate a nutrient deficiency, but wait a few weeks before taking any action.