Imagine digging into a bag and pulling out a bounty of fresh, homegrown potatoes. It sounds like magic, but it’s actually one of the easiest and most fun ways to garden! This guide will show you everything you need to know about how to plant potatoes in grow bags, a perfect method for beginners and anyone with limited space.
Growing potatoes in grow bags means no back-breaking digging, fewer pests, and no need for a giant garden plot. You can do it on a patio, a balcony, or any sunny spot in your yard. We’ll walk through every step, from choosing your potatoes to the exciting harvest day. Get ready to be amazed at how many potatoes you can grow in a simple bag!
Why Grow Potatoes in Grow Bags? The Amazing Benefits
Before we get our hands dirty, let’s talk about why this method is so fantastic, especially for new gardeners. Traditional potato growing involves digging deep trenches and “hilling up” soil, which can be a lot of work. Grow bags change the game.
- Perfect for Small Spaces: You don’t need a big yard. A sunny balcony, patio, or deck is all the space you need to grow a surprising amount of potatoes.
- No Digging Required: This is a huge benefit! You say goodbye to digging hard, compacted soil. Your back will thank you.
- Superior Drainage: Grow bags are typically made of a fabric material that allows excess water to drain away easily. This is crucial because potatoes hate sitting in soggy soil, which can cause them to rot.
- Excellent Aeration: The fabric also allows oxygen to reach the roots, which promotes a healthier and more vigorous root system. This can lead to a bigger harvest.
- Fewer Pests and Diseases: By using fresh, bagged soil, you avoid many of the soil-borne diseases and pests (like wireworms) that can be present in garden beds.
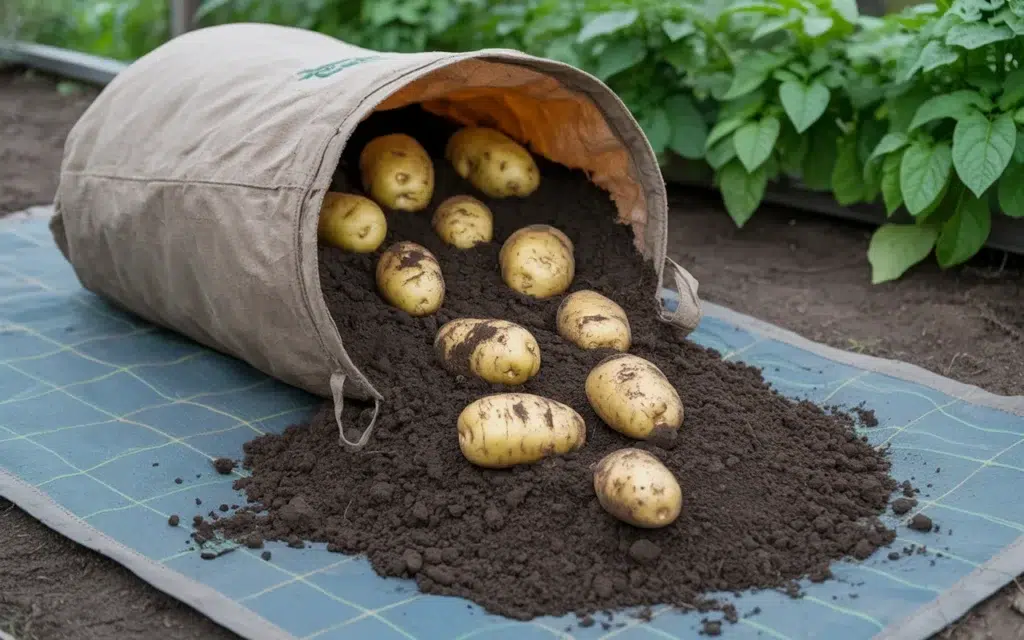
- Super Easy Harvest: This is the best part! Instead of digging around with a fork and accidentally spearing your potatoes, you just tip the bag over. The potatoes spill out like buried treasure.
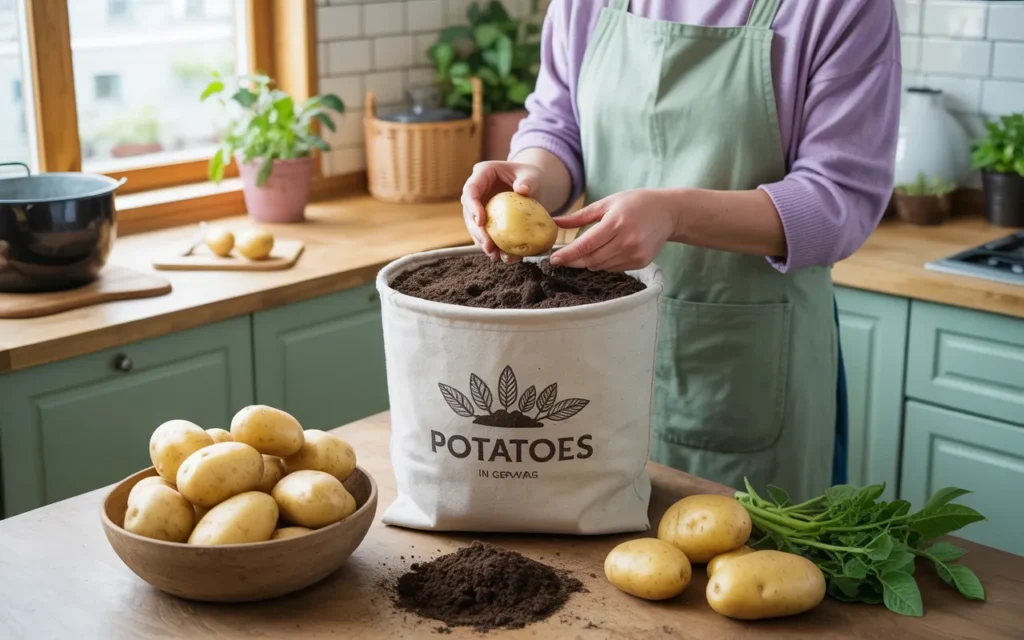
Choosing Your Spuds: Seed Potatoes Explained
You can’t just plant a potato from the grocery store. Most supermarket potatoes have been treated with a sprout inhibitor to make them last longer on the shelf. For gardening, you need to use “seed potatoes.”
Seed potatoes are simply potatoes that are grown specifically to be planted. They are certified disease-free and are ready to sprout and grow.
Types of Potatoes
There are hundreds of potato varieties, but they generally fall into three categories based on their harvest time and starch content.
- Determinate Potatoes (Early-Season):
- These potatoes grow in a single layer just above where you planted the seed potato. They produce a harvest more quickly (70-90 days).
- You don’t need to do as much “hilling up” with these varieties.
- Examples: Yukon Gold, Norland, Red Pontiac.
- Indeterminate Potatoes (Late-Season):
- These are the fun ones for grow bags! They will continue to produce new potatoes all the way up the stem as you add more soil. This “hilling up” process is what leads to huge vertical harvests in a bag. They take longer to mature (110-135 days).
- Examples: Russet, Bintje, King Harry, Nicola.
- Mid-Season Potatoes: As the name suggests, these fall somewhere in between, with maturity dates around 95-110 days. Many can be grown as either determinate or indeterminate.
Recommendation for Beginners: Choose a common, reliable variety like Yukon Gold (determinate) for a quicker harvest or a Russet (indeterminate) if you want to try for a massive vertical harvest.
[Amazon Product: Certified Organic Yukon Gold Seed Potatoes]
The “Chitting” Process: Waking Up Your Potatoes
About 2 to 4 weeks before you plan to plant, you should “chit” your seed potatoes. This is just a funny word for encouraging them to sprout before planting. Chitting gives your potatoes a strong head start.
- How to Chit:
- Place your seed potatoes in a single layer in an open cardboard box or an empty egg carton.
- You want the “eye” end facing up. The eye end is the one with the most little dimples or buds.
- Put the container in a spot that is cool but bright, with indirect light (not direct sun). A cool windowsill or an unheated porch is perfect.
- Over the next few weeks, you will see short, sturdy, purplish-green sprouts emerge from the eyes. This is exactly what you want!
- If your sprouts are long, white, and skinny, it means the spot was too dark.
If your seed potatoes are large (bigger than an egg), you can cut them into pieces. Make sure each piece has at least 2-3 eyes on it. Let the cut pieces sit out for a day or two to allow the cut surface to dry and form a callus. This helps prevent rot.

Getting Your Supplies Ready
Let’s gather everything you’ll need for planting day.
- Grow Bags: Choose grow bags that are at least 10 gallons in size. A 10-gallon bag is a good size for about 3-4 seed potato pieces. They are reusable for several seasons. [Amazon Product: Set of 5 Heavy-Duty 10-Gallon Grow Bags]
- Chitted Seed Potatoes: Your potatoes with their lovely little sprouts.
- The Right Soil Mix: This is very important. You need a soil that is light, fluffy, and well-draining. Do not use heavy garden soil, as it will compact in the bag. A great mix is:
- 50% High-Quality Potting Mix: This forms the base.
- 50% Compost: This adds essential nutrients to feed your hungry potato plants.
- You can also add a few handfuls of perlite for extra drainage.
- A Trowel: For scooping soil.
- A Watering Can or Hose: To water your plants.
- Fertilizer (Optional but Recommended): A balanced, slow-release granular fertilizer formulated for vegetables.
How to Plant Potatoes in Grow Bags: The Step-by-Step Method
This is where the fun begins! We’ll use the “hilling” method, which is perfect for getting the biggest harvest from indeterminate potatoes in a grow bag.
Step 1: Prepare the Bag
- Take your grow bag and roll down the top edges, like you’re cuffing a pair of jeans. Roll it down until the bag is only about one-third of its full height. This makes it stable and easy to work with.
Step 2: Add the First Layer of Soil
- Fill the bottom of the rolled-down bag with about 4 to 6 inches of your prepared soil mix (potting mix and compost).
Step 3: Add Fertilizer (Optional)
- If you’re using a granular vegetable fertilizer, this is a great time to mix a small handful into this first layer of soil, following the package directions. Potatoes are heavy feeders, and this gives them a good start. [Amazon Product: Organic Slow-Release Vegetable Fertilizer]
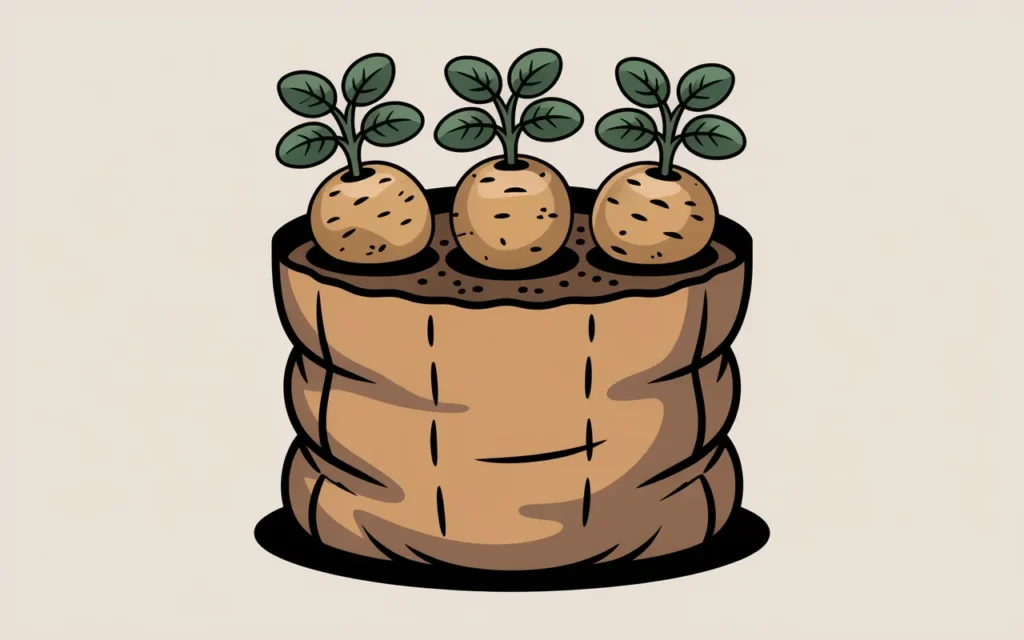
Step 4: Place Your Seed Potatoes
- Place your chitted seed potatoes (or pieces) on top of the soil layer.
- Space them out evenly. A good rule of thumb is 3 to 4 seed potato pieces for a 10-gallon bag.
- Make sure the sprouts are pointing upwards!
Step 5: Cover the Potatoes
- Gently cover your seed potatoes with another 4 to 6 inches of your soil mix.
- The potatoes should now be completely buried.
Step 6: Water Thoroughly
- Water the bag well until you see water start to seep out from the bottom fabric. This ensures the soil is evenly moist and has settled around the seed potatoes.
Step 7: Find a Sunny Spot
- Move your planted grow bag to its final location. It needs a spot that gets at least 6 to 8 hours of direct sunlight per day. More sun equals more potatoes!
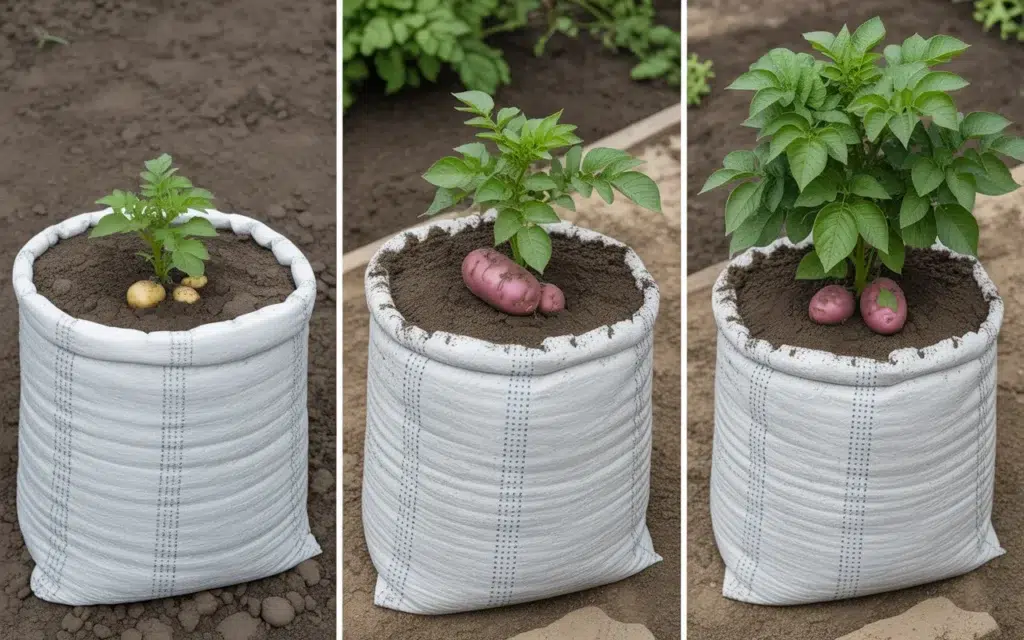
The “Hilling” Process: Your Key to a Huge Harvest
This is the most important part of growing indeterminate potatoes in bags. “Hilling” is the process of adding more soil as the plant grows taller. Why do we do this? Because new potatoes (tubers) will form all along the buried part of the plant’s stem. More buried stem = more potatoes!
- When to Hill: Wait until the green leafy tops of your potato plants have grown about 6 to 8 inches tall above the soil.
- How to Hill:
- Unroll the sides of your grow bag a little bit.
- Gently add more of your soil mix around the base of the plants, covering about half of their green growth. Leave the top few inches of the plant sticking out.
- Be gentle and try not to break the stems.
- Repeat the Process: You will repeat this hilling process every few weeks throughout the growing season. Each time the plants grow another 6-8 inches, you’ll add more soil.
- Stop When Full: Continue hilling until the soil level reaches an inch or two from the top of the unrolled grow bag. After that, just let the plant grow.
Caring for Your Growing Potato Plants
Watering
- Consistency is Key: Potato plants need consistent moisture to form good tubers. Don’t let the bags dry out completely.
- Check the Soil: The fabric of grow bags allows them to dry out faster than pots. Check the soil every day or two by sticking your finger in about 2 inches deep. If it feels dry, it’s time to water.
- Water Deeply: When you water, do so thoroughly until water drains from the bottom. This is especially important on hot, sunny days.
Dealing with Pests and Diseases
Growing in bags helps you avoid many problems, but you should still keep an eye out.
- Colorado Potato Beetle: These are the most common potato pest. They are yellow-and-black striped beetles. Their larvae are reddish, soft-bodied grubs that do the most damage by eating the leaves. The best organic control is to check your plants regularly (especially the undersides of leaves) and hand-pick any beetles or larvae you see and drop them into a bucket of soapy water.
- Blight: This is a fungal disease that can be a problem in wet, humid weather. It causes dark spots on the leaves. To prevent it, try to water the soil at the base of the plant, not the leaves. Ensure your plants have good air circulation.
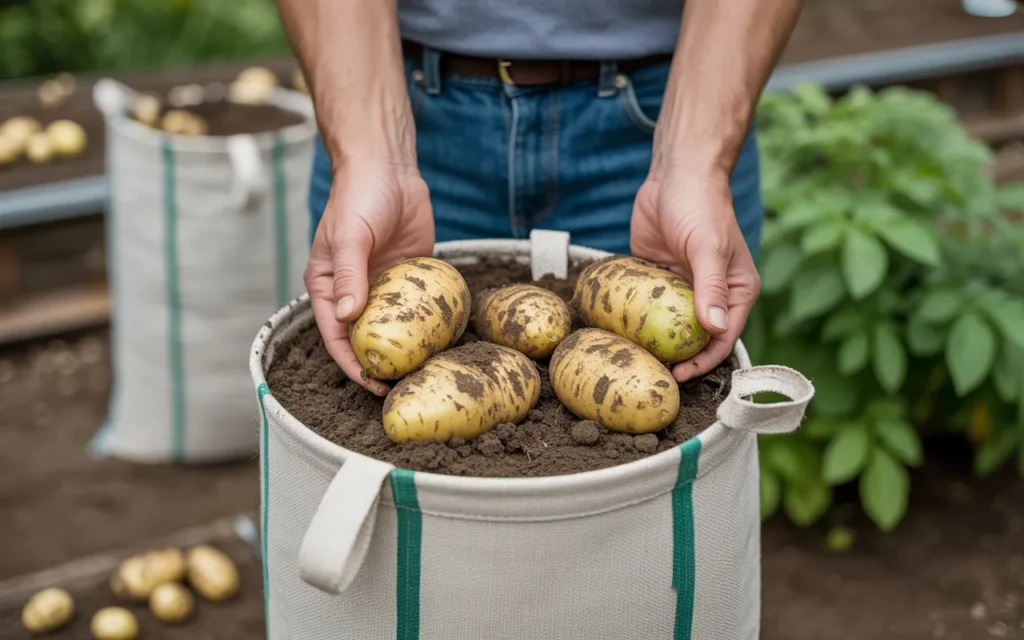
The Exciting Day: Harvesting Your Potatoes!
This is the moment you’ve been waiting for! Knowing when to harvest depends on what kind of potatoes you want.
When to Harvest
- “New Potatoes”: You can harvest small, tender “new potatoes” about 2-3 weeks after the plants stop flowering. At this stage, the skins will be very thin and delicate. You can carefully reach into the soil with your hand and gently pull a few out without disturbing the whole plant.
- Full-Sized “Storage” Potatoes: For a full harvest of large potatoes that you can store, you need to wait until the foliage on the top of the plant turns yellow and dies back completely. This is a signal that the plant has put all its energy into the tubers and they are done growing. Stop watering the bag for a week or two at this point to help the potato skins thicken up.
The Best Part: The Harvest Itself!
- Take your grow bag and move it onto a tarp or a clear patch of your lawn.
- Grab the handles and simply tip the entire bag over.
- Pour out all the soil and potatoes.
- Rummage through the soil with your hands and gather up all your beautiful, homegrown potatoes! It’s like a treasure hunt.
Storing Your Bounty
- Do not wash the potatoes you plan to store. Let them air dry for a few hours, then gently brush off the excess dirt. Washing them can introduce moisture and lead to rot.
- Store your potatoes in a cool, dark, and well-ventilated place. A basement, a cool pantry, or a garage is ideal. Do not store them in the refrigerator.
- Use a cardboard box or a paper bag for storage. Avoid plastic bags, which trap moisture. Properly stored, your potatoes can last for several months.
Conclusion
You have now mastered the art of how to plant potatoes in grow bags! This simple, no-dig method is a game-changer, allowing anyone to experience the joy of harvesting their own fresh, delicious potatoes. From the fun of chitting the seeds to the thrill of tipping over the bag to reveal your treasure, it’s a gardening journey that is incredibly fun and rewarding. Enjoy the amazing taste of potatoes that you grew yourself!
Frequently Asked Questions (FAQs)
1. How many potatoes can you grow in a 10-gallon grow bag?
You can expect to harvest a good 5-10 pounds of potatoes from a 10-gallon bag, depending on the variety and growing conditions. You should plant about 3-4 seed potato pieces per 10-gallon bag.
2. What is the best soil to use for planting potatoes in grow bags?
You need a light, loose, and well-draining mix. A great and simple recipe is to mix 50% high-quality potting mix with 50% compost. Do not use heavy garden soil, as it will become too compacted.
3. Do I really need to “hill” my potato plants?
If you are growing indeterminate varieties (like Russets), then yes! Hilling is the key to getting a large harvest in a grow bag, as new potatoes will form all along the buried stem. For determinate varieties (like Yukon Gold), it’s less critical, but still a good practice.
4. How often should I water potatoes in grow bags?
Grow bags dry out quickly. You should check the soil every day or two. Stick your finger two inches deep; if it feels dry, it’s time to water thoroughly until water drains out the bottom. Consistent moisture is crucial for good potato formation.
5. Can I reuse the soil from my potato grow bags next year?
It is generally not recommended to reuse the exact same soil to grow potatoes again, as they are heavy feeders and can deplete the soil of nutrients. You can, however, amend the soil with a large amount of fresh compost and fertilizer, or use the old soil to mulch other parts of your garden and start your new bags with a fresh mix.
6. Is it okay to use potatoes from the grocery store?
You should avoid using grocery store potatoes. They are often treated with a chemical to stop them from sprouting. It’s much better to buy certified disease-free “seed potatoes” from a nursery or online supplier for the best results.
7. When is the right time to plant potatoes in grow bags?
You should plant them in the spring, about two weeks before your area’s average last frost date. The soil should be workable and not frozen. Starting the chitting process 2-4 weeks before planting will give you a head start.