Imagine digging up fresh, tender new potatoes from a container right on your own patio, balcony, or doorstep. It sounds like something only a seasoned farmer could do, but the truth is, it’s one of the easiest and most rewarding gardening projects you can tackle.
This guide will show you exactly how to plant potatoes in a container for amazing results, even if you have very little space. Forget needing a large garden plot; a simple container is all you need to enjoy a delicious, homegrown harvest.
Growing potatoes in containers is a fantastic method for beginners. It minimizes issues with pests and soil-borne diseases, makes watering a breeze, and eliminates the back-breaking work of digging.
We’ll walk you through every step, from choosing the right potatoes to the exciting moment you get to harvest your crop.
Why Grow Potatoes in a Container?
Before we get to the “how,” let’s talk about why container gardening is the perfect way to grow potatoes.
- Perfect for Small Spaces: You don’t need a backyard! A sunny balcony, patio, or driveway is all the space required to grow a successful crop.
- Superior Soil Control: You get to create the perfect growing environment. Using high-quality potting mix ensures your potatoes grow in loose, nutrient-rich, and disease-free soil.
- Fewer Pest and Disease Problems: Elevating your potatoes off the ground helps protect them from common soil pests like wireworms and reduces the risk of fungal diseases that can linger in garden soil.
- Easy Watering and Feeding: It’s simple to keep your container perfectly watered and to provide nutrients exactly where they are needed.
- The Easiest Harvest Ever: This is the best part! There’s no heavy digging with a garden fork. You simply tip the container over and your fresh potatoes tumble out, clean and ready to cook.
Step 1: Choosing Your Potatoes
Your journey starts with selecting the right kind of potato to plant. You can’t just use any potato from the grocery store.
Seed Potatoes are Key
For the best results, you need to buy certified “seed potatoes.” These aren’t seeds, but rather small potatoes grown specifically for planting.
- Why use them? Grocery store potatoes are often treated with a sprout inhibitor to give them a longer shelf life. Seed potatoes are not treated and are certified to be disease-free, giving your crop the healthiest possible start.
- Where to find them: You can buy Certified Seed Potatoes from garden centers, nurseries, or online suppliers in late winter or early spring.
Choosing a Variety
Potatoes come in many varieties, often categorized by when they are ready to harvest. For container growing, early or mid-season varieties are ideal because they mature faster and are typically smaller.
| Potato Type | Description | Popular Container Varieties |
|---|---|---|
| First Early | The fastest-growing type, ready to harvest in about 10-12 weeks. Produces smaller “new” potatoes. | ‘Yukon Gold’, ‘Red Pontiac’ |
| Second Early | Mature a couple of weeks after first earlies, offering a slightly larger potato. | ‘Kennebec’, ‘Red Norland’ |
| Maincrop | Take the longest to mature (18-20 weeks) and produce large potatoes for storage. Best for larger containers. | ‘Russet Burbank’, ‘Katahdin’ |
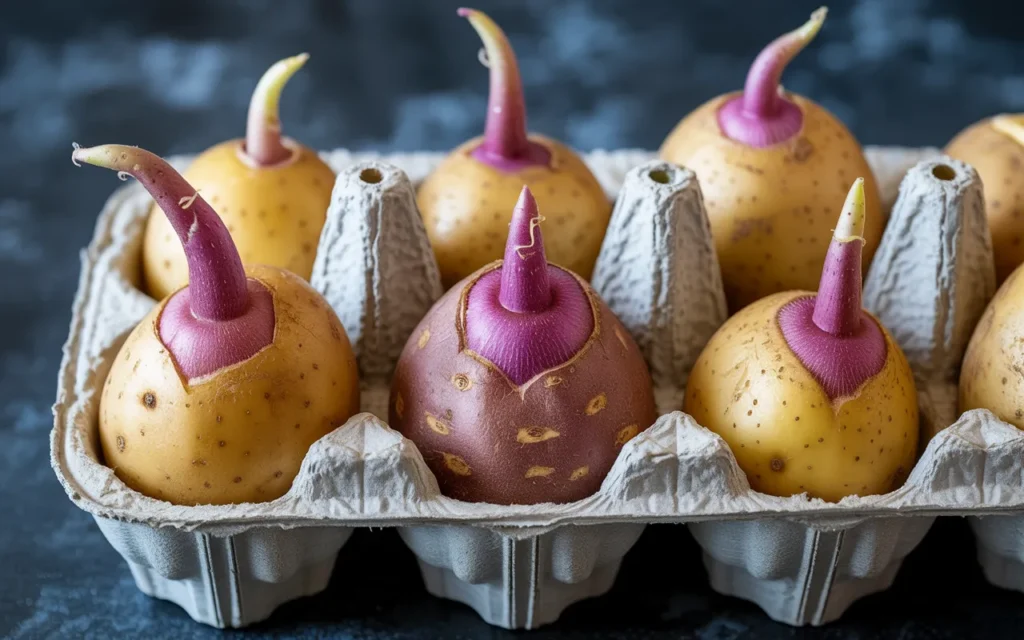
Step 2: Chitting (Giving Your Potatoes a Head Start)
“Chitting” is the simple process of encouraging your seed potatoes to sprout before you plant them. This step can speed up your harvest by a few weeks!
- When to Start: About 2-4 weeks before you plan to plant.
- How to Chit:
- Place your seed potatoes in a single layer in an open egg carton or a shallow tray.
- Position them so the end with the most “eyes” (small dimples where sprouts will form) is facing up.
- Put the tray in a cool, bright location that is out of direct sunlight. A cool windowsill or a frost-free garage is perfect.
- After a few weeks, you will see short, sturdy, purplish-green sprouts emerge from the eyes. Your potatoes are now “chitted” and ready to plant!
Step 3: How to Plant Potatoes in a Container
This is where the fun begins. The goal is to plant your potatoes at the bottom of the container and gradually add more soil as the plant grows.
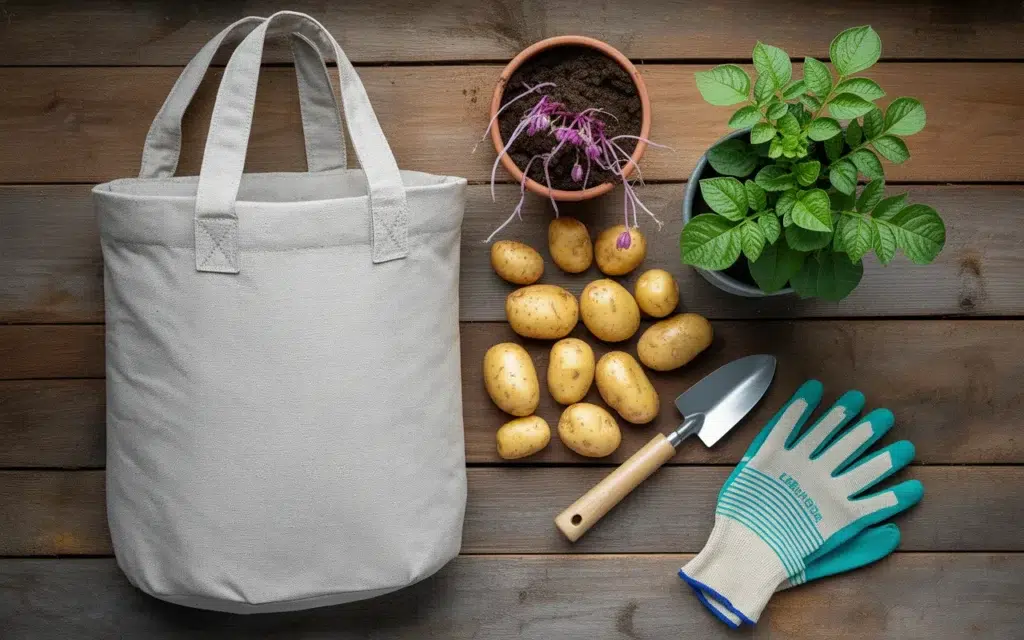
Choosing Your Container and Soil
- Container: You need a large container with excellent drainage. A 10- to 15-Gallon Fabric Grow Bag is the absolute best choice. They are inexpensive, provide fantastic aeration for the roots, and prevent the soil from becoming waterlogged. You can also use a large bucket or a deep pot, but make sure to drill plenty of drainage holes in the bottom.
- Soil: Do not use heavy garden soil. It will compact in the container and suffocate the roots. Use a high-quality, lightweight Potting Mix. For even better results, mix your potting soil with an equal part of compost to create a rich, fluffy growing medium.
The Planting Process
The best time to plant is in the spring, after your last frost date.
- Prepare the Container: If using a grow bag, unroll the top edges. Fill the bottom of your container with about 4-6 inches of your soil/compost mix.
- Place the Potatoes: Place 2-4 chitted seed potatoes on top of the soil, spaced out evenly. Make sure the sprouts are pointing up.
- Cover the Potatoes: Cover the seed potatoes with another 3-4 inches of your soil mix.
- Water Well: Water the container thoroughly until you see it draining from the bottom. This settles the soil and encourages growth.
- Find a Sunny Spot: Place your container in the sunniest location you have. Potatoes need at least 6-8 hours of direct sunlight per day to produce a good crop.
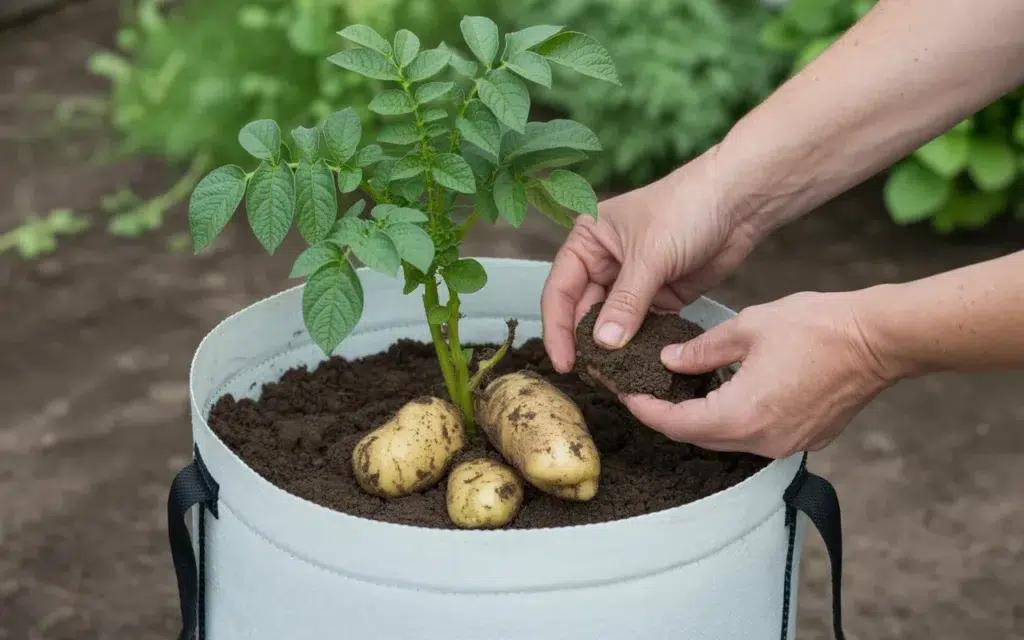
Step 4: “Hilling Up” and Caring for Your Plants
As your potato plants grow, you will need to continue adding soil, a process called “hilling.”
- Why Hill Up? The new potatoes (tubers) grow off the buried stem of the plant, not from the roots. By continuously covering the growing stem with more soil, you create more space for potatoes to form. This also protects the developing tubers from sunlight, which can turn them green and toxic.
- How to Hill: When your potato plants have grown about 6-8 inches tall, it’s time to add more soil.
- Gently add your soil/compost mix around the plants, leaving just the top 2-3 inches of the green growth exposed.
- If you’re using a grow bag, simply unroll the edges as you add more soil.
- Repeat the Process: Continue this hilling process every 2-3 weeks, until the soil reaches the top of your container.
Watering and Feeding
- Watering: Potatoes need consistent moisture. Keep the soil evenly moist, like a well-wrung-out sponge, but never soggy. Check the soil every couple of days and water deeply when the top inch feels dry.
- Feeding: Potatoes are heavy feeders. You can mix a Slow-Release Granular Vegetable Fertilizer into your soil at planting time. Alternatively, feed every 2-3 weeks with a balanced liquid fertilizer once the plants are about a foot tall.
Step 5: Harvesting Your Homegrown Potatoes
This is the moment you’ve been waiting for!
- “New” Potatoes: You can start harvesting tender “new” potatoes about 7-8 weeks after planting. The plants will likely be flowering at this time. Carefully reach into the soil with your hands and feel around for small potatoes. You can pull a few out and let the rest of the plant continue to grow.
- Main Harvest: For a full harvest of larger potatoes, wait until the foliage on the plant begins to turn yellow and die back. This is the signal that the plant has put all its energy into the tubers. Stop watering for about a week to let the skins on the potatoes toughen up.
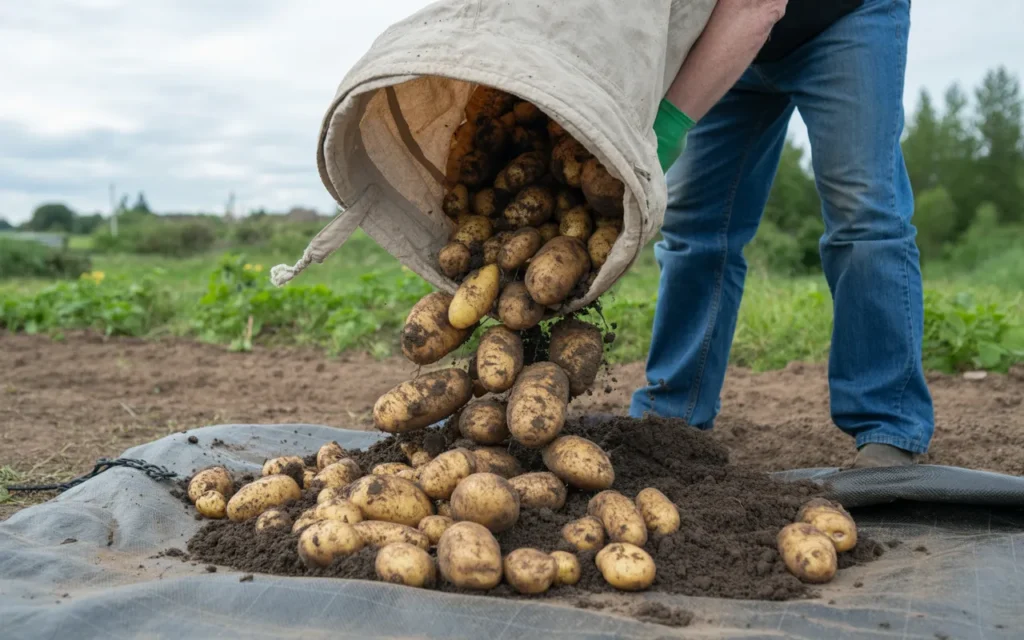
- The Big Reveal: Tip the entire container onto a tarp or into a wheelbarrow. Sift through the soil with your hands and collect your beautiful homegrown potatoes!
Frequently Asked Questions (FAQ)
Q1: How many potatoes will I get from one container?
A 10-gallon container planted with 3-4 seed potatoes can yield anywhere from 5 to 10 pounds of potatoes, depending on the variety and growing conditions.
Q2: Can I use a potato from my kitchen pantry?
It’s not recommended. Grocery store potatoes are often treated with chemicals to stop them from sprouting. Even if they do sprout, they may carry diseases that can ruin your crop. Always start with certified seed potatoes for the best results.
Q3: Why are some of my harvested potatoes green?
A potato turns green when it has been exposed to sunlight. This green skin contains solanine, a bitter compound that can be toxic if eaten in large quantities. Simply cut away any green parts before cooking. Proper hilling prevents this from happening.
Q4: My potato plant has flowers and small green “tomatoes” on it. Are these edible?
No, do not eat them! These are the fruit of the potato plant and are highly poisonous. They are a natural part of the plant’s life cycle but have no use and should be discarded. The only edible part of the plant grows underground.