Is there anything that tastes more like spring than a sweet, crisp pea popped straight from the pod? Growing your own peas is one of the easiest and most rewarding first projects for any gardener.
This guide is here to show you everything you need to know about how to plant peas, from a tiny seed to a delicious, bountiful harvest you can be proud of.
Peas are one of the very first crops you can plant in the cool weather of early spring. They practically jump out of the ground and are a joy to watch as they climb their supports. We’ll cover every simple step to ensure your success. Let’s get ready to grow some of the tastiest snacks right in your own garden!

First, Choose Your Perfect Pea
Before you plant, it’s helpful to know that “pea” isn’t just one thing. There are three main types, and each one is enjoyed differently. All peas love cool weather and will grow in a similar way.
1. English Peas (Shelling Peas)
These are the classic peas you probably think of. The pods are tough and fibrous, so you don’t eat them. Instead, you “shell” them, popping the pods open to reveal the sweet, round peas inside. They are perfect for steaming, adding to soups, or just eating raw as a garden snack.
- Popular Varieties: ‘Lincoln’, ‘Little Marvel’, ‘Maestro’.
2. Snow Peas
Snow peas have flat, tender pods with very small peas inside. The main event here is the pod itself. They are harvested when the pods are long and flat, just before the peas inside begin to swell. They are a staple in stir-fries and salads, loved for their crisp texture.
- Popular Varieties: ‘Oregon Sugar Pod II’, ‘Mammoth Melting Sugar’.
3. Snap Peas (Sugar Snap Peas)
Snap peas are a wonderful cross between English peas and snow peas. They have plump, juicy pods that are completely edible, along with the sweet peas inside. They get their name from the satisfying “snap” they make when you break them in half. They are fantastic eaten raw, steamed, or sautéed.
- Popular Varieties: ‘Sugar Snap’, ‘Super Sugar Snap’, ‘Cascadia’.
Gardener’s Tip: If you’re new to growing peas, Sugar Snap Peas are a fantastic choice. They are easy to grow, highly productive, and you can eat the whole pod, which means less work and more food!
[Amazon Product: All-in-One Pea Seed Collection – Shell, Snow & Snap Varieties]
When to Plant Peas: The Magic of Cool Weather
Peas are a cool-season crop. They hate hot weather. High temperatures will cause them to stop producing and die off. This means you need to plant them very early.
- The Golden Rule: Plant your pea seeds directly in the garden 4 to 6 weeks before your average last frost date.
- Pea seeds can germinate in soil as cold as 40°F, making them one of the very first vegetables you can plant. Don’t be afraid of a little cold or even a light spring snow after you’ve planted; the seeds will be fine.
- You can also plant a second “fall crop” of peas in late summer, about 8-10 weeks before your first fall frost date, for a harvest in the cool autumn weather.
How to Plant Peas: Preparing the Perfect Spot
Getting the garden bed ready is a simple but important step. Peas aren’t too fussy, but a little preparation goes a long way.
The Best Location
- Sunlight: Choose a spot that gets at least 6-8 hours of full sun per day. While peas like cool temperatures, the plants themselves need plenty of sun to produce a good crop.
- Well-Draining Soil: Peas do not like to have “wet feet.” The soil should be able to drain well after a rain. Avoid spots where water tends to puddle.
Preparing the Soil
Peas have a secret superpower: they are “nitrogen fixers.” This means they can pull nitrogen from the air and store it in their roots, enriching the soil. Because of this, they don’t need super-rich soil.
- Loosen the Soil: Use a garden fork or tiller to loosen the top 8-10 inches of your garden soil. This makes it easy for the pea roots to grow.
- Add Compost: Mix in a 1- to 2-inch layer of compost. Compost helps improve the soil’s texture and provides a gentle source of balanced nutrients.
- Go Easy on Fertilizer: Peas do not need a lot of high-nitrogen fertilizer. Too much nitrogen will give you lots of beautiful green leaves but very few pea pods. A little compost is usually all they need.

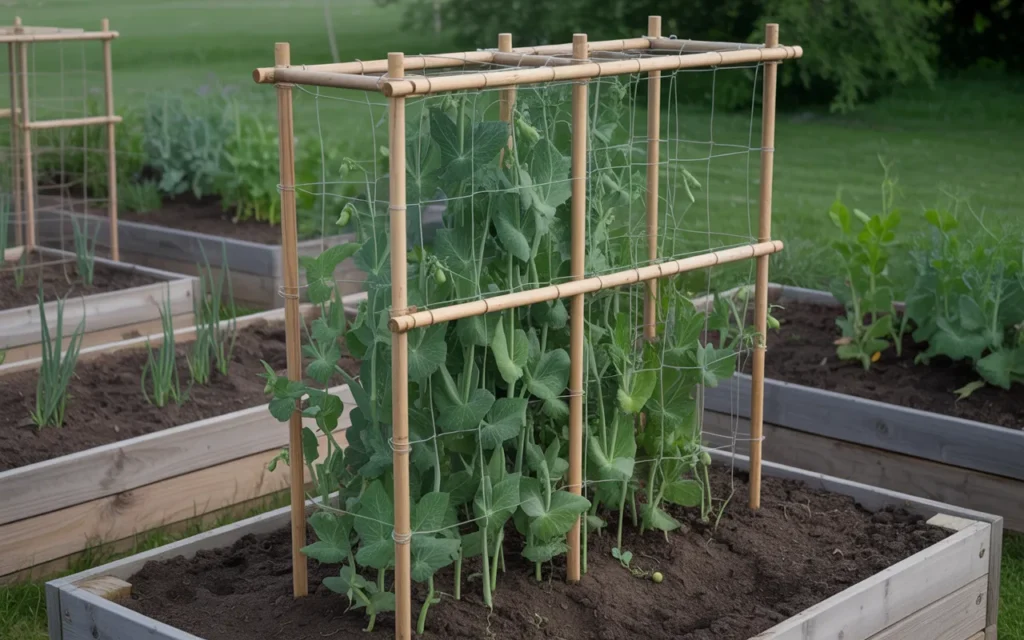
The Most Important Step: Provide Support!
Most pea varieties are climbing vines. Even “bush” varieties will be happier and healthier with something to climb on. You must install your trellis or support system at the same time you plant your seeds. If you wait until the plants are growing, you risk damaging their delicate roots when you install the support.
- Why is a trellis so important?
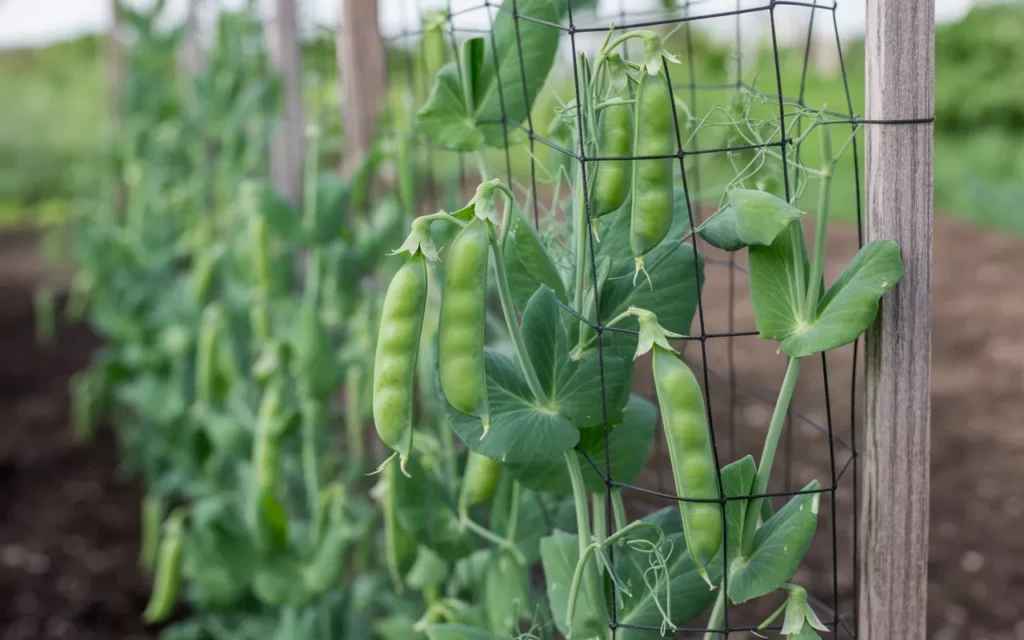
- It keeps the vines and pods off the ground, preventing rot and disease.
- It improves air circulation around the plants.
- It makes harvesting much, much easier.
- Trellis Ideas:
- Netting: Pea and bean netting stretched between two sturdy posts is a classic and effective choice. [Amazon Product: Garden Pea & Bean Netting Trellis]
- A-Frame Trellis: Two panels of wire fencing or lattice leaned against each other to form an “A” shape is very stable.
- Simple Twig Trellis: For a rustic look, you can simply push a series of branched twigs into the ground for the peas to climb.
Step-by-Step Planting Guide
Your trellis is up and the soil is ready. Let’s get those seeds in the ground!
A Special Trick: Inoculating Your Seeds
This step is optional but highly recommended for the best results, especially if you have never grown peas or beans in that spot before.
- What is it? Pea inoculant is a powder containing natural, beneficial bacteria that help the pea plants’ roots fix nitrogen more efficiently.
- How to do it: Simply moisten your pea seeds with a little water, place them in a bag with a spoonful of the inoculant powder, and shake gently to coat the seeds.
- This simple step can lead to stronger plants and a much bigger harvest.
Step 1: Create a Furrow
- Using a hoe or your hand, create a shallow trench or “furrow” about 1 to 2 inches deep along the base of your trellis. If you are planting two rows on either side of a trellis, make them about 6 inches apart.
Step 2: Sow the Seeds
- Place the pea seeds in the bottom of the furrow.
- You don’t need to be too fussy about spacing. Plant one seed every 1 to 2 inches. A dense planting will allow the pea plants to support each other as they begin to climb.

Step 3: Cover and Water
- Gently push the soil back over the seeds, covering them completely.
- Pat the soil down firmly with your hand to ensure good seed-to-soil contact.
- Water the row well with a gentle spray from a hose or watering can.
Caring for Your Pea Plants
Peas are wonderfully low-maintenance once they get going.
Watering
- Keep the soil consistently moist, especially once the plants begin to flower and form pods. Dry soil can lead to a smaller harvest.
- Try to water the base of the plants and avoid getting the leaves wet, which can help prevent diseases like powdery mildew.
Weeding
- Keep the area around your young pea plants free of weeds, as they will compete for water and sunlight.
- A 2-inch layer of mulch (like straw or shredded leaves) applied after the seedlings are a few inches tall can work wonders to suppress weeds and conserve moisture.
Guiding the Vines
- As the seedlings grow, they will start sending out delicate little tendrils that are looking for something to grab.
- Gently guide the young vines towards the base of your trellis. Once they find it, they will happily start climbing on their own.
Harvest Time: The Sweet Reward
This is the best part! Harvesting your peas is fun, easy, and delicious.
- When to Harvest:
- Snow Peas: Harvest when the pods are full-size but still flat, before the peas inside get big.
- Snap Peas: Harvest when the pods are plump, round, and make a “snap” sound.
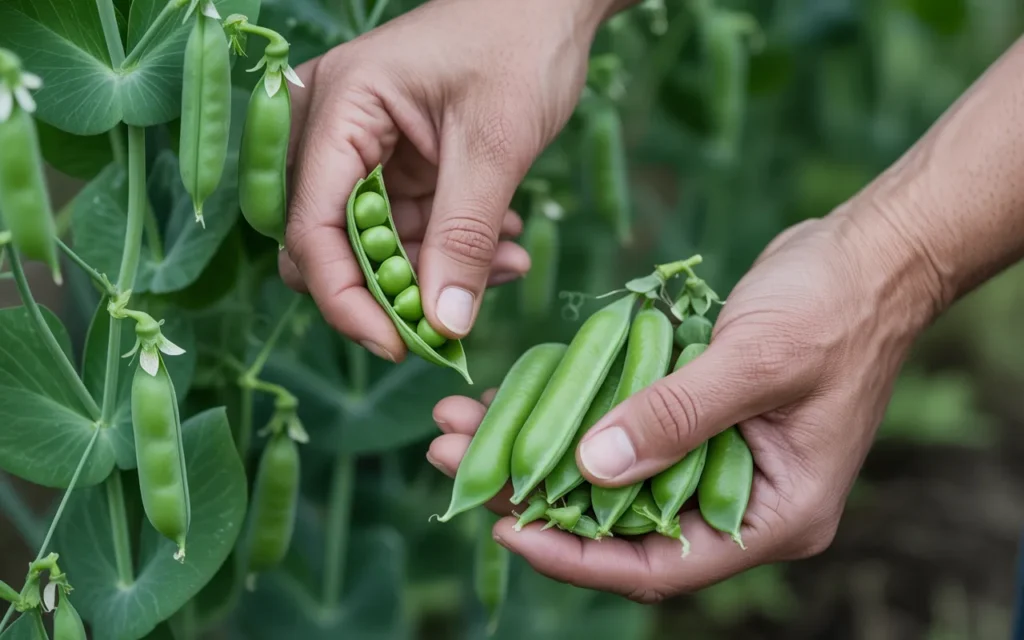
- Shelling Peas: Harvest when the pods are plump and feel full of round peas. The pod should be bright green and feel firm.
- How to Harvest:
- Use two hands! Hold the vine with one hand and gently pull the pea pod off with the other. Pulling with one hand can easily damage or uproot the delicate vines.
- A pair of small scissors or snips also works perfectly. [Amazon Product: Precision Harvesting Snips]
- Harvest Often! The more you pick, the more the plant will produce. Check your plants every day or two once they start producing, as the pods develop quickly.
Conclusion
Congratulations! You now have all the knowledge you need on how to plant peas and enjoy a fantastic spring harvest.
There is nothing quite like the sweet, fresh flavor of a pea that was in the garden just moments ago. By planting early, providing good support, and harvesting often, you are setting yourself up for a delicious and rewarding gardening experience. Enjoy every sweet, crunchy bite!
Frequently Asked Questions (FAQs)
1. What is the best month to plant peas?
This depends on your climate. The key is to plant them 4-6 weeks before your last spring frost. For many gardeners in the Northern Hemisphere, this means planting in March or April.
2. How long does it take for peas to grow after planting?
Pea seeds will typically sprout in 7-14 days. From the time you plant the seed, you can expect your first harvest in about 60-70 days, depending on the variety and the weather.
3. Do pea plants need a trellis?
Yes, providing a trellis or some kind of support is highly recommended for almost all pea varieties. It keeps the plants healthy, makes harvesting easier, and increases your overall yield. Install the trellis when you plant the seeds.
4. How many pea seeds should I plant?
Peas do well when planted fairly close together. Sow one seed every 1 to 2 inches in a row at the base of your trellis. They will support each other as they grow.
5. Why are my pea plants turning yellow?
Yellowing pea plants can be a sign of a few things. Most commonly, it’s either too much water (leading to root rot) or the weather is getting too hot. Peas are cool-season plants and will naturally start to yellow and die back as summer temperatures rise.
6. Do peas need full sun?
Yes, for the best production, peas need a spot that receives at least 6 hours of direct sunlight per day. They can tolerate a little bit of shade, but your harvest will be smaller.
7. Can you plant peas from a dried pea from the grocery store?
While it might be a fun experiment, it’s not reliable. The dried peas sold for cooking may have been treated and are not meant for planting. For the best results, always buy seeds from a reputable seed company that are intended for gardening.