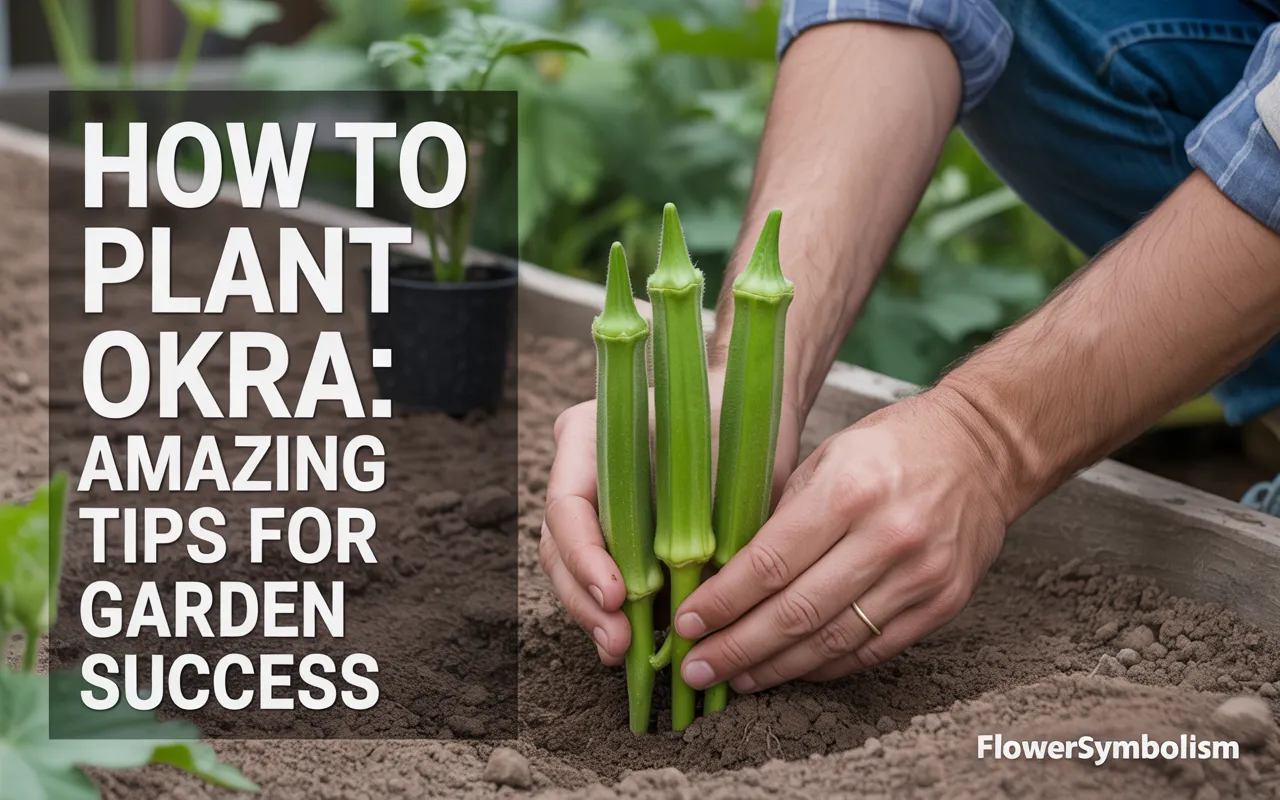
If you love classic Southern cooking, chances are you love okra. Whether it’s fried, pickled, or simmered in a rich gumbo, this unique vegetable is a garden treasure. This guide is here to show you just how to plant okra and get a fantastic harvest, even if you’ve never grown it before.
Okra is a heat-loving champion that thrives during the hottest parts of summer when other plants might be struggling. It’s not just a vegetable; it’s also a beautiful plant, boasting hibiscus-like flowers that will add a touch of tropical beauty to your garden.
We’ll cover everything from getting the seeds to sprout to harvesting pods at the perfect time. Let’s get ready to grow some of the best okra you’ve ever tasted!
Getting to Know Okra: More Than Just Gumbo
Okra is a member of the mallow family, which also includes cotton, hibiscus, and hollyhocks. This explains its stunningly beautiful flowers! Native to Africa, it adores heat and humidity, making it a perfect summer crop for many regions.
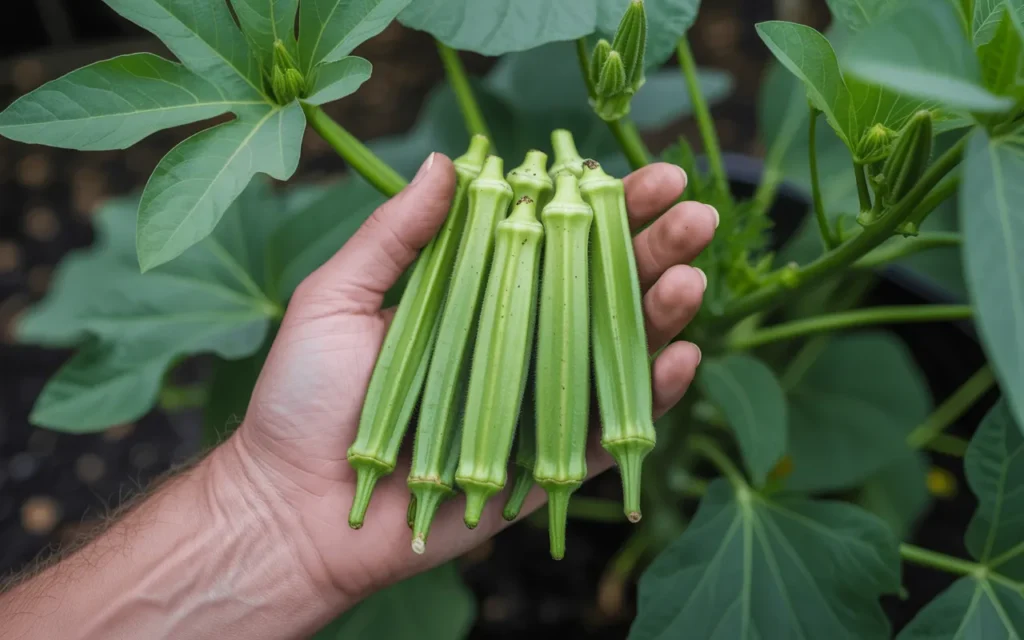
The part we eat is the immature seed pod. When harvested at the right time, these pods are tender and delicious. If left on the plant too long, they become tough, woody, and inedible. The key to enjoying okra is harvesting it small and often.
Why You Should Grow Your Own Okra
- It’s Incredibly Productive: A few healthy okra plants can produce a surprisingly large amount of pods. Once they start producing, you’ll be harvesting every other day.
- It Loves the Heat: Okra doesn’t just tolerate summer heat; it thrives in it. It’s a reliable producer when other cool-season crops have long since finished.
- It’s Beautiful: The creamy yellow, hibiscus-like flowers with their deep red centers are gorgeous. The plant itself is tall and stately, adding ornamental value to your vegetable patch.
- Fresh is Best: The taste and texture of okra harvested fresh from your garden are far superior to what you can find at the grocery store.
Choosing the Best Okra Variety for Your Garden
While you might only see one type of okra at the store, there are many wonderful varieties to choose from in seed catalogs. They vary in color, size, and growth habit.
Popular Okra Varieties
- Clemson Spineless: This is the classic, all-around favorite and an All-America Selections winner. It produces tender, dark green, spineless pods on plants that grow 4-5 feet tall. It’s a reliable and heavy producer.
- Burgundy: This variety is a true showstopper. It produces deep, beautiful burgundy-red pods on plants with matching red stems. The pods are tender and flavorful, and they lose their red color when cooked, turning green.
- Cajun Delight: Another All-America Selections winner, this variety is known for producing pods a bit earlier than others. It’s a great choice for gardeners with slightly shorter growing seasons.
- Emerald: This variety produces long, slender, very dark green pods that stay tender even when they get a little larger than other types.
- Dwarf Green Long Pod: Perfect for smaller gardens or container growing, this compact variety produces full-sized pods on plants that only reach about 2-3 feet in height.
[Amazon Product: 5-Variety Okra Seed Collection (Clemson, Burgundy, etc.)]
The Secret to Sprouting: Preparing Okra Seeds
Okra seeds have a very tough outer coat, which can make them slow and difficult to germinate. Giving them a little help before planting will dramatically increase your success rate. This is one of the most important steps!
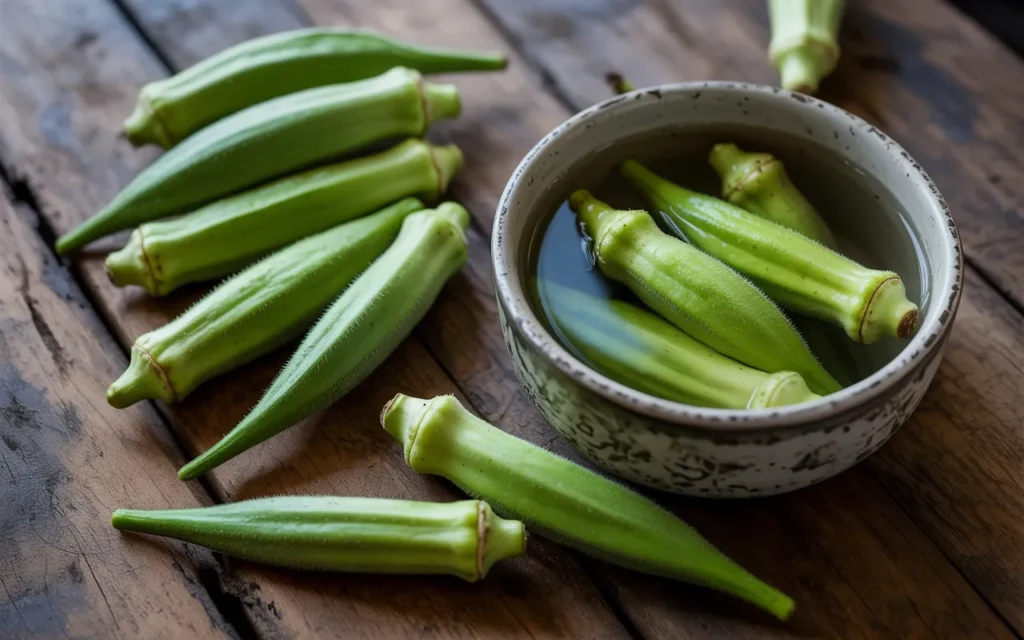
Soaking the Seeds
This is the easiest and most effective method.
- About 12 to 24 hours before you plan to plant, place your okra seeds in a small bowl.
- Cover them with warm water.
- Let them soak overnight. You will notice that the seeds swell up to almost double their original size. This process softens the seed coat and signals to the seed that it’s time to wake up and grow.
Scarifying the Seeds (Optional Advanced Method)
“Scarification” means scratching or nicking the hard seed coat. You can do this by gently rubbing the seeds with a piece of sandpaper or a nail file before soaking them. This creates a small opening for water to penetrate even more easily.
How to Plant Okra: The Step-by-Step Guide
Okra is a warm-season crop through and through. It’s crucial to plant it at the right time and in the right place.
The Perfect Timing
- Wait for Warmth: Okra seeds will rot in cold soil. Do not plant your okra until the soil has thoroughly warmed up to at least 65°F (18°C), and preferably warmer.
- A good rule of thumb is to plant your okra seeds about 2 to 3 weeks after your last expected spring frost date. This is often around the same time you would be planting peppers or melons.
- For gardeners in cooler climates with shorter summers, you can get a head start by starting seeds indoors in biodegradable pots about 3-4 weeks before you plan to transplant them outside.
The Ideal Location
- Full, Blazing Sun: Okra needs an absolute minimum of 6 to 8 hours of direct, unfiltered sunlight per day. This is a plant that wants all the sun you can give it.
- Rich, Well-Draining Soil: Okra is a heavy feeder and needs fertile soil to be productive. It also requires good drainage, as it doesn’t like to have its roots sitting in water.
- Shelter from Wind: The plants can get quite tall and may be susceptible to breaking in strong winds. Planting them near a fence or wall can offer some protection.
Step 1: Prepare the Garden Bed
A little prep work will pay off with a huge harvest.
- Clear the area of all weeds and grass.
- Use a garden fork or tiller to loosen the soil to a depth of about 8-10 inches.
- This is the most important part: Enrich the soil. Okra loves rich soil. Work a generous amount of compost, aged manure, or a balanced, slow-release fertilizer into the top few inches of the soil.
[Amazon Product : Premium All-Purpose Organic Compost]
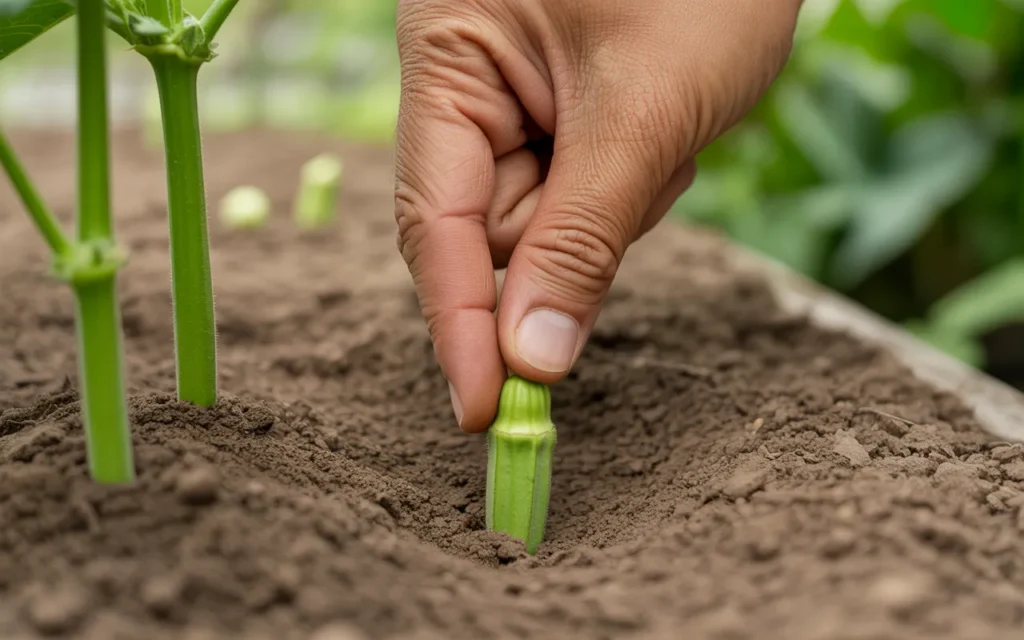
Step 2: Sowing the Seeds
Now that your seeds are soaked and your bed is prepped, it’s time to plant.
- Sow the seeds about 1 inch deep. A good trick is to use your finger to poke a hole in the soil up to your first knuckle.
- Place one seed in each hole.
- Space the seeds about 4 to 6 inches apart within the row. You will thin them out later.
- If you are planting more than one row, space the rows about 3 feet apart to give the mature plants plenty of room.
- Gently cover the seeds with soil and pat it down lightly.
Step 3: Water and Wait
- After planting, water the area gently but thoroughly.
- Keep the soil consistently moist until the seeds germinate, which should take about 7 to 12 days in warm soil.
- Be patient! They may take a little longer if the soil is on the cooler side.
Step 4: Thinning the Seedlings
This is a critical step for a healthy okra patch. You need to give each plant enough space to thrive.
- Once your okra seedlings are about 3-4 inches tall, it’s time to thin them.
- Choose the strongest, healthiest-looking seedling in each group and leave it.
- Remove the weaker seedlings so that the remaining plants are spaced about 18 inches apart.
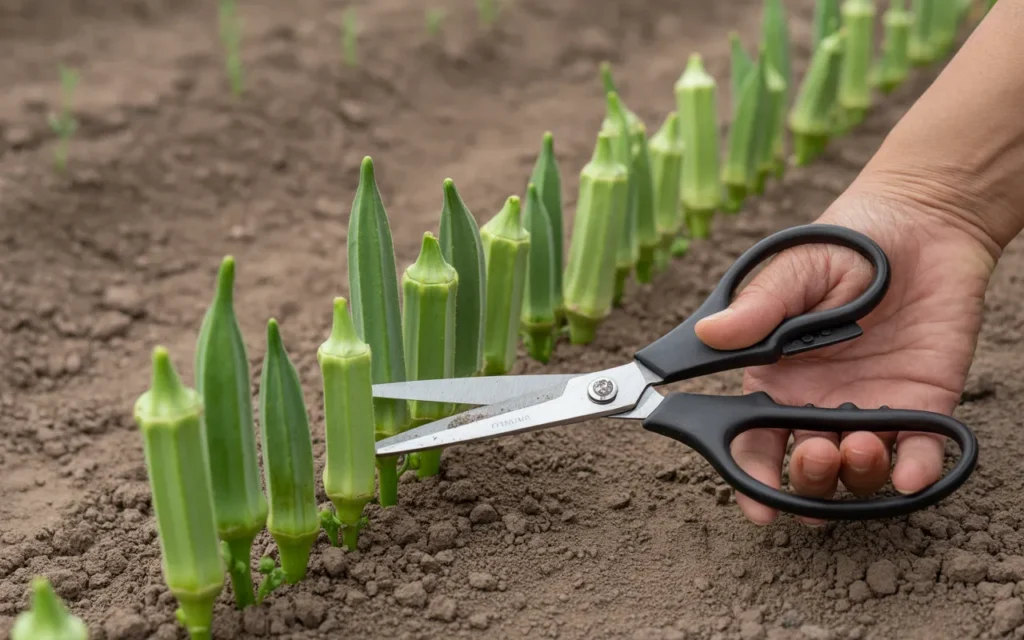
- To avoid disturbing the roots of the seedling you want to keep, it’s best to snip the unwanted seedlings off at the soil line with a pair of scissors rather than pulling them out.
Caring for Your Okra Plants All Season Long
Okra is a fairly low-maintenance plant once it gets going, but a few key care tips will ensure a massive harvest.
Watering
- While okra is quite drought-tolerant once established, it will be much more productive with consistent moisture.
- Give your okra plants a deep watering of about 1 inch of water per week.
- It’s best to water deeply once a week rather than giving them a light sprinkle every day. This encourages deep root growth.
Fertilizing
- Okra is a heavy feeder. Even if you started with rich soil, a mid-season boost can be very beneficial.
- When the plants are about a foot tall, you can “side-dress” them with more compost or a balanced fertilizer. This means sprinkling the fertilizer on the soil a few inches away from the base of the plant and gently working it in.
Weeding and Mulching
- Keep the area around your okra plants free of weeds, which compete for water and nutrients.
- Once the plants are established and the soil is warm, applying a 2-3 inch layer of organic mulch (like straw or shredded leaves) is a great idea. Mulch helps to conserve soil moisture, suppress weeds, and keep the soil cool.
The Best Part: Harvesting Your Okra
Harvesting okra is a daily job once the plants start producing. The key is to pick the pods when they are young and tender.
When to Harvest
- Okra plants will start producing pods about 50 to 60 days after planting.
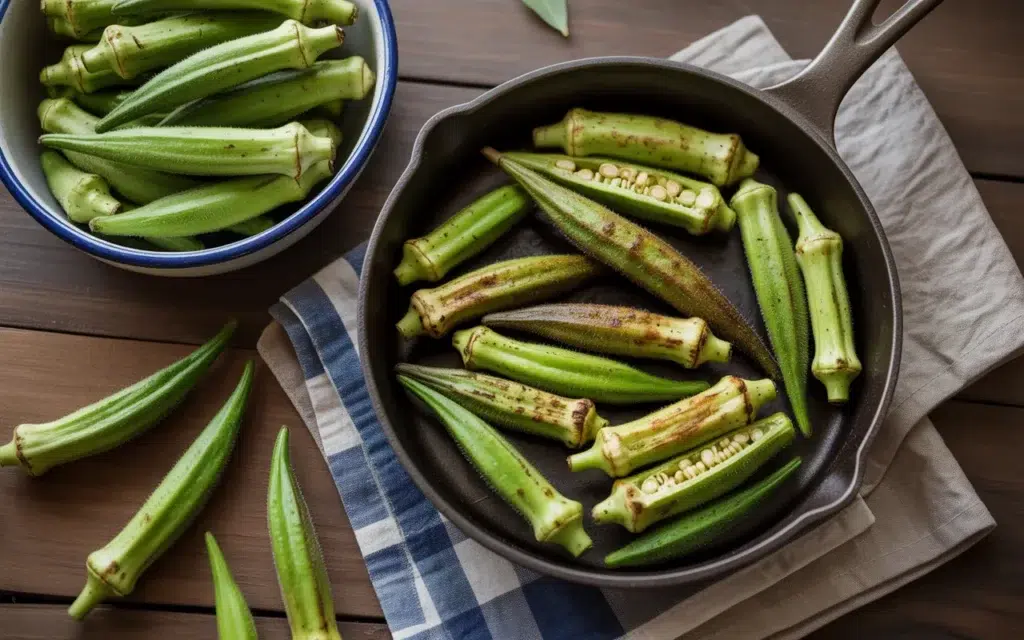
- The ideal size for harvesting most varieties is when the pods are 2 to 4 inches long. At this stage, they are incredibly tender.
- If you let the pods get too big, they become tough, stringy, and inedible. It’s better to pick a pod that’s a little too small than one that’s a little too big.
How to Harvest
- Check your plants every 1 to 2 days. The pods grow incredibly fast in hot weather.
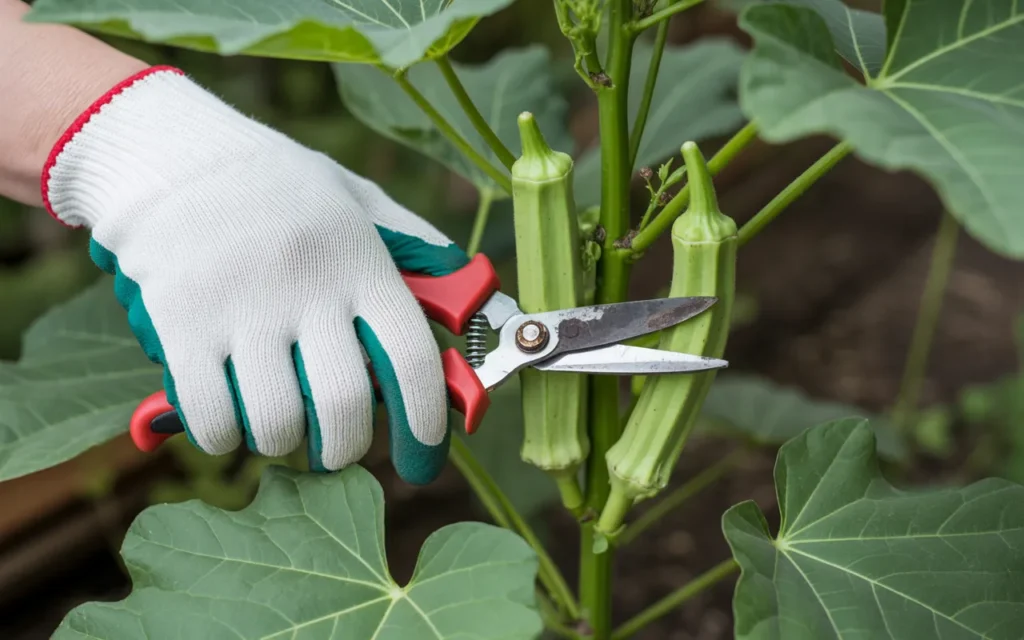
- The pods can be a little prickly, so wearing gloves and a long-sleeved shirt is a good idea.
- Use a sharp knife or a pair of pruning shears to cut the pod from the plant, leaving a small stub of a stem on the pod. Trying to pull them off can damage the plant.
- Important: You must keep harvesting! If you leave old, tough pods on the plant, it will signal the plant to stop producing new ones. Keep picking, and the plant will keep giving.
Common Okra Pests and Problems
- Aphids: These are tiny insects that cluster on the undersides of leaves and on new growth. A strong blast of water from the hose can often dislodge them. For larger infestations, insecticidal soap can be effective.
- Stink Bugs: These shield-shaped bugs can pierce the pods, causing them to be misshapen. Hand-picking them and dropping them into a bucket of soapy water is an effective organic control method.
- Fire Ants: In some southern regions, fire ants can be attracted to the nectar produced by the flowers and may damage the pods.
Conclusion
You are now fully prepared to grow a successful and delicious crop of okra. The process of learning how to plant okra is simple when you remember its love for three things: heat, sun, and rich soil. By soaking the seeds, planting them in a sunny spot, and keeping up with the harvest, you’ll be rewarded with more tender, flavorful pods than you know what to do with. Get ready to enjoy the true taste of summer!
Frequently Asked Questions (FAQs)
1. What is the best way to plant okra seeds?
The best way is to soak the seeds in warm water for 12-24 hours before planting. Then, sow them 1 inch deep in warm, fertile, well-draining soil in a location that gets at least 6-8 hours of full sun.
2. How long does it take for okra to grow after planting?
Okra seeds will typically sprout in 7-12 days in warm soil. The plants will start producing harvestable pods about 50 to 60 days after planting.
3. Does okra need to climb?
No, okra grows as a single, upright stalk and does not need a trellis or support to climb. The plants are sturdy on their own, though very tall varieties may benefit from some protection from strong winds.
4. What should not be planted next to okra?
While okra is generally a good neighbor, it’s best to avoid planting it right next to vining crops like cucumbers or melons that might sprawl and compete for sunlight and space.
5. How many okra will one plant produce?
A single healthy okra plant is very productive and can produce 20-30 pods or even more over the course of a long, hot growing season, as long as you keep harvesting them.
6. Do you have to soak okra seeds before planting?
While you don’t absolutely have to, it is highly recommended. Soaking the seeds softens the tough outer coat and significantly improves the speed and rate of germination. It’s a simple step that makes a big difference.
7. What is the secret to growing okra?
The main secrets are heat and sun. Wait until the soil is very warm to plant, give them the sunniest spot in your garden, and enrich the soil with plenty of compost. Regular harvesting is also key to keeping the plant productive.