Hydrangeas are the showstoppers of the garden, with their giant, cloud-like blooms in shades of blue, pink, white, and green.
They bring a sense of classic, romantic charm to any landscape. If you’ve been dreaming of adding these stunning shrubs to your yard, you’re in the right place.
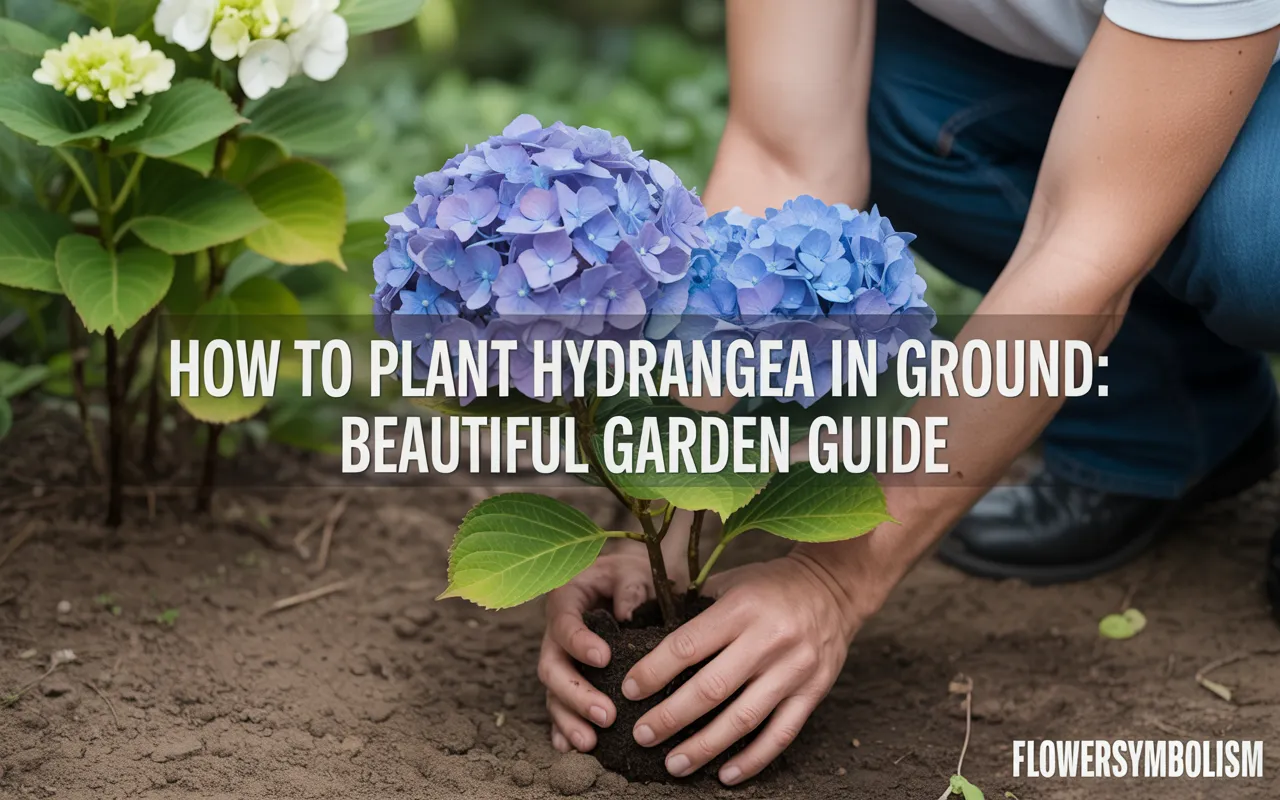
This guide will show you exactly how to plant hydrangea in ground to ensure they thrive and produce spectacular flowers for years to come. Planting them correctly is the single most important step for a long and beautiful life.
This beautiful garden guide is designed for beginners and seasoned gardeners alike. We’ll break down every step, from choosing the perfect spot and the right type of hydrangea to the proper planting technique that will give your new plant the best possible start. Let’s get ready to add these gorgeous blooms to your garden.
Step 1: Choose the Right Hydrangea for Your Zone
Before you can learn how to plant hydrangea in ground, you need to pick a plant. While most hydrangeas have similar needs, there are several different types, each with unique characteristics. Knowing which one you have is key to choosing the right location.
| Hydrangea Type | Sunlight Needs | Bloom Characteristics | Popular Varieties |
|---|---|---|---|
| Bigleaf (Macrophylla) | Morning sun, afternoon shade | The classic “mophead” or “lacecap” blooms. Can change color (blue/pink) based on soil pH. | ‘Endless Summer’, ‘Nikko Blue’ |
| Panicle (Paniculata) | Full sun to part shade | Cone-shaped flowers, often starting white and aging to pink or red. Very hardy. | ‘Limelight’, ‘Vanilla Strawberry’ |
| Smooth (Arborescens) | Part shade | Large, round, typically white flowers. Famous for its huge blooms. | ‘Annabelle’, ‘Incrediball’ |
| Oakleaf (Quercifolia) | Part shade | Cone-shaped flowers and beautiful oak-like leaves that get great fall color. | ‘Ruby Slippers’, ‘Snow Queen’ |
For the most reliable blooms, especially for beginners, Panicle hydrangeas like the popular Limelight’ Hydrangea Plant are a fantastic choice as they tolerate more sun and are very forgiving.
Step 2: Find the Perfect Planting Location
Where you plant your hydrangea is just as important as how you plant it. Getting the location right will save you a lot of trouble later on.
- Sunlight is Key: This is the most important factor. Most hydrangeas thrive with morning sun and afternoon shade. The gentle morning sun gives them the energy they need to produce flowers, while shade during the hottest part of the day protects them from stress and wilting. Panicle hydrangeas are the exception and can handle full, all-day sun in most climates.
- Moisture-Rich Soil: Hydrangeas love consistently moist, but well-drained, soil. They will not tolerate sitting in a waterlogged bog, which can cause root rot. They also won’t do well in dry, sandy soil that drains too quickly.
- Protection from Wind: Choose a spot that offers some protection from strong, gusty winds, which can damage the large leaves and heavy flower heads.
- Give Them Space: Check the plant tag for the mature size of your specific variety. Plant it far enough away from buildings, walkways, and other plants to allow it to grow to its full size without being crowded. Good air circulation helps prevent fungal diseases.
Step 3: When to Plant Hydrangeas
The best time to plant hydrangeas is during the cooler, milder temperatures of fall or early spring.
- Fall Planting: This is often considered the ideal time. Planting in the fall allows the plant to focus all its energy on establishing a strong root system throughout the cool, moist winter months without the stress of producing flowers or leaves. This gives it a huge head start for the following spring.
- Spring Planting: This is also a great time. Just be sure to plant after the danger of the last hard frost has passed. You will need to be more diligent about watering your new plant throughout its first summer season as it works to grow roots and foliage at the same time.
Step 4: How To Plant Hydrangea In Ground: The Digging and Planting Process
This is the main event. Following these steps carefully will ensure your new hydrangea gets settled into its new home perfectly.
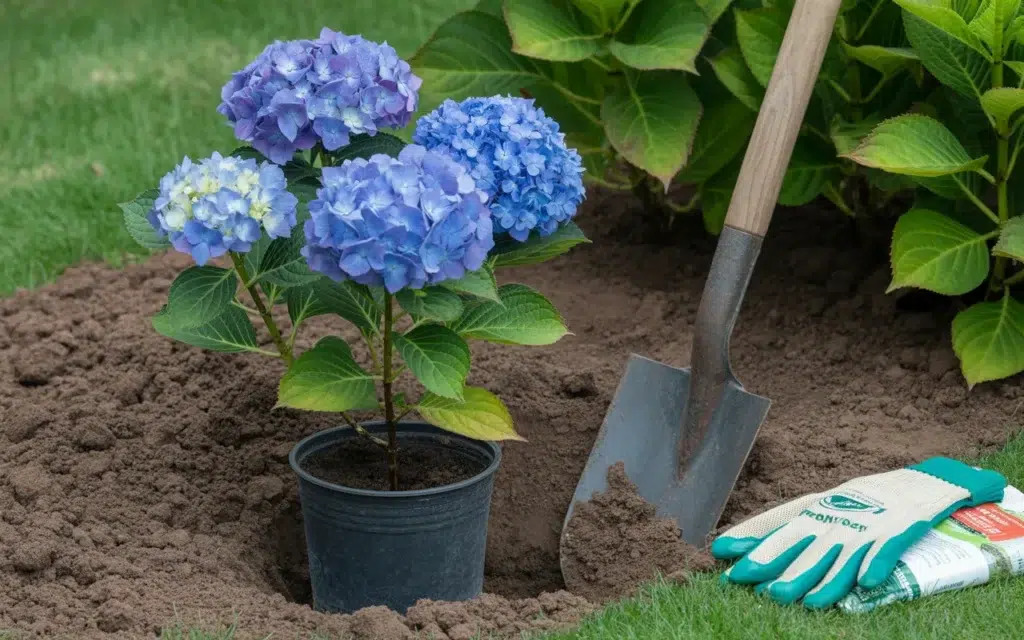
- Dig a Proper Hole: The saying “dig a $10 hole for a $5 plant” is especially true for hydrangeas. Dig a hole that is twice as wide as the plant’s root ball, but only just as deep. The width is important for allowing the roots to spread out easily into loosened soil.
- Amend the Soil: Hydrangeas are heavy feeders that love rich soil. Take the soil you dug out of the hole and mix it in a wheelbarrow with a generous amount of organic matter. A 50/50 blend of your native soil and a high-quality Organic Compost or Peat Moss creates the perfect nutrient-rich and well-draining environment.
- Remove the Plant from its Pot: Water the hydrangea in its nursery pot about an hour before planting. This helps the root ball slide out more easily. Gently turn the pot on its side and carefully slide the plant out. Never pull the plant out by its stems.
- Tease the Roots: Inspect the root ball. If the roots are tightly wound in a circle (a condition known as being “root-bound”), you must gently tease them apart with your fingers or make a few shallow vertical cuts with a clean knife. This encourages the roots to grow outward into the new soil instead of continuing to circle.

Image-prompt-2-how-to-plant-hydrangea-in-ground-hole-{A close-up shot of hands gently loosening the root ball of a hydrangea plant before placing it into a wide, prepared planting hole.}
- Position the Plant: Place the hydrangea in the center of the hole. The most important part of this step is ensuring the top of the root ball is level with or even slightly higher than the surrounding ground. Planting a hydrangea too deep is a common mistake that can lead to root rot.
- Backfill the Hole: Begin filling the hole with your amended soil mixture, gently packing it around the root ball to eliminate any large air pockets.
- Water Thoroughly: When the hole is about halfway full, water it well to settle the soil. Then, finish filling the hole completely.
- Create a Water Well and Water Again: Use the leftover soil to build a small circular berm or “moat” around the outer edge of the planting hole. This will act as a reservoir, directing water right to the root zone. Water your newly planted hydrangea deeply one more time.
Step 5: Aftercare for a Thriving Hydrangea
Your hydrangea is in the ground, but the care in the first year is crucial for its long-term health.
- Mulch is a Must: Apply a 2-3 inch layer of organic mulch, such as Shredded Pine Bark Mulch or leaf mold, around the base of the plant. Extend the mulch out to the plant’s drip line (the edge of its leaves). This is vital for retaining soil moisture, keeping the roots cool, and suppressing weeds. Be sure to keep the mulch a few inches away from the main stem to prevent rot.
- Watering Schedule: A new hydrangea needs consistent moisture. For the first year, provide a deep, slow watering 2-3 times per week, especially during hot, dry weather. The goal is to keep the soil consistently moist but not waterlogged. A Soaker Hose is an excellent tool for this.
- Fertilizing: Wait to fertilize your new plant. The compost you added during planting will provide plenty of nutrients for the first season. You can begin a regular fertilizing schedule in the second year, using a balanced fertilizer like a Fertilizer for Acid-Loving Plants in the spring.
Frequently Asked Questions (FAQ)
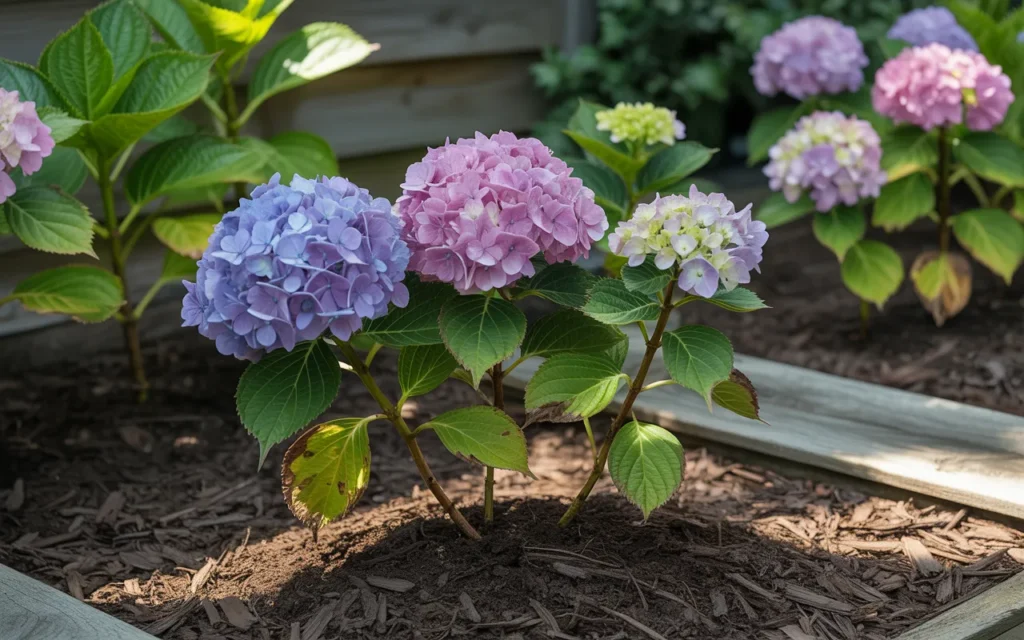
Q1: How can I change the color of my Bigleaf hydrangea flowers?
Flower color on Hydrangea macrophylla varieties is determined by soil pH.
- For Blue Flowers: You need acidic soil (pH below 6.0). You can make your soil more acidic by amending it with [Soil Acidifier or Aluminum Sulfate].
- For Pink Flowers: You need alkaline soil (pH above 7.0). You can make your soil more alkaline by adding garden lime.
White hydrangeas cannot be changed to a different color.
Q2: My new hydrangea’s leaves are wilting in the afternoon. What’s wrong?
This is very common, especially for new plants on hot, sunny days. It’s often just heat stress, and the plant will usually perk back up in the evening. As long as the soil is moist, you don’t need to panic-water it. This is a good sign, however, that the plant is getting a bit too much intense afternoon sun.
Q3: Should I prune my hydrangea after I plant it?
No, do not prune your hydrangea in its first year unless you are removing a dead or broken branch. Allow the plant to grow and establish itself. Pruning protocols vary by hydrangea type and should begin in the second or third year.
Q4: How long will it take for my new hydrangea to bloom?
If you planted a healthy, good-sized plant from a nursery, it will very likely bloom in its first season. The number and size of the blooms will increase each year as the plant matures and establishes a robust root system.