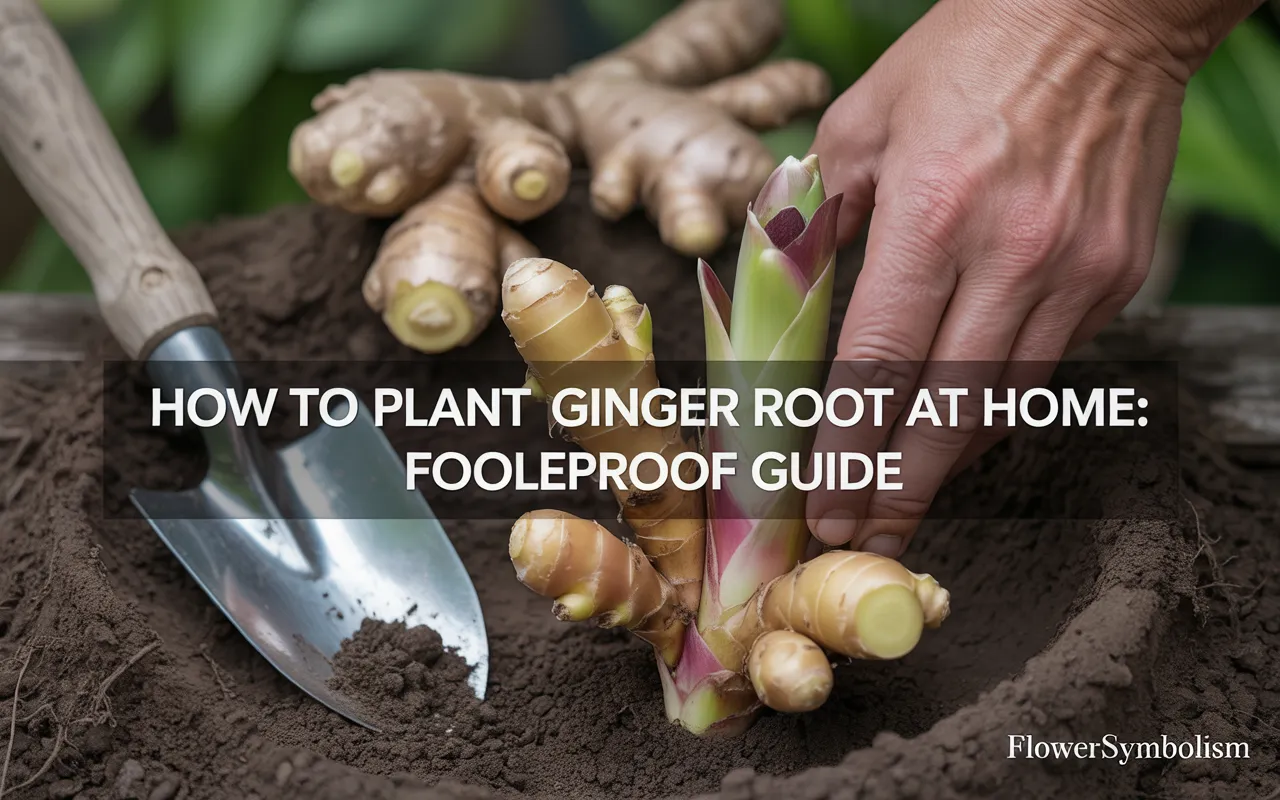
There’s nothing quite like the pungent, spicy aroma of freshly harvested ginger. It’s a world away from the sometimes dry and fibrous roots you find at the grocery store.
What if you could have a continuous supply of this incredible spice right at your fingertips? This guide will show you exactly how to plant ginger root at home, a surprisingly simple process that brings this tropical plant into your kitchen, no matter where you live.
Growing your own ginger is incredibly rewarding and perfect for both new and experienced gardeners.
Forget needing a large outdoor garden; ginger thrives in containers, making it an ideal indoor plant.
We’ll walk you through every step, from selecting the perfect piece of ginger at the store to harvesting your first fragrant rhizomes. Get ready to elevate your cooking and enjoy the satisfaction of homegrown produce.
Getting to Know Your Ginger
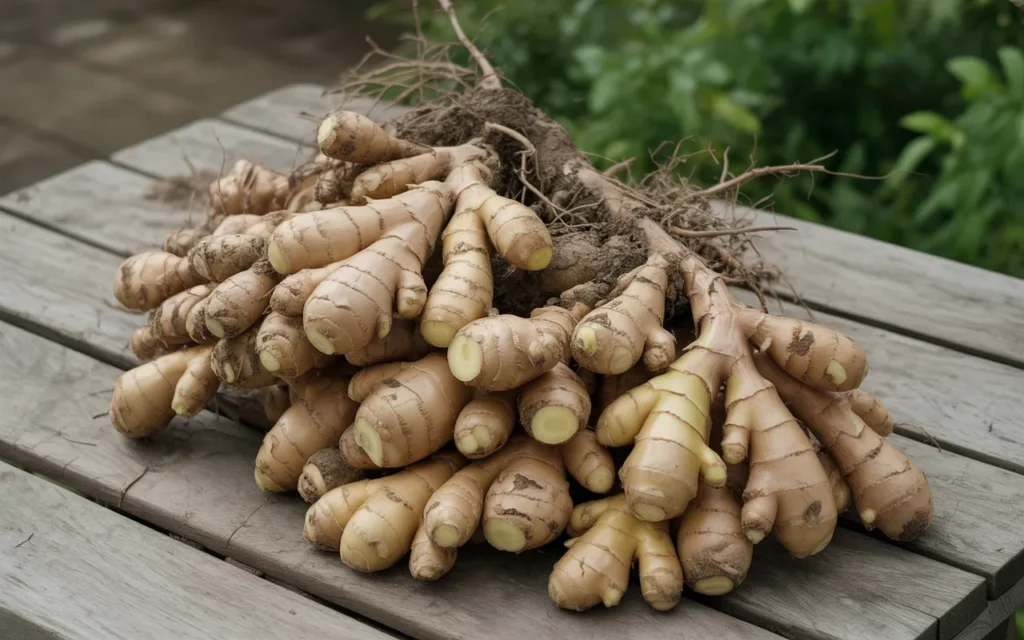
Before we start planting, let’s understand what we’re working with. The “ginger root” we buy and use in cooking is not actually a root; it’s a rhizome.
A rhizome is a modified subterranean plant stem that grows horizontally underground, sending out both roots from its bottom and shoots from its top. Each knob and bump on a piece of ginger has the potential to sprout a new plant.
The ginger plant (Zingiber officinale) is a tropical flowering plant that originated in Southeast Asia. It features lush, blade-like leaves that can grow up to four feet tall, resembling bamboo or ornamental grass. While it can produce beautiful flowers, it’s primarily grown for its flavorful rhizome.
Choosing the Best Ginger Root for Planting
Your journey begins at the grocery store. The key is to select a piece of ginger that is ready to sprout and grow.
- Look for Plump, Firm Pieces: Choose a piece of ginger that feels heavy for its size and has smooth, taut skin. Avoid any pieces that are shriveled, soft, or have moldy spots.
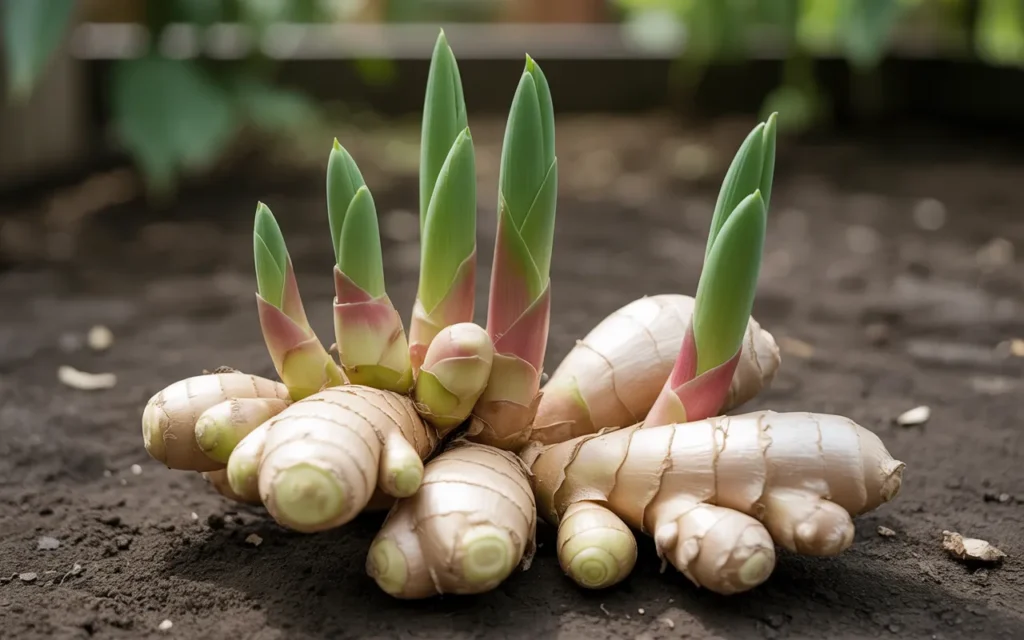
- Find the “Eyes” or Buds: Examine the ginger rhizome closely. You’re looking for small, pale, horn-like bumps, especially on the “fingers” of the rhizome. These are the growth buds, similar to the “eyes” on a potato. The more visible and developed these buds are, the faster your ginger will sprout.
- Go Organic if Possible: Conventional ginger from the grocery store is often sprayed with a growth inhibitor to prevent it from sprouting on the shelf. This can make it difficult, though not impossible, to get it to grow. Choosing an Organic Ginger Root from a health food store or farmer’s market greatly increases your chances of success, as it is less likely to be treated.
Prepping Your Ginger for Planting
Once you have your perfect piece of ginger, a little preparation will wake it up from dormancy and get it ready to grow.
- Cut the Rhizome (Optional but Recommended): If your ginger rhizome is large, you can cut it into smaller sections to create multiple plants. Using a clean, sharp knife, cut the rhizome into 1- to 2-inch pieces. Ensure each piece has at least one or two visible growth buds.
- Let the Cuts Heal: After cutting, let the pieces sit on a counter in a dry spot for 24-48 hours. This allows the cut surfaces to dry out and form a callus. This important step helps prevent the pieces from rotting when you plant them in moist soil.
- Soak the Ginger: To remove any potential growth inhibitors and to rehydrate the rhizome, soak the ginger pieces in a bowl of lukewarm water overnight (for 8-12 hours). This signals to the ginger that it’s time to start growing.
After these steps, your ginger is ready for planting!
How to Plant Ginger Root at Home: Container Method
Growing ginger in a pot is the most common and effective method for home gardeners, especially for those growing it indoors or in non-tropical climates. This allows you to control the soil, moisture, and temperature perfectly.
Step 1: Select the Right Container
Ginger rhizomes grow horizontally, so the width of the pot is more important than its depth.
- Choose a Wide, Shallow Pot: Select a container that is at least 12 inches wide and about 8-10 inches deep. A wider pot gives the rhizomes more room to spread out and multiply.
- Ensure Excellent Drainage: This is non-negotiable. Ginger will rot quickly in waterlogged soil. Your pot MUST have several drainage holes. If a pot you love doesn’t have holes, you’ll need to drill them.
Step 2: Create the Perfect Soil Mix
Ginger thrives in rich, loose, well-draining soil. You want a mix that holds some moisture but allows excess water to drain away freely.
- The Ideal Mix: You can create a fantastic growing medium by combining:
- One part high-quality Organic Potting Mix
- One part coco coir or peat moss (for moisture retention)
- One part perlite or coarse sand (for drainage and aeration)
- Pre-moisten the Soil: Before filling your pot, place your soil mix in a large bowl or bucket and add water until it is evenly moist, like a wrung-out sponge. This ensures there are no dry pockets in the pot.
Step 3: Planting the Ginger
- Fill the Pot: Fill your chosen container with the pre-moistened potting mix, leaving about 2-3 inches of space at the top.
- Position the Ginger Pieces: Take your pre-soaked ginger pieces and place them on top of the soil. Position them so the growth buds are pointing upwards. If you can’t tell which way is up, don’t worry—just lay them flat.
- Space Them Out: If planting multiple pieces in one pot, space them about 4-6 inches apart to give each one room to grow.
- Cover with Soil: Cover the ginger pieces with about 1-2 inches of soil. Do not plant them too deep.
- Water Lightly: Water the pot lightly to help settle the soil around the rhizomes.
Ginger Care Guide: From Sprout to Harvest
You’ve successfully planted your ginger. Now, what’s next? This is where a little patience and proper care come in.
The Sprouting Phase
- Patience is Key: Ginger can be slow to start. It may take anywhere from 2 to 8 weeks for the first green shoots to appear. The warmer the soil, the faster it will sprout.
- Find a Warm Spot: Place the pot in a warm location that stays consistently between 70-80°F (21-27°C). On top of the refrigerator or near a sunny window are great spots.
- Water Sparingly: During this sprouting phase, water only when the top inch of soil is dry. Overwatering before the plant has leaves is a common cause of rot.
Ginger Plant Care and Maintenance Table
| Care Factor | Guideline | Why It’s Important |
|---|---|---|
| Light | Bright, indirect light. Avoid intense, direct sun. | Direct sun can scorch the leaves. A spot near an east-facing window is ideal. |
| Watering | Keep soil consistently moist but not soggy once the plant is actively growing. | Ginger is a thirsty plant, but its roots will rot if left in standing water. |
| Temperature | Prefers warm temperatures between 70-85°F (21-27°C). | It is a tropical plant and does not tolerate frost. |
| Humidity | Likes high humidity. | Mist the leaves regularly or place the pot on a pebble tray with water to increase humidity. |
| Fertilizing | Feed with a balanced liquid fertilizer every 3-4 weeks during the growing season. | Provides the nutrients needed for lush leaf growth and large rhizome development. |
| Hilling (Optional) | Add a layer of soil or compost around the base of the stems as they grow. | Encourages more rhizome growth along the newly buried stems. |
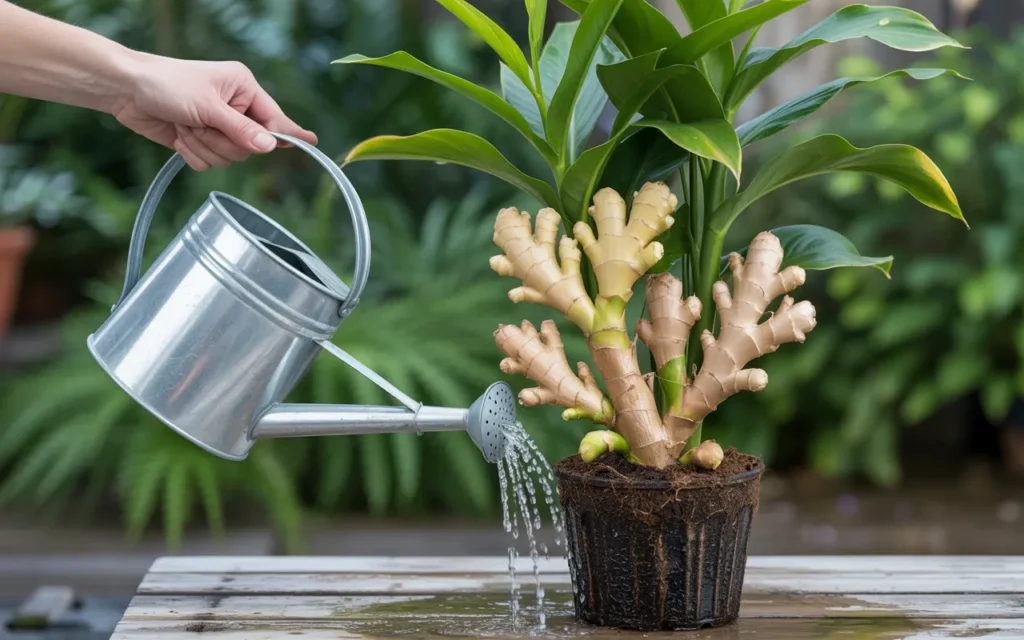
Watering and Fertilizing in Detail
Once your ginger has several leafy stems, its water needs will increase. Water thoroughly whenever the top inch of soil feels dry to the touch. Let the water run out the drainage holes, then discard any excess from the saucer.
Ginger is also a relatively heavy feeder during its active growing season (spring and summer). Feed your plant every few weeks with a balanced, all-purpose liquid fertilizer, such as an Organic Liquid Fertilizer, diluted to half-strength. This will fuel the growth of both the leaves and the underground rhizomes.
Harvesting Your Homegrown Ginger
This is the moment you’ve been waiting for! Your ginger plant should be ready for its first harvest in about 8-10 months. The plant will give you a clear signal: the tall green leaves will start to turn yellow and die back. This is a sign that the rhizomes are mature.
Two Ways to Harvest
- “Noodling” for a Small Harvest: If you just need a small piece of ginger for a recipe, you don’t have to uproot the whole plant. Gently dig around the edge of the pot with your fingers until you feel a rhizome. Use a clean knife to slice off a “finger,” then cover the area back up with soil. This allows the main plant to continue growing.
- The Full Harvest:
- When the leaves have mostly died back, tip the entire pot over onto a tarp or newspaper.
- Gently pull the plant out and shake off the excess soil.
- You will find a large clump of interconnected rhizomes. Use a clean knife to break them apart.
- Save a few pieces! Be sure to set aside a few of the best-looking pieces with healthy buds to replant for your next crop.
Storing Your Ginger
Wash your harvested ginger rhizomes and let them air dry completely. You can store fresh, unpeeled ginger in a zip-top bag in the crisper drawer of your refrigerator for several weeks. For long-term storage, you can freeze the ginger whole or grate it first and freeze it in ice cube trays for convenient, pre-portioned amounts.
Frequently Asked Questions (FAQ)
Q1: Can I plant ginger root directly in my garden?
Yes, if you live in a warm climate (USDA Zones 9 and above) with a long growing season. Choose a location with partial shade and rich, well-draining soil. The planting process is the same as for containers. If you live in a colder climate, you can plant it in the garden for the summer and then dig it up to bring indoors before the first frost.
Q2: Why are my ginger plant’s leaves turning yellow?
Yellowing leaves can mean a few things. If it’s late in the season (8+ months after planting), it’s a natural sign that the plant is mature and ready for harvest. If it’s early or mid-season, yellowing leaves can be a sign of overwatering or a nutrient deficiency. Check your soil moisture and ensure you are feeding it regularly.
Q3: Does the ginger plant flower?
Yes, mature ginger plants can produce beautiful and exotic-looking flowers, typically in late summer. However, flowering is rare for plants grown in containers, especially in their first year. The plant needs to be very well-established to bloom.
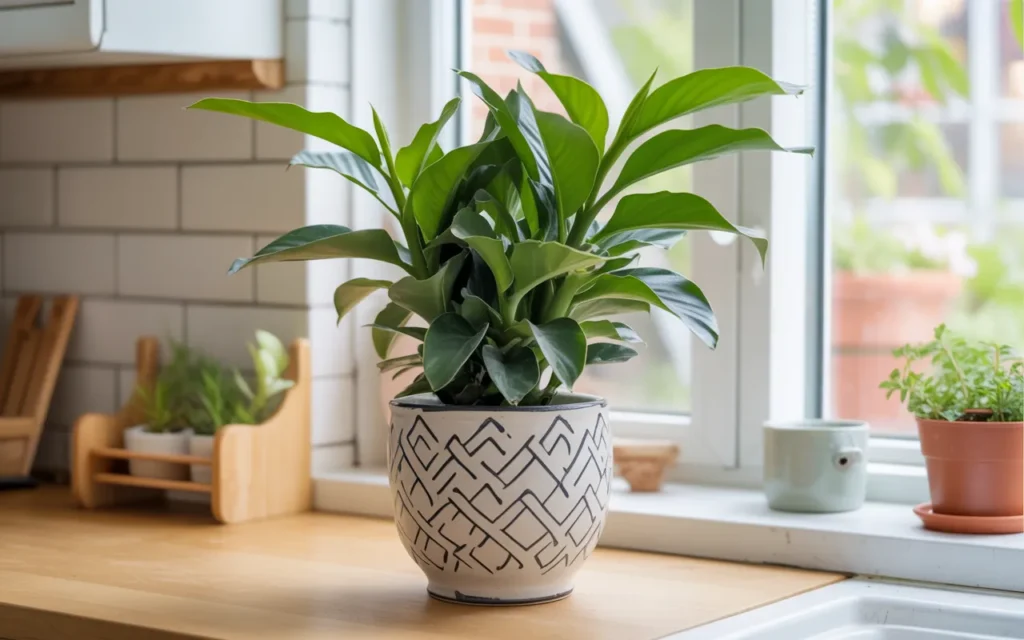
Q4: Is ginger a good houseplant?
Ginger makes a wonderful and attractive houseplant! Its lush, tropical foliage adds a vibrant green touch to any room. Even if you don’t harvest it, it’s a beautiful ornamental plant.
Q5: What’s the difference between ginger and turmeric? Can I grow turmeric the same way?
Ginger and turmeric are in the same plant family and are both grown from rhizomes. You can absolutely grow turmeric using the exact same methods described in this guide! Turmeric plants look very similar to ginger plants but have slightly wider leaves. Growing both side-by-side is a fantastic way to have fresh, powerful spices at your disposal. A Fresh Organic Turmeric Root is a great way to get started.
Learning how to plant ginger root at home is a simple and immensely satisfying project. It connects you to your food in a new way and provides you with a flavor that is far superior to anything you can buy. Happy planting