
If you love the rich, aromatic flavor of garlic in your cooking, just wait until you taste it fresh from your own garden. Growing garlic is incredibly simple and one of the most satisfying things a home gardener can do.
This guide will show you how to plant garlic from start to finish, ensuring you get an amazing harvest. Forget the store-bought bulbs; let’s get you on the path to growing your own flavor-packed garlic.
We will walk through every essential step, from choosing the best garlic varieties to harvesting and curing your crop for long-term storage. You’ll see just how easy it is to have a steady supply of this kitchen staple.
Choosing the Right Garlic to Plant
The first step in learning how to plant garlic is selecting the right type for your garden and climate. You should avoid using garlic from the grocery store. Supermarket garlic is often a variety not suited for your local climate and may be treated to prevent sprouting, which is exactly what you want it to do!
Instead, you need to purchase seed garlic from a nursery or a reputable online supplier. Seed garlic is specifically grown for planting, is disease-free, and is selected for its superior growing traits.
Hardneck vs. Softneck Garlic
There are two main types of garlic you can grow, and the choice largely depends on your climate.
- Hardneck Garlic: This type grows a hard central stalk called a “scape.” Hardnecks are very cold-hardy, making them the best choice for gardeners in cooler climates (USDA zones 6 and below). They typically have fewer, but much larger, cloves per bulb with more complex and robust flavors. The delicious, edible scapes are a bonus harvest in early summer!
- Softneck Garlic: This is the type you most commonly see in grocery stores. It has a soft, braidable stem and produces more cloves per bulb, though they are generally smaller.
- Softnecks are ideal for warmer climates (USDA zones 7 and up) and are known for their excellent storage qualities, often lasting up to a year.
Here’s a quick guide to help you decide:
| Garlic Type | Climate | Flavor Profile | Storage | Bonus Feature |
|---|---|---|---|---|
| Hardneck | Colder Climates (Zones 2-6) | Rich, complex, spicy | 4-6 months | Produces edible scapes |
| Softneck | Warmer Climates (Zones 7-12) | Milder, classic garlic taste | 9-12 months | Stems can be braided |
For a reliable harvest, consider a proven variety pack like the Heirloom Hardneck & Softneck Garlic Seed Combo to see which one performs best in your garden.
Preparing for Planting
Before you get your hands dirty, a little preparation goes a long way.
When to Plant Garlic
Garlic has a unique growing season. The absolute best time for how to plant garlic is in the autumn, a few weeks before the ground freezes solid. This gives the cloves time to develop a strong root system before winter sets in.
- Northern Climates (Zones 2-6): Aim for late September to late October.
- Southern Climates (Zones 7-12): Plant from late October through December.
Planting in the fall results in bigger, more flavorful bulbs the following summer. While you can plant garlic in the spring, the bulbs will be much smaller.
Where to Plant Garlic
Garlic is not a fussy plant, but it does have a few key requirements for the best results:
- Full Sun: Choose the sunniest spot in your garden. Garlic needs at least 6-8 hours of direct sunlight per day to thrive and form large bulbs.
- Well-Drained Soil: This is critical. Garlic cloves will rot if they sit in waterlogged soil. Your soil should be loose, sandy, or loamy. If you have heavy clay soil, you’ll need to amend it. Improve drainage and fertility by mixing in a generous amount of Organic Garden Compost or aged manure. Raised beds are also an excellent option for controlling soil quality.
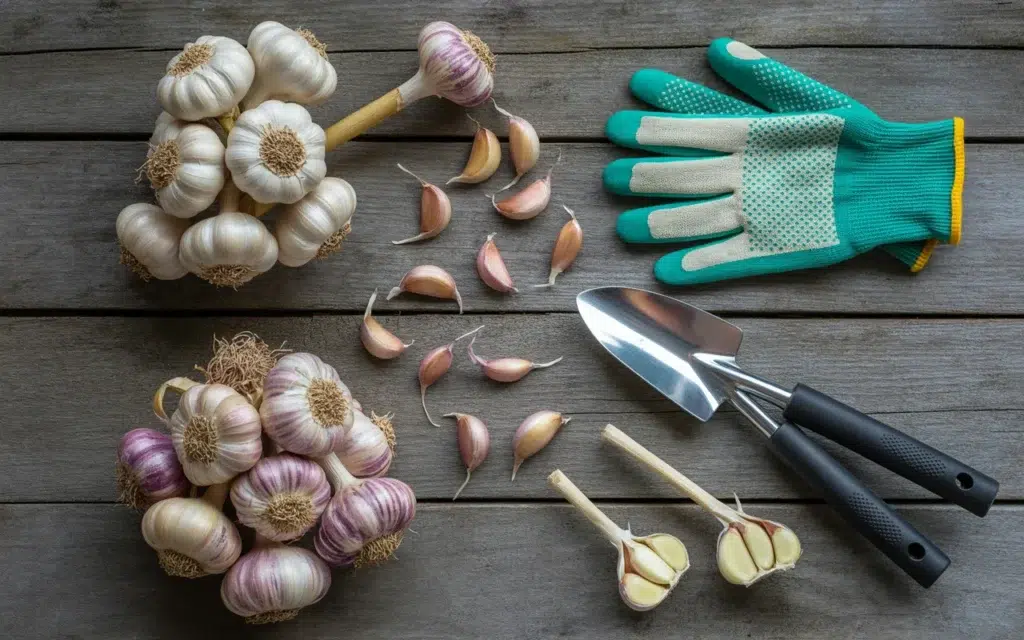
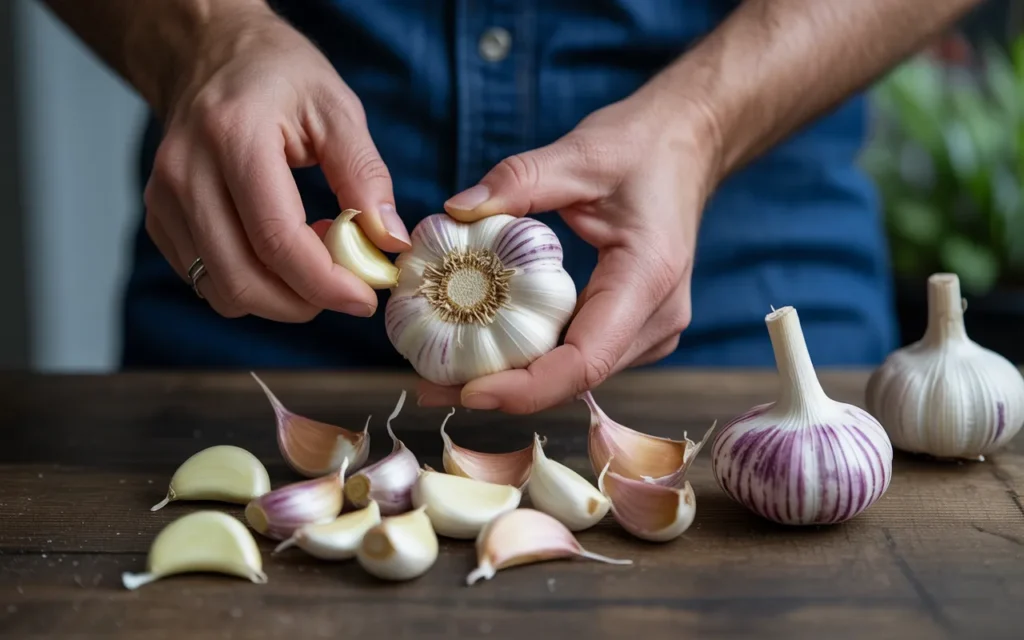
Preparing the Cloves
Once you have your seed garlic bulbs, it’s time to get them ready for planting.
- Wait to Separate: Do not break the bulbs apart until the day you are ready to plant. This keeps the cloves fresh and prevents them from drying out.
- “Crack” the Bulb: Gently separate the cloves from the central stem. Be careful not to damage the basal plate (the flat bottom part of the clove where roots grow).
- Select the Best: Plant only the largest, healthiest cloves. The bigger the clove you plant, the bigger the bulb you will harvest. Use the smaller cloves for your cooking!
How to Plant Garlic: A Step-by-Step Method
Now for the fun part! The process is straightforward, whether you’re planting in the ground or in containers.
- Enrich the Soil: Before planting, work a balanced, slow-release fertilizer into the top 4-6 inches of your soil. A good All-Purpose Vegetable Garden Fertilizer will provide the nutrients your garlic needs to get started.
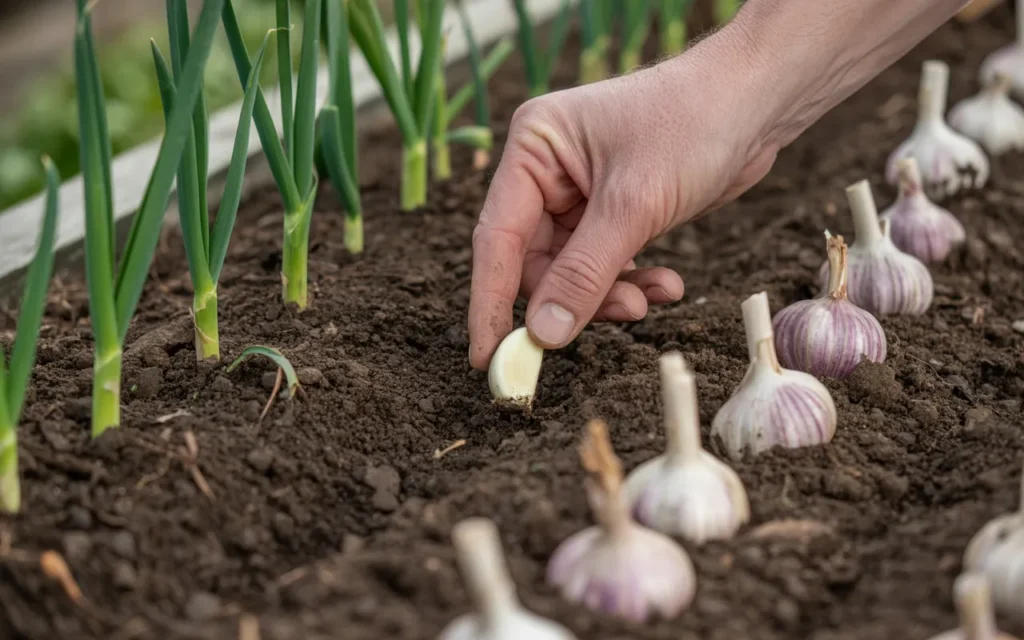
- Position the Cloves: Place the individual cloves into the soil with the pointed end facing up and the flat, basal plate end facing down. This is very important, as the green shoot will emerge from the pointy end.
- Planting Depth: Plant each clove about 2-3 inches deep. A good rule of thumb is to plant them twice as deep as the clove’s height.
- Spacing: Space the cloves about 6-8 inches apart in all directions. This gives them plenty of room to grow large bulbs without competing for resources. You can plant in rows or in a grid pattern.
- Cover and Water: Gently cover the cloves with soil and lightly firm it down. Water the bed well to settle the soil around the cloves.
Caring for Your Garlic Plants
Your garlic will spend the winter establishing roots and will burst into growth once spring arrives. Here’s what to do to ensure a great harvest.
Mulching
After planting in the fall, it is highly recommended to apply a thick layer of mulch over the garlic bed.
- Why Mulch? Mulch protects the cloves from harsh winter thaws and freezes, conserves soil moisture, and suppresses weeds in the spring. Weeds are a major competitor for garlic, so this step is crucial.
- How to Mulch: Apply a 4-6 inch layer of straw, shredded leaves, or grass clippings over the entire planted area. The garlic shoots will have no trouble pushing through this layer in the spring.
Watering
- Spring Growth: Garlic needs consistent moisture during its active growth phase in the spring. Water deeply once a week if you haven’t had at least one inch of rain.
- Stop Watering: About 3-4 weeks before your planned harvest (usually in early July), stop watering completely. This allows the bulbs to start curing in the ground and helps the protective wrappers to form and dry.
Fertilizing
Garlic is a heavy feeder.
- Spring Feeding: When the green shoots are about 6 inches tall in the spring, you can give them a boost with a nitrogen-rich fertilizer like Blood Meal or a balanced liquid feed.
- Apply fertilizer again about a month later. Do not fertilize after scapes appear on hardneck varieties, as the plant’s energy should be focused on bulb formation.
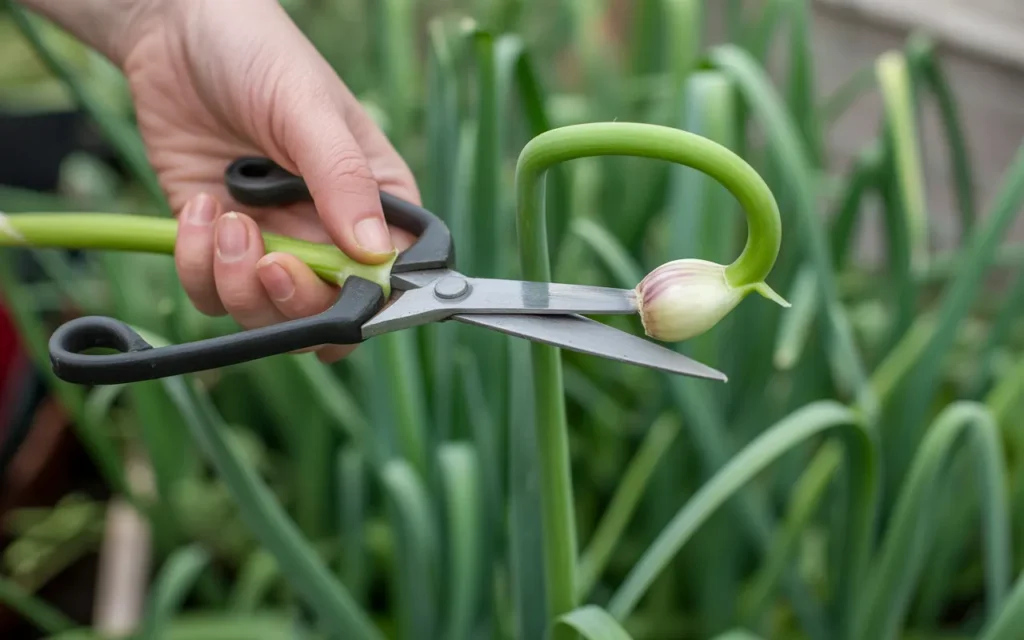
Scape Removal (For Hardneck Garlic Only)
In early to mid-summer, your hardneck garlic will send up a beautiful, curling central stalk—the scape. You must remove this scape. If left on, the plant will put its energy into producing flowers and seeds instead of a large bulb.
- How to Harvest Scapes: When the scape has formed one or two curls, simply snap or cut it off near the base of the plant.
- Don’t throw them away! Garlic scapes are a delicious bonus harvest. They have a mild, fresh garlic flavor and are amazing in stir-fries, pesto, or grilled.
Harvesting and Curing Your Garlic
This is the rewarding moment you’ve worked for.
When to Harvest
- Harvest time is typically in mid-to-late summer (July or August).
- The signal to harvest is when the lower half of the leaves have turned yellow and brown, but the top 4-5 leaves are still green. Each green leaf represents a protective wrapper around the bulb. If you wait too long, the bulbs will start to split open in the ground, reducing their storage life.
- Gently dig up one test bulb to check its size and see if the wrappers are well-formed.
How to Harvest
- Loosen the soil around the bulbs with a Sturdy Garden Fork or trowel, being careful not to pierce the garlic.
- Gently lift the plants from the ground.
- Do not wash the bulbs. Brush off any large clumps of soil, but leave the plants intact with stems and roots attached.
Curing the Garlic
Curing is the most important step for long-term storage.
- Bundle and Hang: Gather the plants into bundles of 5-10 and hang them in a well-ventilated, shady, and dry location like a shed, garage, or covered porch. You can also lay them out on racks. Good air circulation is key.
- Let Them Dry: Let the garlic cure for 3 to 6 weeks. The garlic is fully cured when the roots are shriveled and dry, the outer wrappers are papery, and the neck just above the bulb is completely dry and constricted.
- Clean and Trim: Once cured, trim the roots close to the bulb and cut the stem off about 1-2 inches above the bulb. For softneck varieties, you can leave the stems long to braid them. Gently brush off any remaining dirt with your hands or a soft brush.
Store your cured garlic in a cool, dark, dry place with good airflow. A mesh bag or basket in a pantry is perfect. Do not store it in the refrigerator.
Frequently Asked Questions (FAQ)
Q1: Can I plant garlic in the spring?
Yes, you can, but it’s not ideal. Spring-planted garlic doesn’t have the cold period it needs to form large, segmented bulbs. You will likely harvest smaller, round bulbs that resemble a large pearl onion. For the best results, always plant in the fall.
Q2: How do I know when to harvest my garlic?
The leaves are your guide. When the bottom 1/3 to 1/2 of the leaves have turned yellow and died back, it’s time to harvest. Don’t wait for all the leaves to die, or your bulbs may over-mature and split.
Q3: Some of my harvested garlic bulbs are purple. Is that okay?
Absolutely! Many hardneck varieties, especially those in the Porcelain or Purple Stripe families, have beautiful purple or pinkish stripes and blushing on their wrappers. This is completely normal and often indicates a rich, complex flavor.
Q4: How many garlic bulbs will I get?
You will get one new garlic bulb for every single clove you plant. This is why it’s so rewarding—if you plant 20 cloves, you’ll harvest 20 full bulbs