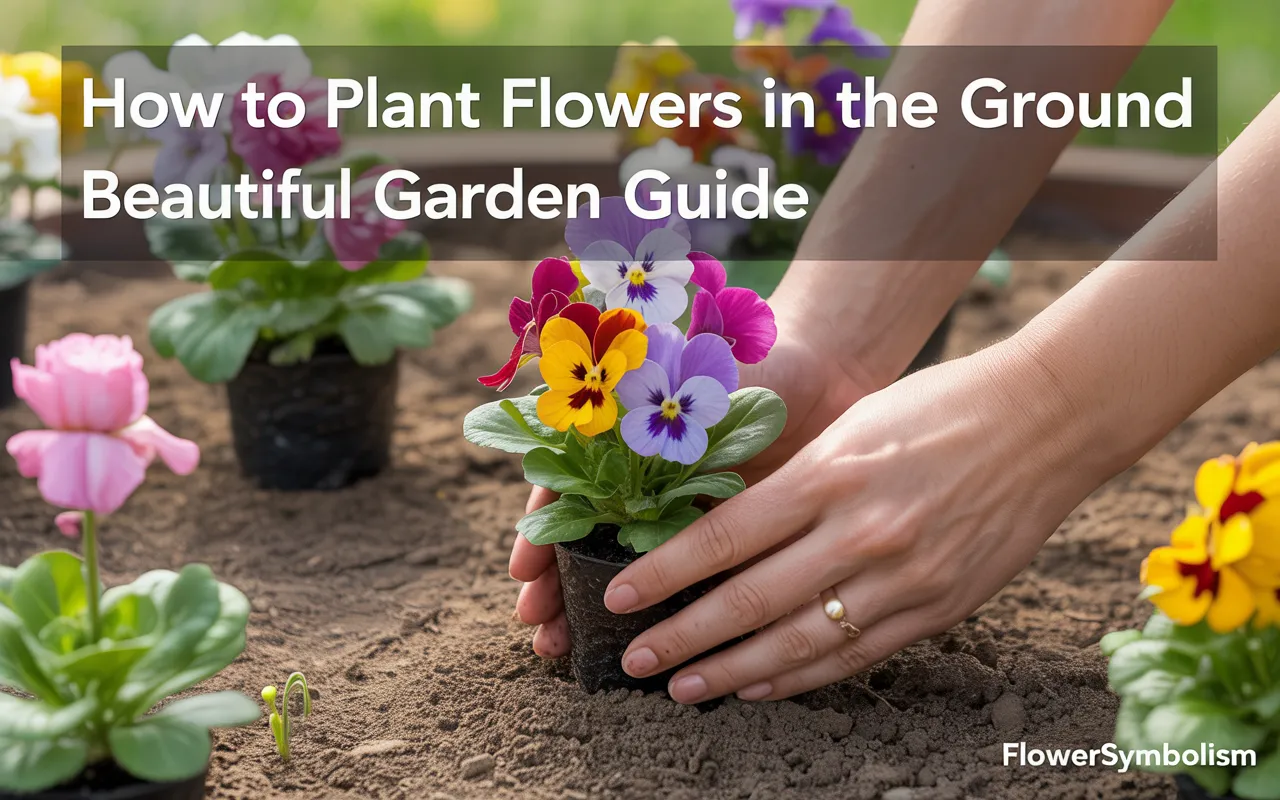
There’s a special kind of joy that comes from looking out at a garden bursting with vibrant, colorful flowers that you planted yourself. It turns a simple patch of dirt into a living piece of art. This guide is here to show you exactly how to plant flowers in the ground, breaking down every simple step to help you create the beautiful garden of your dreams.
Don’t be intimidated if you’re new to gardening! Planting flowers is a fun and incredibly rewarding activity.
We’ll walk you through choosing the right plants, preparing the perfect spot, and giving your new flowers the care they need to thrive all season long. Let’s get ready to add some color to your world!
The First Fun Step: Choosing Your Flowers
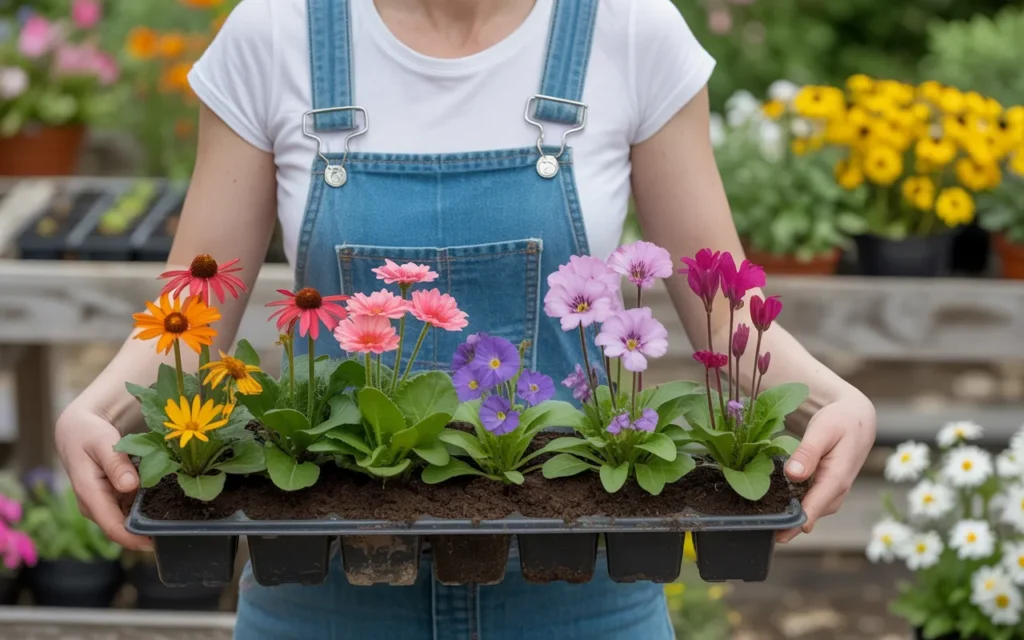
Walking into a garden center can be overwhelming with so many beautiful choices. The key to success is picking flowers that will be happy in the specific conditions of your yard. Let’s break down the main types.
Annuals vs. Perennials: What’s the Difference?
This is the most important concept to understand when choosing flowers.
- Annuals: These plants live for only one growing season. You plant them in the spring, they bloom beautifully all summer long, and then they die when the first frost arrives. You have to replant them every year.
- Why choose them? They provide spectacular, non-stop color for months. They are perfect for filling in gaps and for container gardens.
- Popular Examples: Marigolds, Petunias, Zinnias, Impatiens, Begonias.
- Perennials: These plants live for three or more years. They typically bloom for a shorter period (a few weeks to a month) each year, but they will come back on their own every spring.
- Why choose them? They are the foundation of a garden bed. You plant them once, and they provide reliable color and texture year after year. They are a great investment.
- Popular Examples: Coneflowers (Echinacea), Black-Eyed Susans, Hostas, Daylilies, Peonies.
Gardener’s Tip: The best gardens use a mix of both! Use perennials to create the “bones” of your garden, and then tuck annuals in between them for constant, season-long color.
The Most Important Factor: Sunlight
Before you buy a single plant, you must become a sun detective. Spend a day observing your yard and see how much direct sun your garden spot gets. This is the most critical factor in choosing the right plants.
- Full Sun: 6 or more hours of direct, unfiltered sunlight per day. This is a spot that gets sun for most of the afternoon. Many classic flowers like Zinnias, Marigolds, and Coneflowers love full sun.
- Part Sun / Part Shade: 4 to 6 hours of direct sun per day. This area might get sun in the morning but be shady in the hot afternoon, which is ideal for many plants. Examples include Begonias and Bleeding Hearts.
- Full Shade: Less than 4 hours of direct sun per day. This doesn’t mean total darkness, but rather dappled light through trees or light on the north side of a house. Hostas and Impatiens are shade superstars.
Every plant tag will have a symbol or words indicating its sun requirement. Always match the plant to the sunlight you have. A sun-loving plant will not bloom in the shade, and a shade-loving plant will get scorched in the sun.
Preparing Your Canvas: Getting the Garden Bed Ready
You wouldn’t paint on a dirty canvas, and you shouldn’t plant in poor soil. Preparing your garden bed properly is the most important physical work you will do. It sets your flowers up for a lifetime of success.
Step 1: Clear the Area
First, you need to remove anything that will compete with your new flowers.
- Remove all grass, weeds, rocks, and roots from your chosen spot.
- A sturdy garden hoe or a flat spade can help you skim the grass off the top. Make sure you get the roots!
Step 2: The Secret to Great Soil
Garden soil is often compacted, heavy clay, or overly sandy. The secret ingredient to fix almost any soil problem is compost. Compost is broken-down organic matter that is full of nutrients, improves soil structure, and helps hold the perfect amount of moisture.
- The Plan: Spread a generous 3- to 4-inch layer of compost over the entire surface of your cleared garden bed. You can buy bagged compost from any garden center. [Amazon Product: Premium All-Purpose Organic Compost]
- Add a Starter Fertilizer: While you’re at it, now is a great time to sprinkle a slow-release granular fertilizer designed for flowers over the bed. This will provide a steady supply of food for your new plants. Follow the application rates on the package. [Amazon Product: Slow-Release Flower & Bloom Fertilizer]
Step 3: Mix It All In
Now it’s time to incorporate all that goodness into your native soil.
- Using a shovel or a garden fork, dig down and turn the soil over, mixing the compost and fertilizer into the top 8 to 12 inches of your garden bed.
- Break up any large clumps of dirt. The goal is to create soil that is dark, loose, and crumbly. This makes it easy for your flower’s roots to grow deep and strong.
- Finish by raking the surface of the bed smooth.

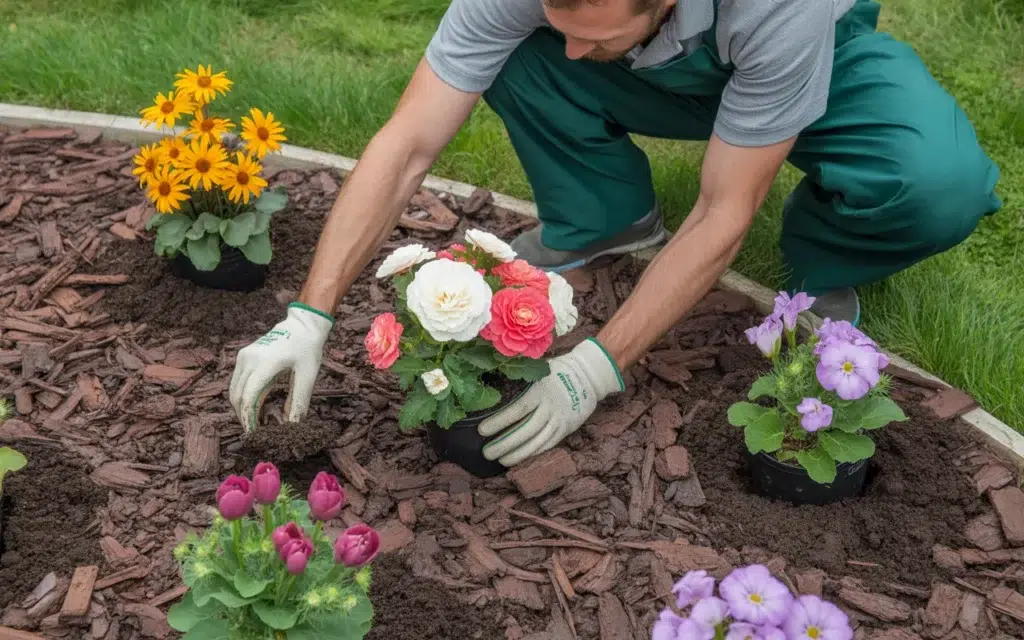
How to Plant Flowers in the Ground: The Big Day
Your garden bed is ready and waiting! Now comes the fun of arranging and planting your beautiful flowers.
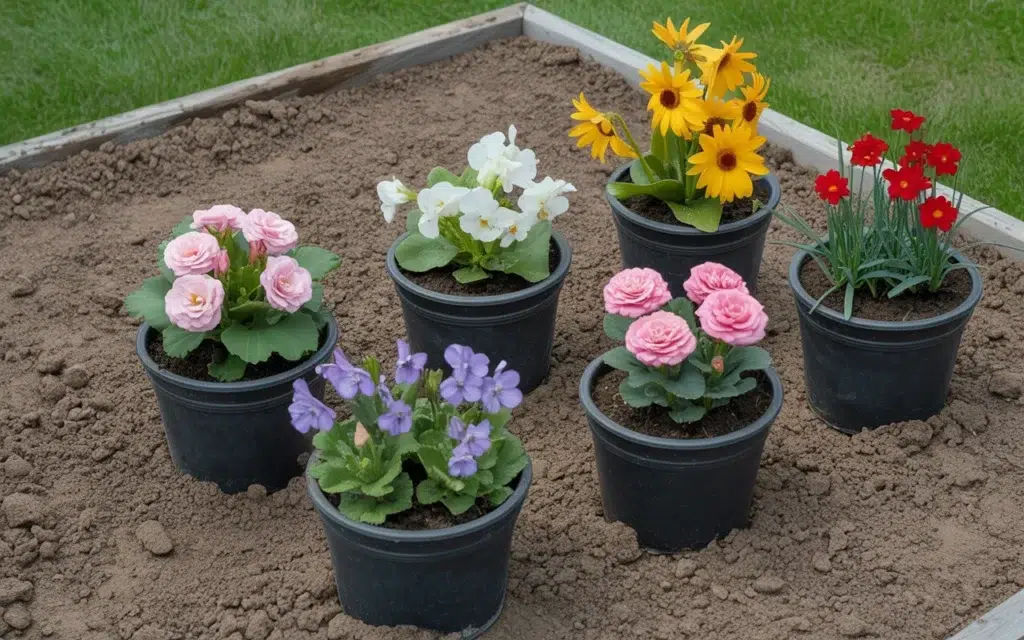
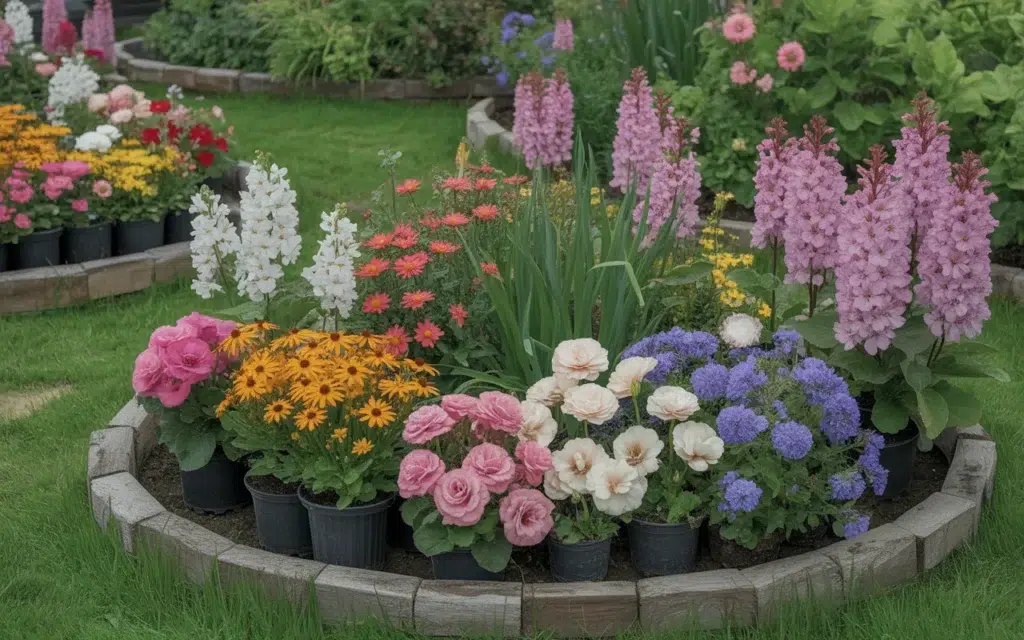
Step 1: Arrange Your Plants (Before You Dig!)
Don’t start digging holes just yet! First, arrange your flowers on top of the soil while they are still in their pots.
- This allows you to play with the design and see how the colors and heights will look together.
- Design Tip: Place taller plants (like Delphiniums or Foxgloves) in the back of the bed, medium-sized plants (like Zinnias or Coneflowers) in the middle, and short, mounding plants (like Alyssum or Petunias) along the front edge.
- Pay attention to the plant tag for its “mature spread” or “spacing.” This tells you how wide the plant will get. Give them enough room to grow into their full size without being overcrowded.
Step 2: Dig the Hole
Once you are happy with your arrangement, it’s time to dig.
- Move one pot aside and dig a hole that is slightly wider than the pot and just as deep.
- You want the top of the plant’s root ball to be perfectly level with the surrounding garden soil. Planting too deep can suffocate the plant’s crown (where the stem meets the roots).
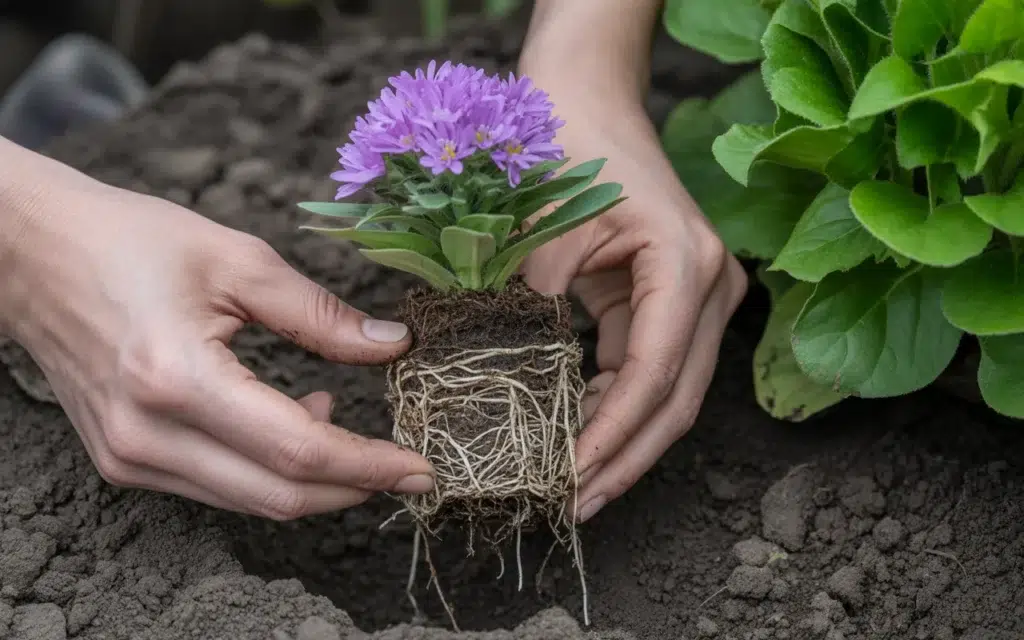
Step 3: Gently Remove the Flower from Its Pot
- Never pull a plant out by its delicate stem!
- Gently squeeze the sides of the plastic pot to loosen the soil.
- Tip the pot on its side, support the base of the plant with one hand, and gently slide it out.
- Check the roots. If the roots are a dense, tangled mass (this is called being “root-bound”), you must gently tease them apart with your fingers. This encourages the roots to grow outwards into the new soil instead of continuing to circle.
Step 4: Place and Backfill
- Set the plant in the hole, making sure it’s standing up straight.
- Use your hands to fill the hole with the soil you removed, gently patting it down around the root ball to eliminate any large air pockets.
- Do not mound the soil up around the stem. Keep it level with the rest of the garden bed.
Step 5: Water, Water, Water!
This is a critical step that many people forget.
- As soon as you are done planting, you must give your new flowers a deep and thorough watering.
- Use a watering can with a gentle rose attachment or a hose on a “shower” setting.
- This deep drink helps to settle the soil around the roots and significantly reduces transplant shock, helping your plants get established much faster.
[Amazon Product: Heavy-Duty Garden Trowel and Tool Set]
Keeping Your Garden Beautiful: Aftercare and Maintenance
Your flowers are in the ground! Now, a little bit of regular care will keep them looking spectacular all season long.
Watering
- For the first couple of weeks, your new plants will be thirsty as they establish their roots. Check the soil every few days and water if the top inch feels dry.
- Once established, most garden flowers need about 1 inch of water per week, either from you or from rain.
- It’s much better to water deeply and less frequently (a good soak once or twice a week) than to give a light sprinkle every day. Deep watering encourages deep, strong roots.
- Try to water the soil at the base of the plants, not the leaves and flowers. Wet foliage can encourage fungal diseases.
Mulching: The Gardener’s Secret Weapon
- After your initial watering, apply a 2- to 3-inch layer of organic mulch (like shredded bark, straw, or shredded leaves) over the entire garden bed, around your plants.
- Mulch is amazing! It dramatically reduces how many weeds you have to pull, holds moisture in the soil so you have to water less often, and keeps the soil cool. As it breaks down, it even feeds the soil.
Deadheading: The Key to More Blooms
- “Deadheading” is the simple process of pinching or snipping off flowers as soon as they start to fade.
- For annuals, this is the most important thing you can do to keep them blooming. When you remove the spent flower, you prevent the plant from making a seed, which tricks it into producing more flowers instead.
- For many perennials, deadheading can also encourage a second flush of blooms.
Conclusion
You did it! You now have all the essential knowledge for how to plant flowers in the ground and create a stunning garden display. From the initial joy of picking out your plants to the satisfaction of seeing them thrive under your care, gardening is a journey of creativity and connection with nature.
Remember to match your plants to your sunlight, prepare your soil with compost, and give them a good drink after planting. Now sit back and enjoy the beautiful, vibrant paradise you’ve created!
Frequently Asked Questions (FAQs)
1. What is the best month to plant flowers?
This depends on your climate and the type of flower. In most places, the best time to plant annuals and most perennials is in the spring, after all danger of frost has passed. Fall is also an excellent time to plant many perennials and spring-blooming bulbs.
2. How do you prepare the ground before planting flowers?
The most important step is to improve the soil. Clear the area of all weeds and grass, then spread a 3-4 inch layer of compost over the top. Mix this compost into the top 8-12 inches of existing soil to create a rich, loose foundation for the roots.
3. Do I need to fertilize flowers after planting?
If you mixed a slow-release granular fertilizer into the soil during preparation, your plants should be set for a few months. For heavy-blooming annuals like petunias, you may want to give them a dose of liquid “bloom-booster” fertilizer every few weeks to keep the flower show going strong.
4. How far apart should I plant my flowers?
Always check the plant tag! It will give you a recommended “spacing” or “mature spread.” It might look sparse at first, but giving flowers the proper amount of space allows for good air circulation (which prevents disease) and lets them grow to their full, beautiful size without being overcrowded.
5. Should I water flowers every day after planting?
You don’t necessarily need to water every day, but you do need to keep the soil consistently moist for the first couple of weeks. The best way to know is to stick your finger one inch into the soil. If it feels dry, it’s time to water.
6. What are the easiest flowers for a beginner to plant?
Some of the most forgiving and easiest flowers for beginners are Sunflowers, Zinnias, Marigolds, and Cosmos for sunny spots. For shady areas, you can’t go wrong with Impatiens or Hostas.
7. Can I just dig a hole in my lawn and plant a flower?
It’s not a good idea. The surrounding grass will compete fiercely with your flower for water and nutrients, and the compacted soil of a lawn will make it very difficult for the flower’s roots to grow. It’s always best to prepare a dedicated garden bed.