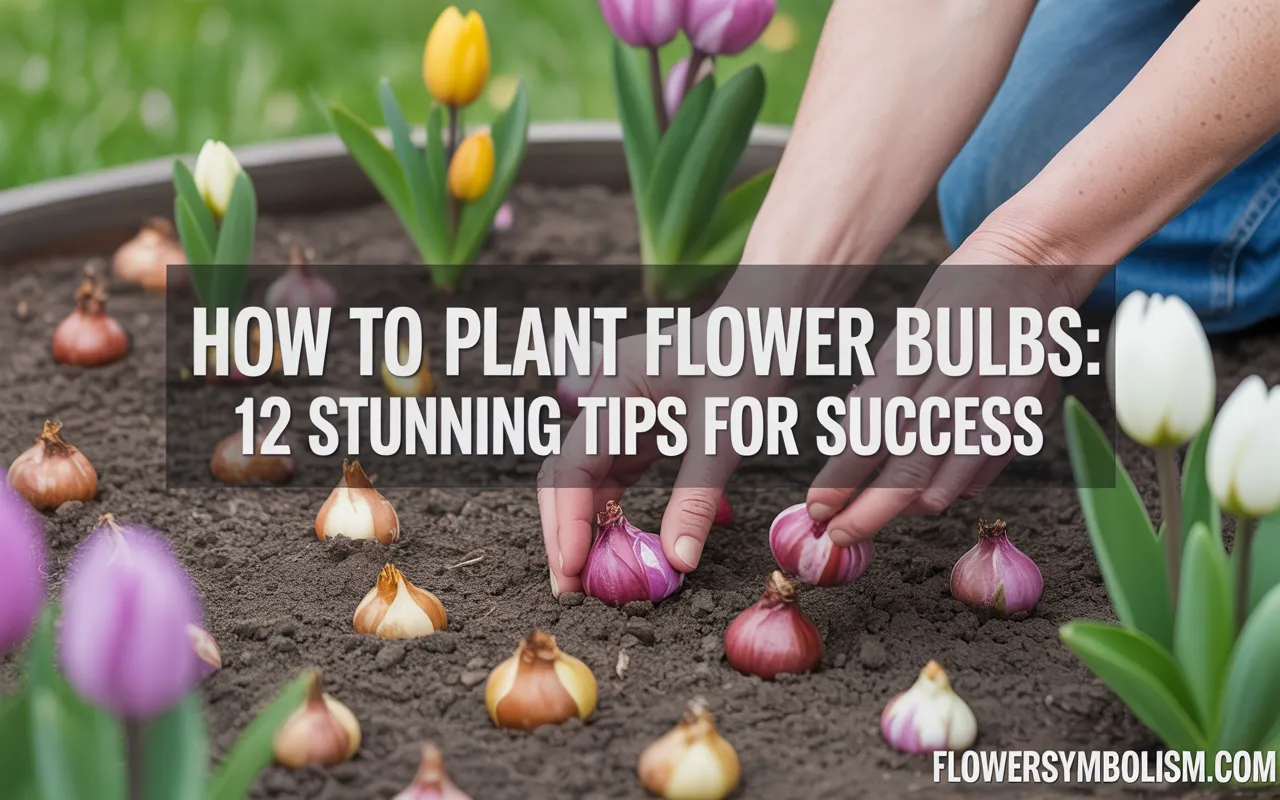
There is a unique kind of magic that happens when you bury a dry, papery bulb in the soil. It feels like an act of faith—trusting that this humble little package will transform into a breathtaking display of color just when you need it most. Whether it’s the first snowdrop of spring or a towering summer gladiolus, learning how to plant flower bulbs is one of the most rewarding skills a gardener can master.
For beginners, the world of bulbs can seem a little mysterious. Which end goes up? How deep should I dig? When do I plant? The good news is that bulbs are actually some of the easiest plants to grow.
They come with their own packed lunch—all the energy they need to bloom is stored right inside. With a few simple tips and tricks, you can create a garden that stops traffic. Let’s dig in!
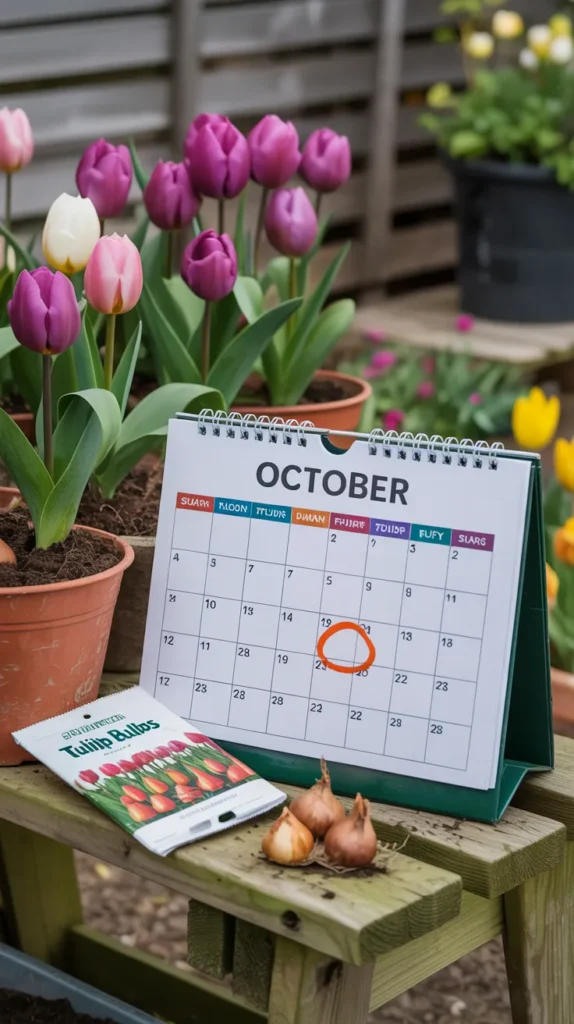
1. Timing is Everything: Know Your Season
The first step in mastering how to plant flower bulbs is understanding that timing is crucial. Bulbs generally fall into two categories: spring-flowering and summer-flowering.
Spring-flowering bulbs, like tulips, daffodils, and hyacinths, need a period of cold dormancy. This means they must be planted in the fall, ideally before the ground freezes but after the soil has cooled down (around 40-50°F).
Summer-flowering bulbs, like dahlias, gladiolus, and lilies, are tender. They love the heat and should be planted in the spring after all danger of frost has passed. Planting at the right time ensures your bulbs wake up exactly when they are supposed to.
2. Location, Location, Location
Most bulbs are sun-seekers. To get those vibrant colors and sturdy stems, you generally need to find a spot that gets at least six hours of direct sunlight a day.
However, drainage is just as important as sunlight. Bulbs hate “wet feet.” If water pools in your garden after a rainstorm, your bulbs will likely rot before they ever get a chance to bloom. If you have heavy clay soil, consider planting in raised beds or amending your soil with organic matter to improve drainage.
3. Digging the Perfect Hole
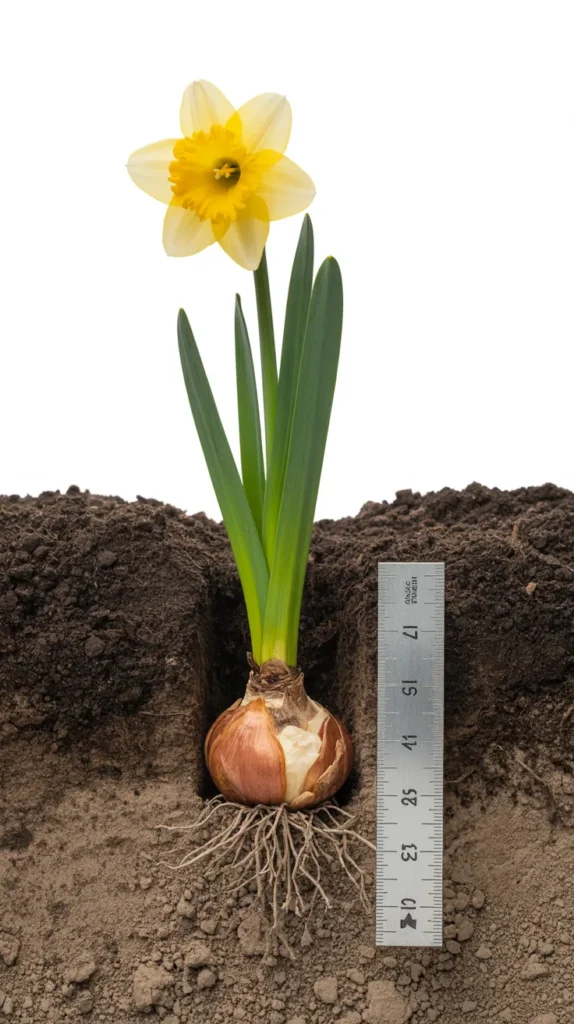
One of the most common questions is: “How deep do I plant this?” A good rule of thumb is to plant the bulb at a depth that is two to three times its height. For a 2-inch tulip bulb, that means a hole about 6 inches deep.
To make this process effortless, especially if you are planting dozens of bulbs, having the right tool is a game-changer. An {Edward Tools Bulb Planter} allows you to remove a clean core of soil to the exact depth you need, saving your wrists and speeding up the process significantly.
4. Which Way is Up?
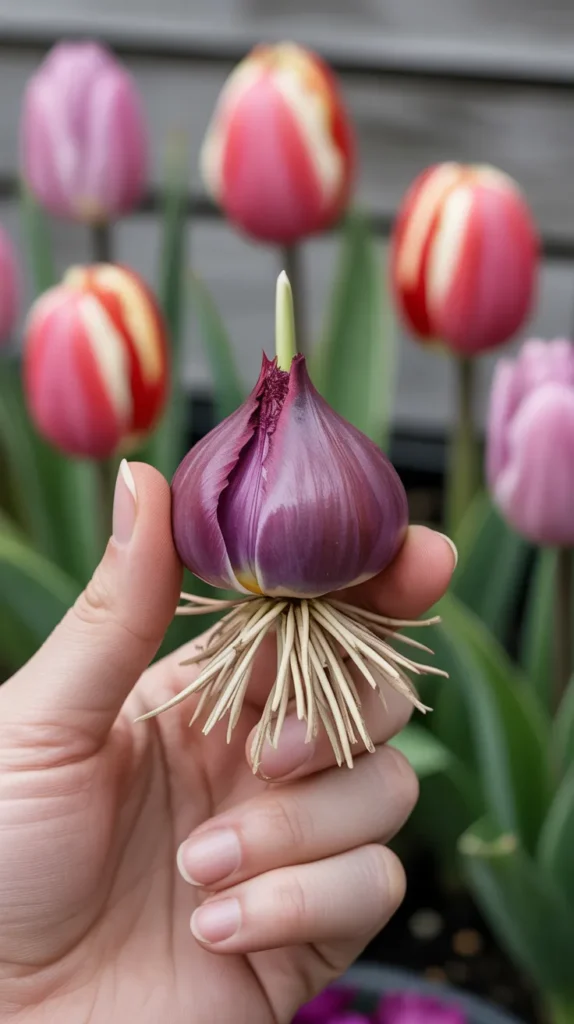
It might sound silly, but knowing which end points to the sky is a legitimate concern! Most bulbs have a distinct pointy end (the top) and a flatter side with dried roots (the bottom).
Plant the bulb with the pointy end facing up. If you truly can’t tell—which often happens with corms like anemones—plant the bulb on its side. The plant acts on gravity (geotropism) and will send its shoot upward and roots downward regardless.
5. Feed Your Bulbs for Future Blooms
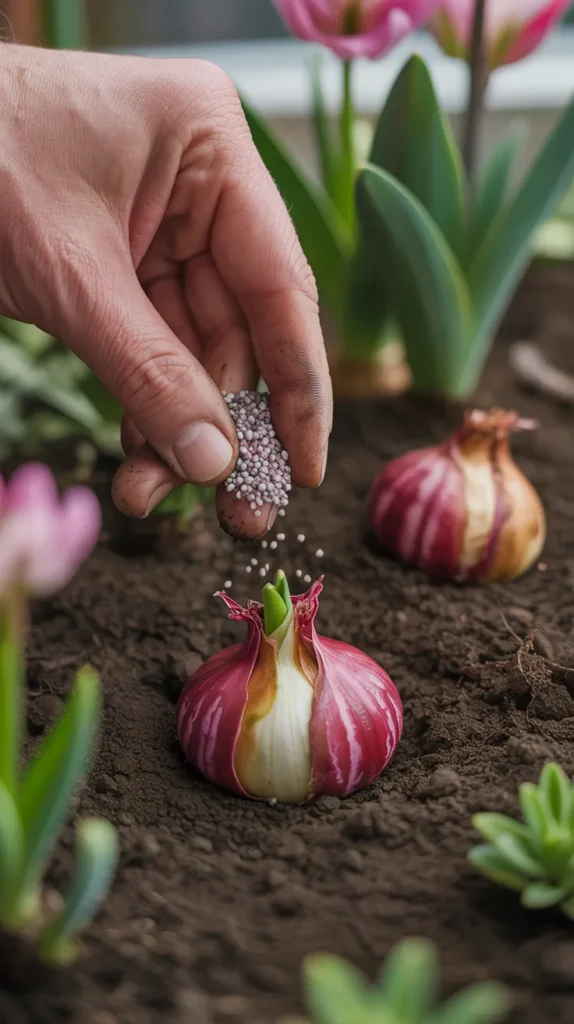
Bulbs are powerhouses of energy, but they appreciate a good meal to get started, especially if you want them to return year after year.
When you plant, mix a slow-release fertilizer into the soil at the bottom of the hole. Avoid strong nitrogen fertilizers which can burn tender new roots. Instead, use a balanced organic option like {Espoma Organic Bulb-tone}. This provides the essential nutrients needed for robust root development and helps the bulb recharge for next season.
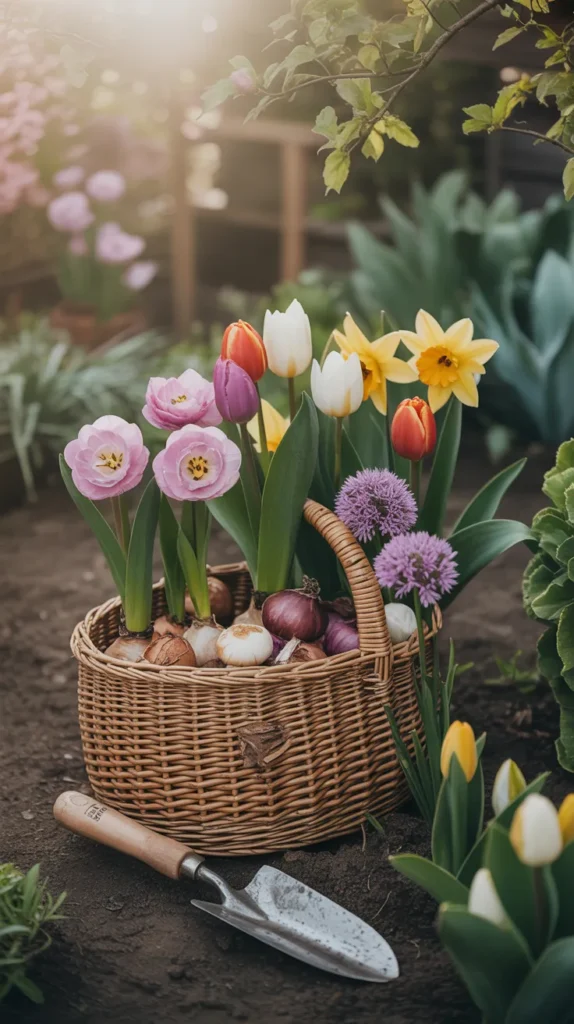
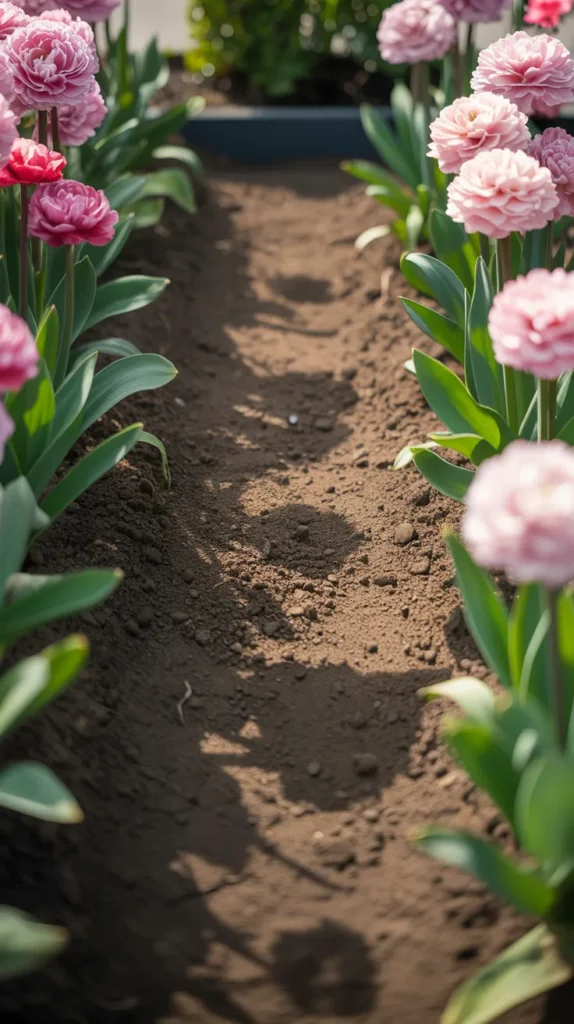
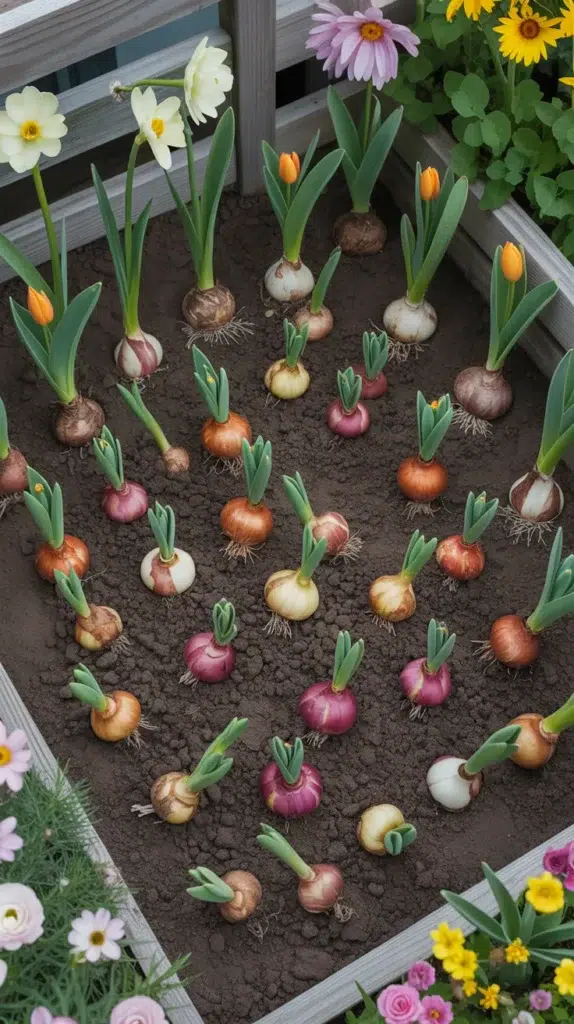
6. Mass Planting for Maximum Impact
A single tulip standing alone looks a bit lonely. For a truly stunning display that looks like a professional designed it, plant your bulbs in groups or “drifts.”
Aim for clusters of at least 5 to 9 bulbs. To create a natural look, gently toss a handful of bulbs onto the soil and plant them exactly where they land. This avoids the rigid “soldiers in a row” look. For large planting sessions, protect your knees with a comfortable {Garden Kneeler and Seat}. It makes spending an hour at ground level much more enjoyable.
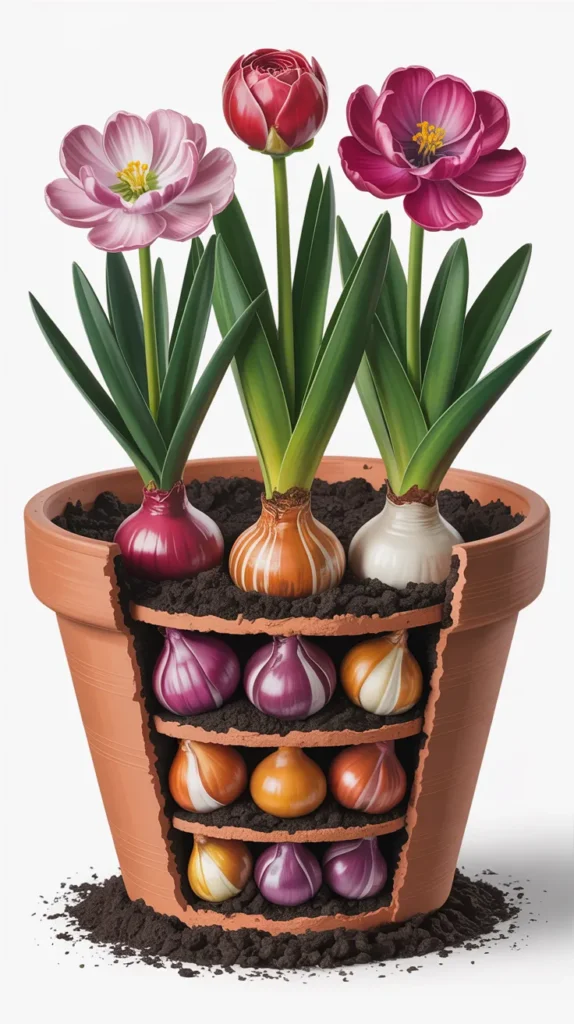
7. The “Lasagna” Method for Containers
If you are short on garden space, you can create an incredible display in a single pot using the “lasagna” or layering method.
Plant your largest, latest-blooming bulbs (like tulips) at the bottom layer. Add soil, then plant mid-season bulbs (like daffodils). Add more soil, and finish with early bloomers (like crocuses) on top. This technique gives you a continuous succession of blooms in one container. Use a quality mix like {Miracle-Gro Potting Mix} to ensure good drainage in your pots.
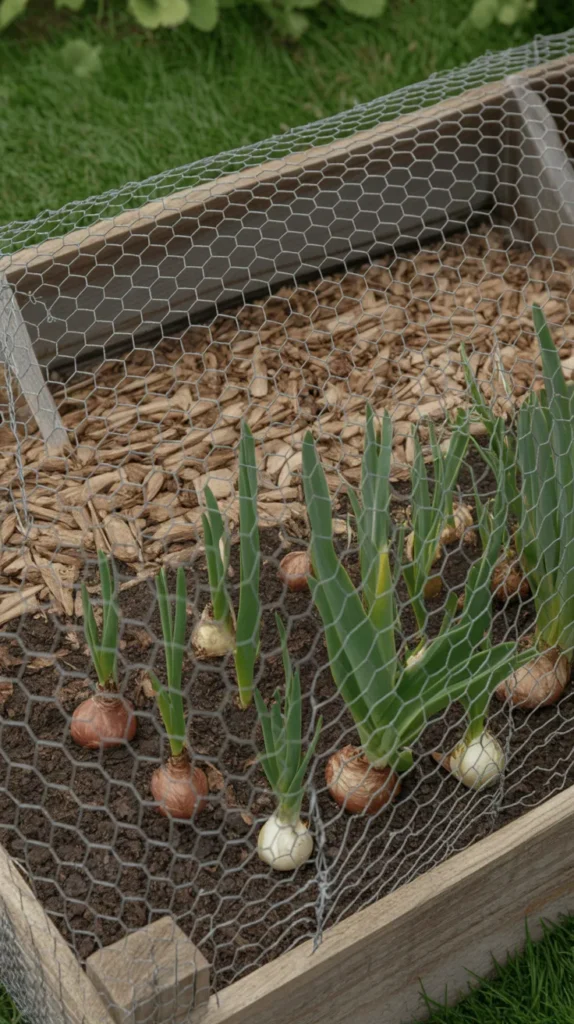
8. Protecting Your Investment from Critters
There is nothing more heartbreaking than planting 50 bulbs only to find 50 empty holes the next morning. Squirrels and chipmunks love to dig up freshly planted bulbs.
To protect them, you can lay a sheet of {Chicken Wire Mesh} over the planting area. Secure it with landscape staples and cover it with a layer of mulch. The shoots will grow right through the wire holes in spring, but the animals won’t be able to dig down to the bulbs.
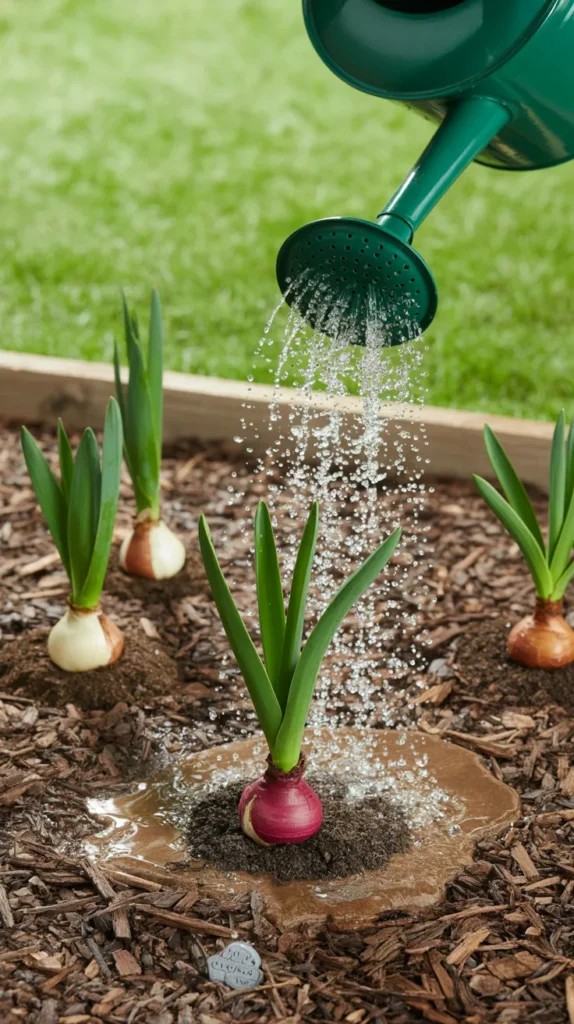
9. Water and Mulch
Once your bulbs are tucked into their beds, give them a good drink of water. This helps settle the soil around the bulb, eliminating air pockets that can dry them out.
After watering, apply a 2-3 inch layer of mulch (shredded bark or leaves). Mulch acts like a cozy blanket, insulating the soil temperature and keeping moisture consistent. It also suppresses weeds that would otherwise compete with your bulbs for nutrients.
10. Label Your Treasures
It is incredibly easy to forget exactly where you planted those 20 purple alliums once the ground is covered in snow or summer perennials.
Save yourself the frustration of accidentally digging them up later by using {WHATOOK Plant Labels}. Mark the spot and the variety name immediately after planting. It helps you track what worked well and plan your garden design for the following year.

11. Post-Bloom Care: Leave the Leaves!
This is perhaps the most important tip for long-term success. After your bulbs have bloomed in the spring, resist the urge to cut back the green foliage.
The leaves are like solar panels; they are absorbing sunlight to create energy that is stored back in the bulb for next year’s flower. Let the foliage die back naturally until it turns yellow and brown. Only then should you remove it. Use sharp {Gonicc Professional Pruning Shears} for a clean cut when it’s finally time to tidy up.

Recommended Products for Bulb Planting Success
| Product | Use Case |
|---|---|
| {Edward Tools Bulb Planter} | Creates uniform holes at the perfect depth quickly and easily. |
| {Espoma Organic Bulb-tone} | Provides essential slow-release nutrients for root growth and future blooms. |
| {Garden Kneeler and Seat} | Saves your knees and back during long planting sessions. |
| {Miracle-Gro Potting Mix} | Ensures excellent drainage for bulbs planted in containers. |
| {Chicken Wire Mesh} | Protects freshly planted bulbs from digging pests like squirrels. |
| {WHATOOK Plant Labels} | Helps you remember where and what you planted. |
| {Gonicc Professional Pruning Shears} | Perfect for cleaning up dead foliage after it has naturally withered. |
Plant Today for a Beautiful Tomorrow
Learning how to plant flower bulbs is an investment in hope. It forces us to look forward, to envision a colorful future even when the current season is ending.
By following these simple steps—timing, depth, and a little protection—you ensure that your garden will be filled with joy and color when you need it most. So grab your trowel, pick out your favorite varieties, and get ready to create a stunning display that returns year after year.