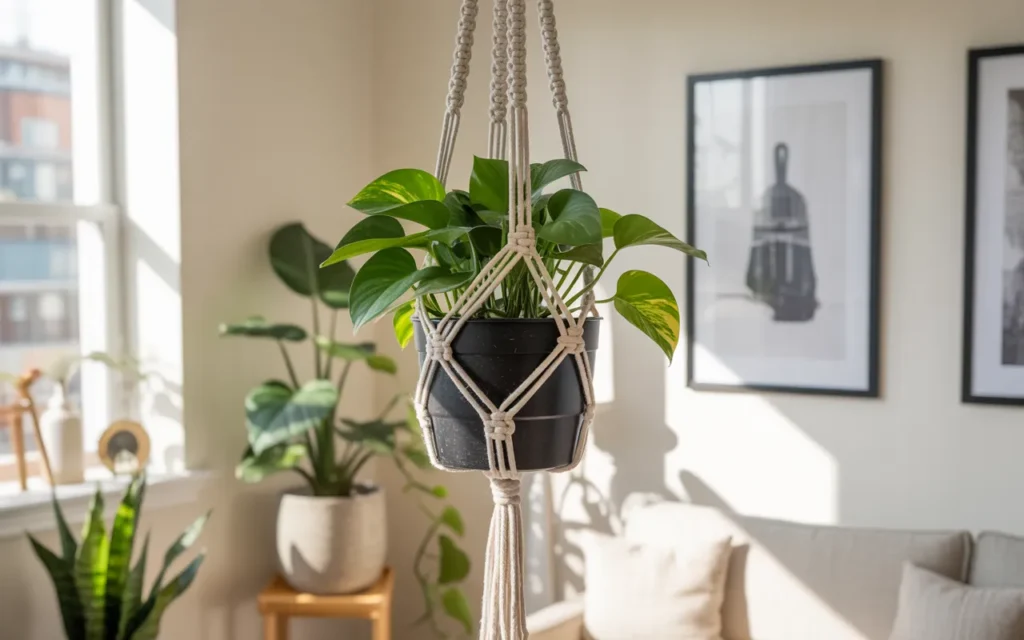
Hanging plants are a brilliant way to add a touch of green to your home, lifting the eye upward and making any room feel more vibrant and alive.
While you can find hangers in stores, learning how to make a plant hanger yourself unlocks a world of creative possibilities.
This guide is packed with beautiful DIY home decor ideas that are simple, budget-friendly, and incredibly rewarding. You can create custom pieces that perfectly fit your style, whether it’s modern, bohemian, or rustic.
This guide is designed for absolute beginners. We’ll focus on the most popular and easiest method macrame and walk you through every knot and step.
Forget being intimidated by what looks complex; you’ll soon see that a few simple techniques are all you need to craft stunning hangers for your beloved plants.
Why You Should DIY Your Plant Hangers
Creating your own decor is one of the most satisfying ways to personalize your space. Before we dive into the “how,” let’s look at why this is such a fantastic project to take on.
- It’s Affordable: Crafting your own hangers is significantly cheaper than buying them from boutique shops. A single roll of cord can produce multiple hangers for the price of one store-bought piece.
- Completely Customizable: You are the designer! Choose the exact color, material, length, and style you want. You can create a hanger that perfectly matches your pots and your room’s aesthetic.
- A Relaxing, Mindful Craft: The repetitive and rhythmic nature of tying knots is known to be very calming and meditative. It’s a wonderful way to unwind and create something beautiful at the same time.
- Perfect for Gifting: A handmade plant hanger, especially when paired with a lovely plant, is a thoughtful and personal gift that anyone would be thrilled to receive.
- Boosts Your Confidence: There’s an immense sense of pride in looking at a beautiful piece of decor in your home and knowing, “I made that!”
Gathering Your Simple Supplies
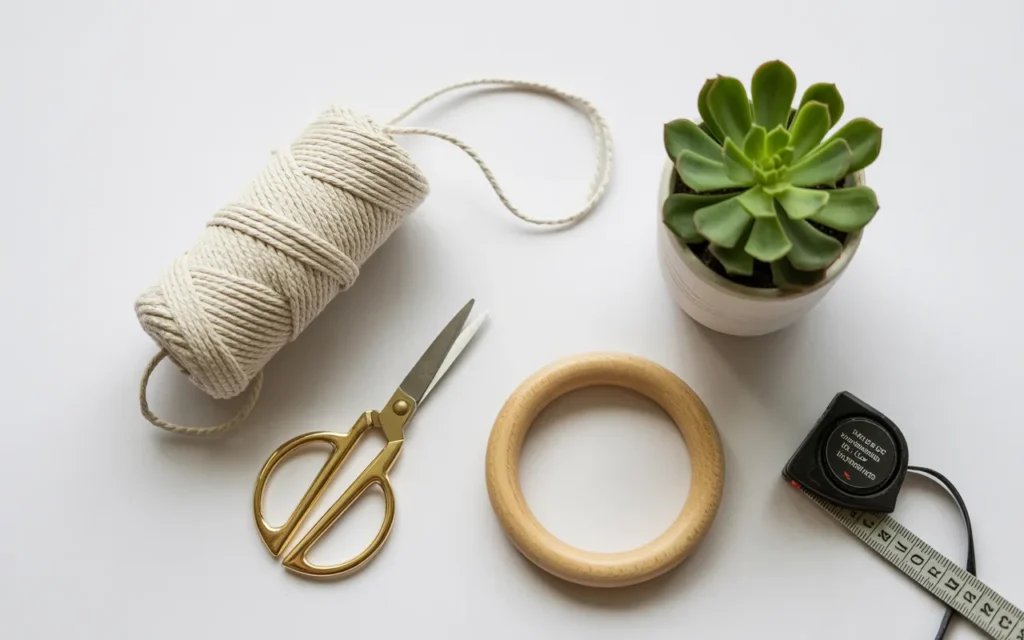
One of the best things about this DIY project is the short and simple supply list. You don’t need any complex or expensive tools to get started.
- Macrame Cord: This is the most important material. For your first project, a 3mm or 4mm Natural Cotton Macrame Cord is the perfect choice. It is soft on the hands, easy to knot, and very forgiving if you make a mistake. You’ll need about 50 feet for a standard-length hanger.
- A Ring for Hanging: This is the anchor for your project. A 2-inch Natural Wood Craft Ring is a classic choice, but you can also use a metal hoop, a carabiner, or even a sturdy shower curtain ring.
- Sharp Scissors: A good pair of scissors is crucial for making clean, crisp cuts.
- Measuring Tape: Essential for measuring your cords accurately.
- A Temporary Hook: You’ll need a place to hang your project while you work. A hook on the wall, a clothing rack, or the back of a doorknob are all great options.
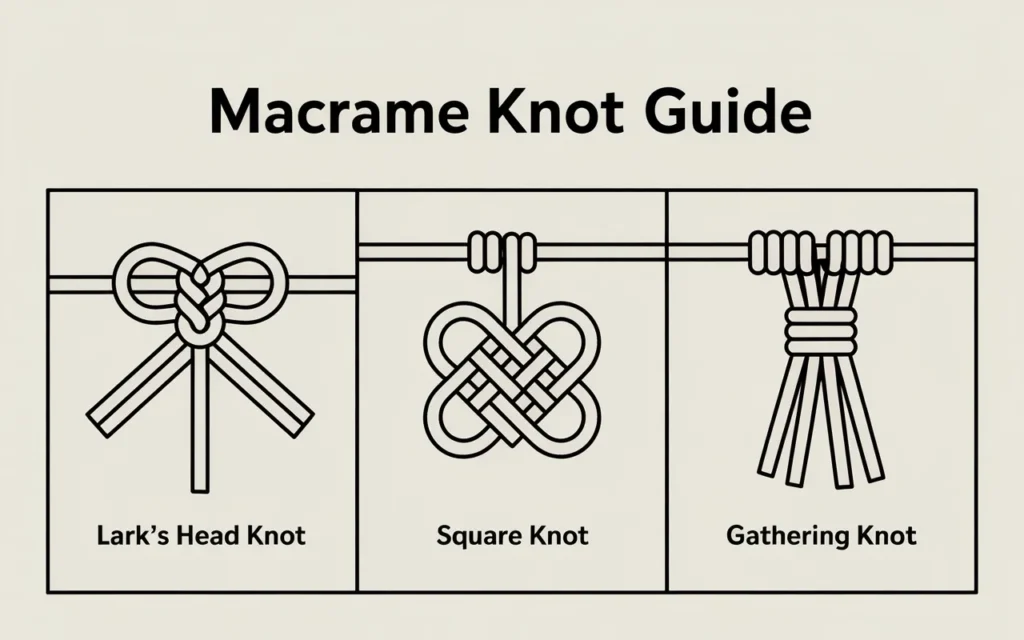
Mastering the Three Essential Macrame Knots
Macrame can look incredibly intricate, but the beautiful secret is that most plant hangers are made with just three basic knots. Once you learn these, you can create countless designs. Let’s practice them before we begin our project.
1. The Lark’s Head Knot
This is how you will attach your cords to the ring. It’s the starting point for almost every macrame project.
- Take one of your long cords and fold it exactly in half, creating a loop at one end.
- Place the looped end over your wooden ring.
- Tuck the loop behind the ring.
- Pull the two loose cord ends through the loop.
- Pull down firmly to tighten. Your cord is now securely mounted!
2. The Square Knot
This is the workhorse knot of macrame. It creates the beautiful, flat, woven sections of your hanger. It is always tied with a group of four cords.
- First Half (The “4” Shape): Take the far-left cord (cord 1) and cross it over the two middle cords and under the far-right cord (cord 4). This should look like the number “4”.
- Now, take cord 4, pass it behind the two middle cords, and pull it up through the opening of the “4” shape you made.
- Pull both ends to tighten the first half of the knot.
- Second Half (The Backward “4”): Now, do the opposite. Take the far-right cord (cord 4) and cross it over the two middle cords and under the far-left cord (cord 1).
- Take cord 1, pass it behind the two middle cords, and pull it up through the new opening.
- Pull both ends to tighten. You have now completed one full Square Knot.
3. The Gathering Knot (or Wrapping Knot)
This is the professional-looking knot that creates a tidy bundle, used at the top and bottom of your plant hanger.
- Take a separate, shorter piece of cord (about 2-3 feet long).
- Make a U-shaped loop and lay it against your main bundle of cords, with the loop end pointing down.
- Hold everything in place and take the long end of your wrapping cord. Begin wrapping it tightly and neatly around the main bundle and the loop.
- When your wrap is about an inch long, thread the end of the wrapping cord through the bottom of the loop you left exposed.
- Pull the cord end sticking out at the top of the wrap. This will pull the bottom loop up underneath the wraps, securing the end inside.
- Trim both the top and bottom excess ends closely.
How to Make a Plant Hanger: Your First Project
Let’s put those knots into practice and create a classic, beautiful macrame hanger perfect for a 4- to 6-inch pot.
Step 1: Measure, Cut, and Mount
- Using your measuring tape, measure and cut four separate pieces of macrame cord, each one 12 feet long. It seems long, but knotting uses up a lot of cord!
- Take all four cords together as a single bundle and fold them perfectly in half.
- Attach the entire bundle to your wooden ring using a Lark’s Head Knot. You should now have eight cords hanging from your ring, each 6 feet long.
Step 2: Create the Top Gathering Knot
- Cut an extra piece of cord about 3 feet long.
- Directly below the wooden ring, use this piece to tie a tight Gathering Knot around all eight hanging cords. This creates a secure and polished start to your hanger.
Step 3: Knot the Hanger Arms
- Separate your eight cords into two groups of four.
- Working with the first group of four cords: Tie one full Square Knot. Leave a gap of about 2 inches, then tie another full Square Knot below it.
- Repeat this on the second group of four cords. You should now have two identical “arms,” each decorated with two square knots.
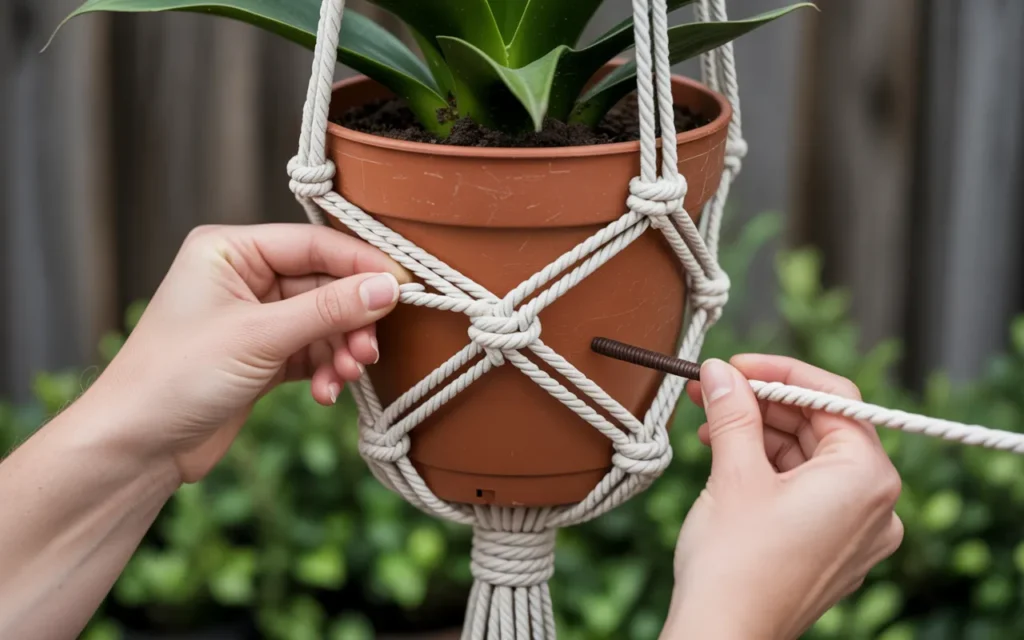
Step 4: Form the Basket
This is the clever part where you create the net that will hold your pot. It involves alternating your groups of cords.
- Measure about 6-8 inches down from the last knots you made. This large gap is what allows the pot to sit inside.
- Now, create a new group of four cords by taking the two right-most cords from the left arm and the two left-most cords from the right arm.
- Using this new center group of four, tie one full Square Knot at the 6-8 inch mark. This knot will link the two arms together.
Step 5: The Final Gathering Knot
- Let all eight cords hang down. About 4-5 inches below the alternating square knot you just tied, gather all the cords together.
- Cut one last 3-foot piece of cord.
- Tie a final, very secure Gathering Knot around all eight cords. This forms the solid base that your pot will rest on.
Step 6: Trim Your Tassel
- Your hanger is now functional! All that’s left is to style the tassel at the bottom.
- Use your sharp scissors to trim the ends of the cords. You can cut them straight across for a neat look or at an angle for more flair.
- For an extra-soft, feathery look, you can use a fine-tooth comb or a special Macrame Fringe Brush to unravel the twists of each cord end.
Your beautiful DIY plant hanger is complete! All you need to do is nestle a pot inside and find the perfect place to show it off.
Frequently Asked Questions (FAQ)
Q1: How do I know how long my cords should be?
A general rule of thumb is to cut your cords about four to five times the desired final length of your hanger. It’s always better to have too much cord than not enough. You can always trim a long tassel, but you can’t add length back on.
Q2: My square knots are twisting into a spiral. What’s wrong?
This is a very common beginner issue! It means you are only tying one half of the square knot over and over again. Remember, a square knot is a two-step process: a “4” shape knot, followed by a “backward 4” shape knot. If you continuously tie only the first half, you create a beautiful pattern called a half-knot spiral!
Q3: What kind of plants are best for hanging?
Plants that have a trailing or vining habit look especially stunning in hanging planters. Great choices include Pothos, Philodendron, String of Pearls, Spider Plants, and Ivy.
Q4: How do I hang my new plant hanger safely?
The safety of your hanger depends on what you hang it from. For heavier plants with ceramic pots, it is crucial to use a proper Ceiling Hook and Anchor Kit and screw it directly into a ceiling joist. For lighter plants in plastic pots, a securely installed hook may be sufficient.