Hanging plants are a fantastic way to bring life and greenery into your home, especially when you’re short on floor space.
They add a touch of bohemian charm and draw the eye upward, making any room feel more open and styled.
While you can buy plant hangers, this guide will show you how to make a hanging plant holder yourself.
It’s a simple, affordable, and incredibly satisfying DIY project that allows you to create custom pieces that perfectly match your decor.
This beautiful DIY guide is designed for complete beginners. We will walk you through the most popular and easiest method—macrame—step-by-step. You don’t need any prior experience, just a few simple supplies and a little bit of creativity to get started.
Why Make Your Own Plant Hanger?
Creating your own hanging plant holders is more than just a crafty way to spend an afternoon.
- It’s Budget-Friendly: DIY-ing is almost always cheaper than buying pre-made hangers from a boutique store.
- Completely Customizable: You get to choose the color, the material, the length, and the style. You can make it simple and modern or intricate and bohemian.
- Perfect for Gifting: A handmade plant hanger (perhaps with a cute plant already in it) makes a wonderful, personal gift for any occasion.
- A Relaxing Hobby: The repetitive motion of tying knots can be very meditative and is a great way to de-stress.
- Sense of Accomplishment: There’s nothing better than stepping back to admire something beautiful that you created with your own two hands!
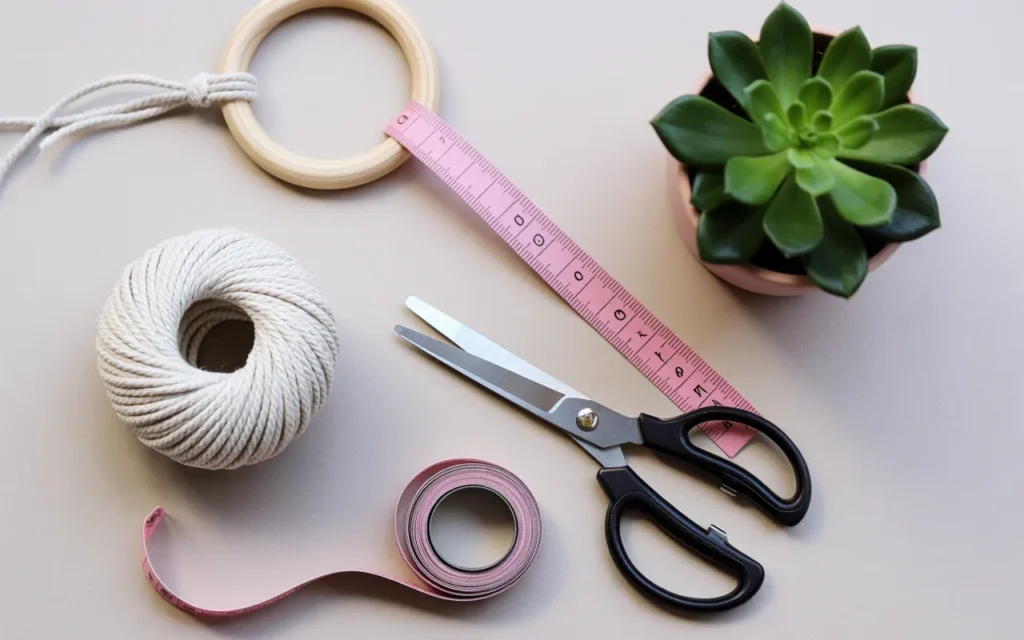
Gathering Your Supplies
The best part about this project is its simplicity. You only need a few key items to get started on your macrame plant hanger journey.
- Macrame Cord: This is the star of the show. For beginners, a 3mm or 4mm Natural Cotton Macrame Cord is perfect. It’s soft, easy to work with, and very forgiving. The amount you need will depend on the desired length of your hanger, but 50-100 feet is a safe amount for your first project.
- A Ring for Hanging: This is what your hanger will loop onto. You can use a Natural Wooden Ring (about 2 inches in diameter is a good size), a metal ring, or even a sturdy carabiner clip.
- Sharp Scissors: A good pair of sharp scissors is essential for clean cuts.
- A Measuring Tape: For measuring and cutting your cords to the correct length.
- A Place to Work: You’ll need somewhere to hang your project while you work on it. A clothing rack, a doorknob, or a wall hook works perfectly.
Understanding the Basic Macrame Knots
Macrame looks complex, but most beautiful plant hangers are made using just three simple knots. Before we start the project, let’s practice these key knots. It’s the foundation of learning how to make a hanging plant holder.
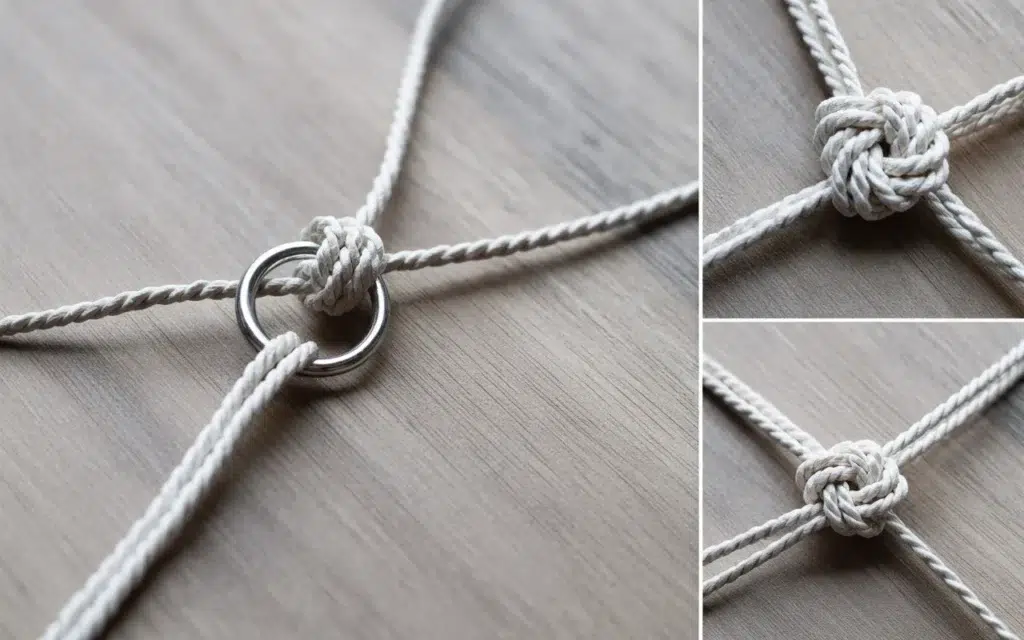
1. The Lark’s Head Knot (Mounting Knot)
This is how you will attach your cords to the ring.
- Fold a single cord in half, creating a loop at the top.
- Place the loop over the top of your ring.
- Bring the loop down behind the ring.
- Pull the two loose ends of the cord through the loop.
- Pull tight to secure. That’s it!
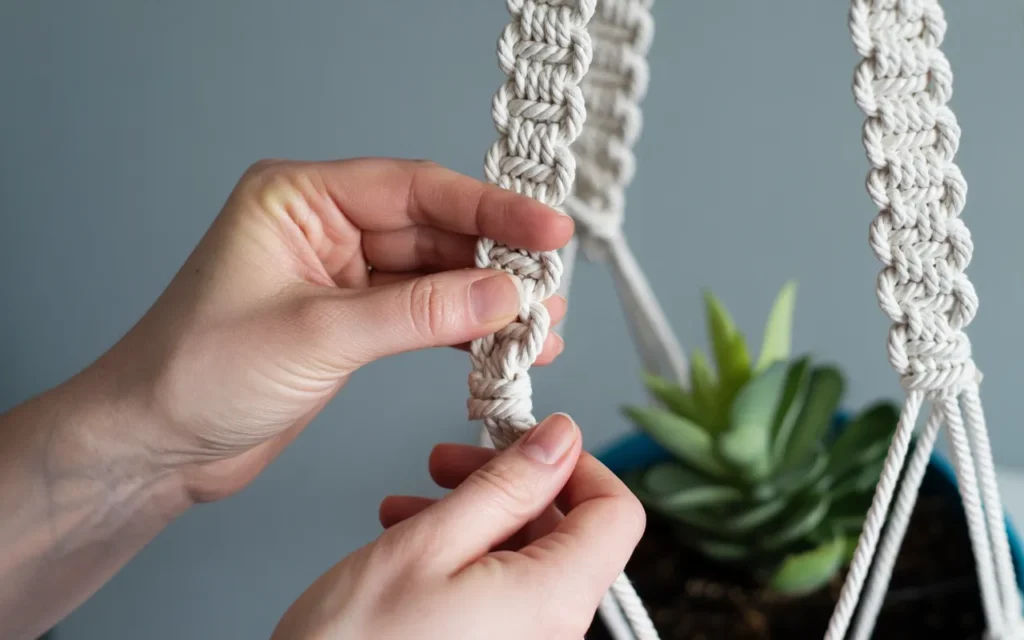
2. The Square Knot
This is the main knot you’ll use to build the body of your hanger. It’s a two-part knot. A square knot requires four cords.
- First Half: Take the leftmost cord (cord 1) and cross it over the two middle cords, and under the rightmost cord (cord 4). Now take cord 4, bring it behind the two middle cords, and bring it up through the loop created by cord 1. Pull tight.
- Second Half: Now do the reverse. Take the rightmost cord (cord 4) and cross it over the two middle cords and under the leftmost cord (cord 1). Take cord 1, bring it behind the middle cords, and up through the loop created by cord 4. Pull tight. You have completed one full square knot.
3. The Gathering Knot (Wrapping Knot)
This knot creates the neat, tightly wrapped bundle at the top and bottom of your plant hanger.
- Take a separate, shorter piece of cord (about 2-3 feet long).
- Form a long U-shaped loop against your bundle of main cords, with the loop pointing down.
- Hold the loop in place and take the long end of the wrapping cord. Begin wrapping it tightly and neatly around the bundle of cords, starting from the top and working your way down.
- After wrapping for about 1-1.5 inches, thread the end of the wrapping cord through the loop at the bottom.
- Pull the other end of the cord (the one sticking out at the top) upwards. This will pull the bottom loop and the end of the cord up and underneath the wraps, hiding and securing it.
- Trim the excess ends closely.
How to Make a Hanging Plant Holder: The Full Project
Let’s put it all together! This project will create a classic, beautiful plant hanger suitable for a 4-6 inch pot.
Step 1: Cut and Mount Your Cords
- Measure and cut four pieces of your macrame cord, each 10 feet long.
- Take all four cords together and fold the entire bundle exactly in half.
- Attach the bundle to your wooden ring using a Lark’s Head Knot. You should now have eight cords hanging down from your ring, each 5 feet long.
- Hang your ring on your work station hook.
Step 2: Create the Top Gathering Knot
- Cut one extra piece of cord about 3 feet long for your gathering knot.
- Just below the ring, create a Gathering Knot around all eight hanging cords, following the instructions from the knot guide above. This creates a professional-looking, secure top section.
Step 3: Tying the Main Sections
Now we will use square knots to create the arms of the hanger.
- Separate your eight hanging cords into two groups of four.
- Working on the first group of four cords: Tie one full Square Knot. Leave about a 2-inch gap below that knot, and then tie a second Square Knot.
- Repeat this process on the second group of four cords. You should now have two identical arms, each with two square knots.
Step 4: Creating the Net or “Basket”
This is where the magic happens and the basket that will hold your pot is formed.
- Leave about a 5-6 inch gap below the knots you just made. The length of this gap will determine how high or low your pot sits.
- Now, you need to switch up your groups. Take the two rightmost cords from your first group and the two leftmost cords from your second group. You now have a new group of four cords in the center.
- Using this new group of four, tie a single Square Knot.
- This will pull the two sections together, starting to form the net that will cradle your pot.
Step 5: Finishing with a Final Gathering Knot
- Let all eight cords hang down naturally. About 4-5 inches below the last square knot you tied, gather all eight cords together in one hand.
- Cut another 3-foot piece of cord for your final gathering knot.
- Tie another tight Gathering Knot to create the base that the pot will sit on. This should be a very sturdy and secure knot.
Step 6: Trim the Tassel
- You now have a beautiful tassel at the bottom of your hanger.
- Using your sharp scissors, trim the ends of the cords to your desired length. You can make it a short, neat tassel or a long, flowing one. For a perfectly even cut, you can wrap a piece of tape around the tassel and cut just below it.
- (Optional) For a softer, feathery look, you can use a fine-tooth comb or a Macrame Cord Fringe Brush to unravel the ends of the tassel.
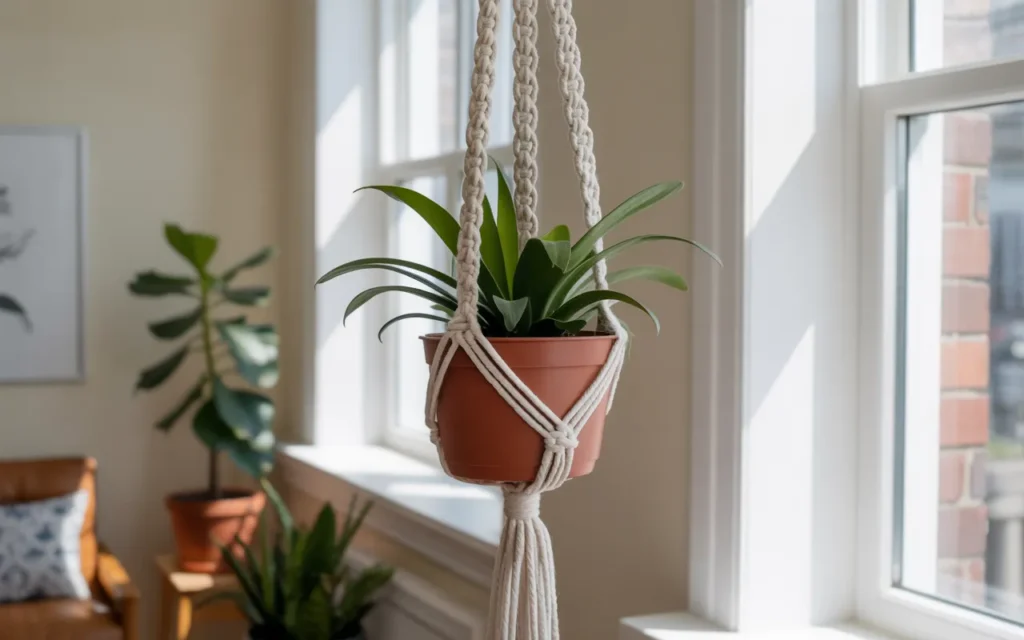
Place your favorite potted plant in your brand new, handmade hanger and find the perfect spot to display your work!
Frequently Asked Questions (FAQ)
Q1: How do I figure out how long to cut my cords?
A good rule of thumb is that your finished project will be about one-quarter the length of your starting cords. So, if you want a 3-foot long hanger, you’ll need to start with cords that are about 12 feet long. It’s always better to cut them longer than you think you’ll need—you can always trim the excess, but you can’t add more!
Q2: My knots look uneven. What am I doing wrong?
Consistency is key in macrame. Try to be mindful of your tension, pulling each knot with roughly the same amount of force. Also, make sure you are completing both halves of the square knot. If you keep repeating only the first half, your work will start to spiral (which is another cool technique called a half-knot spiral!).
Q3: What other materials can I use besides cotton cord?
You can make a hanging plant holder out of almost any sturdy material! Try using jute for a rustic, natural look, or colorful yarn for a playful vibe. You can even use recycled t-shirt yarn for a soft, chunky hanger.
Q4: How much weight can a macrame plant hanger hold?
This depends on the strength of your cord and the hook you use to hang it. A standard 3-4mm macrame cord is very strong and can easily hold most common houseplants and their pots (up to 10-15 lbs). The weakest point is usually the hook in the ceiling, so make sure you use a proper Ceiling Hook with Anchor installed into a stud or joist for heavy plants.