There is a moment in every gardener’s or flower lover’s life when they look at a breathtaking bouquet and wish it could last forever.
We often associate dried flowers with faded, brown versions of their former selves—a shadow of the vibrant beauty they once held.
But what if I told you that doesn’t have to be the case? Learning how to dry flowers and keep color is entirely possible, and it’s simpler than you might think.
With the right techniques, you can capture the brilliant yellows of a sunflower, the deep purples of a larkspur, and the blushing pinks of a rose, preserving them as vibrant keepsakes for years to come.
Preserving flowers is an art form that connects us to nature’s seasons.
Whether you want to save a sentimental wedding bouquet, create stunning home decor, or simply extend the life of your garden blooms, understanding the nuances of preservation is key.
The secret lies in the speed of drying and the materials used. The faster you can draw the moisture out of the petals, the more likely they are to retain their original pigment.
In this comprehensive guide, we are going to explore 10 distinct methods that focus specifically on color retention.
We will move beyond the basic “hang and hope” technique to explore more advanced (yet beginner-friendly) ways to lock in those hues.
From the magic of silica gel to the surprising speed of the microwave, get ready to discover exactly how to dry flowers and keep color in the most beautiful way possible. Let’s dive in!
1. The Gold Standard: Silica Gel Drying
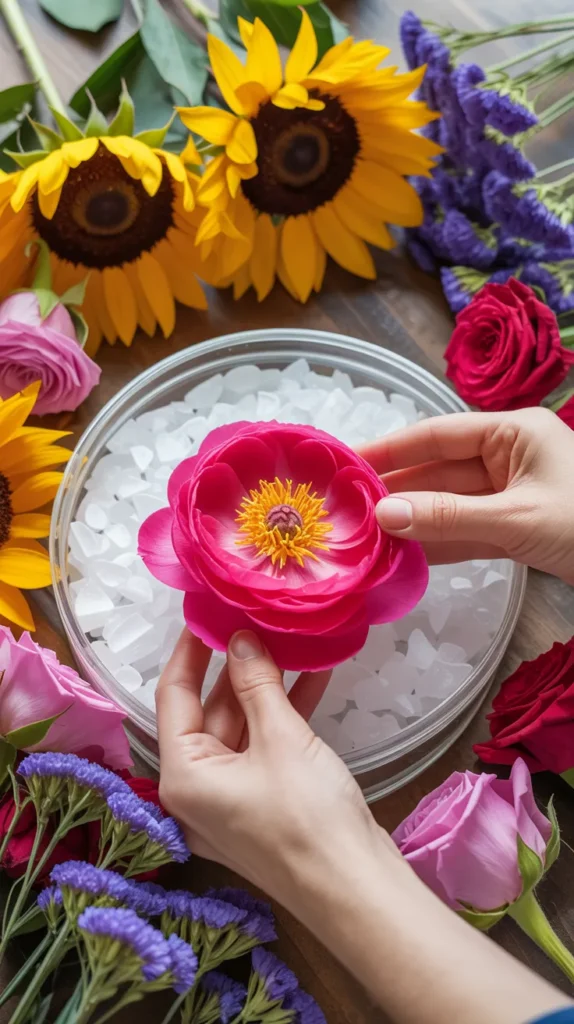
If your primary goal is learning how to dry flowers and keep color, silica gel is, without a doubt, the best method available to home crafters.
Despite the name, it isn’t a wet gel; it’s a granular desiccant that looks a bit like sand or salt. It works by absorbing moisture from the flower petals incredibly quickly—usually in just a few days.
This rapid dehydration is the secret to locking in the pigment before it has a chance to fade or turn brown.
Why it works for color:
Unlike air drying, which takes weeks and exposes flowers to oxygen and light (the enemies of color), silica gel surrounds every petal and pulls moisture out rapidly in a dark, airtight environment.
This preserves not just the color, but the lifelike 3D shape of the flower.
Best for: Delicate, multi-petaled flowers where shape and color are crucial, such as roses, peonies, dahlias, zinnias, and ranunculus.
Step-by-Step:
- Select Your Container: Find an airtight plastic container that is deep enough to cover your flowers completely.
- Add the Base: Pour a layer of silica gel about 1 inch deep into the bottom of the container. For professional results, use {Activa Flower Drying Art Silica Gel}. Its fine, sand-like texture is designed specifically for flowers, ensuring it gets between delicate petals without crushing them, and it features color-indicating crystals that tell you when the gel needs to be reactivated.
- Place the Flowers: Cut the stems short (about 1 inch) and place the flower heads face up on the silica bed. Do not let them touch each other or the sides of the container.
- Cover Gently: Carefully pour more silica gel over the flowers. Use a small cup or spoon to sprinkle it gently, ensuring you fill all the nooks and crannies between the petals. Continue until the flowers are completely buried.
- Seal and Wait: Seal the lid tightly. Leave the container in a cool, dark place for 3–7 days.
- The Reveal: Gently pour off the silica gel to reveal your vibrant, perfectly preserved blooms. Use a soft brush to dust off any remaining crystals.
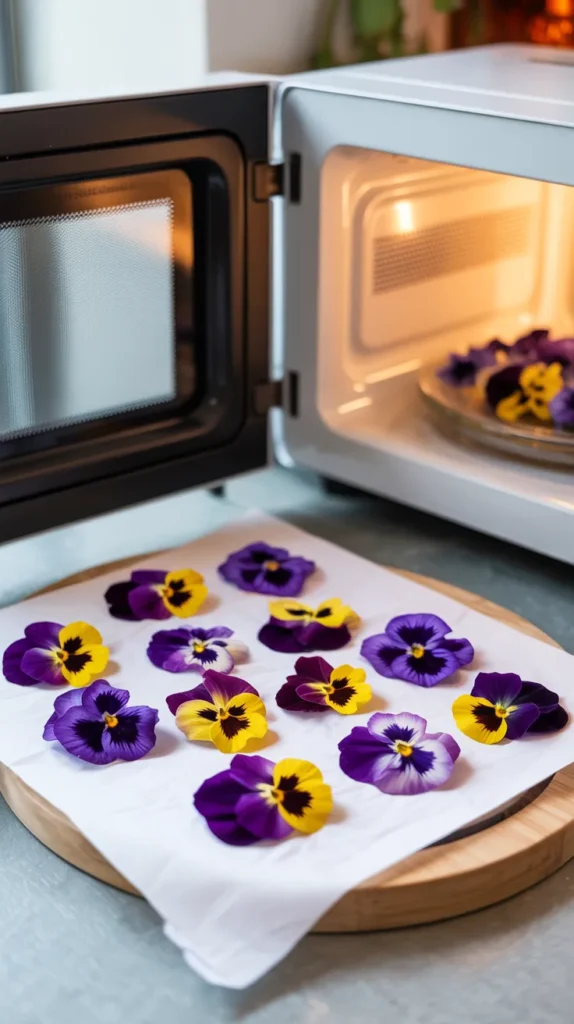
2. The Microwave Press Method
If patience isn’t your strong suit and you want to know how to dry flowers and keep color in a matter of minutes, the microwave press is a game-changer.
This method is specifically for creating pressed flowers, but unlike the traditional book method which takes weeks and often leads to browning, the microwave method uses heat to dry the flowers instantly, locking in vibrant hues.
Why it works for color:
The heat from the microwave evaporates moisture immediately. This prevents the decomposition process that causes browning and fading during slow drying methods.
Best for: Flowers with a naturally flat face or single layer of petals, like cosmos, pansies, violas, daisies, and ferns.
Step-by-Step:
- Get the Right Tool: While you can use makeshift methods with ceramic tiles, using a dedicated tool like the {Microfleur Max Microwave Flower Press} yields superior results. Its vented design allows steam to escape efficiently, preventing the flowers from “cooking” and ensuring vivid color retention.
- Sandwich the Blooms: Place your fresh flowers between the fabric liners and wool pads provided with the press.
- Microwave in Bursts: Place the press in the microwave. Do not zap it all at once! Heat in short bursts (e.g., 20 seconds on medium power).
- Cool and Check: Open the press to let steam escape and check the flowers. Let them cool for a moment.
- Repeat: Repeat the heating and cooling cycles until the flowers feel papery and stiff. The result is a vibrant, flat flower ready for framing or card making.
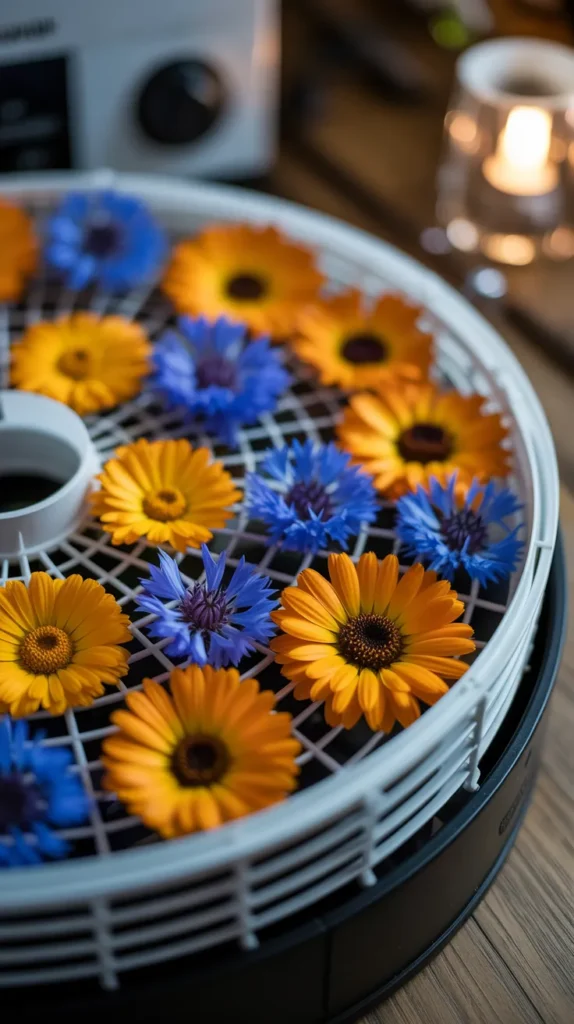
3. The Food Dehydrator Technique
You might think of jerky or dried fruit when you see a food dehydrator, but it is also a fantastic tool for preserving flowers.
This method provides a controlled environment with consistent airflow and low heat, which helps dry flowers relatively quickly while maintaining their shape and, most importantly, their color.
Why it works for color:
The dehydrator removes moisture efficiently through warm air circulation. By completing the drying process in hours rather than weeks, the pigments remain stable and bright.
Best for: Flower heads like marigolds, roses, calendula, and cornflowers. It’s excellent for making potpourri or dried flower confetti.
Step-by-Step:
- Prep the Dehydrator: Ensure your dehydrator trays are clean. If the mesh is too wide, line them with parchment paper to prevent petals from falling through.
- Arrange Flowers: Cut the stems off and place the flower heads on the trays. Ensure they are not touching to allow for proper airflow.
- Set the Temperature: Temperature control is vital here. Set your dehydrator to its lowest setting, ideally around 95°F to 100°F (35°C to 38°C). High heat will bake the flowers and turn them brown.
- Dry: Let them run for 4 to 12 hours, checking every hour.
- Storage: Once crisp, store them in airtight jars immediately. To ensure your dehydrated blooms stay dry and vibrant in storage, pop a few {Wisedry Silica Gel Packets} into the jar. These rechargeable packets absorb any residual moisture, preventing mold and keeping colors crisp.
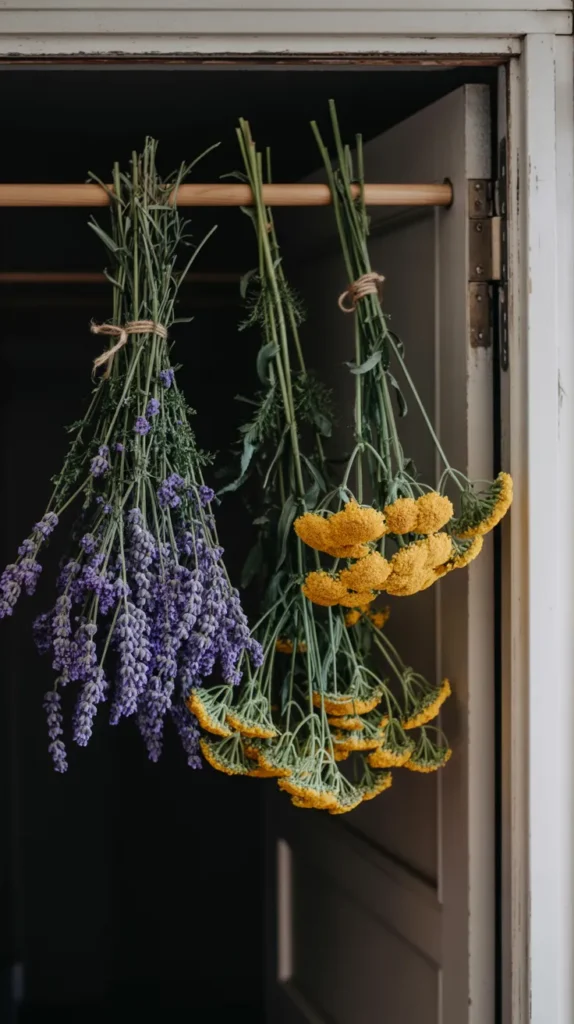
4. Hanging in the Dark (The Right Way)
The traditional air-drying method often gets a bad rap for color loss, but that’s usually because it’s done incorrectly (like hanging flowers in a sunny kitchen window).
To master how to dry flowers and keep color using the hanging method, you must control the environment strictly. Darkness is your best friend.
Why it works for color:
Sunlight bleaches color. By drying flowers in complete darkness with good air circulation, you allow them to dry naturally while protecting the pigments from UV damage.
Best for: Sturdy flowers with low moisture content, such as lavender, statice, baby’s breath, strawflowers, and celosia.
Step-by-Step:
- Strip the Foliage: Remove all leaves from the stems. Leaves hold a lot of moisture and can slow down the drying process for the petals.
- Create Small Bunches: Group 3–5 stems together. Do not make large, dense bunches, as the centers won’t dry fast enough and may rot or turn brown.
- Secure: Tie the ends with a rubber band (which contracts as stems shrink) or twine.
- Find the Spot: Choose a warm, dry, and pitch-black location. An attic, a closet, or an unused cupboard works well.
- Hang: Hang the bunches upside down. This keeps the stems straight. Leave them for 2–3 weeks until completely dry.
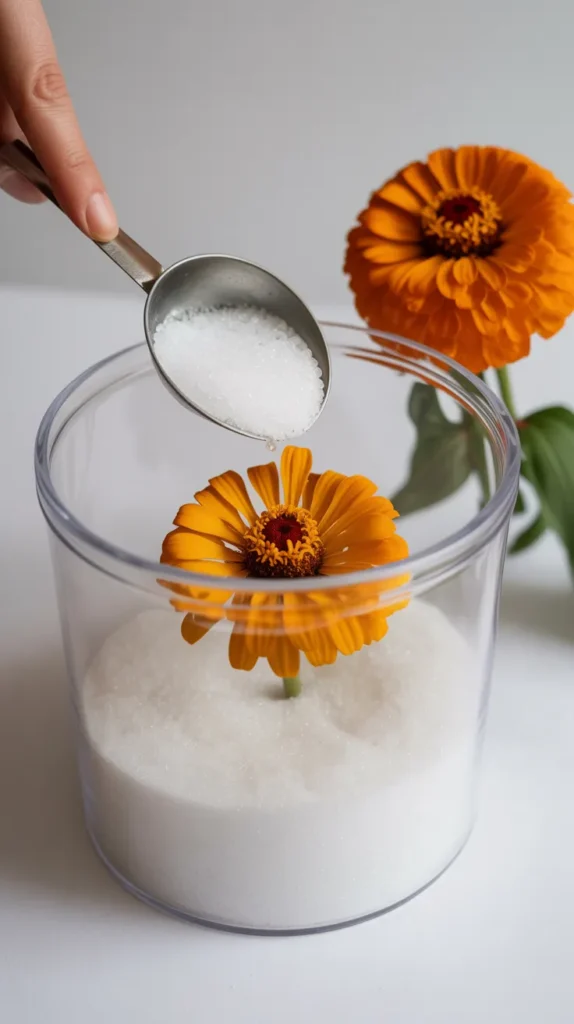
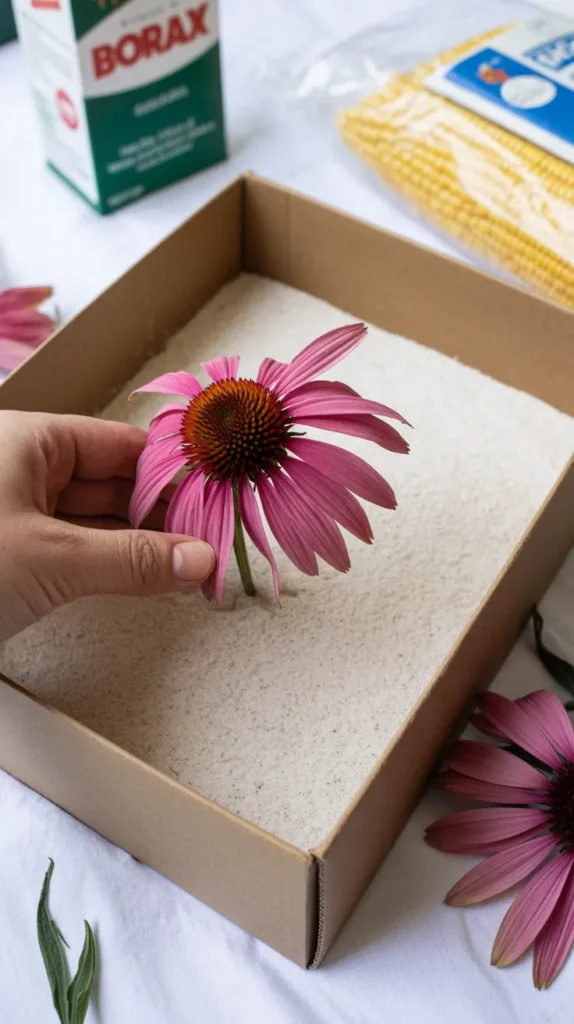
5. The Borax and Cornmeal Mix
This is an old-school method that mimics the silica gel technique but uses household ingredients. It’s a budget-friendly way to learn how to dry flowers and keep color while preserving 3D shapes. The borax acts as the drying agent, while the cornmeal supports the petals.
Why it works for color:
Like silica gel, this mixture surrounds the flower and draws moisture out more quickly than air, helping to lock in the color before fading occurs.
Best for: Sturdy flowers like zinnias, coneflowers, and daisies. It may be too heavy for very delicate blooms.
Step-by-Step:
- Mix: In a bowl, combine equal parts Borax and plain white cornmeal (or a 1:2 ratio of borax to cornmeal). For a reliable drying agent, {20 Mule Team Borax} is the classic choice found in most laundry aisles, and it works perfectly for this craft application.
- Fill the Box: Pour a layer of the mixture into an open box (a shoebox works well).
- Bury the Flowers: Place your flowers face up or face down (depending on the flower shape) on the mixture. Gently sprinkle more mixture over them until covered.
- Wait: Place the box in a warm, dry spot. Let it sit for 1–2 weeks.
- Clean: Gently shake off the mixture. Since the powder can cling, you may need to use a soft brush to clean the petals thoroughly.
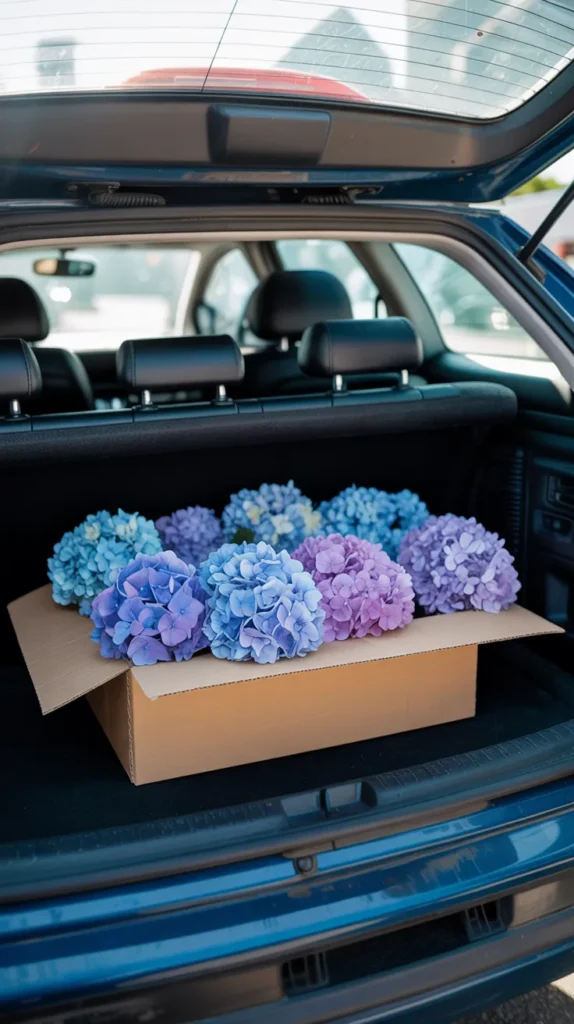
6. Trunk Drying (The Lazy Gardener’s Hack)
Sometimes, the best way to figure out how to dry flowers and keep color is to use heat that you already have available—like the heat in your car trunk during summer! This acts similarly to a dehydrator but on a larger scale.
Why it works for color:
On a hot sunny day, your car trunk acts as a giant oven. It gets very hot and dry. This intense heat dries the flowers very quickly (often in 24 hours), which is fantastic for color retention.
Best for: Robust wildflowers, hydrangea blooms, and hardy garden flowers.
Step-by-Step:
- Prep: Place your flowers in a single layer in a cardboard box. Do not put a lid on the box.
- Park: Park your car in a sunny spot on a warm day.
- Place: Put the box in the trunk.
- Wait: Check on them the next morning. The heat should have dried them out swiftly, leaving the colors bright and vibrant.
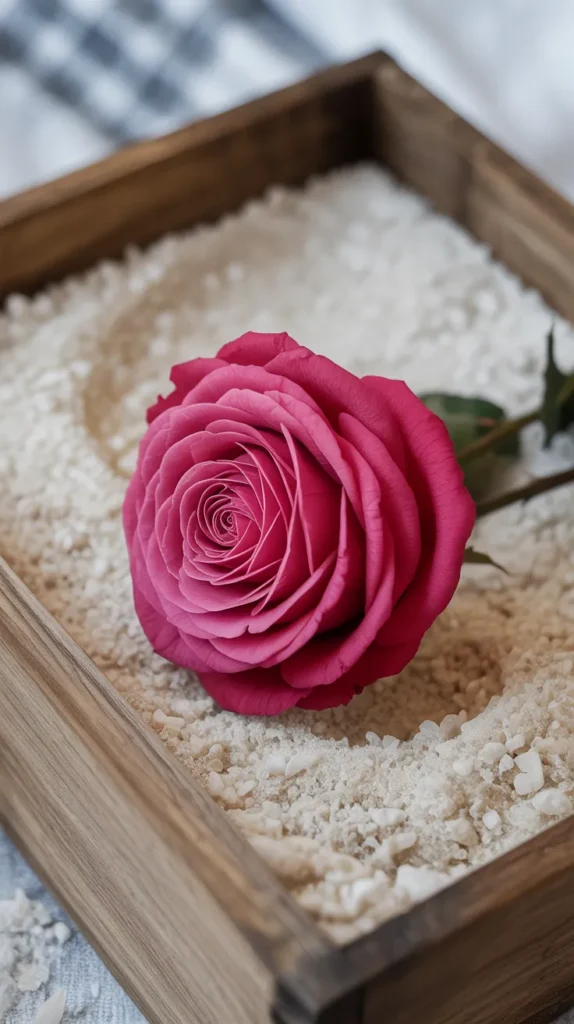
7. Desiccant Sand Drying
If you want a natural approach, you can use fine, dry sand. This is the ancient version of silica gel. While it takes longer than silica, it is a viable method for preserving color if done carefully.
Why it works for color:
Fine sand wicks moisture away and blocks out light, protecting the pigments while the flower dries. However, because it is heavier, it works best for robust blooms.
Best for: Tough flowers like protea, banksia, and sturdy roses.
Step-by-Step:
- Clean the Sand: Use very fine play sand. It must be completely clean and bone dry. You can bake the sand in the oven beforehand to ensure it’s sterile and dry.
- Layering: Pour sand into a box, place your flowers, and gently cover them completely.
- Drying Time: Place the box in a warm, dry area. This method is slower and can take 2–4 weeks.
- Removal: Be very gentle when pouring the sand off, as the weight can sometimes crush brittle dried petals.
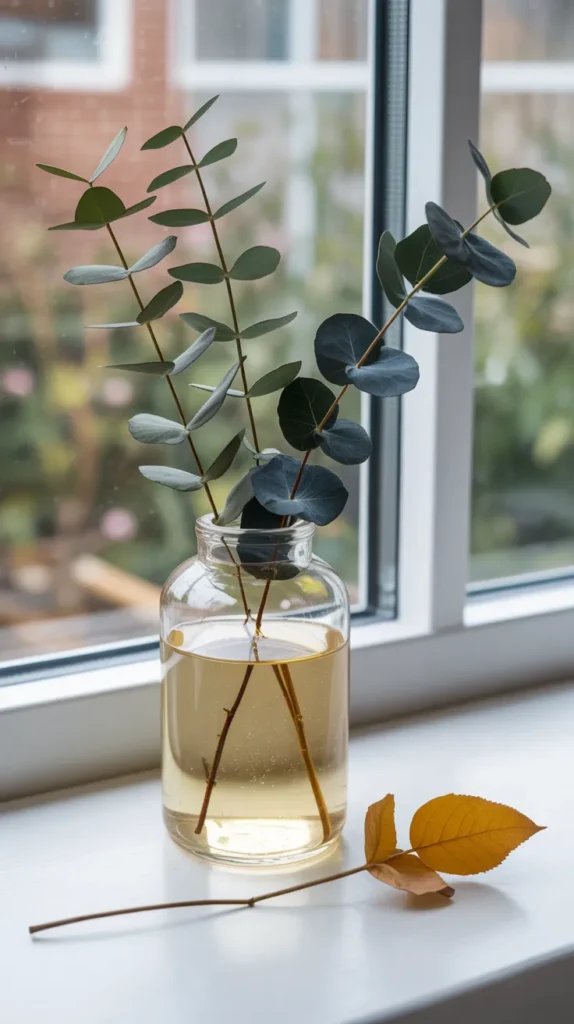
8. Glycerin Preservation (For Foliage and Filler)
When discussing how to dry flowers and keep color, we often forget the greenery! Glycerin doesn’t dry the plant; it replaces the water in the plant cells, preserving the leaves so they stay soft, flexible, and vibrantly green (or turning them a lovely bronze depending on the leaf).
Why it works for color:
By replacing water with glycerin, the leaves don’t become brittle and brown. They retain a shiny, lively appearance that complements your dried colorful flowers perfectly.
Best for: Eucalyptus, magnolia leaves, ivy, boxwood, and hydrangeas (if cut at the right time).
Step-by-Step:
- Mix Solution: Mix one part vegetable glycerin with two parts boiling water. Stir until dissolved. A high-quality option like {NOW Solutions Vegetable Glycerine} is perfect for this, as it is pure and ensures the solution is effective for uptake.
- Prep Stems: Cut branch ends at an angle and smash the bottom inch with a hammer to increase absorption.
- Submerge: Place the stems in a vase with the solution.
- Wait: Leave them for 2–6 weeks. You will know they are done when the leaves feel supple and look glossy.
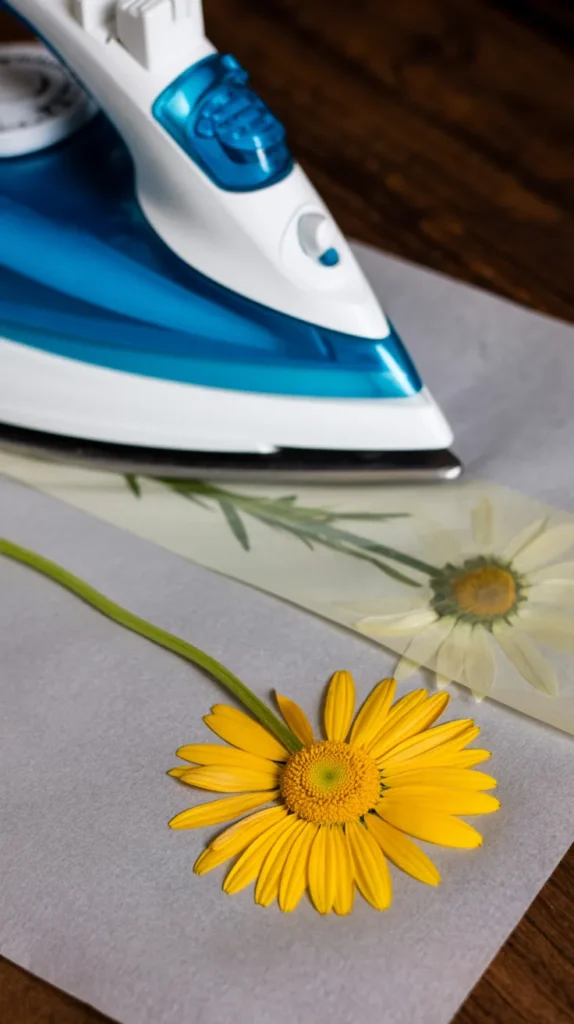
9. Pressing with an Iron
This is a variation of heat pressing for those who don’t have a microwave press but want faster results than a book. It’s a hands-on method for learning how to dry flowers and keep color quickly.
Why it works for color:
Like the microwave, the iron provides heat that evaporates moisture quickly, stopping the enzymes that cause browning.
Best for: Flat flowers like daisies, cosmos, and individual petals.
Step-by-Step:
- Prep: Flatten your flower between two sheets of absorbent parchment paper.
- Heat: Turn off the steam setting on your iron. Set it to a low-medium heat.
- Press: Press the iron down on the paper for 10–15 seconds. Do not glide the iron; just press.
- Cool and Repeat: Lift the iron, let the paper cool for 15 seconds, and press again. Repeat until the flower is stiff and dry.
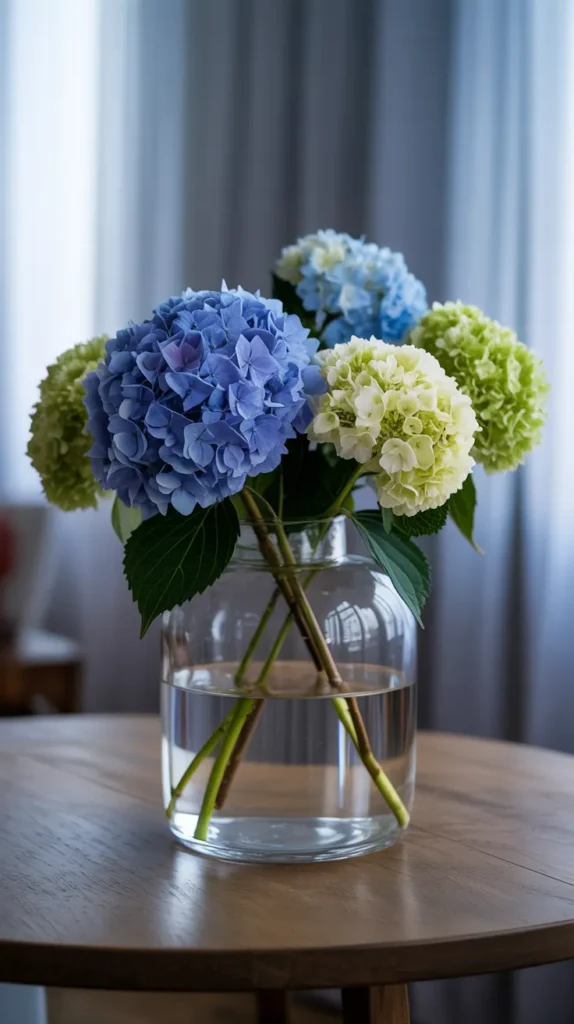
10. Water Evaporation Method (For Hydrangeas)
Hydrangeas are notorious for wilting and browning if dried incorrectly. Surprisingly, one of the best ways to keep their color is to dry them in water. It sounds counterintuitive, but it allows them to dry slowly while retaining hydration in the petals just long enough to preserve the color.
Why it works for color:
It slows the drying process just enough to prevent the shock of wilting, which causes immediate browning in hydrangeas.
Best for: Hydrangeas, baby’s breath, and celosia.
Step-by-Step:
- Cut: Cut stems when the blooms feel slightly papery on the plant, not when they are fresh and soft.
- Vase: Place the stems in a vase with only an inch or two of water.
- Location: Place the vase in a cool spot out of direct sunlight.
- Leave It: Do not add more water. Allow the water to evaporate completely. As the water disappears, the flowers will dry upright, retaining their fluffy shape and beautiful blue, pink, or lime hues.
Recommended Products for Drying Flowers
To get the best results when learning how to dry flowers and keep color, having the right tools makes a world of difference. Here is a quick summary of the products mentioned in this guide.
| Product Name | Brand | Best Use |
|---|---|---|
| Flower Drying Art Silica Gel | Activa | The best overall method for preserving 3D shape and vibrant color in delicate blooms. |
| Max Microwave Flower Press | Microfleur | Perfect for creating colorful pressed flowers in minutes rather than weeks. |
| Silica Gel Packets | Wisedry | Essential for keeping dried flowers moisture-free during storage to prevent browning. |
| 20 Mule Team Borax | 20 Mule Team | A budget-friendly household alternative for drying sturdy flowers in a box. |
| Vegetable Glycerine | NOW Solutions | Ideal for preserving foliage and greenery, keeping them soft and vibrant. |
Conclusion: Capture the Colors of Nature
Preserving flowers is more than just a craft; it is a way to hold onto memories. By mastering how to dry flowers and keep color, you are no longer limited to watching your beautiful bouquets fade away.
Whether you choose the rapid results of the microwave press, the professional finish of silica gel, or the patience of the dark closet method, you now have the knowledge to keep your blooms looking brilliant.
Remember, the enemies of color are light and moisture. Fight them with speed, darkness, and the right desiccants. Don’t be afraid to experiment with different methods for different flowers to see what works best for your garden.
So, the next time you have a stunning rose or a cheerful daisy in your hand, don’t let it go to waste. Pick a method, grab your supplies, and start building your own everlasting garden today. Which method are you excited to try first?