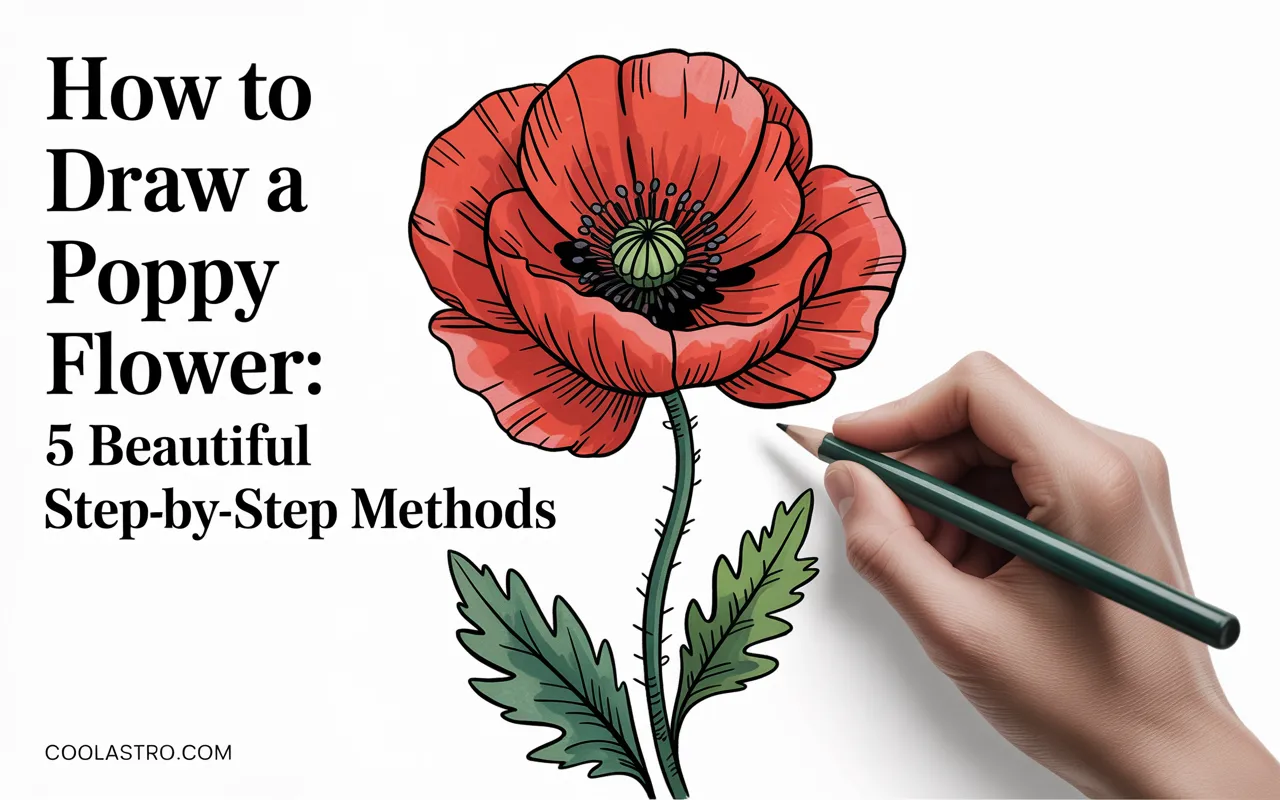
Have you ever found yourself captivated by the delicate, paper-thin beauty of a poppy and wished you could capture that elegance on paper? There’s something truly special about their graceful stems and vibrant, crinkled petals.
If you’ve ever hesitated, thinking, “I’m not an artist,” or felt unsure where to even begin, then you have found the perfect creative starting point.
Drawing is a skill anyone can learn, and the simple poppy is a wonderfully forgiving and rewarding subject.
This guide is designed to be your warm and friendly companion on a new artistic adventure. We will gently walk you through the entire process, breaking it down into simple, confidence-boosting steps. You’ll learn to see the poppy not as a complex flower, but as a collection of basic shapes.
We will explore five different, beautiful methods for drawing poppies, from a simple line drawing to a shaded, three-dimensional sketch.
Forget about pressure and perfectionism. By the end of this post, you’ll have the skills and inspiration to fill your sketchbook with beautiful poppy drawings of your own.
Seeing Like an Artist: The Simple Shapes of a Poppy
The secret to learning how to draw a poppy flower—or anything, really—is to stop seeing the object and start seeing the simple shapes that form it. Let’s break down the poppy into its basic, easy-to-draw components.
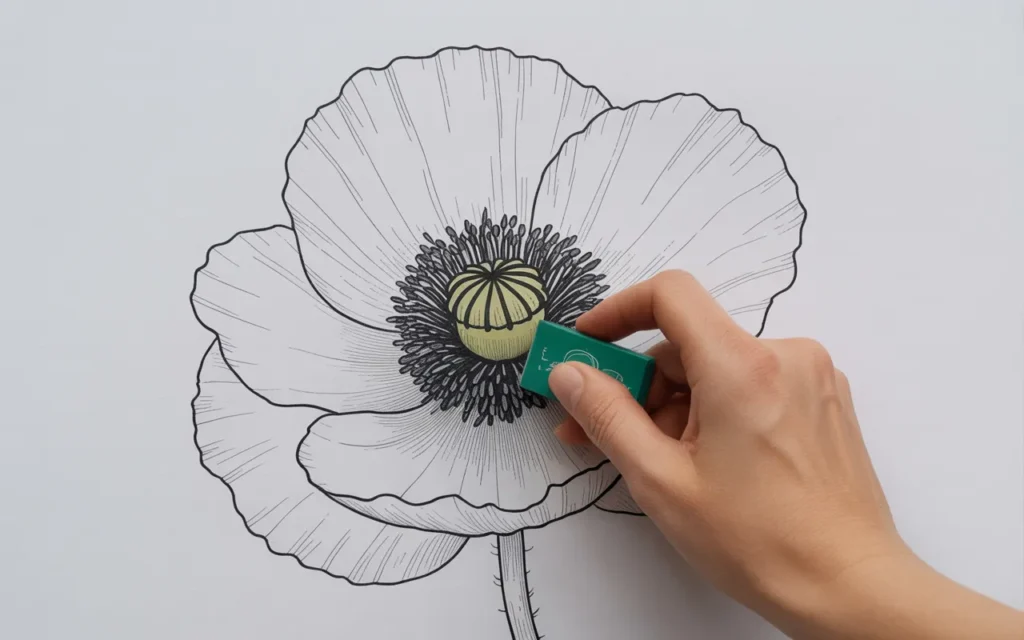
- The Center (The Anchor): The poppy’s center is your starting point. It’s made of the seed pod (ovary) and stamens. You can simplify this into a small circle or oval for the pod, with a ring of tiny lines or dots around it for the stamens.
- The Petals (The Stars): Poppy petals are the main event. Don’t try to draw them perfectly. Think of them as large, wavy, crumpled ovals or “C” shapes. They are beautifully imperfect. The most important thing to remember is that they overlap. Some petals are in front, and some are tucked behind.
- The Stem (The Support): A poppy stem is usually long, thin, and fuzzy. It’s rarely a perfectly straight line. Drawing it with a gentle, graceful S-curve will make your poppy look much more natural and alive.
That’s it! A circle, some wavy ovals, and a curved line. When you approach it this way, drawing a poppy becomes a simple, relaxing process of assembling shapes.
Method 1: The Simple Line Drawing (A Perfect Start)
This method focuses purely on the outline of the poppy. It’s the perfect way to begin because it teaches you the fundamental form of the flower without the complexity of shading.
Step 1: Draw the Center and Guidelines
Using a light pencil (like an HB or 2H), press very gently. These are just guides you will erase later.
- Draw a small circle in the middle of your page. This is the poppy’s center.
- Draw a much larger, very faint circle around it. This outer circle is a guide for the overall size of your flower, helping you keep the petals relatively balanced.
Step 2: Draw the Front Petals
These are the petals closest to the viewer.
- Starting from the base of your small center circle, draw a large, wavy line that curves outwards toward your larger guide circle. Think of a crumpled “C” shape.
- Complete the petal by drawing another wavy line from the end of the first line back towards the center. Add a few dips and ruffles to the edge.
- Now, draw a second petal next to the first one, making sure it overlaps the first one slightly. This simple overlap is what creates the illusion of depth.
Step 3: Tuck in the Back Petals
These petals are what will make your flower look full and three-dimensional.
- Find a gap between your two front petals. Starting from behind them, draw just the top, wavy edge of a back petal. You will only see the part that is peeking out.
- Repeat this process in the other gaps, adding two or three more back petals.
- Use your kneaded eraser to clean up the lines. Erase any part of a back petal that you accidentally drew “through” a front petal. This simple act of cleaning up overlaps is what makes the drawing work.
Step 4: Add the Stem and Final Outline
- From the base of the flower head, draw two parallel lines curving gently downwards to form the stem.
- Now, take a darker pencil or a fineliner pen (like a Sakura Micron) and trace over your final pencil lines. Go slowly and steadily.
- Once your final lines are in place (and the ink is dry, if you used a pen), use your kneaded eraser to remove all the underlying pencil guides.
You are left with a stunningly simple and elegant poppy flower outline!
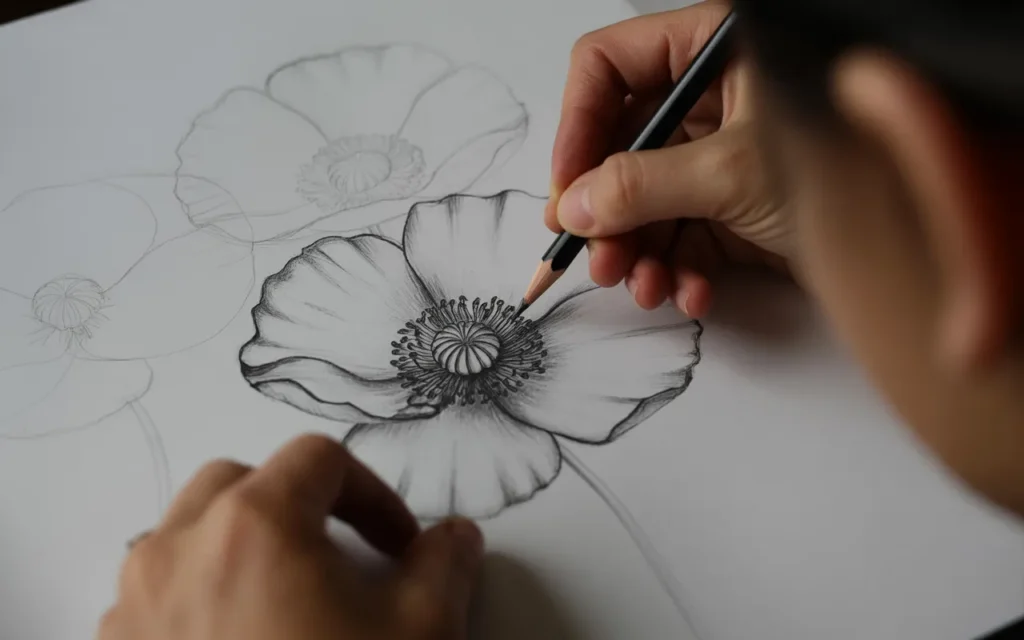
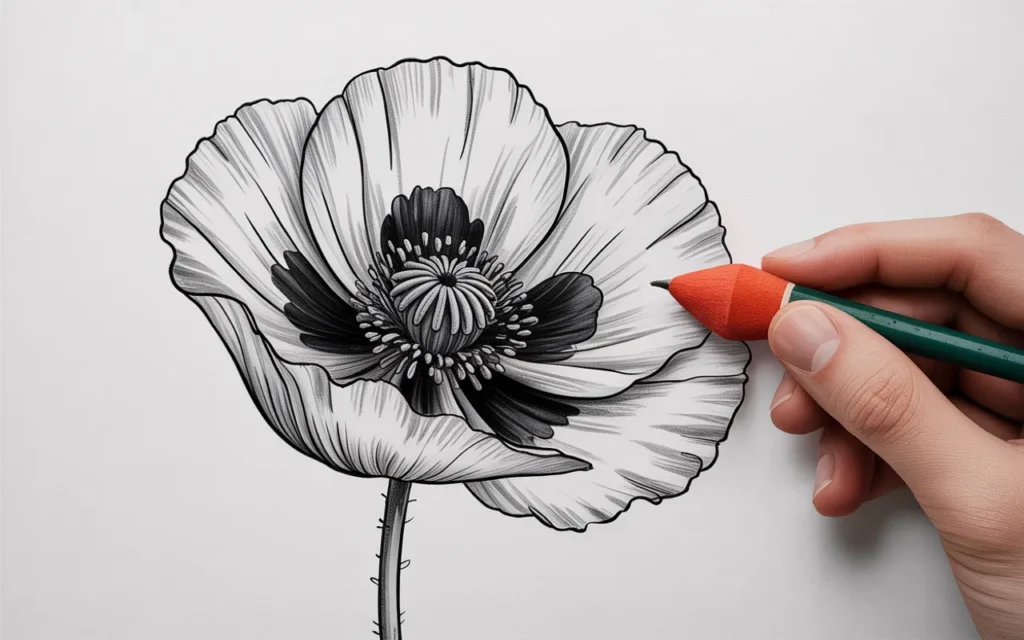
Method 2: The Shaded Pencil Drawing (Adding Depth)
This method builds on the line drawing by adding simple shading, which will transform your flat sketch into a three-dimensional flower.
Step 1: Create Your Line Drawing
Start by creating a light pencil line drawing of your poppy, as detailed in Method 1. Do not ink it.
Step 2: Establish Your Light Source and Map Shadows
Decide where your light is coming from. Let’s imagine it’s coming from the top left. This means the darkest shadows will be on the bottom right. The main shadow areas will be:
- At the very base of each petal, where it connects to the dark center.
- Where one petal overlaps and casts a shadow on the one behind it.
- In the deep folds and crinkles of the petals.
Step 3: Apply Shading
- Base Tone: Using a soft pencil (like a 2B or 4B) on its side, gently apply a light layer of shading to all the shadow areas you identified.
- Build Up Dark Tones: Switch to an even softer pencil (4B or 6B) or apply more pressure. Go back over the darkest areas—the base of the petals and the deepest overlaps. Don’t be afraid to create a strong contrast! This is what will make your poppy feel real.
- Add Details: Use a sharpened pencil to add very faint, delicate lines radiating from the base of the petals to suggest veins. Fill in the center with a rich, dark tone.
- Blend (Optional): Use a blending stump or your finger to gently smudge the graphite, creating smooth transitions from shadow to light.
Step 4: Lift Out Highlights
Take your kneaded eraser and mold it into a sharp point. Gently dab or “draw” with it along the very top edges of the petals that are facing your light source. This will lift the graphite and create bright highlights, making the petals look thin and sun-kissed.
Method 3: The Dramatic Charcoal Drawing
If you love bold, expressive art, charcoal is an incredibly fun medium. It allows for deep, velvety blacks and soft, smoky grays.
Step 1: Sketch a Loose Outline
Using a charcoal pencil, lightly sketch the basic shape of your poppy. Be loose and gestural. Don’t worry about perfect lines.
Step 2: Block in the Darks
Identify your main shadow areas as you would for a pencil drawing. Using the side of a piece of compressed or willow charcoal, block in these large areas of shadow. Be bold! Fill in the center with a deep, solid black.
Step 3: Blend and Soften
This is the fun part. Use your fingers or a blending stump to smudge and blend the charcoal. You can create beautiful, soft gradients and a wonderful sense of atmosphere.
Step 4: “Draw” with Your Eraser
In charcoal drawing, your eraser is as much a drawing tool as your charcoal. Use your kneaded eraser to “draw” the light. Aggressively lift out the highlights on the edges of the petals.
Create the shapes of the front-most petals by erasing them out of a gray-toned area. This creates a powerful and dramatic effect.

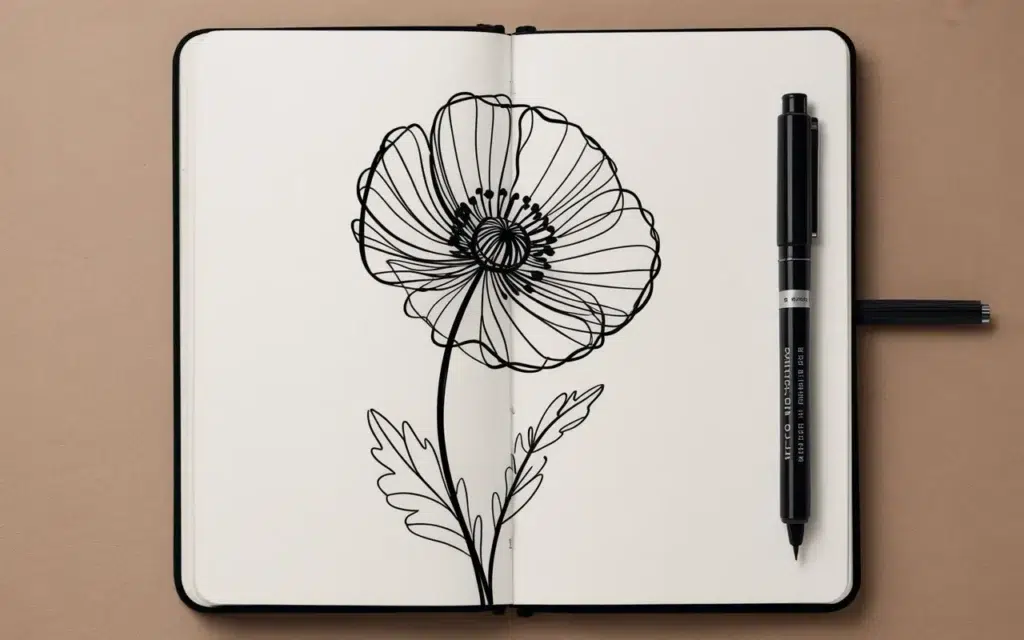
Method 4: The Continuous Line Drawing (An Artistic Challenge)
This is a wonderful, meditative exercise that produces unique and highly artistic results. The goal is to draw the entire poppy without lifting your pen or pencil from the paper.
Step 1: Find a Starting Point
Place your pen on the paper. A good starting point is often the bottom of the stem.
Step 2: Let Your Line Flow
Begin drawing the stem upwards. As you reach the flower head, let your line flow seamlessly into the wavy edge of a petal. Loop around to create the petal’s shape, then, without lifting the pen, cross over your existing lines to start forming the next petal.
Step 3: Embrace Imperfection
The lines will cross and overlap. The shapes might be wobbly. That is the beauty of this technique! It’s not about realism; it’s about capturing the essence and energy of the poppy in one fluid, unbroken gesture. Create the center with a spiral or a dense scribble before completing your final petal.
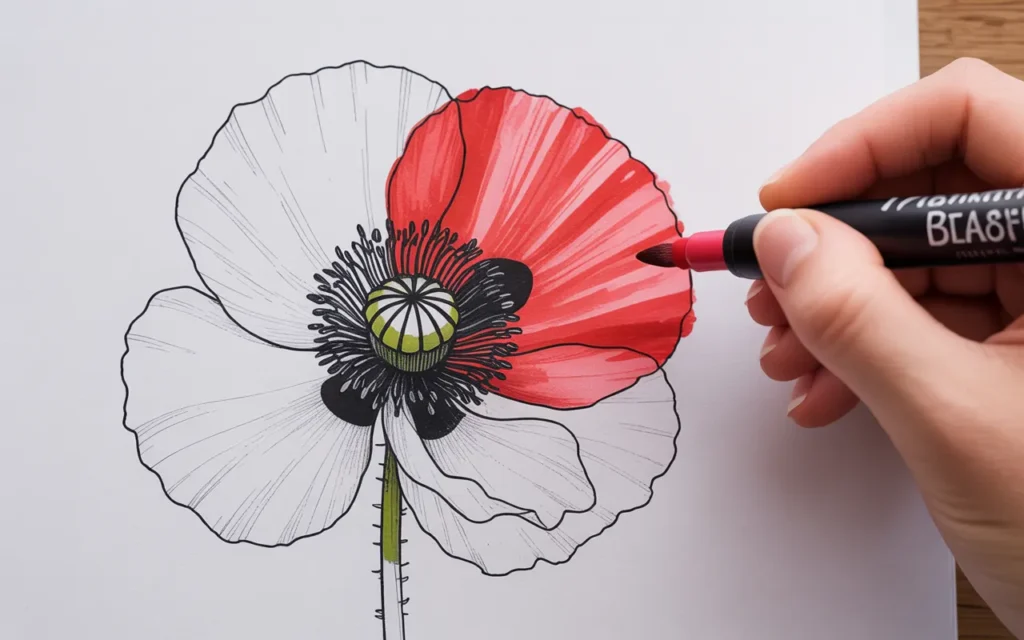
Method 5: The Simple “Ink and Color” Drawing
This method adds a vibrant pop of color to your line drawing in a very simple and accessible way.
Step 1: Create a Clean Ink Outline
Follow the steps from Method 1 to create a finished poppy outline using a waterproof fineliner pen (like a Sakura Micron). Make sure the ink is completely dry.
Step 2: Add a Pop of Red
Choose your color tool: a red colored pencil, a red marker, or even red watercolor paint.
The key here is to be loose and expressive. Don’t worry about coloring perfectly within the lines.
- Colored Pencil: Apply the red color more heavily near the base of the petals and let it fade out towards the edges.
- Marker: Use a brush-tip marker to add a quick, confident wash of red to the petals. Leaving some white space makes it feel more artistic.
- Watercolor: Wet the petals with clean water, then touch a brush loaded with red paint to the paper and watch the color bloom.
Step 3: Define the Center
Use a black marker or pencil to fill in the center of the poppy. This dark anchor point will make the red of the petals look even more vibrant.
Your Creative Journey Begins Here
You are now equipped with five distinct, beautiful, and accessible methods for drawing a poppy flower. You have the knowledge to break it down into simple shapes and build it back up into a piece of art that is uniquely yours.
The most important advice is simply to begin. Don’t wait for a moment of perfect inspiration. The joy and the skill come from the act of doing.
Pick the method that excites you the most, find a quiet moment, and put your pencil to paper. Draw one poppy, or draw a whole field.
Each line you make is a step forward on your own creative path. The blank page is not a test; it is an invitation.
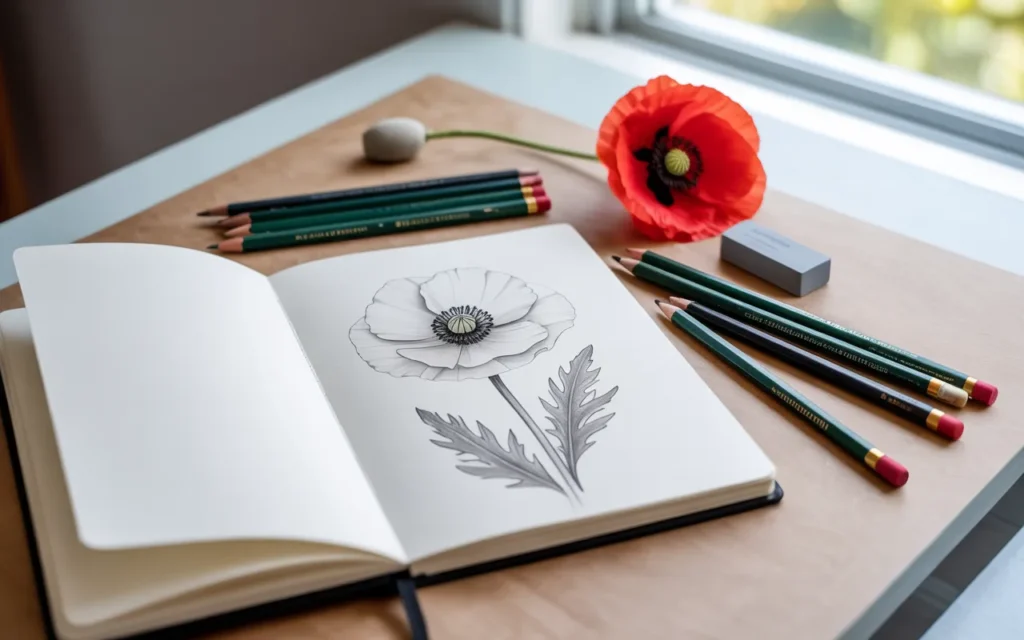
Recommended Drawing Supplies
Here is a quick summary of the essential products to help you learn how to draw a poppy flower with confidence.
| Product Name | Brand | Great For… |
|---|---|---|
| {Strathmore 400 Series Sketchpad} | Strathmore | High-quality, durable paper for practice and finished work. |
| {Faber-Castell 9000 Graphite Sketch Set} | Faber-Castell | A full range of pencil grades for sketching and shading. |
| {Sakura Pigma Micron Fineliner Pens} | Sakura | Creating crisp, clean, permanent ink outlines. |
| {Prismacolor Premier Kneaded Eraser} | Prismacolor | Precisely erasing and lifting highlights without smudging. |
| {General’s Charcoal Pencil Kit} | General’s | Creating dramatic, expressive sketches with high contrast. |
| {Derwent Blending Stumps} | Derwent | Smoothly blending pencil and charcoal for soft shadows. |
| {Moleskine Art Sketchbook} | Moleskine | A durable, portable sketchbook for drawing anywhere. |