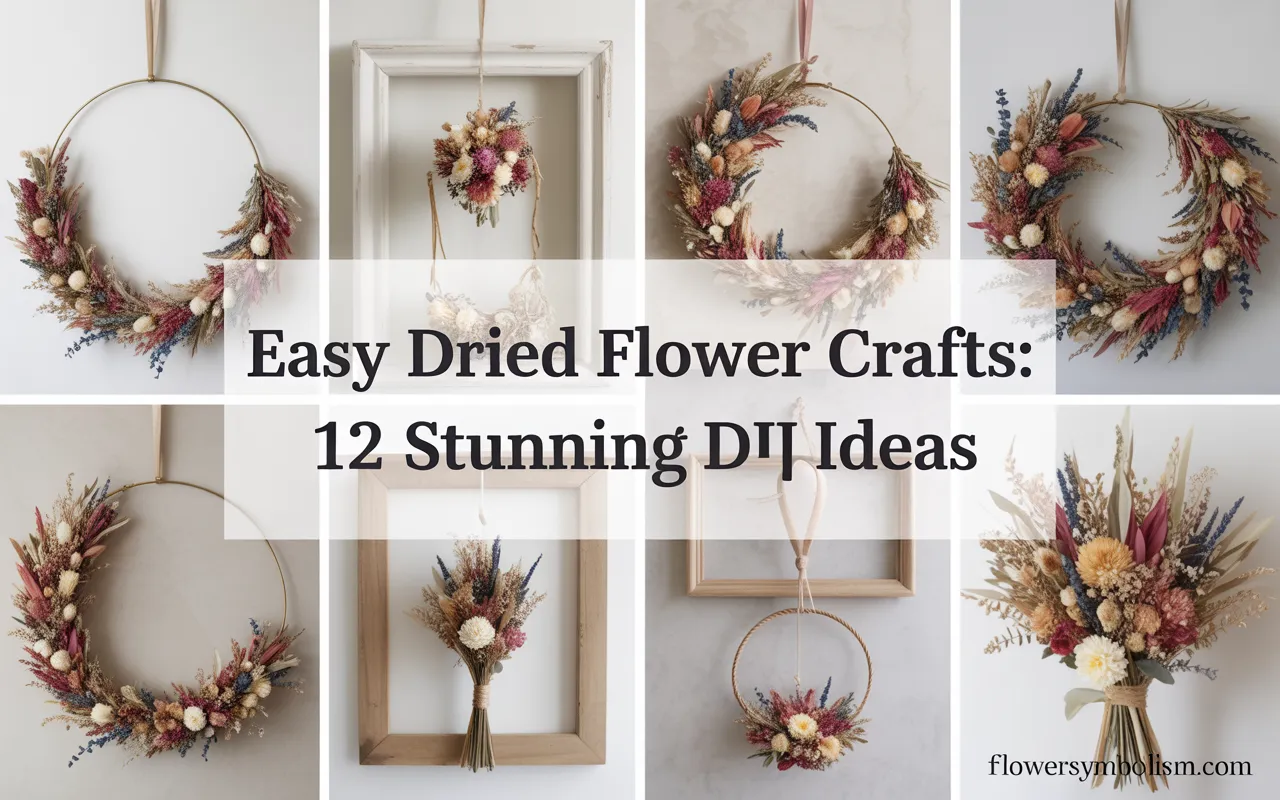
There’s a special kind of magic in bringing nature indoors. While fresh flowers are beautiful, their beauty is fleeting.
Dried flowers, on the other hand, offer an everlasting charm, capturing a moment of natural elegance that you can enjoy for years.
The world of easy dried flower crafts is your invitation to become a creator, turning these preserved botanicals into stunning, personal pieces of art for your home.
You don’t need to be a seasoned crafter or have a studio full of supplies to get started. The beauty of working with dried flowers is that their natural elegance does most of the heavy lifting.
Many projects require just a few simple tools and a bit of creativity. It’s a mindful, relaxing hobby that allows you to connect with nature and create something truly unique with your own hands.
This guide is designed for the absolute beginner. We’re going to explore 12 stunning and surprisingly easy dried flower crafts that anyone can do.
From simple suncatchers that glow in the light to beautiful bookmarks and charming candles, there’s a project here for every style and skill level.
We’ll provide step-by-step instructions and recommend a few key supplies to make your crafting journey a blooming success. Let’s get started!
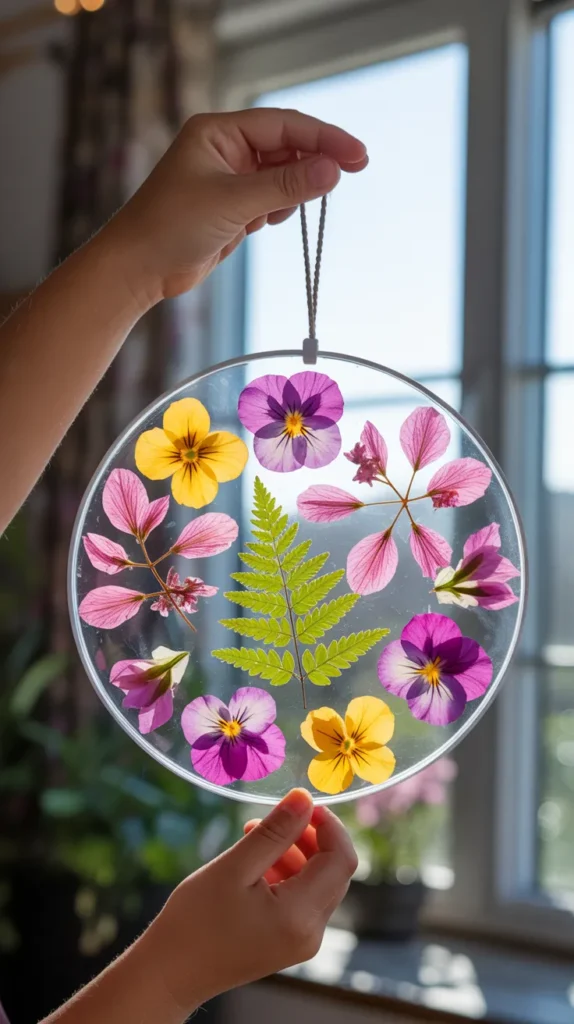
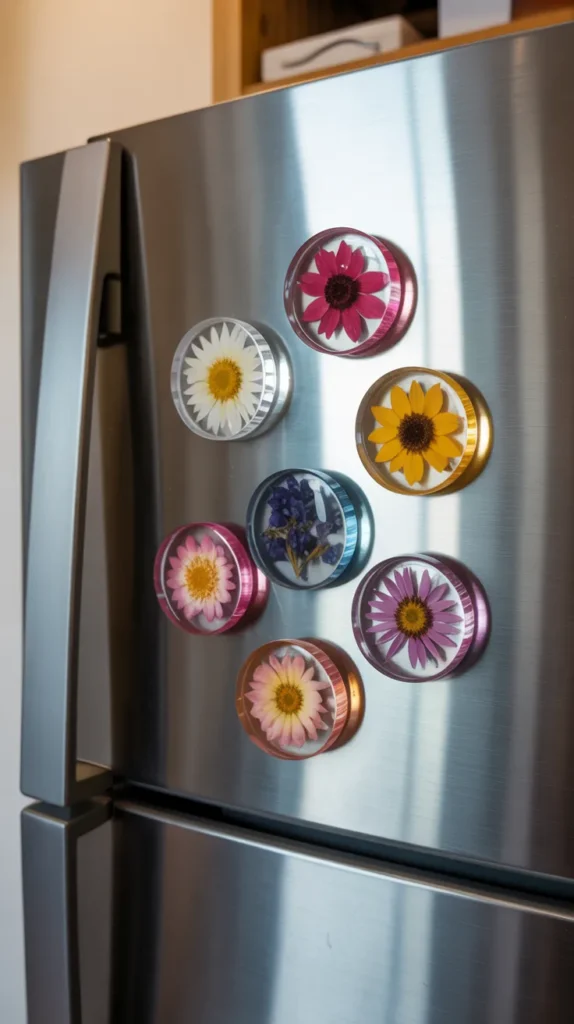
1. Magical Pressed Flower Suncatchers
This is the perfect first project for anyone dipping their toes into the world of easy dried flower crafts.
Suncatchers are incredibly simple to make, require almost no special tools, and the results are instantly gratifying. When hung in a window, they catch the light and make the translucent petals glow like natural stained glass.
The key to this craft is using pressed flowers. You can press your own flowers from the garden in a heavy book (which takes a few weeks) or purchase a beautiful assortment of pre-pressed flowers online. The flatter the flower, the better it will work.
What you’ll need:
- Clear contact paper or self-adhesive laminating sheets
- A variety of pressed flowers and leaves
- Scissors
- A hole punch and ribbon
Step-by-step:
- Cut two identical shapes from your contact paper. A simple circle or square is a great start.
- Peel the backing off one piece and lay it sticky-side up on your work surface.
- Let your creativity flow! Arrange your pressed flowers and leaves onto the sticky surface. Don’t be afraid to overlap them or mix different colors.
- Once you’re happy with your design, take the second piece of contact paper, peel off the backing, and carefully place it sticky-side down over your floral arrangement.
- Gently smooth it out from the center to the edges to remove any air bubbles.
- Trim the edges for a clean finish, punch a hole at the top, and thread a ribbon through for hanging. It’s that simple!
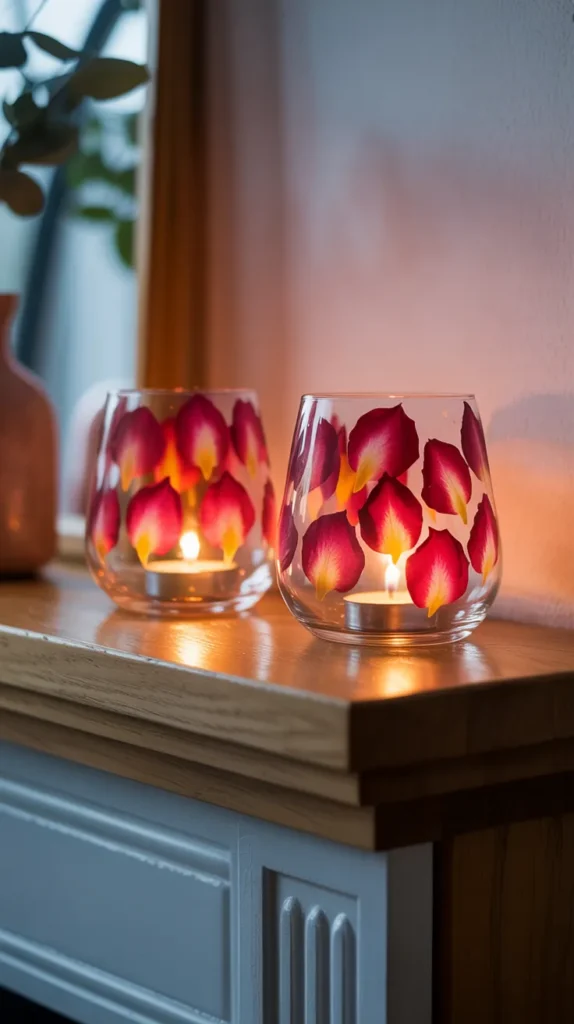
2. Romantic Decoupage Votive Holders
Transform plain glass jars or candle holders into romantic, glowing lanterns with this simple decoupage technique. This is one of the most beloved easy dried flower crafts because it upcycles materials you already have and creates a cozy, magical ambiance in any room.
For this project, you’ll need small pressed flowers or individual petals. Translucent petals, like those from bougainvillea or cosmos, work especially well as they allow the most light to shine through.
What you’ll need:
- A clean, empty glass jar or votive holder
- Pressed flowers or petals
- A decoupage medium like {Mod Podge Waterbase Sealer, Glue and Finish}
- A small, soft paintbrush
- A battery-operated tea light
Step-by-step:
- Ensure your glass jar is clean and completely dry.
- Using your paintbrush, apply a thin, even layer of Mod Podge to a small section of the jar. This product is perfect for beginners because it acts as both the glue and the final sealer, drying to a clear, durable finish.
- Gently place a pressed flower or petal onto the wet Mod Podge.
- Carefully paint another thin layer of Mod Podge over the top of the flower to seal it in place. Be gentle to avoid tearing the delicate petals.
- Repeat this process, working in small sections, until you have covered the jar to your liking.
- Let the jar dry completely (it will look milky at first but will dry clear). Then, pop in a battery-operated tea light and enjoy the beautiful, floral glow.
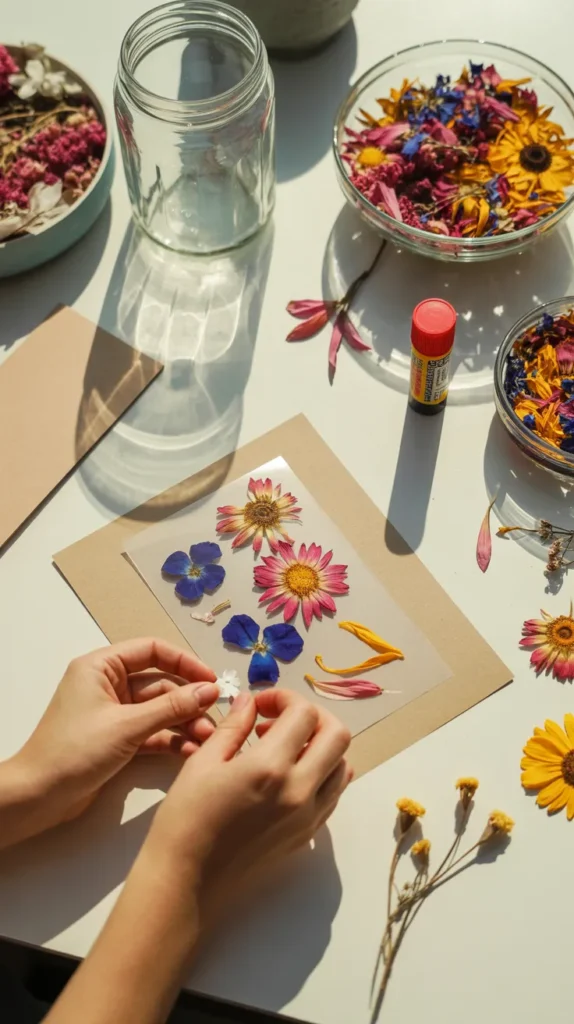
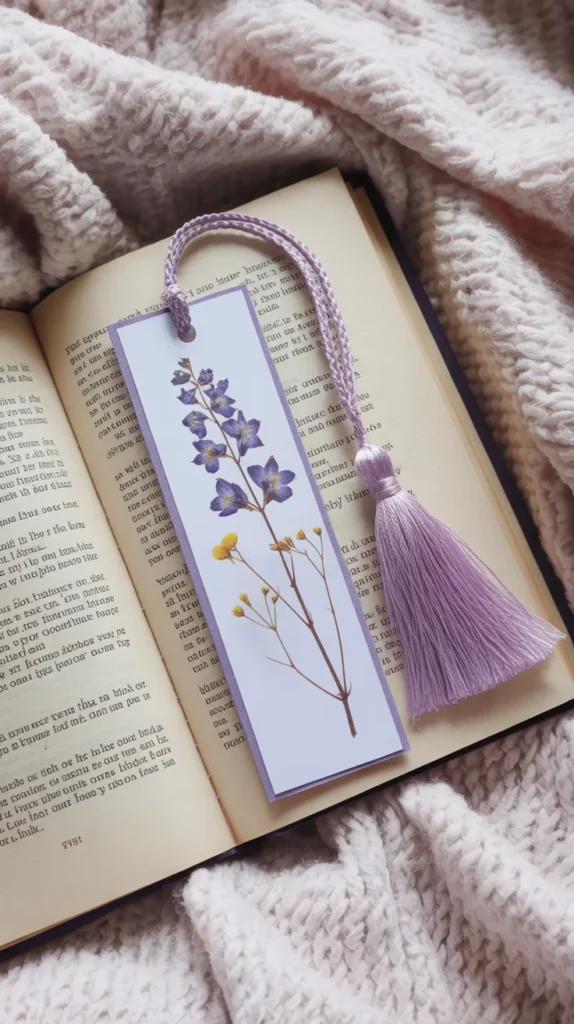
3. Laminated Botanical Bookmarks
A handmade bookmark is a thoughtful gift for any book lover, and incorporating pressed flowers makes it truly special.
This is a quick, satisfying, and very easy dried flower crafts project that looks incredibly professional with just one simple trick: lamination.
You can use a laminating machine if you have one, but a great hack for beginners is to use wide, clear packing tape. It works just as well for a small project like this and gives you a durable, glossy finish that protects the delicate flowers.
What you’ll need:
- Heavy cardstock, cut into a bookmark shape (around 2×6 inches)
- Small, flat pressed flowers and leaves
- A glue stick
- Clear packing tape or a laminator
- A hole punch and a tassel or ribbon
Step-by-step:
- Plan your design by arranging your pressed flowers on the cardstock strip. A simple cascade down the middle or a small cluster at the top always looks elegant.
- Use a small dab from a glue stick to hold each flower in place.
- Cut a piece of packing tape that is slightly longer than your bookmark. Carefully lay it over the top of your design, smoothing it down to prevent bubbles.
- Flip the bookmark over and apply another piece of tape to the back.
- Trim the excess tape from the edges for a clean, sealed finish.
- Punch a hole at the top. A dedicated craft punch like the {Bostitch Office 1-Hole Punch} is great for getting a clean circle without struggling.
- Thread a ribbon or a premade tassel through the hole to complete your beautiful bookmark.
4. Simple Floating Petal Candles
This craft is less about making a permanent object and more about creating a beautiful, temporary atmosphere.
It is arguably the easiest of all easy dried flower crafts and has a huge visual impact, making it perfect for a special dinner, a relaxing bath, or as a simple centerpiece.
All you need are a few simple items to create this moment of Zen. The gentle flicker of the candles combined with the soft, floating petals creates an incredibly serene and romantic mood.
What you’ll need:
- A wide, shallow bowl
- Water
- A few floating candles
- A handful of colorful dried flower petals (rose petals are classic)
Step-by-step:
- Fill your bowl with water.
- Gently place the floating candles on the surface.
- Sprinkle your dried flower petals all around the candles. They will float on the surface, creating a beautiful, natural confetti.
- Light the candles (or use battery-operated floating candles for extra safety) and enjoy the tranquil beauty.

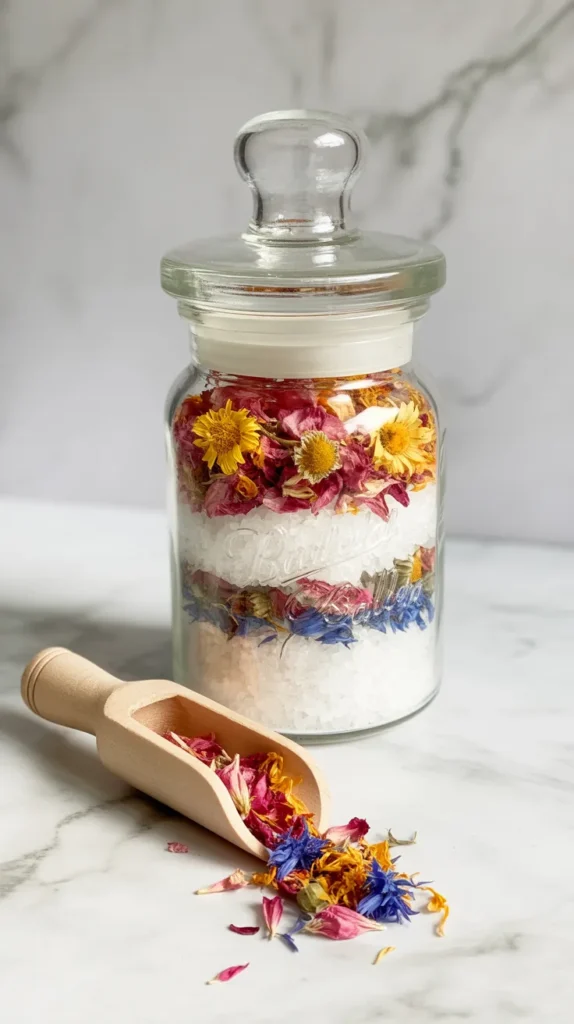
5. Floral-Infused Bath Salts
Create a luxurious, spa-like experience at home with your own custom-blended bath salts. This is a wonderfully simple and sensory project that combines the therapeutic benefits of Epsom salts with the beauty of dried flowers. Plus, they look absolutely stunning in a jar and make for a very impressive handmade gift.
The key is to use skin-safe dried flowers. Calendula, rose, chamomile, lavender, and cornflower are all excellent and beautiful choices.
What you’ll need:
- Epsom salts
- Dried, skin-safe flower petals
- A few drops of a floral essential oil (optional)
- A beautiful glass jar for storage
Step-by-step:
- In a large bowl, pour in your desired amount of Epsom salts.
- If you like, add a few drops of a complementary essential oil, like lavender or rose, and stir well to distribute the scent.
- Gently fold in your dried flower petals. Be careful not to crush them too much. The visual appeal of the colorful petals mixed with the white salts is a huge part of the charm.
- Carefully spoon your finished bath salts into a clean, dry glass jar. For easy and mess-free gifting, you can package them in pre-made bags. {Ounona Muslin Drawstring Bags} are perfect for this, as they can be tossed directly into the bath, infusing the water with salts and botanicals without leaving petals to clean up from the tub later.
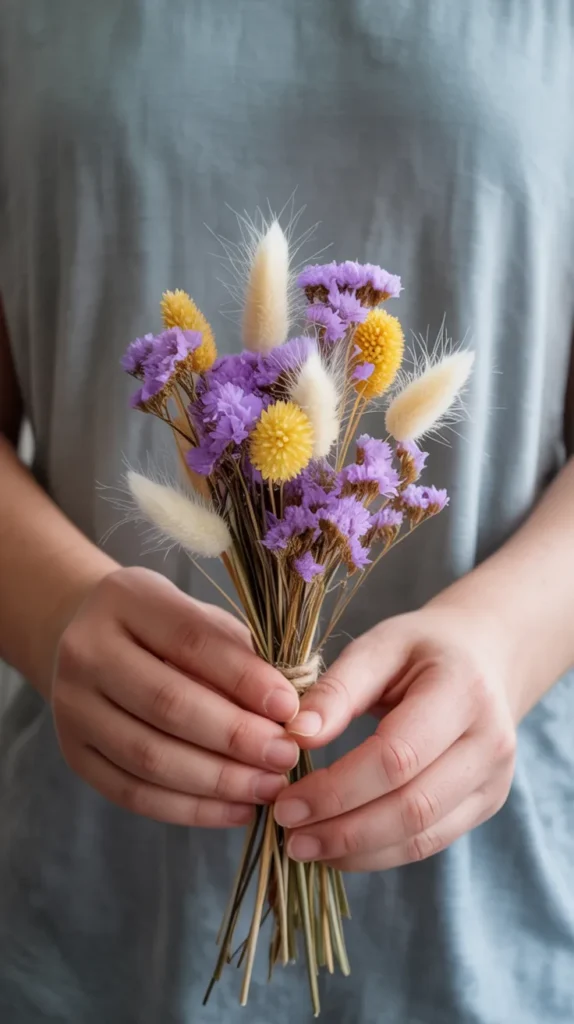
6. Easy Mini Dried Flower Bouquets
You don’t need to be a professional florist to create a beautiful bouquet. These mini bouquets, or “posies,” are a simple and charming way to use sturdier dried flowers with stems.
They are incredibly versatile and can be used as gift toppers, cake decorations, or simply placed in a tiny bud vase to brighten up a small space. This is one of the best easy dried flower crafts to do with a group of friends.
What you’ll need:
- A selection of dried flowers with stems (like statice, lavender, bunny tails, and strawflowers)
- Twine or ribbon
- Scissors
Step-by-step:
- Gather a small handful of flowers. Start with a taller, focal flower in the center.
- Add other flowers and grasses around it, turning the bunch in your hand as you go.
- Play with different heights and textures to create a visually interesting arrangement.
- Once you’re happy with your mini bouquet, tie it together tightly with a piece of twine or a beautiful silk ribbon.
- Trim the stems to an even length.
7. Decorated Picture Frames
Give a plain, inexpensive picture frame a romantic, botanical makeover. This is a lovely way to customize a frame for a special photograph, like a wedding picture or a photo of a child. It’s a simple decoupage project that makes a big impact and personalizes your home decor.
What you’ll need:
- A plain picture frame with a flat surface (wood or thick cardboard works best)
- Pressed flowers or petals
- Craft glue or a decoupage medium
Step-by-step:
- Remove the glass and backing from the picture frame.
- Plan your design. You can cover the entire frame for a dense, mosaic-like look, or create a more delicate design with flowers trailing up one corner.
- Apply a thin layer of craft glue or decoupage medium to a section of the frame.
- Gently place your pressed flowers onto the glue.
- If using a decoupage medium, paint a thin sealing coat over the top of the flowers. If using regular craft glue, you can seal the entire frame with a clear acrylic spray sealer once all the flowers are in place and the glue is dry. A product like {Krylon Crystal Clear Acrylic Spray Finish} is perfect for this, as it provides a durable, non-yellowing protective coat in a simple spray application, protecting the delicate flowers from dust and damage.

8. Simple Floral Wax Seals
Add a touch of old-world elegance and a personal flourish to letters, invitations, or gift wrapping with floral wax seals.
This craft looks incredibly sophisticated, but it’s surprisingly easy to do and requires minimal supplies. It’s a small detail that makes a huge impact.
What you’ll need:
- A wax seal stamp (you can find these with letters, symbols, or floral designs)
- Sealing wax beads or sticks
- A small spoon for melting
- A candle
- Tiny fragments of dried flowers (like baby’s breath or crushed lavender)
Step-by-step:
- Melt a few wax beads in the spoon over the candle flame.
- Pour a small puddle of the melted wax (about the size of a nickel) onto your envelope flap or gift tag.
- Quickly sprinkle a few tiny flower fragments onto the hot wax.
- Firmly press your stamp into the center of the wax puddle. Hold it there for about 10-15 seconds.
- Gently lift the stamp to reveal your beautiful, custom floral seal.

9. Botanical Clay Impressions
This is a wonderfully tactile and easy dried flower crafts project that is perfect for kids and adults alike.
By pressing dried flowers into air-dry clay, you create a permanent “fossil” of the bloom’s delicate shape and texture. These can be turned into ornaments, pendants, or small decorative tags.
What you’ll need:
- Air-dry clay
- Dried flowers with interesting textures (ferns, Queen Anne’s lace, lavender)
- A rolling pin
- A cookie cutter or knife
- A skewer or straw for making a hole
Step-by-step:
- Roll out a piece of air-dry clay to about a quarter-inch thickness.
- Arrange your dried flowers on the surface of the clay and gently press them in with your fingers or a rolling pin.
- Peel the flowers off to reveal the beautiful impressions they’ve left behind.
- Use a cookie cutter to cut out shapes or a knife to create your own.
- If you want to hang your creation, use a skewer to poke a hole at the top.
- Let the clay dry completely according to the package directions (usually 24-48 hours). You can leave them natural or paint the impressions with watercolors for a pop of color.
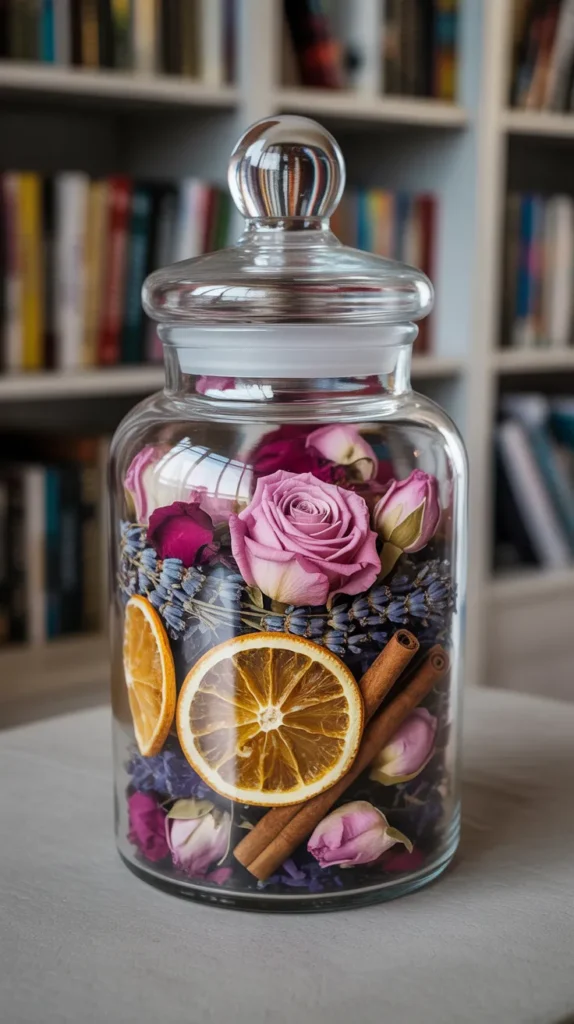
10. DIY Potpourri Jars
Creating your own potpourri is a classic craft that allows you to customize a scent for your home. It’s a simple process of mixing dried botanicals, spices, and oils.
Displayed in a clear jar, it becomes a piece of decor that engages both the eyes and the nose.
What you’ll need:
- A variety of dried flower petals and heads (roses, lavender, chamomile)
- Other natural elements like dried orange slices, cinnamon sticks, or star anise
- Essential oils
- A clear glass jar with a lid
Step-by-step:
- In a large bowl, combine your dried flower petals with your other chosen botanicals and spices.
- Add a few drops of your favorite essential oils. For a lasting and well-blended fragrance, you can also add a fixative like {Orris Root Powder by Starwest Botanicals}, which helps to absorb the oils and release them slowly over time.
- Stir everything together gently.
- Place the mixture in a jar with a lid and let it sit for a few days to a week to allow the scents to meld.
- To display, open the jar or pour the potpourri into a decorative bowl.
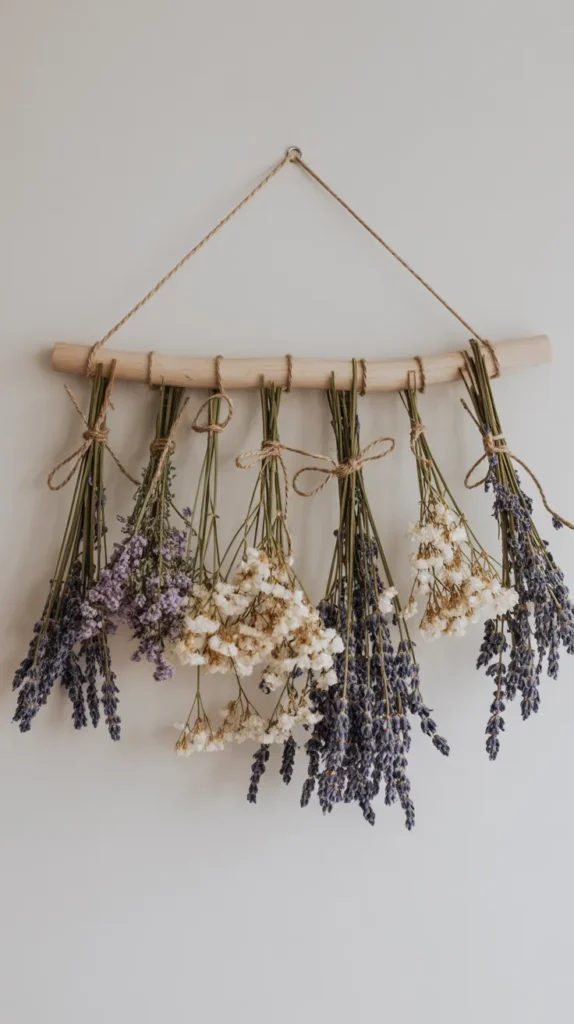
11. Easy Floral Wall Hanging
Create a simple, bohemian-style wall hanging that adds a touch of nature to any room. This is a very easy dried flower crafts alternative to a traditional wreath and can be customized to any size or color palette.
What you’ll need:
- A stick or piece of driftwood
- Twine or string
- A variety of dried flowers and grasses with long stems
- Scissors
Step-by-step:
- Tie a piece of twine to both ends of your stick for hanging.
- Cut several pieces of string in varying lengths.
- Take a few stems of dried flowers and tie them together onto the end of a piece of string.
- Tie the other end of the string to your main stick.
- Repeat this process, tying on different bunches of flowers at different lengths until your wall hanging looks full and beautiful.
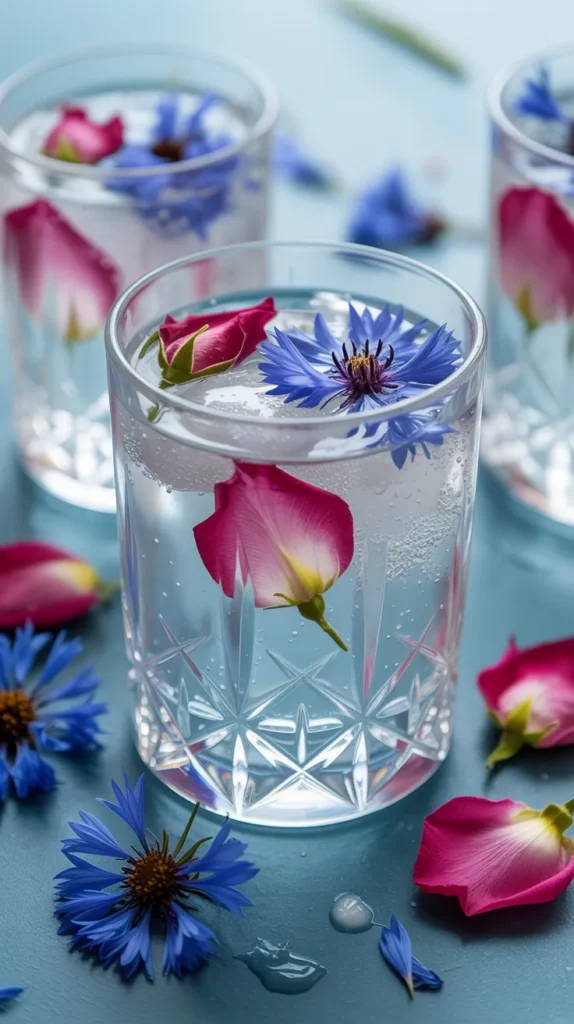
12. Floral Ice Cubes for Special Occasions
This is a “craft” that is meant to be enjoyed and consumed! Floral ice cubes are an incredibly easy way to elevate any beverage and add a touch of elegance to a party, brunch, or special dinner.
What you’ll need:
- An ice cube tray
- Water
- Small, edible dried flower petals (rose, hibiscus, cornflower, calendula)
Step-by-step:
- Place one or two dried petals into each compartment of your ice cube tray.
- For the clearest ice, use distilled water that has been boiled and then cooled. Fill the tray halfway and freeze.
- Once the first layer is frozen, fill the rest of the tray with water and freeze again. This two-step process helps to center the flower perfectly within the cube.
- Pop out your beautiful floral ice cubes and add them to lemonade, iced tea, or sparkling water for an instant “wow” factor.
Your Easy Crafting Toolkit
You don’t need much to get started, but having a few key supplies can make your crafting experience smoother and more enjoyable. Here are some of the beginner-friendly products mentioned in this guide.
| Product Name | Brand | Use |
|---|---|---|
| Waterbase Sealer, Glue and Finish | Mod Podge | The perfect all-in-one glue and sealer for decoupaging flowers onto glass and other surfaces. |
| 1-Hole Punch | Bostitch Office | A simple tool for creating clean, perfect holes in handmade bookmarks for adding tassels. |
| Muslin Drawstring Bags | Ounona | Ideal for packaging bath salts for gifting or creating mess-free bath soaks. |
| Crystal Clear Acrylic Spray Finish | Krylon | An easy-to-use spray to seal and protect projects like picture frames and clay impressions. |
| Orris Root Powder | Starwest Botanicals | A natural fixative that helps your homemade potpourri retain its scent for much longer. |
Conclusion: Embrace the Joy of Creating with Nature
The world of easy dried flower crafts is all about finding joy in the simple act of creating. It’s about preserving a little piece of nature’s beauty and transforming it into something personal and new.
You don’t need to be an expert to make something beautiful—you just need to be willing to play and experiment.
We hope these 12 ideas have shown you just how accessible and rewarding this hobby can be. Start with the project that excites you the most, whether it’s a simple suncatcher or a fragrant batch of bath salts. The process itself is a wonderful way to relax, de-stress, and connect with your creative side.
So, gather some flowers, press them in a book, and see where your imagination takes you. Your next beautiful, handmade treasure is just a few petals away. Which of these stunningly simple ideas will you try first?