There is something undeniably magical about a fresh bouquet of flowers. The colors, the textures, the delicate scents—they have the power to brighten even the gloomiest of days. But as every flower lover knows, that beauty is often fleeting.
We watch petals wilt and vibrant hues fade, wishing we could hold onto that natural splendor just a little bit longer. This is where the art of DIY dry flowers comes in to save the day (and the bouquet!).
Learning how to preserve your own blooms isn’t just a way to save money on decor; it’s a creative journey that connects you deeper with nature.
Whether you want to save a sentimental wedding bouquet, create a rustic wreath for your front door, or simply extend the life of your garden’s bounty, DIY dry flowers offer endless possibilities. The best part? It’s incredibly accessible.
You don’t need a professional studio or expensive equipment to get started—just a little patience and the right techniques.
In this comprehensive guide, we will explore 12 beautiful ways to preserve your blooms.
We’ll cover everything from the tried-and-true methods our grandmothers used to modern, high-speed techniques involving microwaves and silica gel.
Each method has its own unique charm and application. So, grab your gardening shears and let’s dive into the wonderful world of DIY dry flowers.
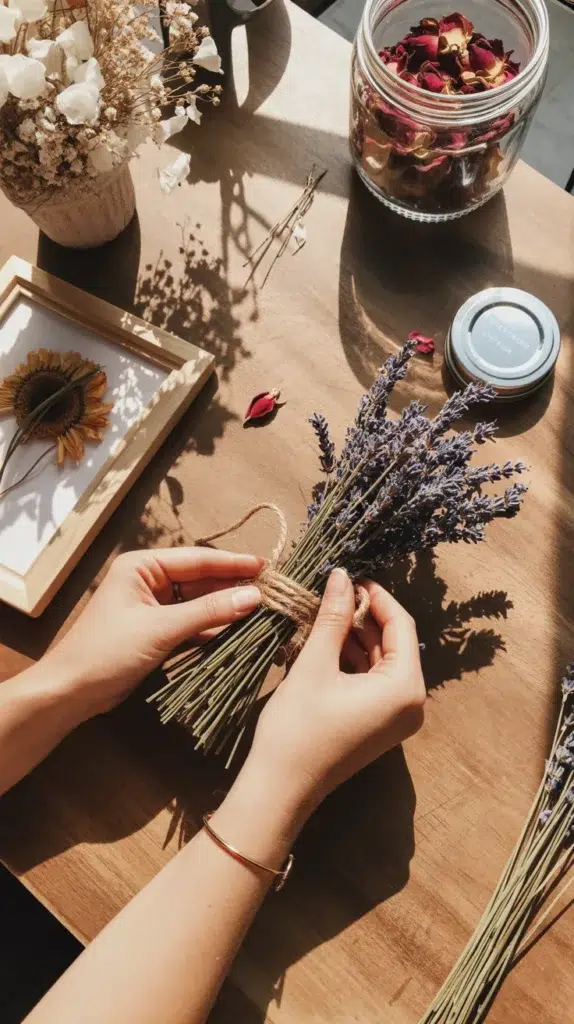
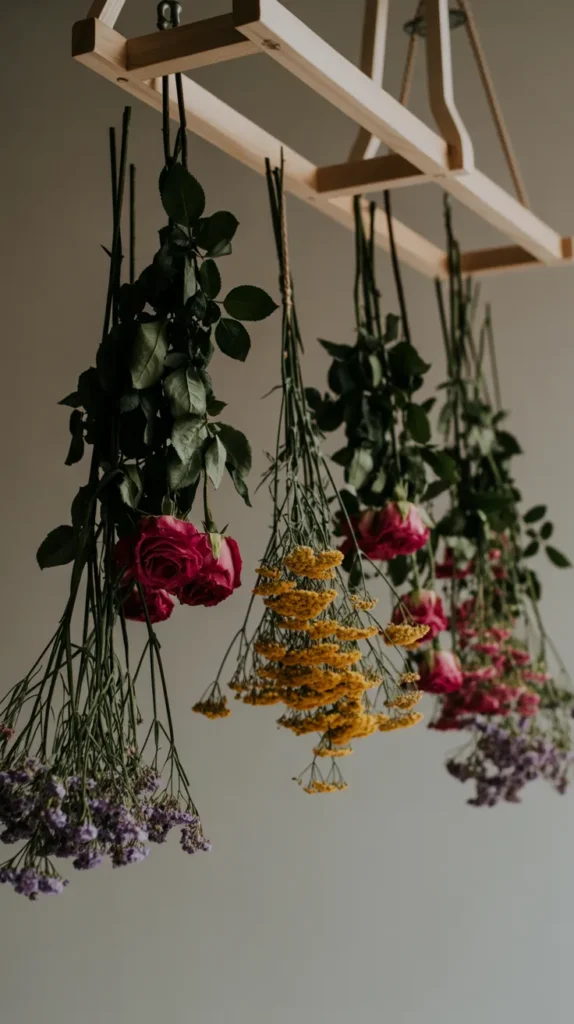
1. The Timeless Air-Drying Method
When most people think of DIY dry flowers, this is the method that comes to mind. It’s the classic, romantic technique of hanging bunches of blooms upside down in a dark corner.
It’s incredibly simple, costs absolutely nothing, and results in that beautiful, vintage, slightly muted aesthetic that looks perfect in farmhouse or bohemian decor.
Best for: Sturdy flowers with low moisture content like lavender, roses, baby’s breath, statice, and globe thistle.
Step-by-Step Instructions:
- Prep Your Stems: Strip the leaves off the lower two-thirds of the stem. Leaves hold extra moisture and can slow down the drying process or encourage mold.
- Bundle Them Up: Gather 3-6 stems together. Don’t make the bundles too large, or the flowers in the center won’t get enough air.
- Secure: Tie the stems together with a rubber band. As the stems dry, they will shrink, and a rubber band will contract with them, keeping the bundle tight (unlike string, which might let them slip out).
- Hang: Find a dark, dry, well-ventilated spot (like a closet or attic). Hang the bundles upside down. Darkness is key to preventing the colors from fading too much.
- Wait: Let them hang for 2-4 weeks until the petals are crisp and papery.
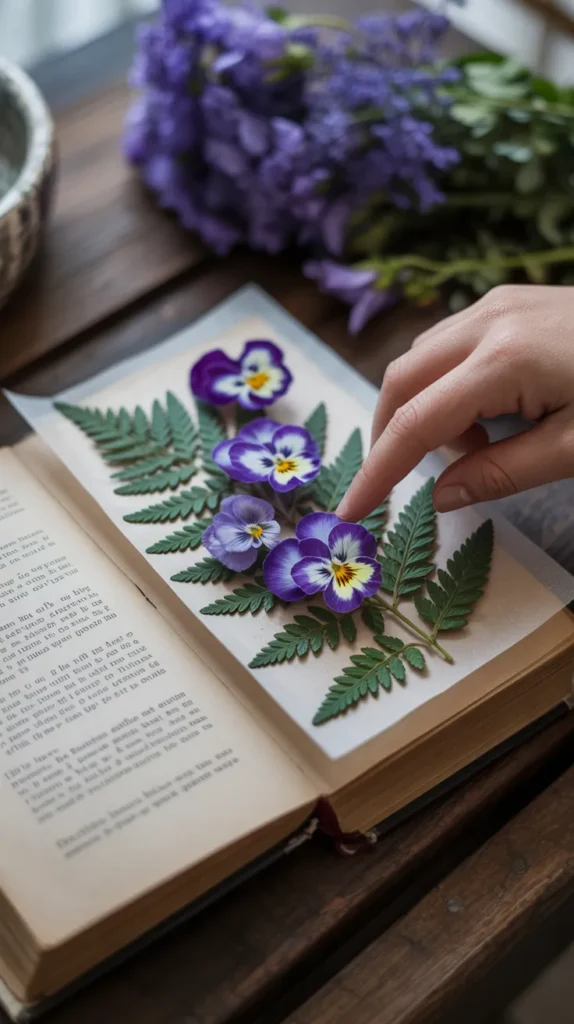
2. The Heavy Book Pressing Technique
If you want to create DIY dry flowers for framing, card making, or scrapbooking, pressing is the way to go. This method flattens the flower completely, turning it into a delicate, paper-thin specimen while preserving a surprising amount of color.
Best for: Flowers with flat faces or single layers of petals like pansies, violas, cosmos, ferns, and daisies.
Step-by-Step Instructions:
- Choose Your Book: Find a large, heavy book you don’t mind potentially wrinkling slightly (old phone books or encyclopedias are perfect).
- Create a Sandwich: Open the book and place a sheet of parchment paper or absorbent paper on the page. Arrange your flowers face down on the paper, ensuring they don’t overlap.
- Cover: Place another sheet of paper on top.
- Press: Close the book carefully. Place extra weights (like bricks or more books) on top.
- Patience: Leave the flowers undisturbed for 3-4 weeks. Checking too early can damage the delicate petals.
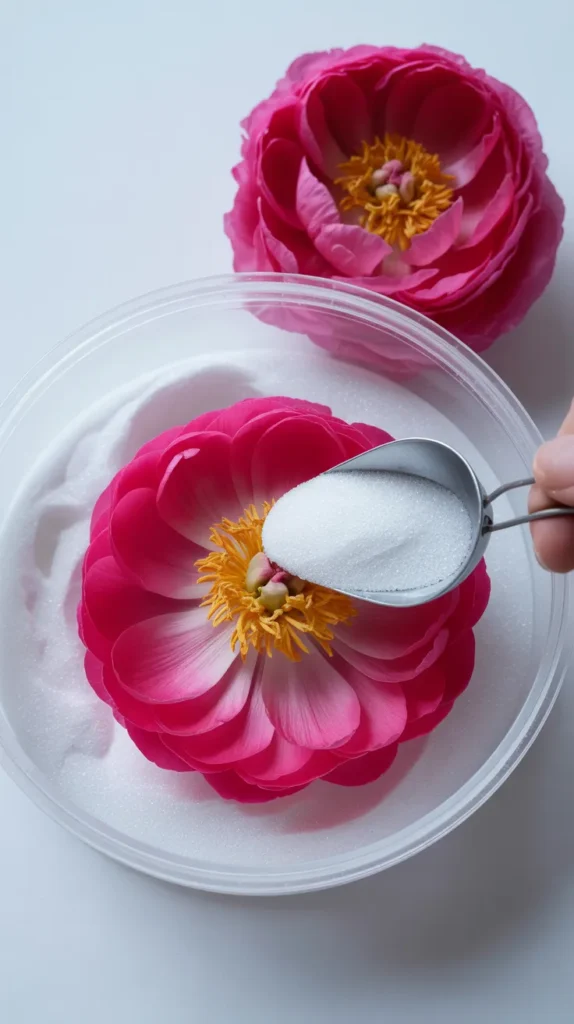
3. Silica Gel for Perfect 3D Blooms
For those who want their DIY dry flowers to look almost exactly like fresh ones—retaining their full 3D shape and vibrant color—silica gel is the secret weapon. It’s not actually a gel, but a sandy, granular substance that absorbs moisture rapidly.
Best for: Delicate, complex flowers like peonies, dahlias, zinnias, and ranunculus.
Step-by-Step Instructions:
- Get Your Supplies: You’ll need an airtight container and high-quality silica gel. {Activa Flower Drying Art Silica Gel} is a fantastic choice because its fine granules get in between delicate petals without crushing them, and it has color-indicating crystals that tell you when the gel is saturated.
- Pour a Base: Fill the bottom of your container with about an inch of silica gel.
- Nestle the Flower: Trim the stem short and place the flower face up on the gel.
- Bury Gently: Carefully pour more silica gel over the flower, making sure to get it in between all the petals, until it is completely covered.
- Seal and Wait: Seal the container and leave it for 3-7 days.
- Reveal: Gently pour out the gel to reveal your perfectly preserved flower.
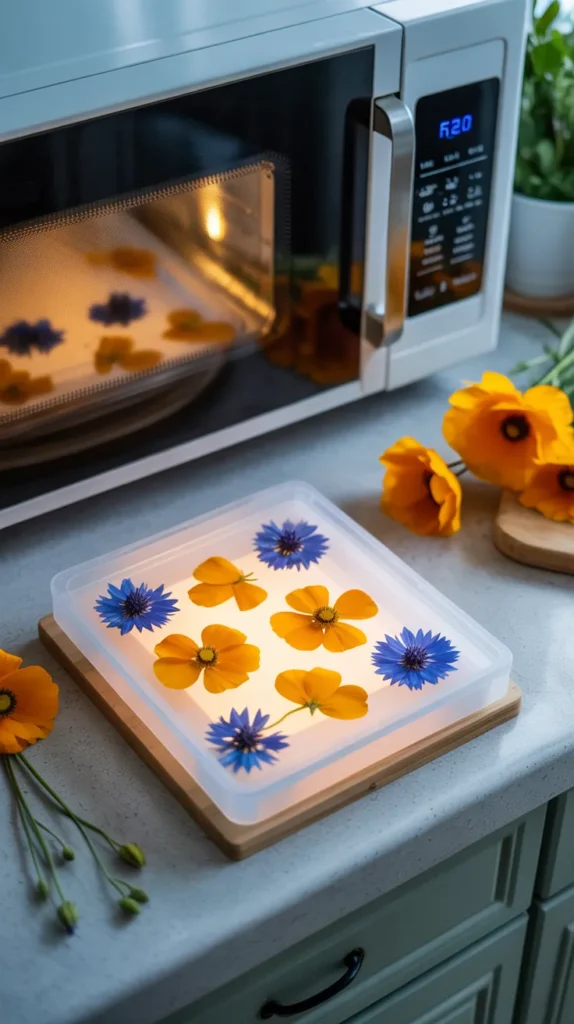
4. The Microwave Press Method
If patience isn’t your strong suit and you want DIY dry flowers in minutes rather than weeks, the microwave is your best friend. This method works similarly to book pressing but uses heat to speed up the drying process significantly.
Best for: Flat flowers like cosmos, poppies, and greenery.
Step-by-Step Instructions:
- Use a Press: While you can use ceramic tiles, a dedicated tool creates better results. The {Microfleur Max Microwave Flower Press} is designed specifically for this purpose, with vented plates that allow steam to escape, preventing the flowers from stewing and ensuring vibrant colors.
- Load the Press: Place your flowers between the fabric liners and wool pads of the press.
- Zap It: Microwave the press in short bursts (20-30 seconds at a time).
- Check: Open the press to let steam escape and check dryness. Repeat until the flowers are stiff and papery.
- Cool: Let them cool before using them in your crafts.
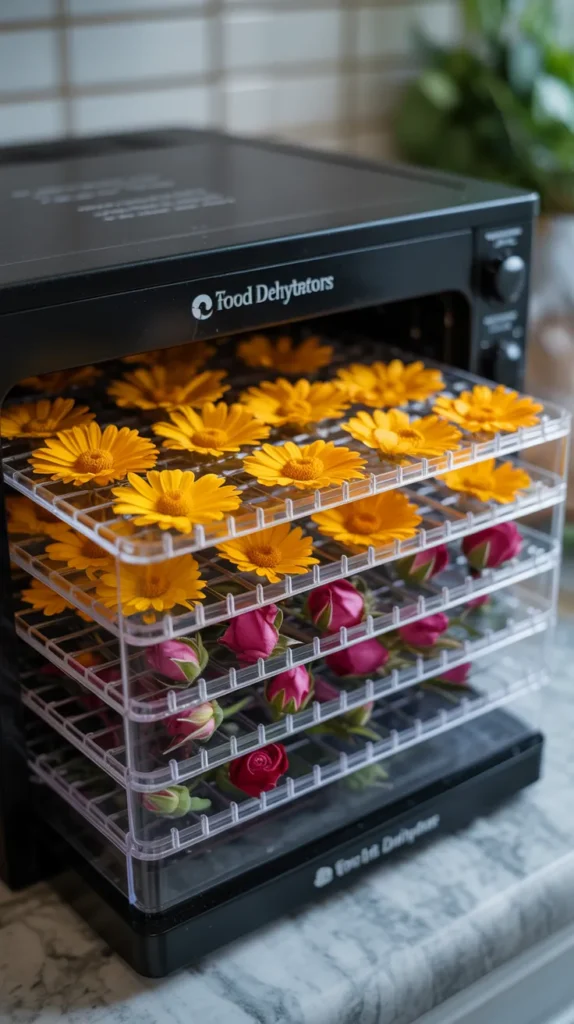
5. Dehydrator Drying for Bulk Batches
For gardeners with a surplus of blooms, a food dehydrator is an excellent tool for DIY dry flowers. It allows you to dry large quantities of flower heads quickly and evenly, with controlled temperature to prevent burning.
Best for: Flower heads for potpourri, confetti, or resin art (calendula, roses, sunflowers).
Step-by-Step Instructions:
- Prep: Cut the flower heads off the stems.
- Arrange: Place the flowers on the dehydrator trays in a single layer. Don’t let them touch. A machine like the {COSORI Food Dehydrator} works wonders here because of its adjustable temperature control, allowing you to use low heat (95°F-100°F) to preserve color without cooking the blooms.
- Dry: Run the dehydrator for several hours (usually 4-12 hours depending on the flower).
- Check: Flowers are done when they are completely crisp.
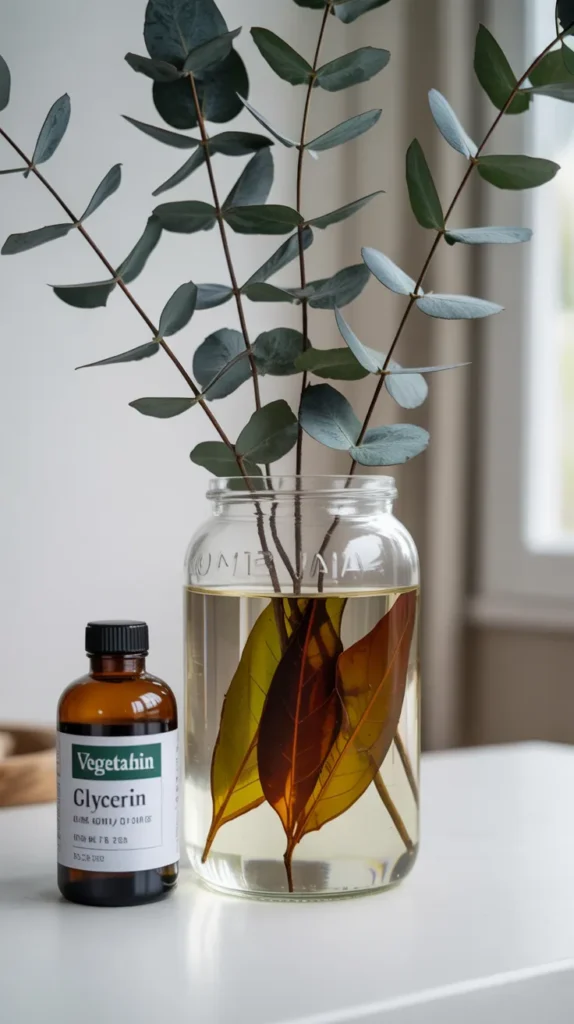
6. Glycerin Preservation for Foliage
Sometimes DIY dry flowers projects are really about the greenery. Glycerin preservation replaces the water in the plant cells with glycerin, keeping leaves soft, supple, and flexible indefinitely, rather than brittle and dry.
Best for: Eucalyptus, magnolia leaves, boxwood, and oak leaves.
Step-by-Step Instructions:
- Mix Solution: Mix one part vegetable glycerin with two parts boiling water. A pure option like {NOW Solutions Vegetable Glycerine} ensures the solution is effective and safe to use.
- Prepare Stems: Cut the ends of your branches at an angle and smash the bottom inch with a hammer to help absorption.
- Soak: Place the stems in a vase with the warm solution.
- Wait: Leave them for 2-6 weeks. You’ll know they are done when the leaves change color slightly (often turning golden or bronze) and feel soft and oily.
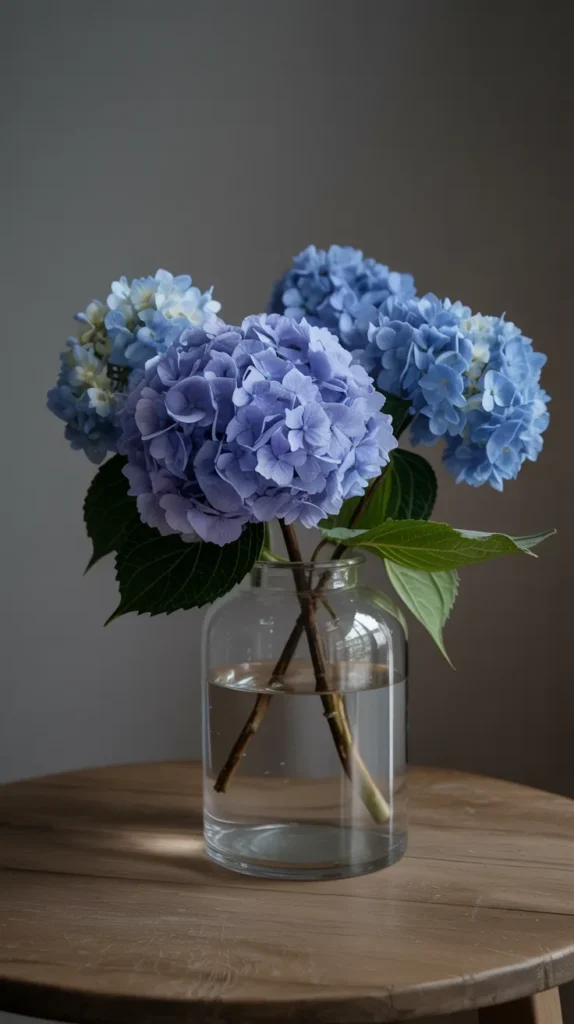
7. The Water Evaporation Method (Lazy Drying)
This sounds counterintuitive—drying flowers in water—but it is actually one of the best ways to dry hydrangeas for DIY dry flowers arrangements. It allows the flower to dry slowly, preventing it from wilting immediately.
Best for: Hydrangeas, baby’s breath, and heather.
Step-by-Step Instructions:
- Trim: Cut your stems to the desired length.
- Fill Vase: Put only an inch or two of water in a vase.
- Arrange: Place your flowers in the vase.
- Ignore: Place the vase in a spot out of direct sunlight and leave it alone. The water will evaporate, and the flowers will dry upright and fluffy over a couple of weeks. Do not add more water.
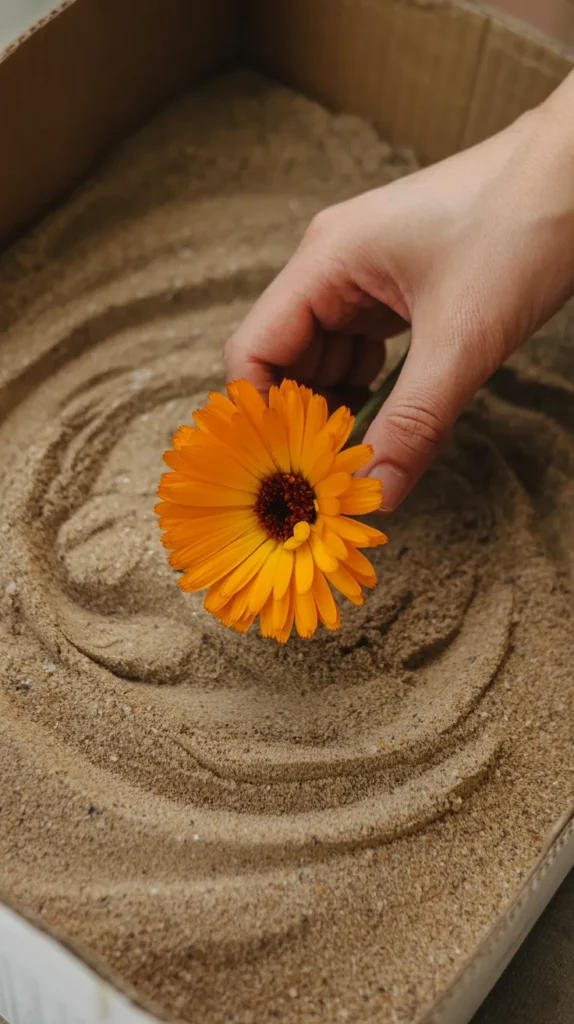
8. Sand Drying (The Budget Method)
Before silica gel was widely available, people used fine sand for DIY dry flowers. It takes longer than silica, but it works on the same principle of supporting the flower while it dries.
Best for: Sturdy flowers like zinnias and marigolds.
Step-by-Step Instructions:
- Prep Sand: Ensure your sand is completely clean and dry (you can bake play sand to sterilize it).
- Container: Fill a box with an inch of sand.
- Bury: Place your flowers face up and gently cover them with sand.
- Wait: Place the box in a warm, dry spot and leave it for 2-3 weeks.
- Clean: Gently pour off the sand. You may need a soft brush to remove grains from the petals.
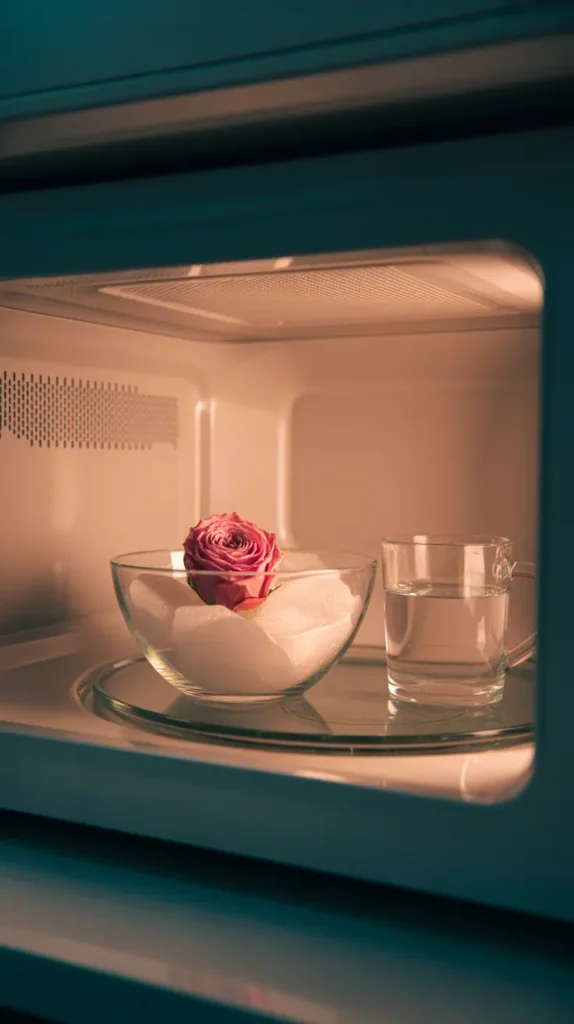
9. Microwave with Silica Gel (The Fast 3D Method)
Combine the speed of the microwave with the quality of silica gel for the ultimate DIY dry flowers hack. This allows you to dry 3D flowers in minutes instead of days.
Best for: Roses and carnations when you are in a hurry.
Step-by-Step Instructions:
- Container: Use a microwave-safe container. Fill with an inch of {Activa Flower Drying Art Silica Gel}.
- Place Flower: Place your flower in the silica and gently cover it completely.
- Add Water: Place a small cup of water in the microwave next to the container (this prevents burning).
- Zap: Microwave on medium heat for 1-2 minutes.
- Cool: Let the silica cool completely before removing the flower (it will be hot!).
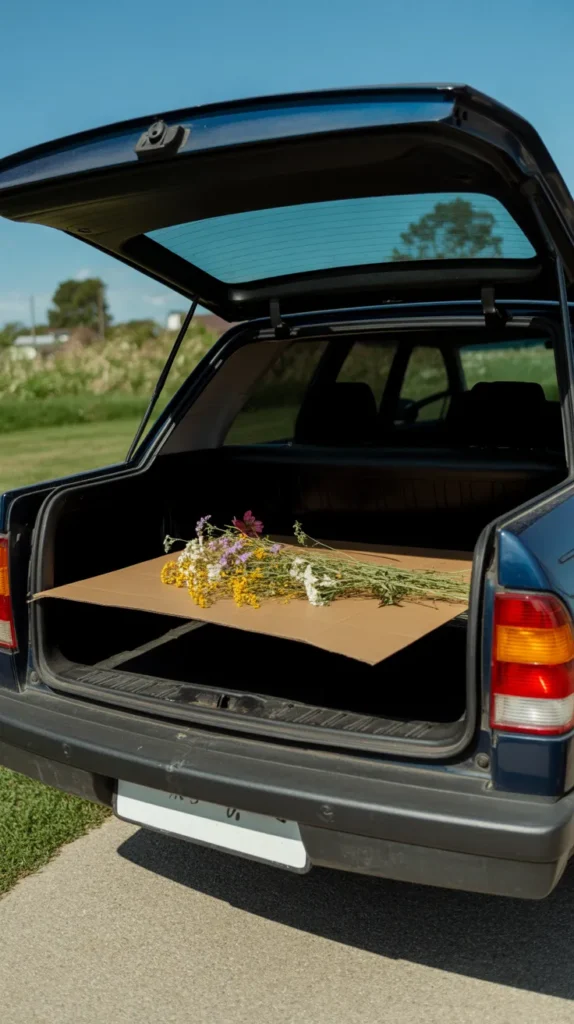
10. Trunk Drying (The Hot Car Hack)
If you live in a hot climate, your car can act as a giant dehydrator. This is a quirky but effective DIY dry flowers method for larger, robust blooms.
Best for: Large wildflowers and sturdy greenery.
Step-by-Step Instructions:
- Box It: Place your flowers loosely in a cardboard box (lid off).
- Park It: Park your car in the sun on a hot day.
- Wait: Leave the box in the trunk for 24-48 hours. The intense heat will dry the flowers very quickly, helping to preserve color.
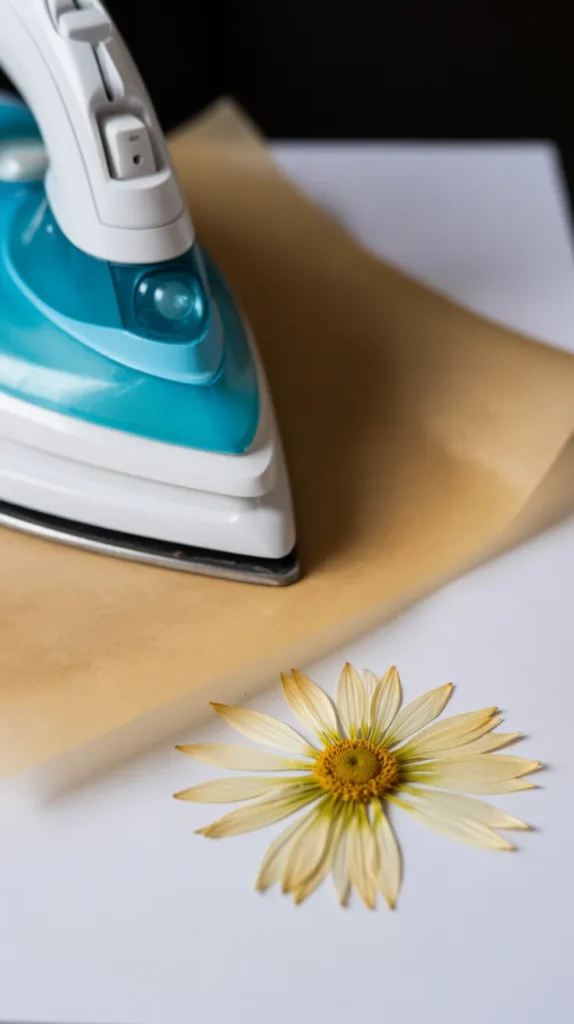
11. Ironing Flowers (Quick Pressing)
Need a pressed flower immediately for a card or craft? You can use a household iron for this fast DIY dry flowers technique.
Best for: Very thin petals and leaves.
Step-by-Step Instructions:
- Sandwich: Place your flower between two sheets of parchment paper.
- No Steam: Turn your iron to a low setting with NO steam.
- Press: Press the iron down on the paper for 10-15 seconds. Lift and let cool.
- Repeat: Repeat until the flower is stiff and dry.
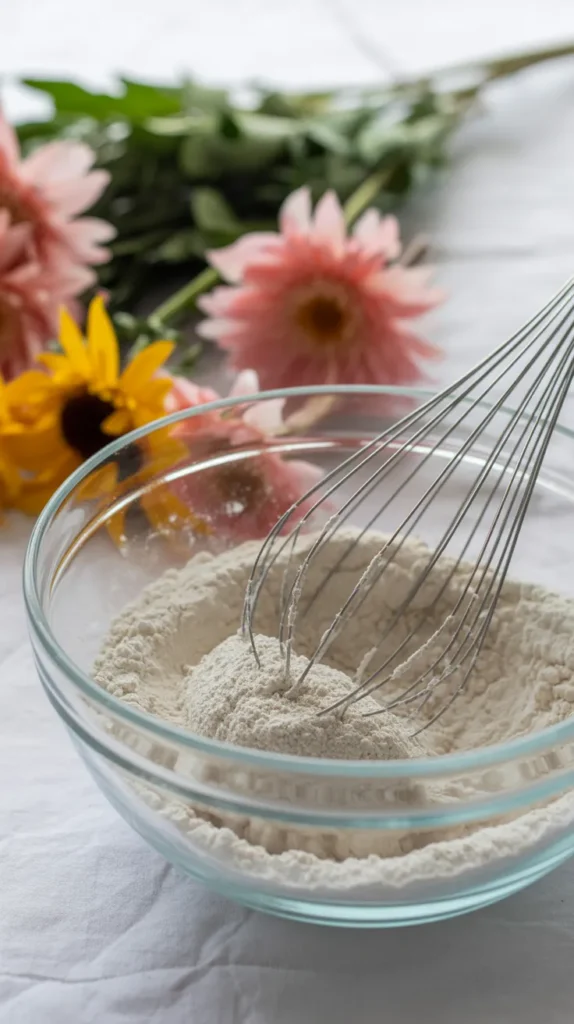
12. Borax and Cornmeal Mix
This is an old-school recipe for DIY dry flowers that mimics silica gel using household ingredients.
Best for: Drying flowers on a budget when you don’t need absolute perfection.
Step-by-Step Instructions:
- Mix: Combine equal parts Borax and cornmeal. {20 Mule Team Borax} is the classic choice for this; it acts as a desiccant while the cornmeal adds bulk to support the petals.
- Bury: Use the mixture just like you would silica gel or sand—bury the flowers in an open box.
- Wait: Let them sit for about 2 weeks.
- Clean: Brush off the powder gently.
Your DIY Dry Flowers Toolkit
Having the right tools can make the difference between a brown, crumbled mess and a vibrant, lasting keepsake. Here is a summary of the helpful products mentioned in this guide.
| Product Name | Brand | Best Use |
|---|---|---|
| Flower Drying Art Silica Gel | Activa | The gold standard for preserving 3D flowers like roses and peonies with vibrant color. |
| Max Microwave Flower Press | Microfleur | Essential for creating perfectly pressed, colorful flowers in minutes. |
| Food Dehydrator | COSORI | Perfect for drying large batches of flower heads for potpourri or confetti with precise heat. |
| Vegetable Glycerine | NOW Solutions | The secret to keeping eucalyptus and other foliage soft and flexible forever. |
| 20 Mule Team Borax | 20 Mule Team | An affordable household ingredient for traditional flower drying mixtures. |
Conclusion: Start Your Preservation Journey
Preserving flowers is more than just a craft; it is a way to freeze time. By mastering these DIY dry flowers techniques, you can keep the memory of a special day alive, decorate your home with sustainable beauty, or simply enjoy the therapeutic process of working with nature.
Don’t be afraid to experiment! Start with a simple hanging bundle of lavender or press a few pansies in a book. As you gain confidence, try your hand at silica gel or microwave drying. You’ll soon discover which methods work best for your favorite blooms.
The garden may fade, but your flowers don’t have to. Which of these beautiful methods will you try first? Grab some blooms and get started today