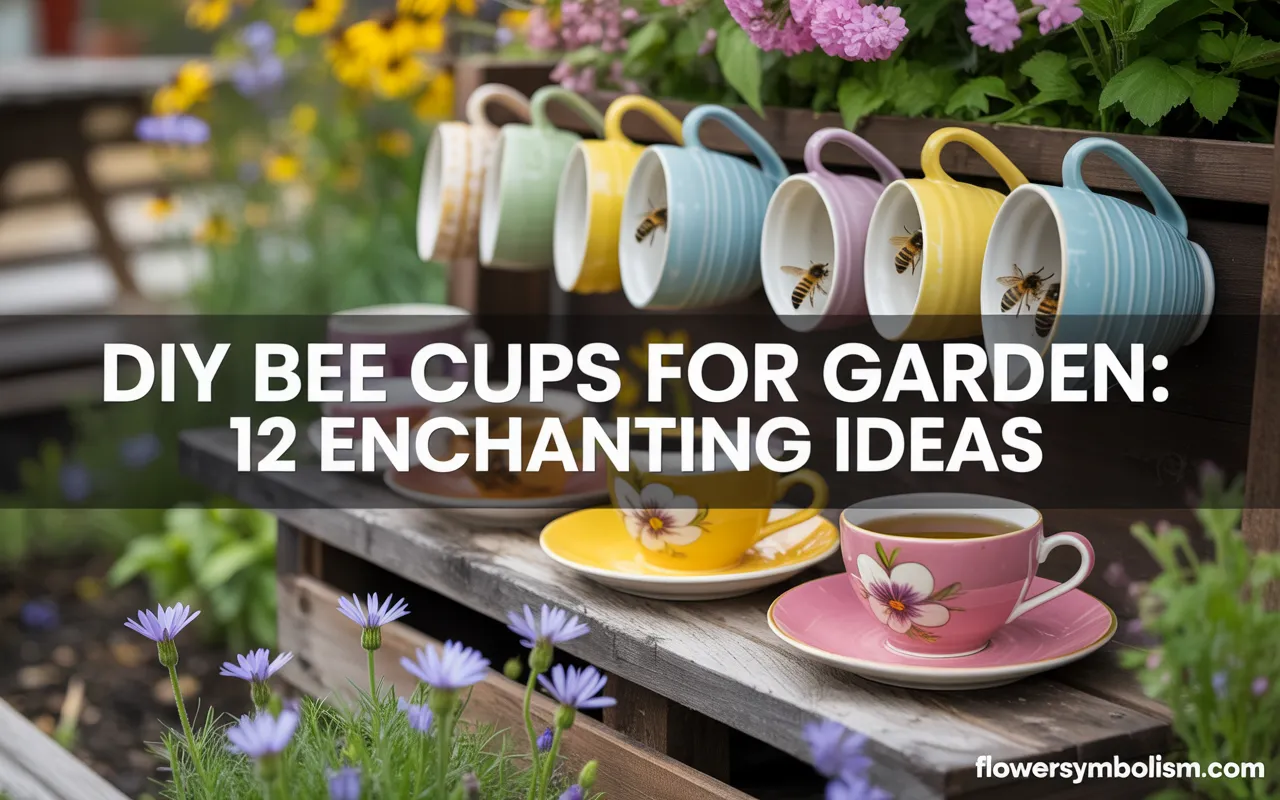
Have you ever stopped to think that the bees buzzing around your beautiful flowers might be thirsty? Just like any living creature, bees need water to survive, especially on hot summer days.
Providing a safe water source is a simple, kind, and incredibly helpful gesture. This is where making your own DIY bee cups for garden comes in—a fun project that offers a huge benefit to our pollinator friends.
This guide is filled with 12 enchanting and easy ideas to create your own DIY bee cups for garden. You don’t need to be a crafting expert to make these.
We’ll cover everything from simple, upcycled solutions to creative projects that double as garden art. Let’s get started and add a charming, life-saving feature to your pollinator paradise.
Why Your Garden Needs DIY Bee Cups
Before we jump into the fun projects, it’s helpful to understand why a simple water source is so important for bees. They use water for several crucial tasks:
- Staying Hydrated: Bees work hard and need water to drink, just like us.
- Air Conditioning: On hot days, they bring water back to the hive and fan their wings over it to create evaporative cooling, which protects the brood.
- Making Food: They use water to dilute thick, crystallized honey so it’s edible for the colony.
Standard birdbaths or puddles can be too deep, posing a drowning risk. Your DIY bee cups for garden will provide a shallow, safe place for them to land and drink. The key is always to provide “landing pads” like stones, marbles, or twigs.
Now, let’s get creative with these 12 enchanting ideas!
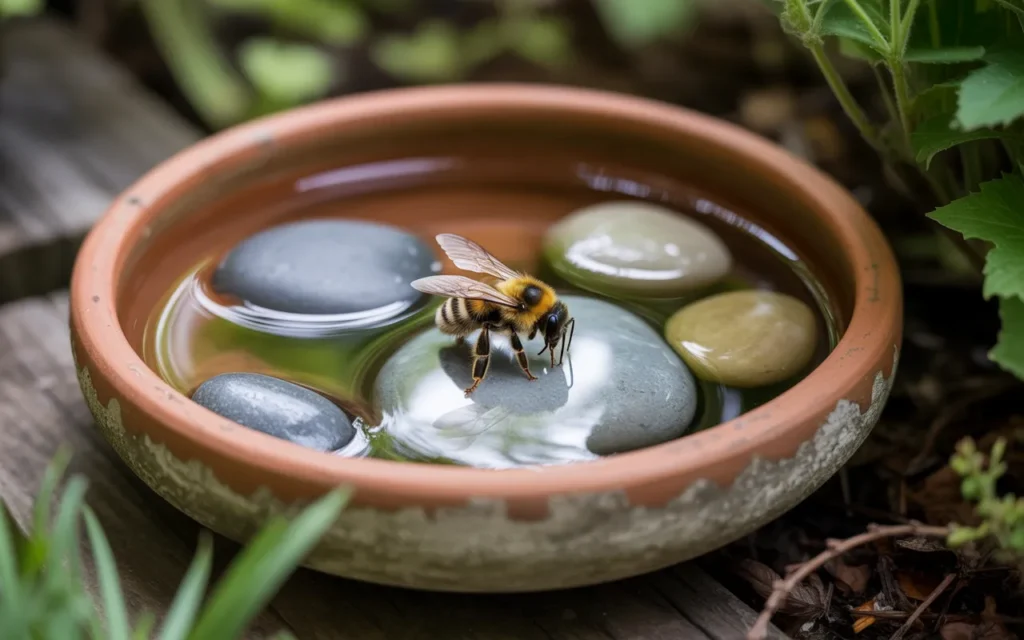
1. The Classic Terracotta Saucer
This is one of the easiest and most timeless DIY bee cups for garden. A simple terracotta plant saucer is inexpensive and blends beautifully into any garden setting. Its shallow depth is perfect for pollinators.
How to make it:
- Start with a clean terracotta saucer of any size.
- Fill the bottom with a layer of small pebbles, colorful river rocks, or glass marbles. These will be the bees’ landing pads.
- Add just enough fresh water so that the tops of the pebbles or marbles remain dry.
To keep it fresh and inviting, you can easily scrub it clean every few days with a good brush like the {OXO Good Grips Dish Brush}.
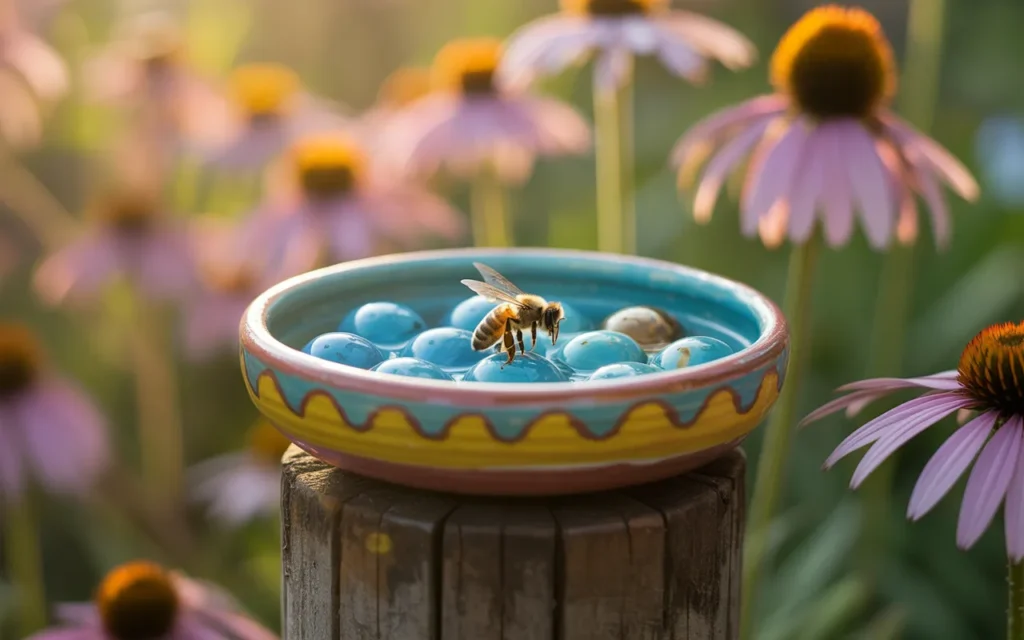
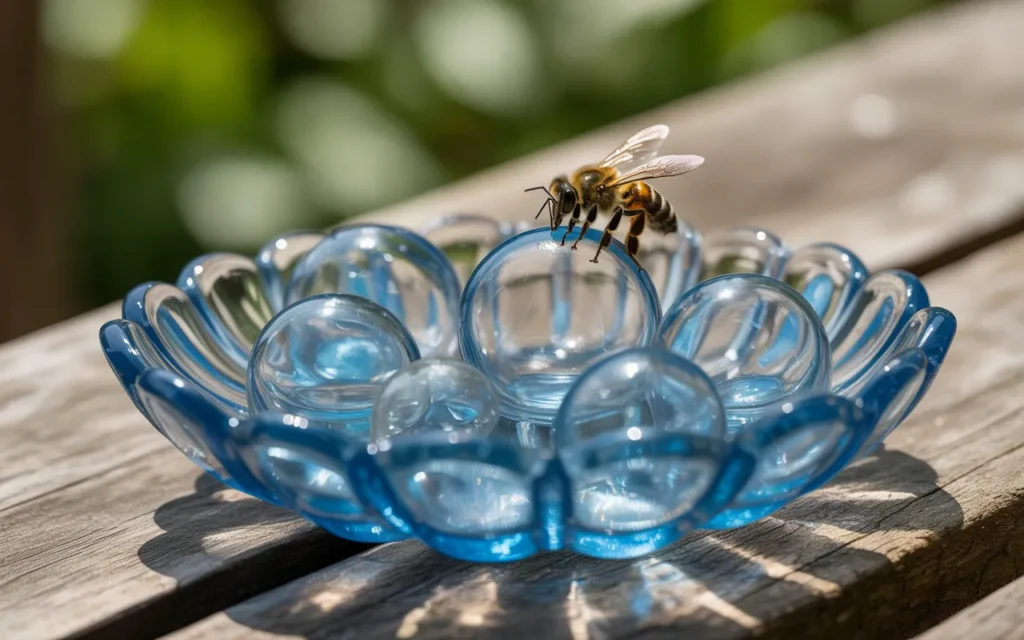
2. The Upcycled Glass Dish
Give a beautiful old dish a new purpose. A colorful candy dish, a vintage glass ashtray, or a small, ornate bowl from a thrift store can be repurposed into a sparkling bee cup.
How to make it:
- Choose a shallow glass dish that catches your eye.
- Fill it with vibrant glass gems, sea glass, or clear marbles. These will catch the sunlight and attract bees.
- Add water, leaving the tops of the gems exposed.
This is a wonderful way to add a pop of color and personality to your garden while helping the bees.
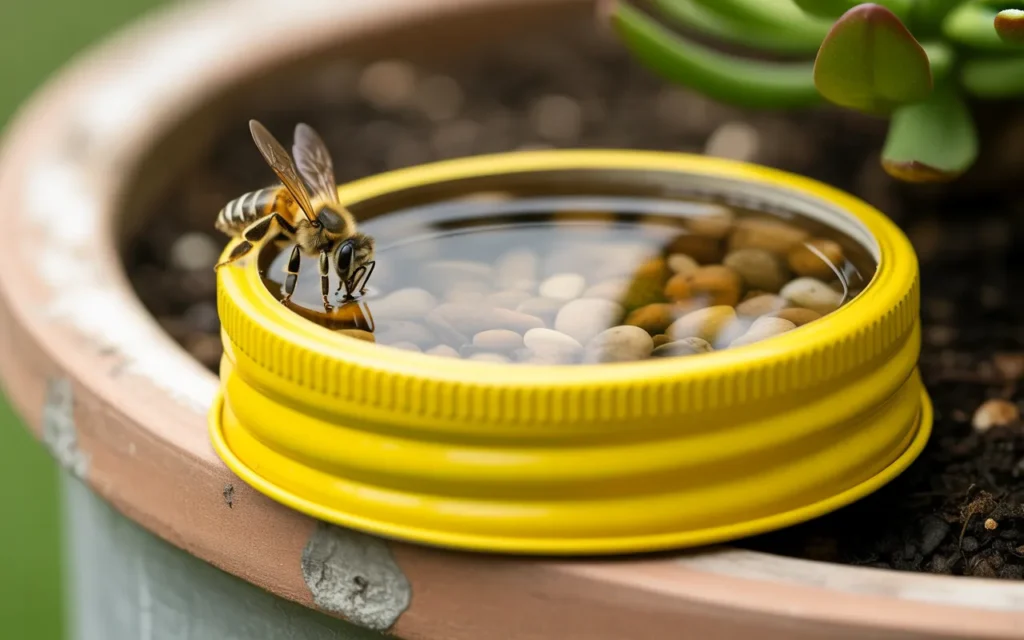
3. The Repurposed Jar Lid Station
Don’t toss those metal or plastic jar lids! This is one of the simplest DIY bee cups for garden and a great way to upcycle. The small size is perfect for tucking into container pots or placing on a patio railing.
How to make it:
- Collect a few clean jar lids of various sizes.
- Place a few small pebbles, beads, or even a bit of moss inside.
- Carefully add a few drops of water.
You can create a whole collection of these tiny watering holes and scatter them throughout your garden.
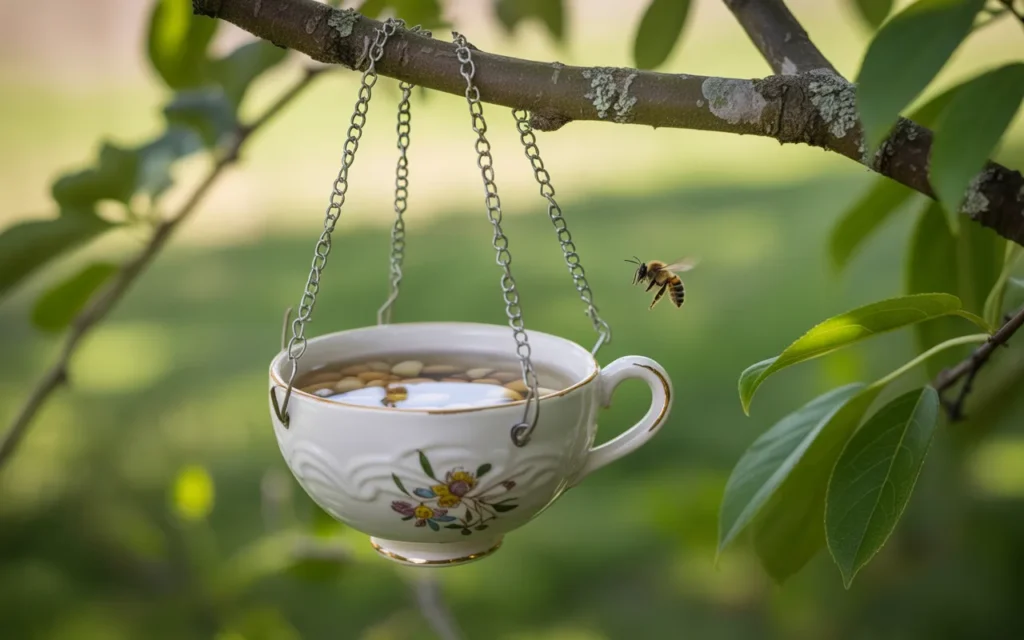
4. The Hanging Teacup Waterer
For a touch of whimsy, turn a vintage teacup into a hanging bee waterer. This is perfect if ground space is limited or you want to keep it away from curious pets.
How to make it:
- Find a charming teacup and saucer at a thrift store.
- Use a strong, waterproof adhesive like {Gorilla Waterproof Caulk & Seal} to glue the cup to the saucer.
- Once dry, tie sturdy twine or delicate chains around the handle to create a hanger. You can even create a beautiful holder using a product like {Mandala Crafts Macrame Cord}.
- Fill the cup with small stones and water.
Hang it from a tree branch or a shepherd’s hook for a delightful garden accent.
5. The Self-Filling Wine Bottle Waterer
This clever DIY bee cups for garden project provides a continuous supply of fresh water, so you don’t have to refill it as often.
How to make it:
- Start with an empty wine bottle. Removing the label is easy with a product like {Goo Gone Original Liquid}.
- Fill a terracotta saucer with pebbles or glass gems.
- Fill the wine bottle completely with water.
- Working quickly over a sink or lawn, place the saucer on top of the bottle opening and flip the entire assembly over. The water will fill the saucer and stop at the bottle’s rim, automatically refilling as bees drink.

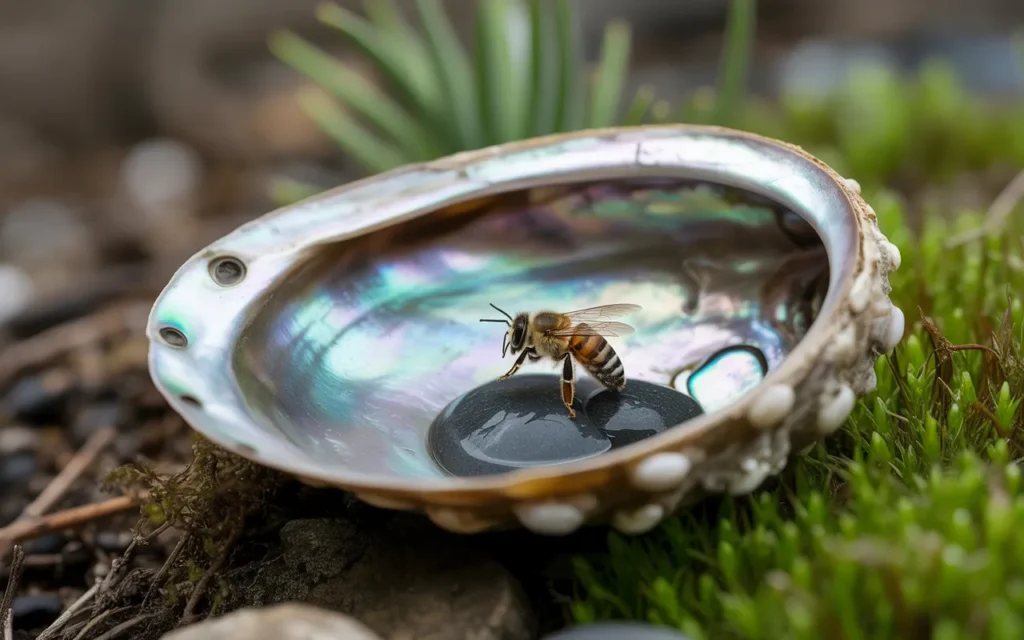
6. The Natural Seashell Bee Bath
Bring a touch of the coast to your garden by using large seashells. The natural, curved shape of a large scallop or clam shell makes a perfect, shallow basin for a bee cup.
How to make it:
- Select a few large, clean seashells.
- Place them in your garden beds, on a patio table, or inside a large container pot.
- Add a few tiny pebbles or a pinch of sand to the bottom, then fill with a small amount of water.
Their iridescent interiors will shimmer beautifully in the sun, creating an attractive and organic look.
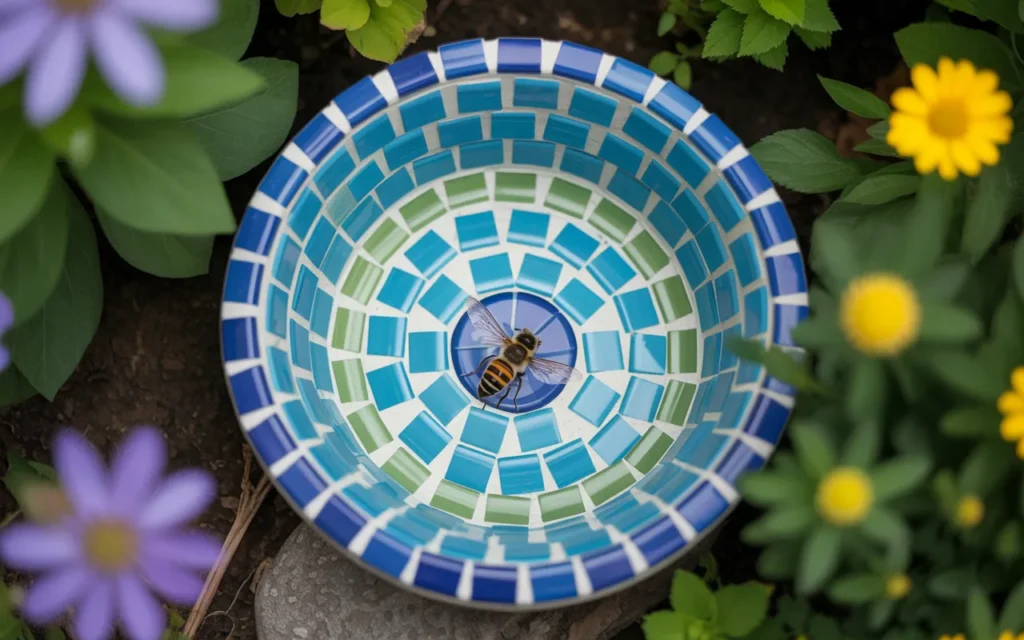
7. The Colorful Mosaic Dish
Unleash your artistic side with this fun project. You can turn any plain dish into a work of art that also serves thirsty bees.
How to make it:
- Start with a plain terracotta saucer or a shallow ceramic bowl.
- Carefully break up old, colorful tiles, plates, or sea glass into small pieces.
- Glue the pieces to the inside of the dish in a pattern you like, leaving small gaps between them. Use a waterproof adhesive.
- Once dry, apply grout to fill in the gaps, wiping the excess off the tiles.
- After the grout cures, your custom mosaic bee cup is ready to be filled with water. The textured surface is perfect for bees to grip.
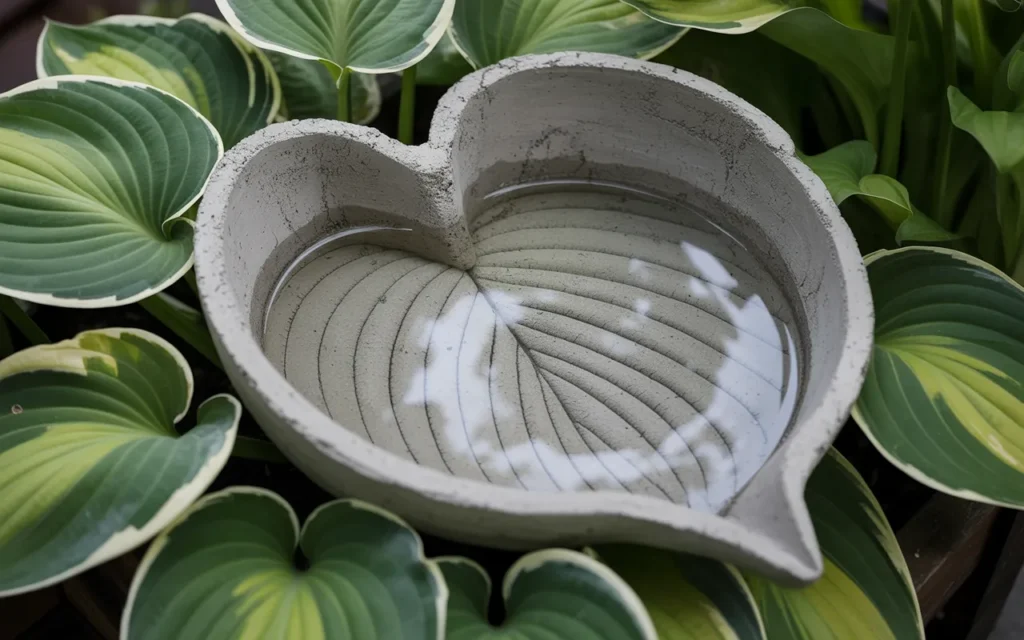
8. The Leaf-Imprinted Concrete Bowl
This DIY bee cups for garden project creates a gorgeous, natural-looking bowl with the imprint of a real leaf. It’s a sturdy and beautiful addition to any garden.
How to make it:
- Find a large leaf with prominent veins, like one from a hosta or rhubarb plant.
- Make a mound of damp sand to act as a mold, and press the leaf, vein-side up, onto the sand.
- Mix a small batch of quick-setting concrete. Be sure to wear protective gloves, like the {DEX FIT Nitrile Work Gloves}.
- Spread the concrete over the leaf, about an inch thick. Let it cure completely.
- Once set, remove the bowl and peel away the leaf to reveal the beautiful texture.
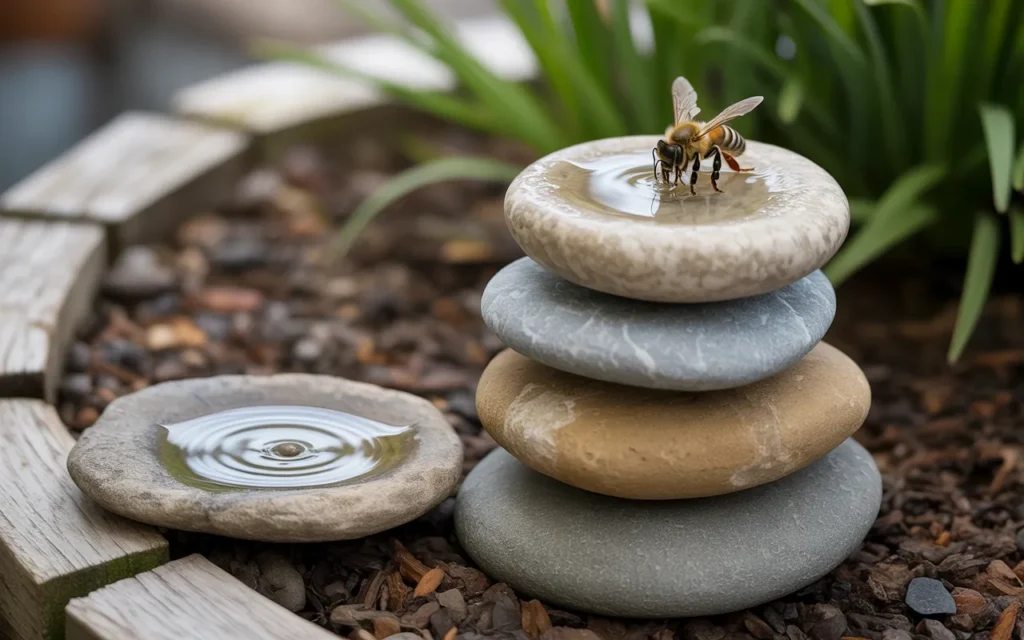
9. The Stacked Rock Cairn with Pools
Create a piece of garden art that doubles as a multi-level bee watering station. A small, stacked rock cairn is a beautiful and serene feature.
How to make it:
- Collect several flat rocks of varying sizes.
- On a few of the rocks, use waterproof adhesive to glue a small “dam” or ring of tiny pebbles to create a shallow basin.
- Stack the rocks artfully, ensuring the structure is stable.
- Fill the little pools with water. This creates several small drinking spots that can serve many bees at once.
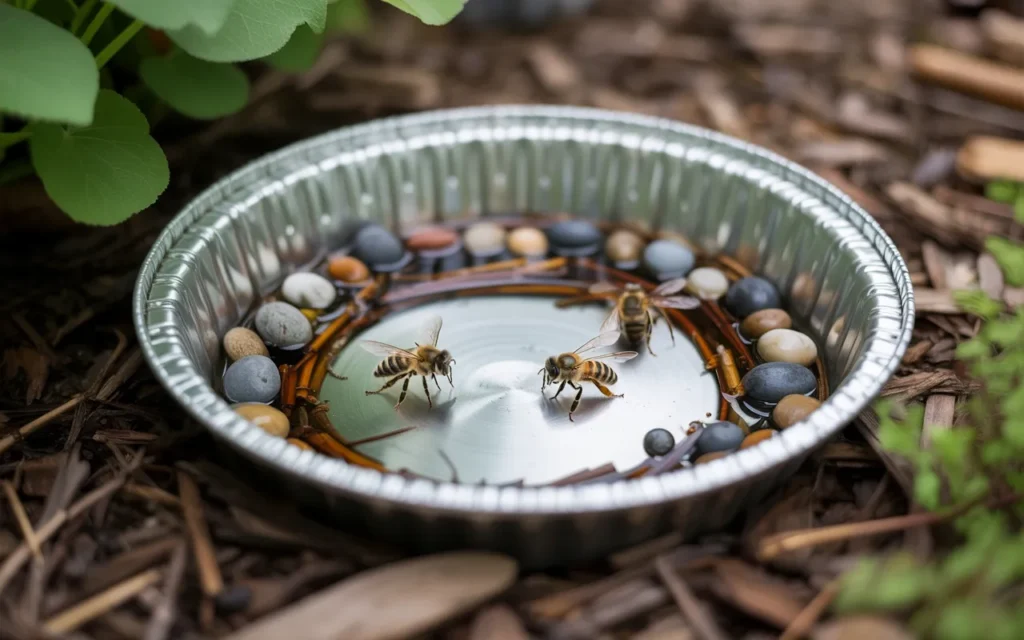
10. The Simple Pie Tin Waterer
You don’t need anything fancy to help the bees. This is a wonderfully simple and budget-friendly idea that works just as well as any other.
How to make it:
- Take a clean, aluminum pie tin.
- To make it more stable, you can press it slightly into the soil or mulch in your garden bed.
- Fill it with plenty of rocks, corks, or twigs so the bees have lots of places to land safely.
- Add water and you’re done!
This proves that making DIY bee cups for garden doesn’t have to be complicated or expensive.
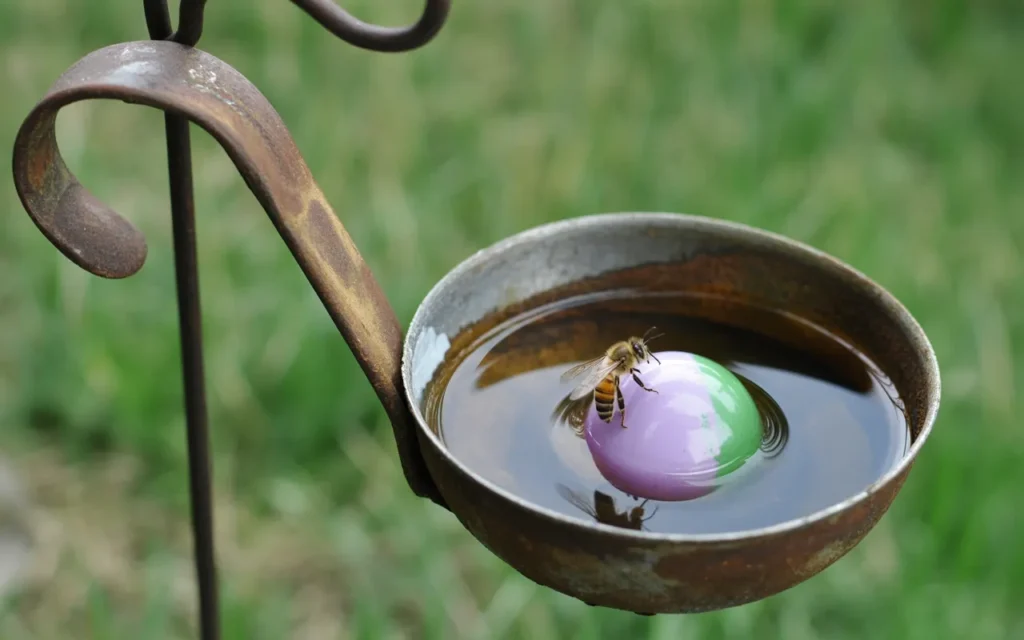
11. The Upcycled Soup Ladle
An old metal soup ladle can be repurposed into a quirky and charming hanging bee cup. Its small, cupped shape is the perfect size.
How to make it:
- Find an old ladle at a thrift store or flea market.
- Drill a small hole in the end of the handle for hanging.
- Fill the cup of the ladle with tiny pebbles or a single large marble.
- Hang it from a low tree branch or a fence post and fill it with water.
This unique idea is sure to be a conversation starter.
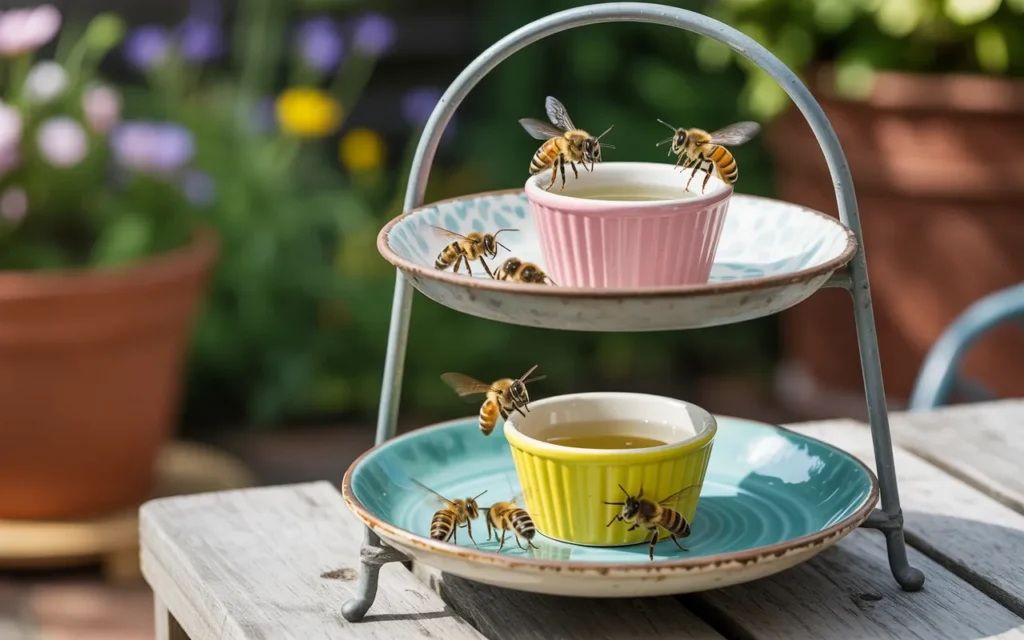
12. The Tiered Dessert Stand Station
Repurpose a vintage cupcake or dessert stand to create an elegant, multi-level bee watering station. This is a great way to offer several different options for pollinators.
How to make it:
- Find a two or three-tiered dessert stand.
- Place a small, shallow dish on each tier. You can use teacup saucers, jar lids, or small bowls.
- Fill each dish with different landing materials—one with pebbles, one with sea glass, one with moss—and add water.
This creates a beautiful, decorative feature that is also a bee-serving oasis.
Product Recommendations for Your DIY Projects
Here is a quick summary of the helpful tools and products mentioned to help you create the perfect DIY bee cups for garden.
| Product Name | Brand | Use for Your Project |
|---|---|---|
| Good Grips Dish Brush | OXO | Keeps your bee cups clean and free of algae. |
| Waterproof Caulk & Seal | Gorilla | Strong, waterproof adhesive for teacups and mosaic projects. |
| Macrame Cord | Mandala Crafts | Create your own stylish hangers for suspended bee cups. |
| Goo Gone Original Liquid | Goo Gone | Easily removes sticky labels from bottles for the self-waterer. |
| Nitrile Work Gloves | DEX FIT | Protects your hands during concrete and other messy projects. |
A Small Project with a Big Impact
Creating DIY bee cups for garden is a small, simple act of kindness that has a big impact on your local ecosystem. By providing a safe and reliable water source, you are creating a more complete and welcoming habitat for bees and other pollinators.
Choose an idea that inspires you, whether it’s a 5-minute upcycle or a more involved weekend project. Remember to change the water every couple of days to keep it fresh. Your efforts will be rewarded with the happy buzzing of hydrated bees and a garden that is even more full of life.