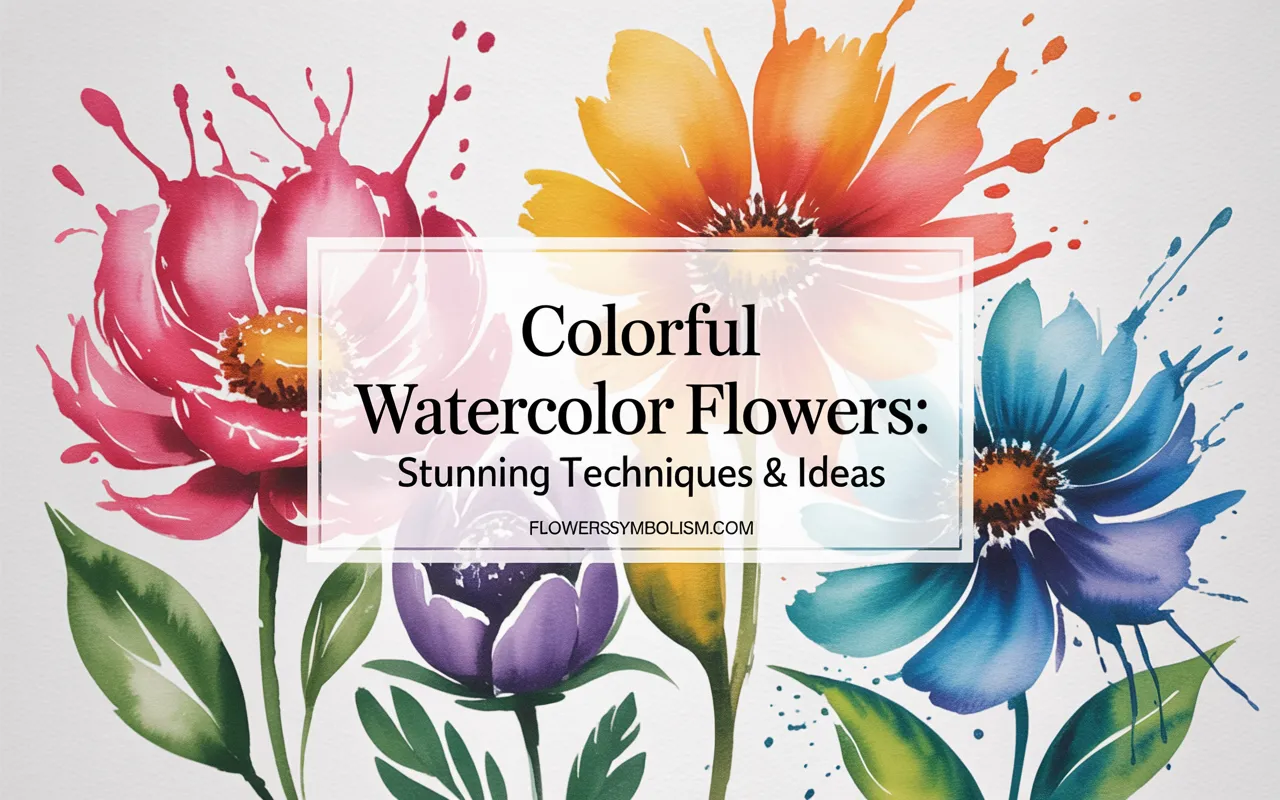
There’s something magical about watching watercolor pigments bloom on paper. The way colors bleed and blend creates a soft, luminous effect that seems to capture the very essence of a flower.
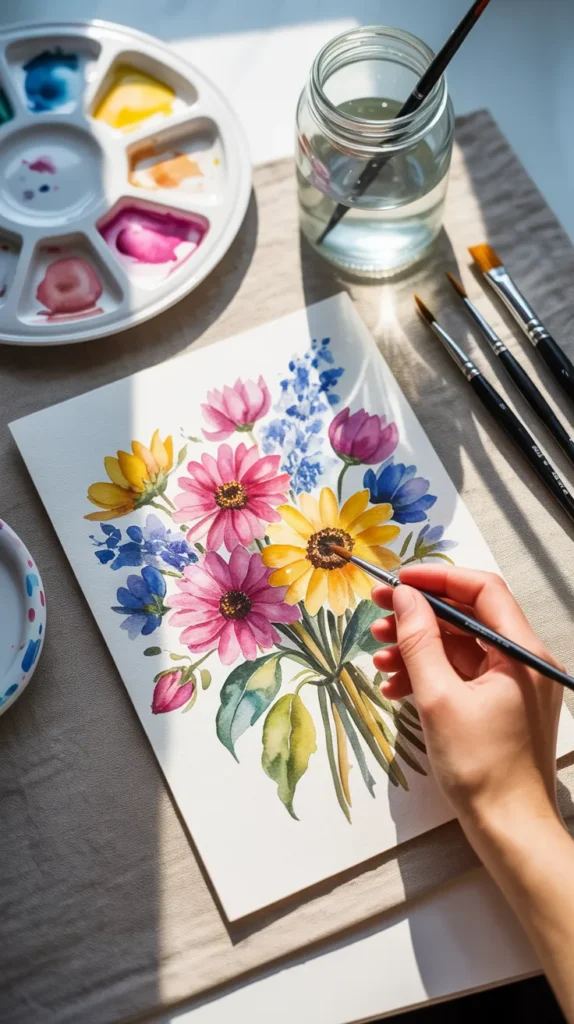
Painting colorful watercolor flowers is a beautiful and meditative art form that allows you to create vibrant, expressive artwork, whether you’re a complete beginner or an experienced painter.
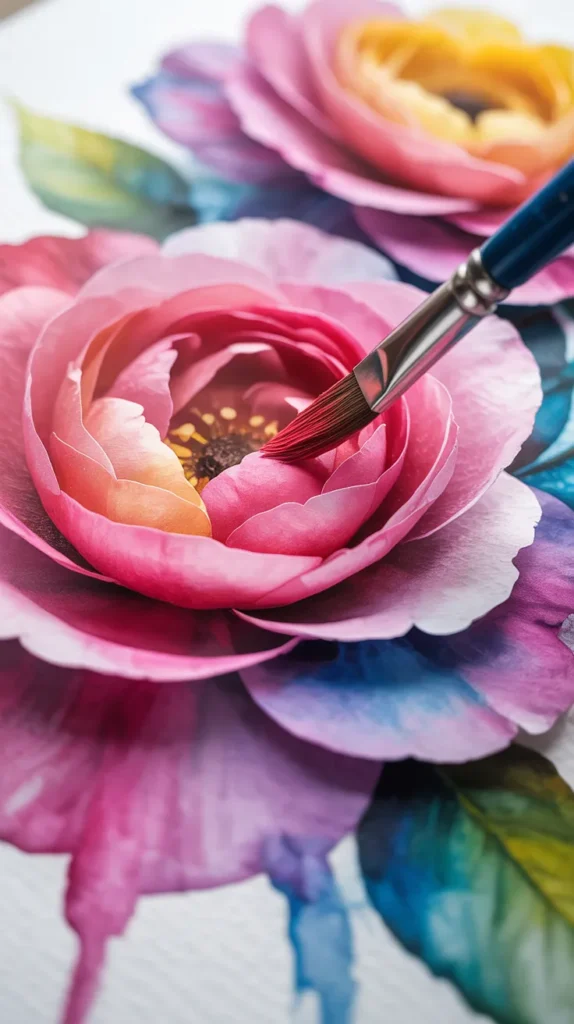
The beauty of watercolor is its unpredictability. It dances with water, creating happy accidents and unique textures that are impossible to replicate exactly.
This makes it the perfect medium for capturing the delicate, organic nature of petals and leaves.
You don’t need to be a master of realism to create something truly stunning; it’s all about embracing the flow and letting the colors tell the story.
This guide is your personal workshop for diving into the delightful world of floral watercolors.
We’ll explore 12 stunning ideas and techniques that will help you paint everything from loose, abstract roses to detailed botanical illustrations.
We’ll also cover the essential supplies you’ll need to get started and share tips to help you build your skills and confidence. Let’s dip our brushes in and start painting a garden of our own!
1. The Wet-on-Wet Abstract Rose
This is the perfect first project for any beginner. The wet-on-wet technique is all about letting the water do the work, creating soft, blended shapes that beautifully suggest the form of a rose.
It’s a forgiving and fun way to start painting colorful watercolor flowers without worrying about perfect lines.
How to do it:
Start by painting a loose, slightly messy circle on your paper using only clean water.
Then, load your brush with a nice pink or red pigment and touch the tip of the brush to the wet paper. Watch as the color blooms and spreads.
Add a second, darker shade of the same color towards the center to create depth.
While it’s still wet, you can use the tip of your brush to pull some of the pigment outwards, suggesting the shape of petals. The key is to work quickly and not overthink it!
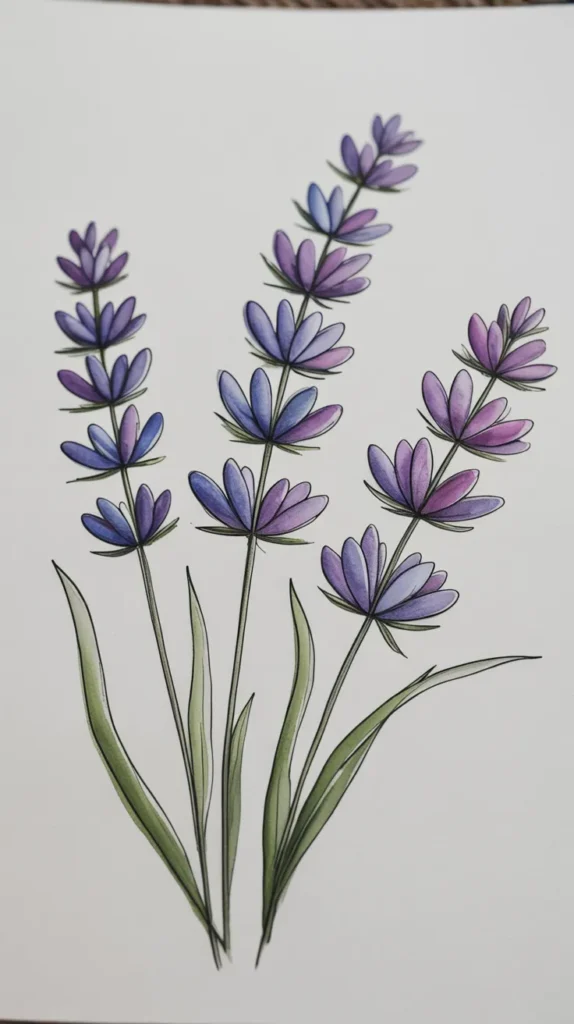
2. Delicate Lavender Sprigs with Fine Liners
Lavender is known for its delicate, graceful shape, and this project combines the softness of watercolor with the precision of a fine liner pen.
This mixed-media approach is fantastic for creating detailed botanical illustrations and is a great way to add structure to your paintings of colorful watercolor flowers.
First, paint the lavender sprigs. Use a light purple watercolor and a small round brush to dab on small, oval shapes clustered around a central line.
Vary the pressure on your brush to create buds of different sizes. Let the watercolor dry completely. Once it’s dry, take a waterproof fine liner pen, like the {Sakura Pigma Micron Pen Set}, and draw in the thin stems.
You can also add small, sketchy lines around the purple buds to define their shape and add a touch of illustrative detail.
The crisp black lines against the soft purple wash create a beautiful, professional-looking contrast.
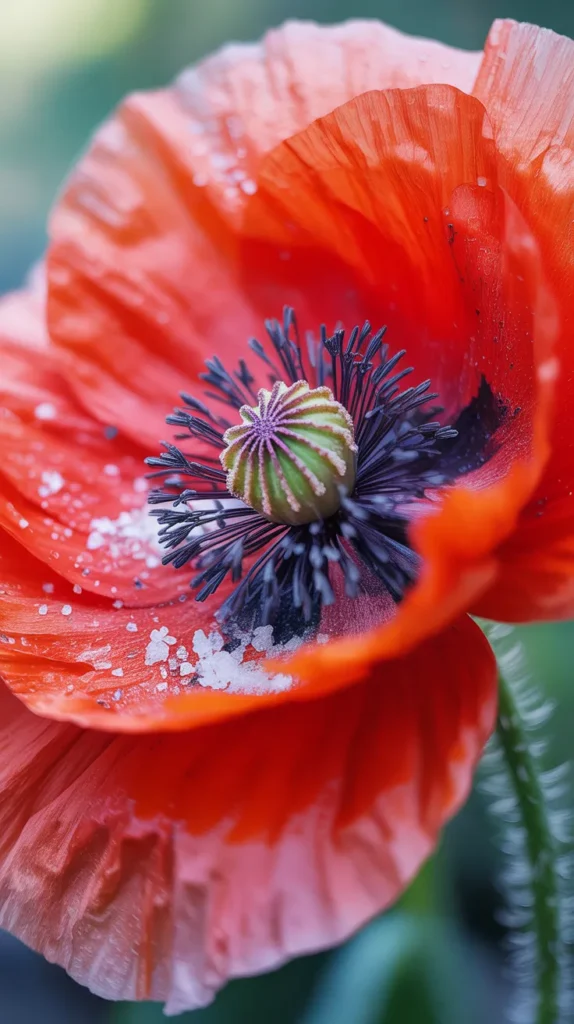
3. Creating a Poppy Field with Salt Texture
Poppies are beloved for their vibrant, paper-thin petals. This project not only captures their brilliant color but also uses a fun and simple trick—table salt!—to create incredible texture.
Adding texture is a fantastic way to add interest and a unique touch to your paintings of colorful watercolor flowers.
Paint your poppy shapes using a bright red or orange watercolor. While the paint is still very wet, sprinkle a pinch of regular table salt over the petals.
As the paint dries, the salt crystals will push the pigment away, creating tiny, starburst-like patterns that look like the delicate veins and textures on a real poppy petal.
Once the painting is completely dry, you can gently brush the salt off. Finish by painting the black centers and green stems.
4. The Negative Painting Technique for White Flowers
How do you paint a white flower on white paper? The answer is “negative painting.” This advanced-sounding technique is actually quite simple: you paint the space around the flower, letting the white of the paper become the petals. It’s a powerful method for creating dramatic and luminous colorful watercolor flowers.
Lightly sketch the outline of your white flower, like a daisy or a cosmos. Then, mix up some background colors—blues, greens, or purples work well.
Carefully paint around your sketched flower, filling in the background.
You can drop in different colors while the background is still wet to create a beautiful, blended effect. The result is a vibrant background that makes the “white” flower pop forward.

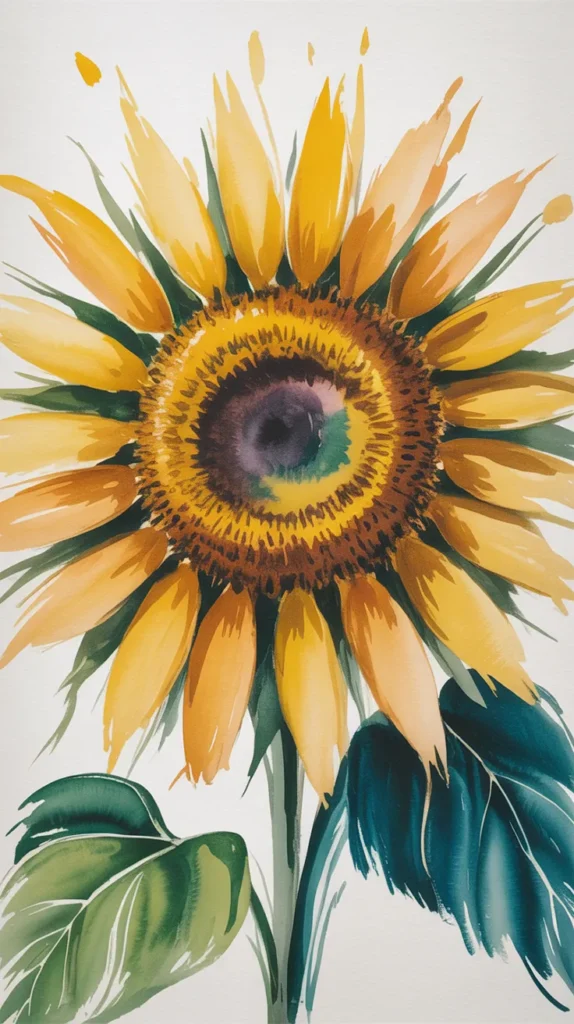
5. Loose, Expressive Sunflowers
Sunflowers are all about bold, happy energy. This project encourages you to be loose and expressive with your brushstrokes, focusing on capturing the feeling of a sunflower rather than painting every single petal perfectly. It’s a joyful and freeing way to paint colorful watercolor flowers.
Start with the center. Use a dark brown and dab it on in a circular shape, letting the edges be a little messy. For the petals, load your brush with a vibrant yellow. Starting from the center and moving outwards, make quick, confident strokes.
Let the strokes be varied in length and shape. You can even drop in a little orange or red near the center while the yellow is still wet to add warmth and depth.
The goal is movement and energy, not perfection. For this technique, a high-quality watercolor paper that can handle a lot of water and pigment is crucial.
The {Arches Cold Press Watercolor Pad} is a favorite among artists because its 100% cotton fiber prevents buckling and allows for beautiful, even washes, which is essential for these bold, wet strokes.
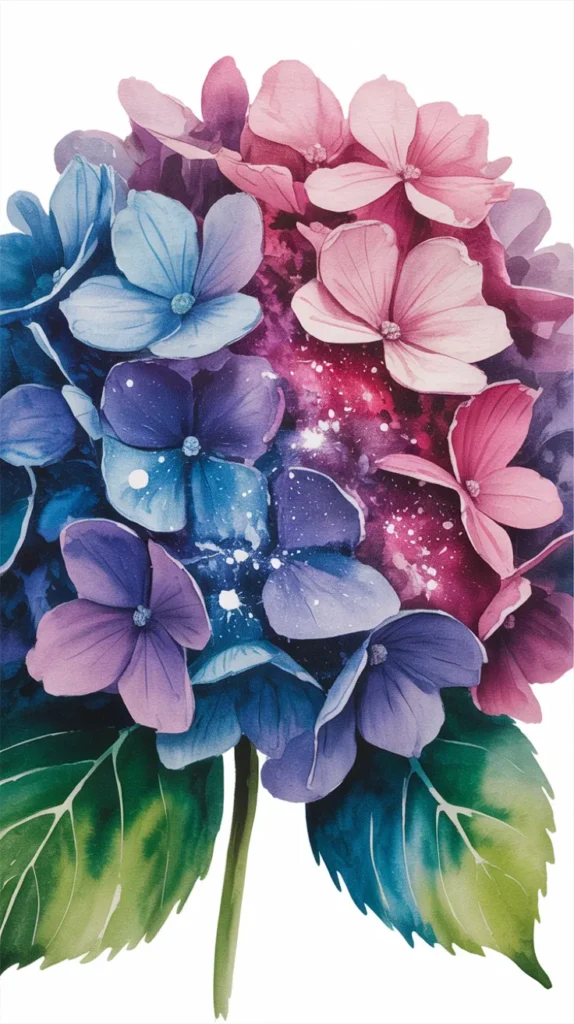
6. A Galaxy-Inspired Hydrangea
Combine the beauty of the cosmos with the lush form of a hydrangea. This imaginative project uses classic “galaxy” watercolor techniques—wet-on-wet washes, splattering, and layering—to create colorful watercolor flowers that look otherworldly and magical.
First, lightly sketch the round, cloud-like shape of a hydrangea. Wet the entire shape with clean water. Then, start dropping in colors like deep indigo, magenta, and turquoise.
Let them bleed and blend together to create a nebula-like effect. While it’s still wet, you can splatter some white paint (using a toothbrush or a stiff brush) to create stars.
Once it’s dry, you can go back in with a darker color and a small brush to add some negative space between the “florets” to give the hydrangea form.
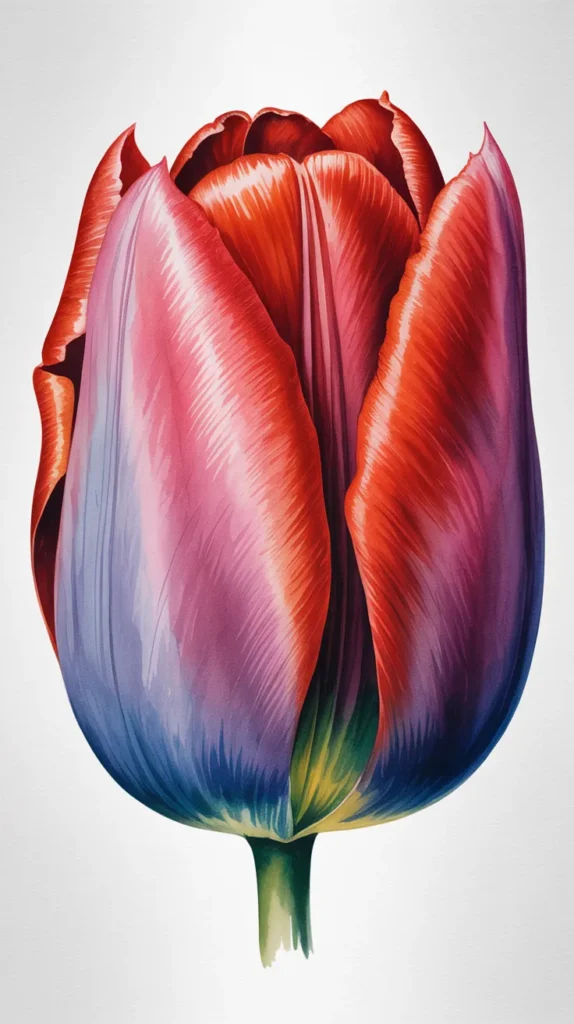
7. Building Realistic Layers on a Tulip
If you’re ready to move beyond loose styles and tackle something more realistic, this project is for you. The key to realism in watercolor is layering.
By building up thin, transparent layers of color (a technique called “glazing”), you can create incredible depth and form. Tulips, with their simple, elegant shapes, are a great subject for practicing this.
Start with a very light sketch of your tulip. Apply your first layer of color—a very pale, watery wash of red or yellow—over the entire petal. Let it dry completely. Then, mix a slightly darker version of your color and paint in the shadow areas.
Let that dry. Repeat this process several times, each time adding a darker layer to the shadows, gradually building up the three-dimensional form of the petal.
Patience is key! A good set of paints with transparent pigments is essential for this technique. The {Winsor & Newton Cotman Water Colour Paint Sketchers’ Pocket Box} is a perfect starting point, offering a range of high-quality, transparent colors that are perfect for glazing and layering.
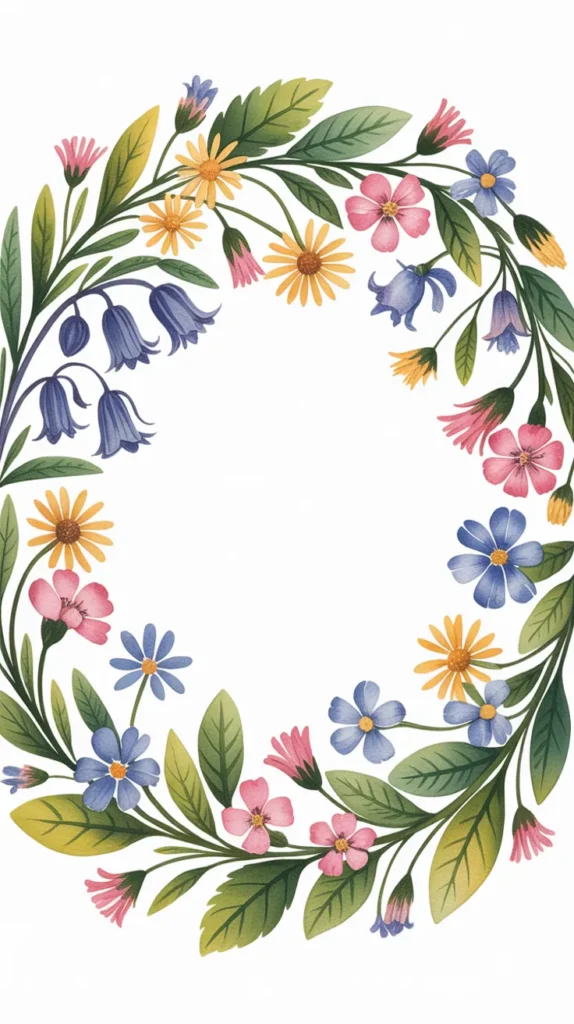
8. A Wildflower Wreath
A wreath is a beautiful and balanced composition that is perfect for turning into greeting cards or frameable art. This project allows you to combine lots of different small, colorful watercolor flowers into one cohesive piece.
Lightly draw a circle on your paper as a guide. Then, start painting a variety of small flowers and leaves along the circle.
You can include tiny roses, bluebells, yellow daisies, and lots of different green leaves. Don’t worry about making it perfectly symmetrical.
The charm of a wildflower wreath is in its slightly messy, organic feel. You can use all the techniques you’ve learned: wet-on-wet for some flowers, fine liners for others, and simple brushstrokes for leaves.
To keep your colors pure and prevent them from getting muddy, having a good palette is important.
The {Mijello Airtight Peel-Off Palette} is fantastic because it has multiple wells to keep your colors separate, and the airtight lid keeps your paints from drying out between sessions.
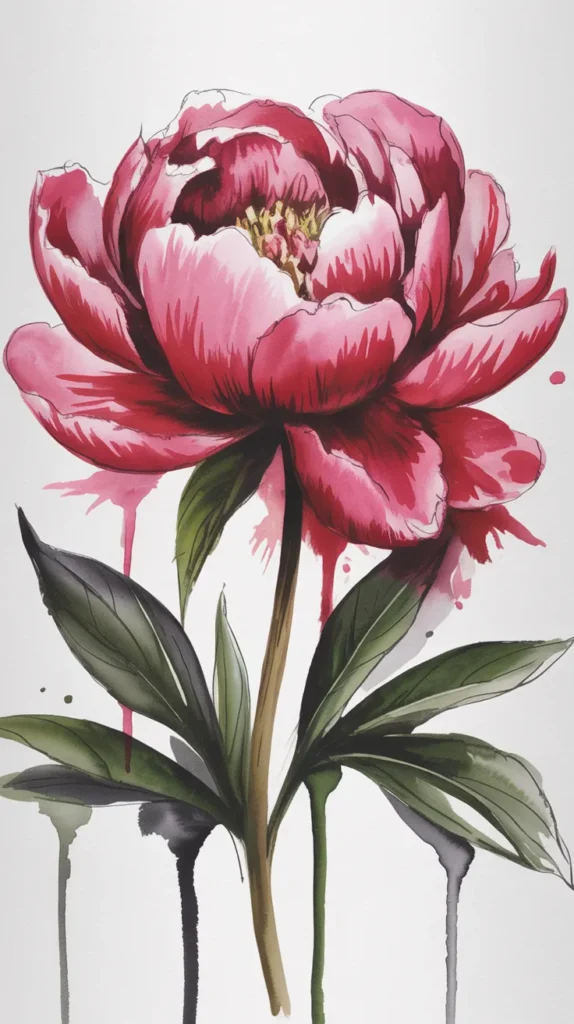
9. Bleeding Ink and Watercolor Peonies
This is a fun, experimental technique that creates a dramatic, high-contrast effect. By drawing with a non-waterproof pen first and then adding watercolor, you can make the ink “bleed” and blend with the paint, resulting in a unique and moody style of colorful watercolor flowers.
Using a regular, non-waterproof black ink pen (like a standard ballpoint or gel pen), do a loose, sketchy drawing of a peony. Don’t worry about being neat.
Then, while the ink might still be slightly wet, go in with your watercolor paints. Use pinks and reds for the petals.
As you add the water and paint, the black ink will start to bleed and mix with the colors, creating soft gray shadows and a beautiful, grunge-like effect.
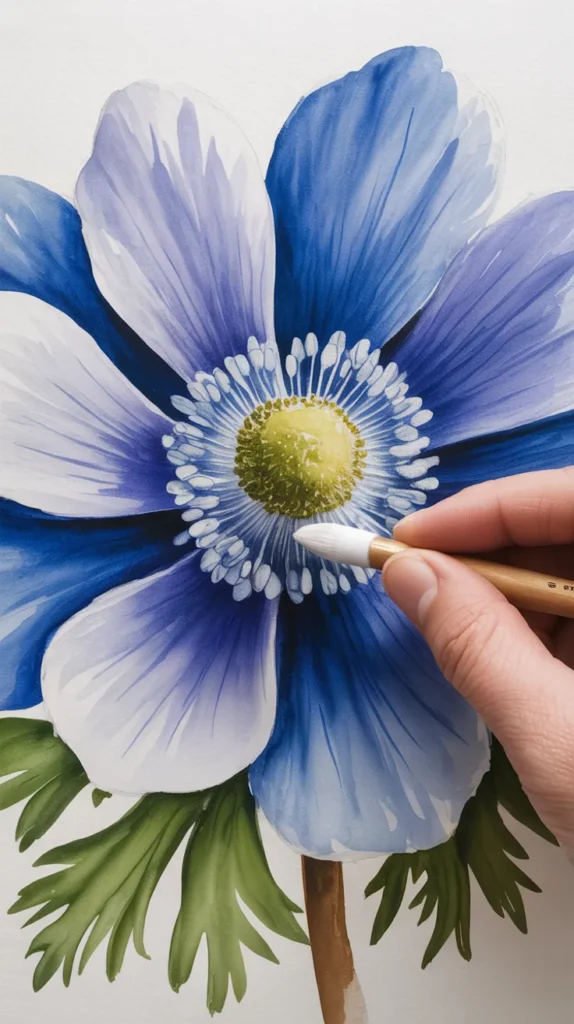
10. Using Masking Fluid for Anemones
Masking fluid is a liquid latex that you paint on the paper to protect it from the paint. Once the paint is dry, you rub off the masking fluid to reveal the crisp, white paper underneath. It’s the perfect tool for creating flowers with bright, detailed centers, like anemones.
Use a brush or a special masking fluid pen to paint the intricate center of your anemone flower (the stamens). Let the masking fluid dry completely—it will feel rubbery.
Then, you are free to paint the colorful petals right over it without worrying about messing up the center. You can use a rich blue, deep purple, or vibrant red for the petals.
Once your petals are dry, gently rub off the masking fluid with your finger or an eraser. You will be left with a perfectly white, detailed center, which you can then paint black or yellow.
Using a detail brush is key for applying the masking fluid precisely. The {Princeton Neptune Series 4750 Synthetic Squirrel Brushes} come in very fine-tipped rounds that are great for this kind of intricate work.
11. A Simple Bouquet in a Mason Jar
This project combines floral painting with still life, allowing you to practice painting both organic flower shapes and the hard, reflective surface of glass. It’s a classic and charming subject for colorful watercolor flowers.
Start by painting the bouquet of flowers at the top of your paper. Use a mix of colors and shapes to create an interesting and varied bouquet.
Then, to paint the glass mason jar, use a very light, watery wash of blue or gray. To suggest the transparency of the glass, let some of the flower stems “show through” by painting them first.
Add a few quick, darker strokes to indicate the jar’s rim and the reflections on the glass. The trick to painting glass is to suggest it, not to overwork it.

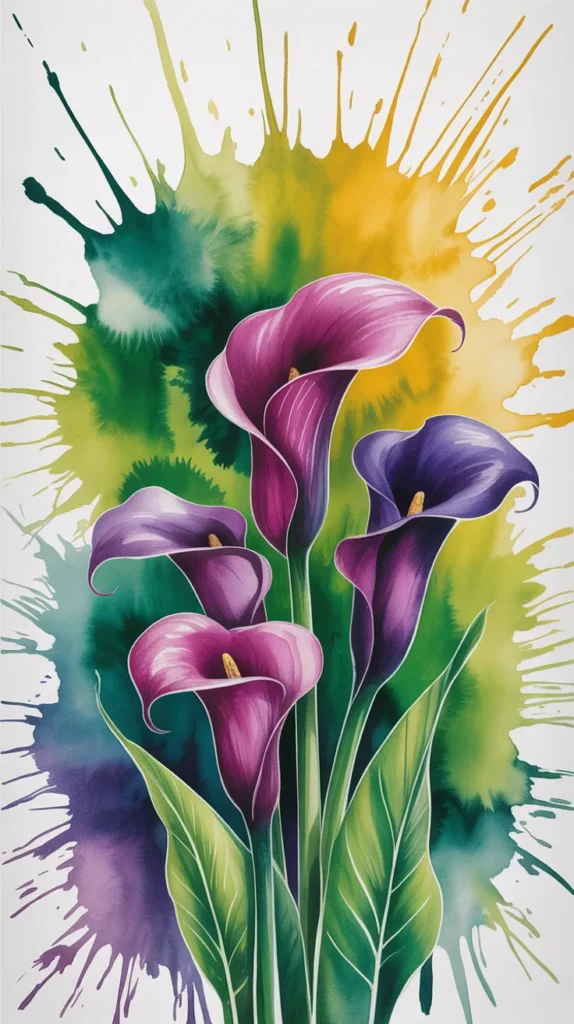
12. Splatter and Bloom Calla Lilies
Calla lilies are known for their elegant, sculptural shape. This project contrasts that clean form with a wild, energetic background made of paint splatters. This creates a modern, dynamic composition that makes the simple beauty of the colorful watercolor flowers really stand out.
First, create your background. Load a wet brush with a color—like a deep green or a bright pink—and tap it over your paper to create splatters.
You can use a few different colors. Let the background dry completely. Then, paint your calla lilies on top. Because calla lilies are often white, you can use the negative painting technique, painting around the flower and letting the splattered background show through.
Or, you can paint them in a color like deep purple or sunny yellow, layering the paint carefully to create their smooth, curved form against the chaotic background.
Your Watercolor Florist Toolkit
Starting a new hobby is always more fun when you have the right supplies. You don’t need a lot to begin, but a few quality items can make a huge difference in your experience. Here is a summary of the helpful products mentioned in this guide.
| Product Name | Brand | Use |
|---|---|---|
| Pigma Micron Pen Set | Sakura | Waterproof fine liner pens perfect for adding crisp, detailed ink lines to your paintings. |
| Arches Cold Press Watercolor Pad | Arches | High-quality, 100% cotton paper that prevents buckling and allows for beautiful, smooth washes. |
| Cotman Water Colour Paint Sketchers’ Pocket Box | Winsor & Newton | A portable set of high-quality, transparent paints perfect for layering and glazing. |
| Airtight Peel-Off Palette | Mijello | A palette with a lid that keeps your paints fresh and your colors from getting muddy. |
| Neptune Series 4750 Synthetic Squirrel Brushes | Princeton | Soft, thirsty brushes with fine tips that are excellent for detail work and applying masking fluid. |
Conclusion: Let Your Creativity Bloom
Painting colorful watercolor flowers is a journey of discovery. It’s about learning to balance control with surrender, letting the water and pigments work their magic while guiding them with your brush. Each painting is a unique dance between you and your materials.
We hope these ideas and techniques have demystified the process and inspired you to pick up a brush. Remember, the goal is not to create a perfect replica of a flower, but to capture its spirit, its color, and the joy it brings.
Start with the wet-on-wet rose, experiment with salt and masking fluid, and don’t be afraid to make a mess. Every brushstroke is a step in your artistic journey.
So, gather your supplies, put on some music, and let yourself play with color. Your beautiful paper garden is waiting to be painted. Which of these blooming ideas will you try first?