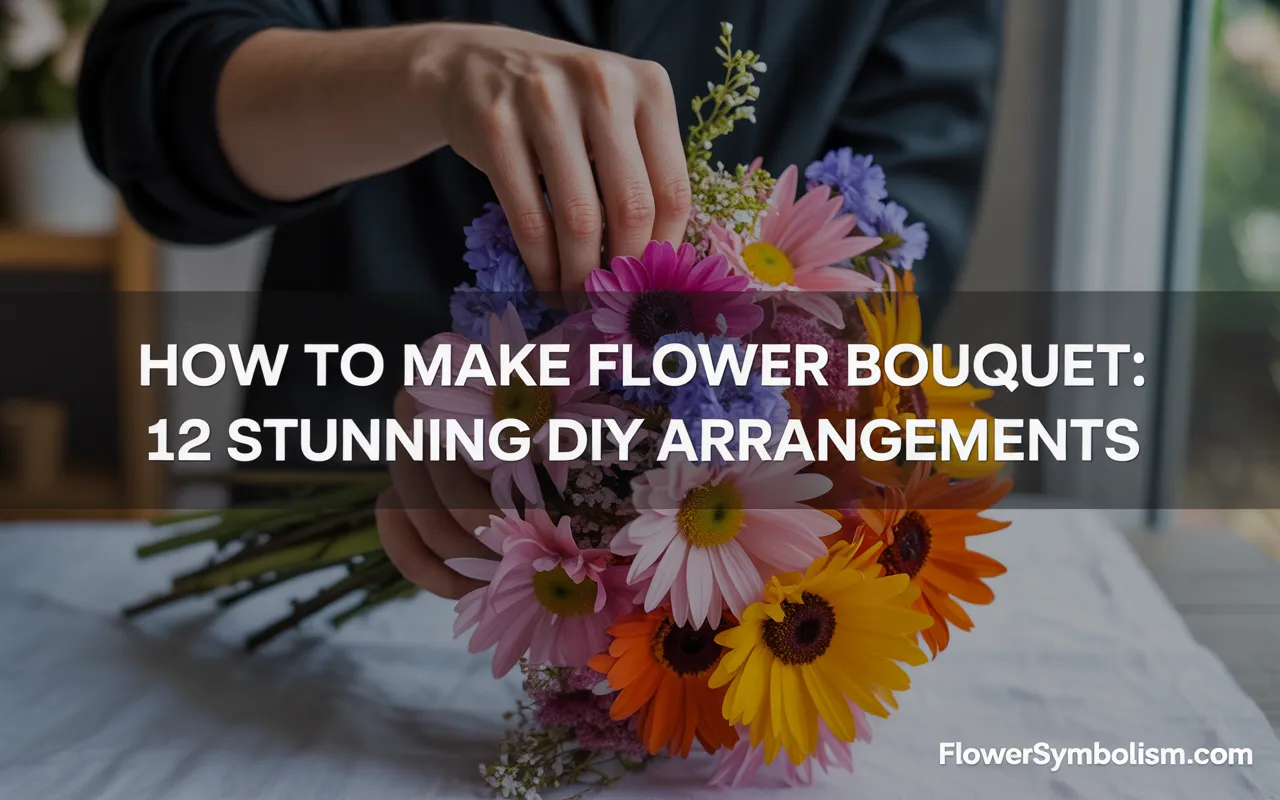
There is something incredibly satisfying about walking into a room and seeing a stunning floral arrangement that you created yourself. Whether you’re prepping for a wedding, creating a gift for a friend, or just want to brighten up your kitchen table, learning how to make a flower bouquet is a skill that pays off instantly.
Many people assume professional-looking bouquets require years of training, but the truth is, with a few simple techniques and the right tools, anyone can arrange blooms like a pro. Forget the store-bought plastic sleeves; today, we are going to dive into the art of floral design. Ready to unleash your inner florist? Let’s get started.
Essential Materials Needed
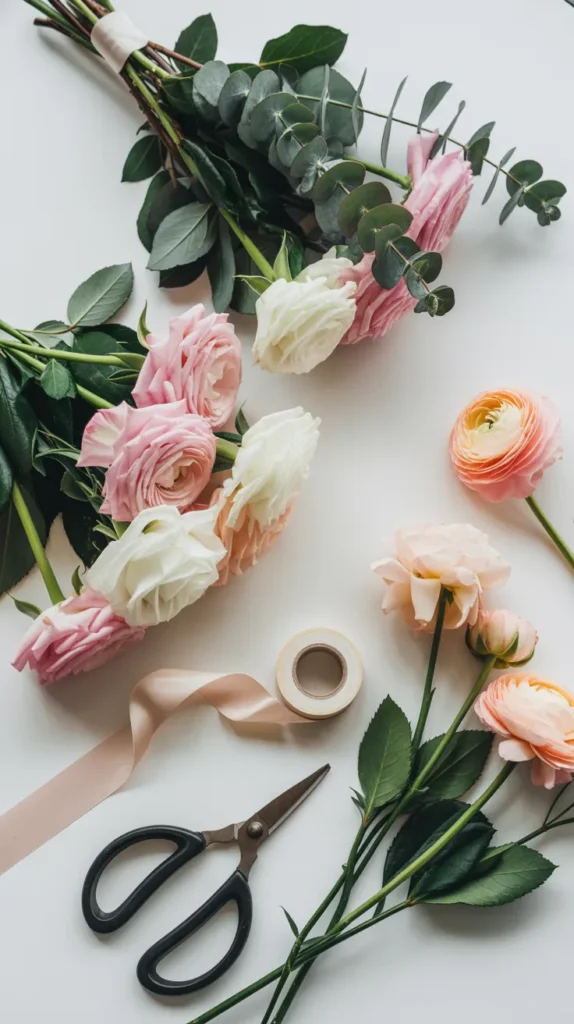
Before you start snipping, you need to gather your toolkit. Having the right supplies makes the process smoother and ensures your bouquet stays fresh longer.
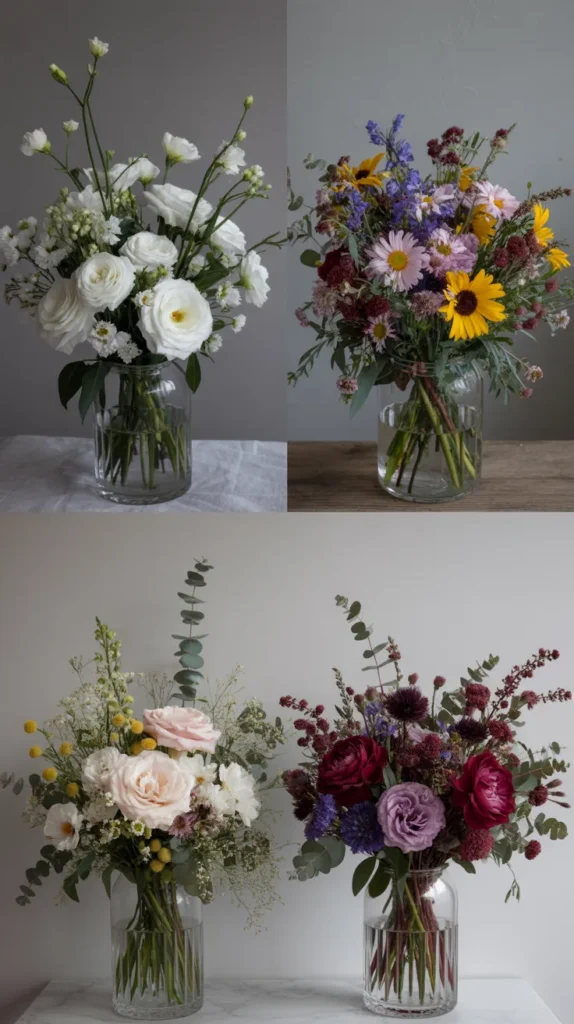
Fresh Flowers & Greenery: Aim for a mix of “focal flowers” (like roses or peonies), “filler flowers” (like waxflower or spray roses), and plenty of textured greenery.
Sharp Shears: Kitchen scissors can crush delicate stems, preventing them from drinking water. A pair of {Gonicc Professional Pruning Shears} is essential. Their sharp, bypass blades cut cleanly through even woody stems, ensuring your flowers stay hydrated.
Floral Tape & Wire: To hold your arrangement together securely, you will need {Professional Green Floral Tape}. It becomes sticky when stretched and blends in perfectly with your stems.
Finishing Touches: A beautiful ribbon creates a polished handle. Satin or silk ribbons work beautifully. You might also want some pearl-headed pins to secure the ribbon in place.
Step-by-Step Instructions
Creating a hand-tied bouquet is all about the spiral technique. This method allows the bouquet to stand on its own and keeps the stems from getting crushed.
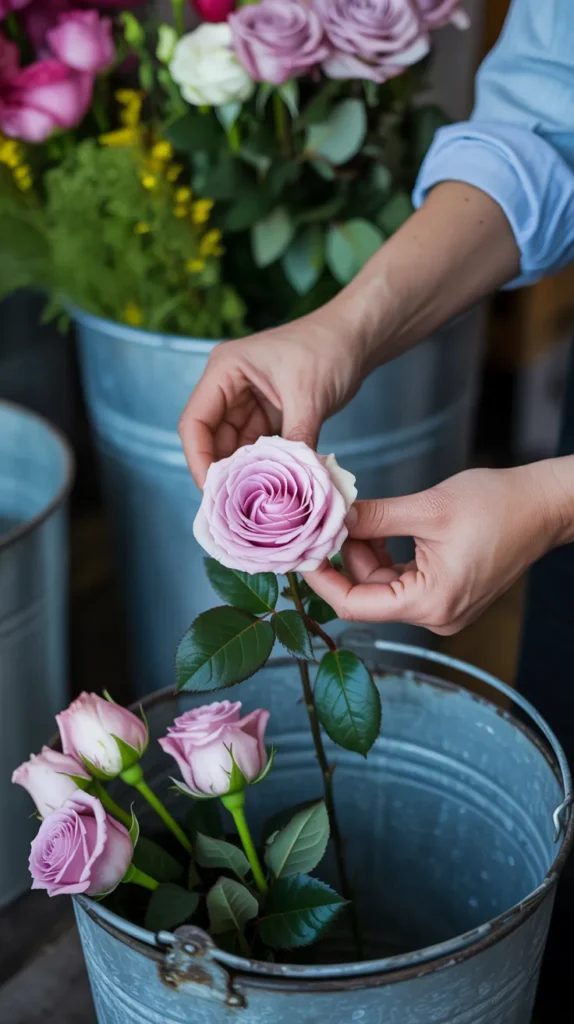
Step 1: Prep Your Stems
Strip all the leaves and thorns from the bottom two-thirds of every stem. Any foliage that sits below the water line will rot and shorten the life of your flowers. A {Floral Stripper Tool} makes this tedious task quick and painless, protecting your fingers from thorns.
Step 2: Create the Core
Select one sturdy focal flower to be the center of your bouquet. Hold it in your non-dominant hand. Take a second stem (perhaps a piece of greenery) and cross it over the first stem at a slight angle.
Step 3: Build the Spiral
Continue adding stems one by one. Always place the new stem at the same angle, crossing it over the previous ones while rotating the bouquet in your hand. This creates a spiral shape with the stems, giving your bouquet volume and structure.
Step 4: Add Layers
Alternate between your focal flowers, fillers, and greenery. Check your bouquet from the top frequently to ensure it looks round and balanced. Don’t be afraid to pull stems up or push them down to adjust the height.
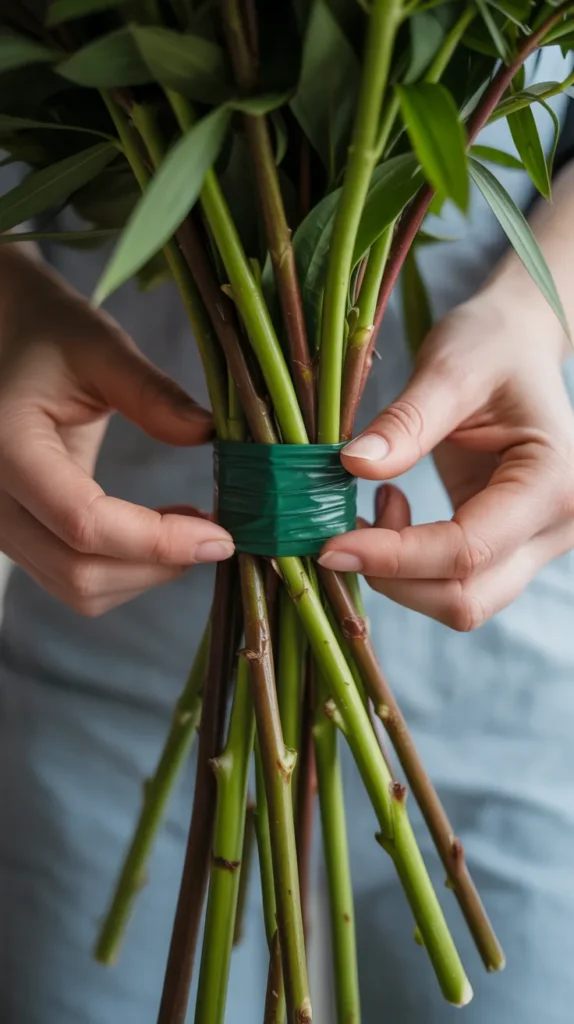
Step 5: Secure the Bouquet
Once you are happy with the size, wrap {Professional Green Floral Tape} tightly around the binding point (where your hand was holding the stems). This locks everything in place.
Finishing and Care
Now that your structure is solid, it’s time to make it look polished and keep it alive.
Trimming the Stems
Cut all the stems to the same length so the bouquet can stand up or fit perfectly in your vase. Cut at a 45-degree angle to maximize the surface area for water absorption.
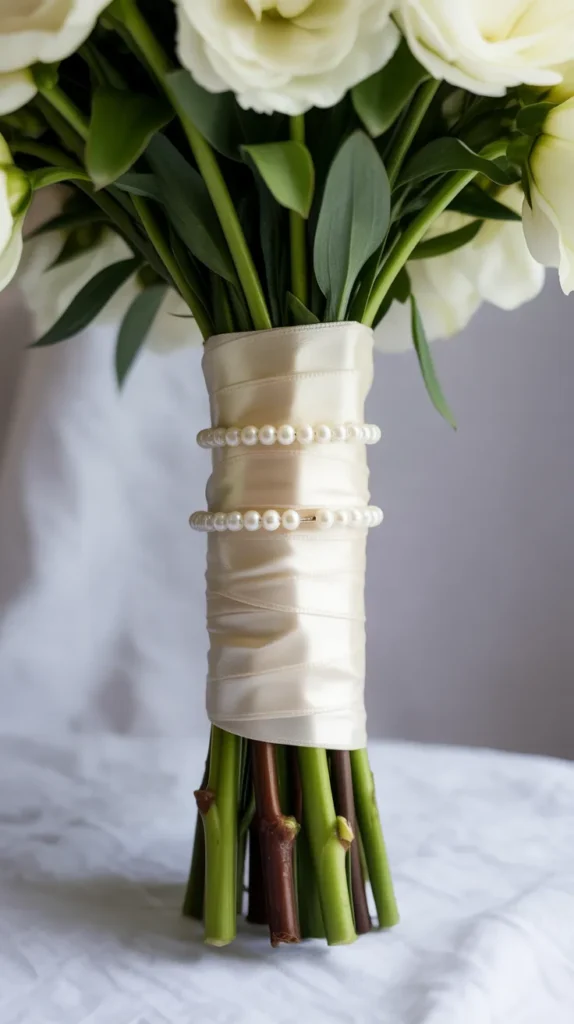
The Ribbon Wrap
Cover the floral tape with a beautiful ribbon. Start from the bottom of the handle and wrap upwards, overlapping slightly. Secure the end with a couple of pearl-headed pins pushed upwards into the stems. For a luxurious feel, {Offray Double Face Satin Ribbon} is a top choice because it’s shiny on both sides, ensuring there is no “wrong” side showing.
Keeps It Fresh
If you aren’t gifting it immediately, place the bouquet in water. To keep those blooms vibrant for as long as possible, mix a packet of {Chrysal Clear Cut Flower Food} into the water. It provides the sugar and acidifiers flowers need to thrive after being cut.
Creative Tips for Stunning Results
Texture is Key: Don’t rely just on flowers. Adding unexpected elements like berries, seed pods, or even dried grasses adds depth and interest.
Color Palettes: Stick to a cohesive color scheme. Analogous colors (neighbors on the color wheel, like pink and purple) are calming, while complementary colors (opposites, like blue and orange) create energy.
Hydration Hack: If you are making a bouquet for an event like a wedding, keep the finished bouquet in a vase of water in a cool, dark room until the last possible moment. If you need to transport it, mist it gently with water using a fine {Beautify Beauties Flairosol Spray Bottle}, which provides a continuous, ultra-fine mist that hydrates petals without leaving heavy water droplets.
Recommended Products for Your Floral Journey
| Product | Use Case |
|---|---|
| {Gonicc Professional Pruning Shears} | Ensures clean cuts that help flowers drink water and last longer. |
| {Professional Green Floral Tape} | Secures the spiraled stems tightly without damaging them. |
| {Floral Stripper Tool} | Quickly removes thorns and leaves from stems, saving your hands. |
| {Offray Double Face Satin Ribbon} | Provides a high-end, polished finish to the bouquet handle. |
| {Chrysal Clear Cut Flower Food} | Essential nutrients to extend the vase life of your creation. |
| {Beautify Beauties Flairosol Spray Bottle} | Gently hydrates delicate petals without soaking them. |
Blooming with Confidence
Learning how to make a flower bouquet is a skill that blends creativity with nature. It allows you to express yourself and bring a piece of the garden into your daily life.
The more you practice the spiral technique, the more natural it will feel. Soon, you’ll be grabbing bunches from the grocery store and transforming them into masterpieces in minutes. So go ahead, pick up those shears, and start arranging