Aloe vera is a must-have houseplant, celebrated for its striking look and the soothing gel hidden within its fleshy leaves. While propagating aloe is famously easy when you separate the “pups” or offsets from the mother plant, many people wonder about a different method.
This guide will explore the popular question of how to grow aloe vera plant from a leaf. While it’s a bit of a gardening myth, we will walk you through the proper technique for leaf propagation and explain why it’s tricky, setting you up with the best possible chance for success.
This amazing guide will give you the honest truth about this propagation method.
We’ll cover the correct way to take a cutting, how to let it heal properly, and the ideal conditions for encouraging new growth. Let’s dive into this fun and challenging gardening experiment together.
The Big Question: Can You Really Grow Aloe from Just a Leaf?
This is the most important topic we need to address right away. If you search online, you will find countless articles and videos showing people sticking a cut aloe leaf into soil and claiming it will grow. Here is the reality: growing a full new aloe plant from a single cut leaf is extremely difficult and often fails.
Unlike many other succulents (such as Echeveria or Sedum) that can readily sprout new plants from a single leaf, aloe vera typically does not. An aloe leaf cutting will usually just rot away in the soil.
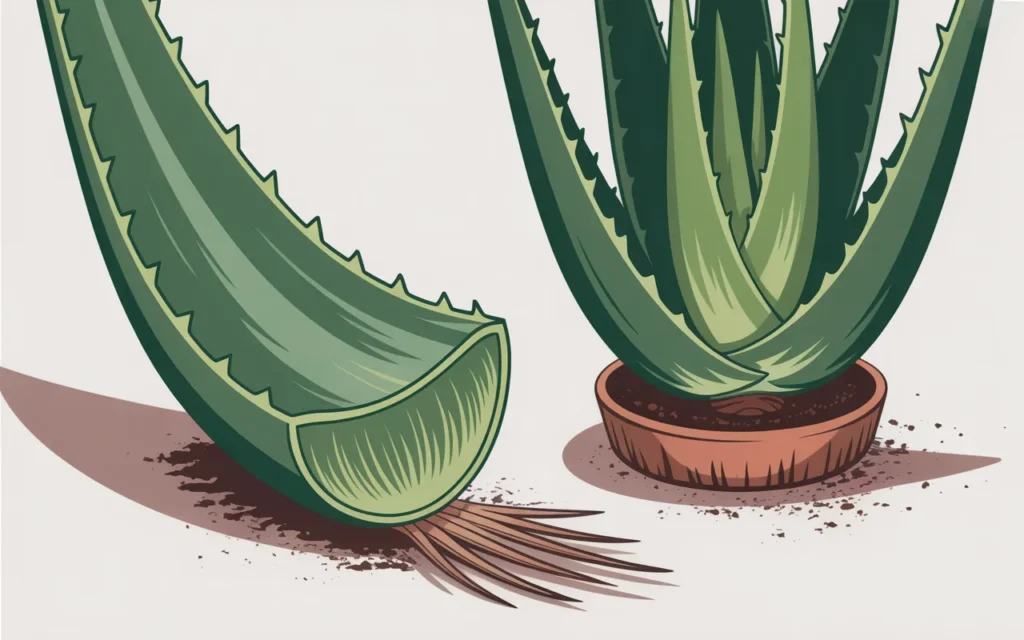
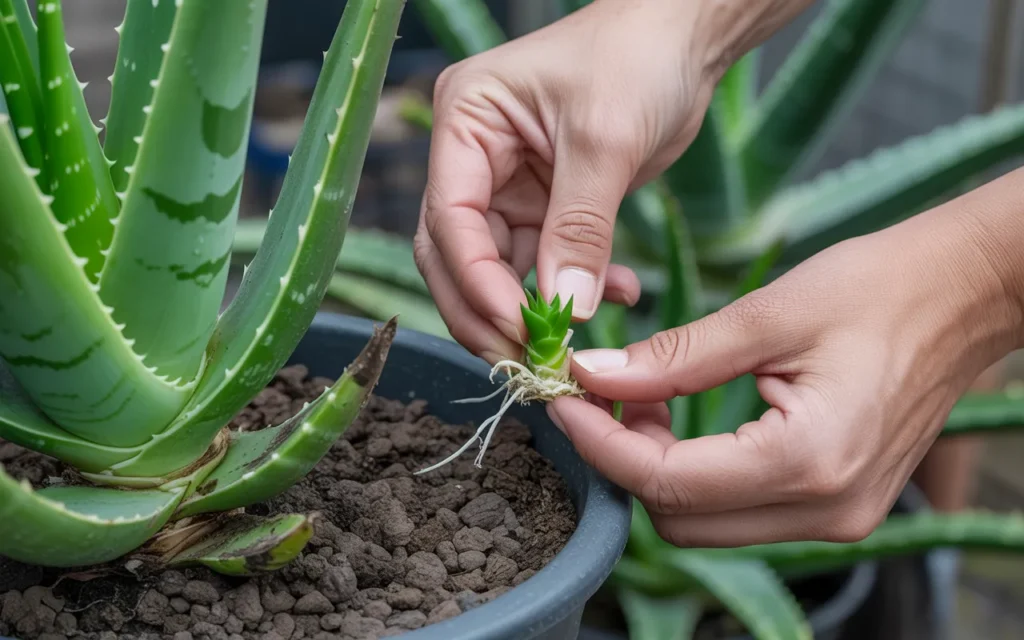
For a new aloe plant to form, the cutting needs to contain a small amount of the stem’s basal cells, which are located at the very base of the plant where the leaves connect.
So, while we will show you the correct method, it’s important to understand that this is an experiment with a low success rate. The best and most reliable way to propagate aloe vera is by dividing the offsets (pups) from the mother plant. However, if you have a broken leaf or just want to try, let’s give it the best shot possible!
The Right Way to Propagate from a Leaf: The Basal Stem Method
To have any chance of success, you can’t just cut a leaf in the middle. You need to take the entire leaf, including a small piece of the stem it’s attached to.
Step 1: Selecting and Removing the Leaf
This is the most critical step in learning how to grow aloe vera plant from a leaf.
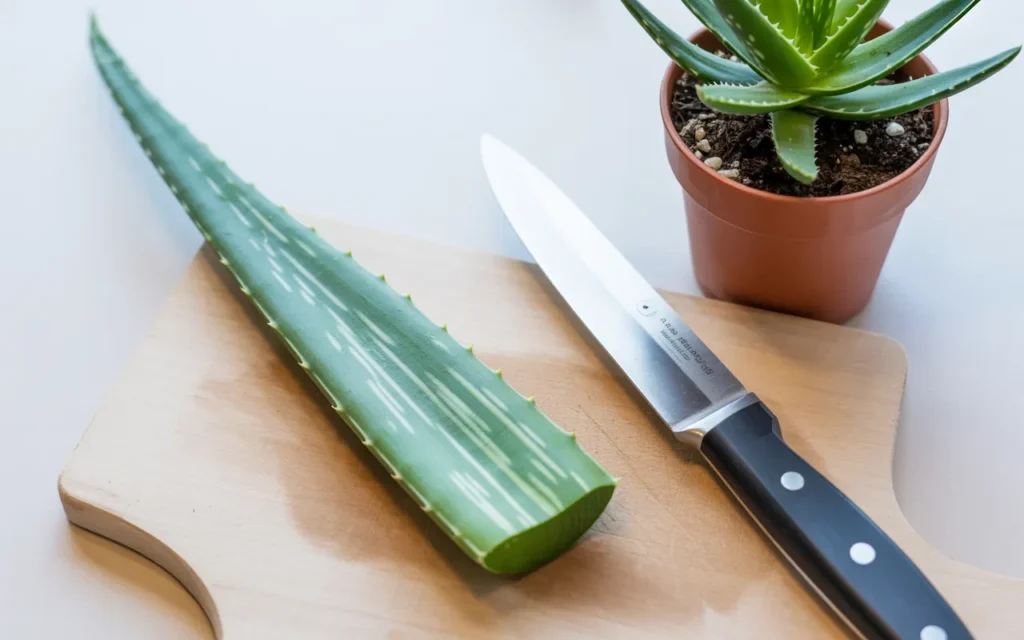
- Choose a Healthy Leaf: Select a plump, healthy, mature leaf from the base of your aloe plant. Younger leaves from the center won’t work.
- Use a Clean, Sharp Knife: Sterilize a sharp knife or a razor blade with rubbing alcohol. A clean cut is essential to prevent introducing bacteria.
- Make the Cut: Instead of just slicing the leaf off, you need to cut downwards into the main stem of the plant. Carefully slice down and around the base of the leaf you’ve chosen, making sure to remove the entire leaf along with a small portion of the white basal stem tissue it’s connected to. The goal is to get a C-shaped piece of stem attached to the bottom of your leaf cutting.
Step 2: The Crucial Healing (Callusing) Period
This step is non-negotiable. You cannot plant a fresh aloe cutting directly into soil.
- Find a Dry Spot: Place your leaf cutting in a warm, dry location with bright, indirect light. Do not place it in direct sun.
- Be Patient: You must let the cut end of the leaf dry out completely. A hard, dry “scab” or callus will form over the wound.
- Wait: This callusing process can take anywhere from a few days to two weeks, depending on the size of the cut and the humidity in your home. Do not rush this step. Planting a cutting before it has fully callused is the number one reason for failure, as the open wound will absorb too much water and rot immediately.
Step 3: Planting Your Aloe Leaf Cutting
Once a firm callus has formed over the entire cut surface, your leaf is ready for planting.
- Choose the Right Soil: This is incredibly important. You must use a soil mix designed for succulents and cacti. A Specialty Cactus and Succulent Soil Mix is the best choice because it provides the excellent drainage that aloe needs. Regular potting soil holds too much moisture and will cause your cutting to rot.
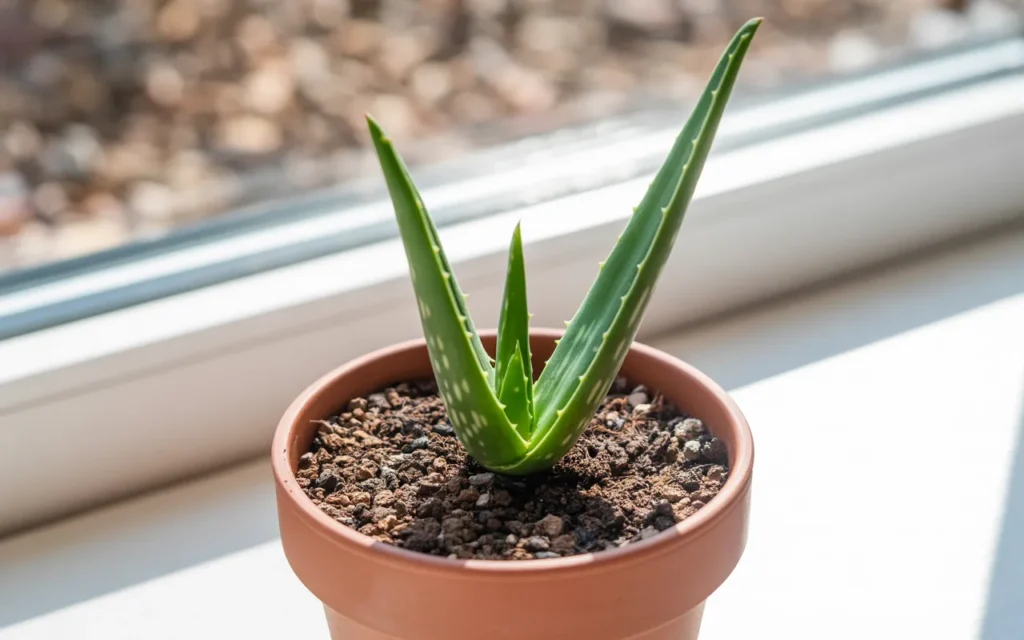
- Select a Small Pot: Use a small, 2- to 3-inch pot with a drainage hole. A terracotta pot is ideal as the porous material helps the soil dry out faster.
- Plant the Cutting:
- Fill the pot with your succulent soil mix.
- Dip the callused end of your aloe cutting into a Rooting Hormone Powder. This is optional but can help encourage root development and prevent rot.
- Gently insert the bottom third of the leaf into the soil.
- Firm the soil lightly around the base of the leaf to hold it upright.
Step 4: The Waiting Game: Care and Patience
Now your experiment begins. Success is not guaranteed, but the right care will give it the best chance.
- Light: Place the pot in a warm spot that receives plenty of bright, indirect sunlight. A north- or east-facing window is often perfect. Avoid intense, direct sun.
- Watering (The Most Important Part): Do not water your cutting for at least one to two weeks after planting. After that, water very sparingly. The goal is to keep the soil only very slightly moist, but never wet. Overwatering is the fastest way to kill your cutting. A light misting of the soil surface every week or so is often sufficient. A Soil Moisture Meter can be a helpful tool to prevent overwatering.
- Look for Signs: It will take several weeks to a couple of months to know if your attempt was successful.
- Bad Signs: The leaf starts to turn mushy, brown, or shrivels up completely. This means it is rotting and the propagation has failed.
- Good Signs: The leaf remains firm and green. The ultimate sign of success is seeing a tiny new pup starting to form at the base of the leaf cutting.
The Reliable Alternative: Propagating Aloe Pups
While trying to grow from a leaf is a fun experiment, the surefire way to get new aloe plants is by dividing the “pups” or offsets. These are the small baby plants that grow from the base of the mother plant.
- Wait for the Right Size: Wait until a pup is a decent size—at least a few inches tall with several of its own leaves.
- Remove the Plant: Gently remove the entire mother plant from its pot. This gives you the best view of the root system.
- Separate the Pup: Gently untangle the pup from the mother plant. It should have its own set of roots. If it’s attached firmly, use a clean knife to cut it away from the parent.
- Pot it Up: Plant the pup in its own small pot using succulent soil.
- Wait to Water: Just like with a leaf cutting, wait at least a week before watering to allow any damaged roots to heal.
This method has a nearly 100% success rate and is the recommended way to make more aloe plants.
Frequently Asked Questions (FAQ)
Q1: Can I grow an aloe plant from a leaf in water?
No, this method will not work. An aloe leaf placed in water will simply turn to mush and rot. Aloe vera needs to be propagated in soil.
Q2: My aloe leaf cutting turned brown and shriveled. What went wrong?
This almost always means the cutting rotted. This could be because it wasn’t allowed to callus over for long enough before planting, the soil was too wet, or the cutting didn’t have any of the necessary basal stem tissue to begin with.
Q3: How long does it take to grow an aloe plant from a leaf?
If the propagation is successful, it is a very slow process. It can take several weeks or even months for roots to form, and several more months after that before you see a tiny new plantlet emerge from the soil.
Q4: Is it better to use rooting hormone?
Using a rooting hormone can increase your chances of success. It contains compounds that encourage root growth and fungicides that help protect the open cut from fungal rot. While not strictly necessary, it is a helpful aid in this challenging propagation method.