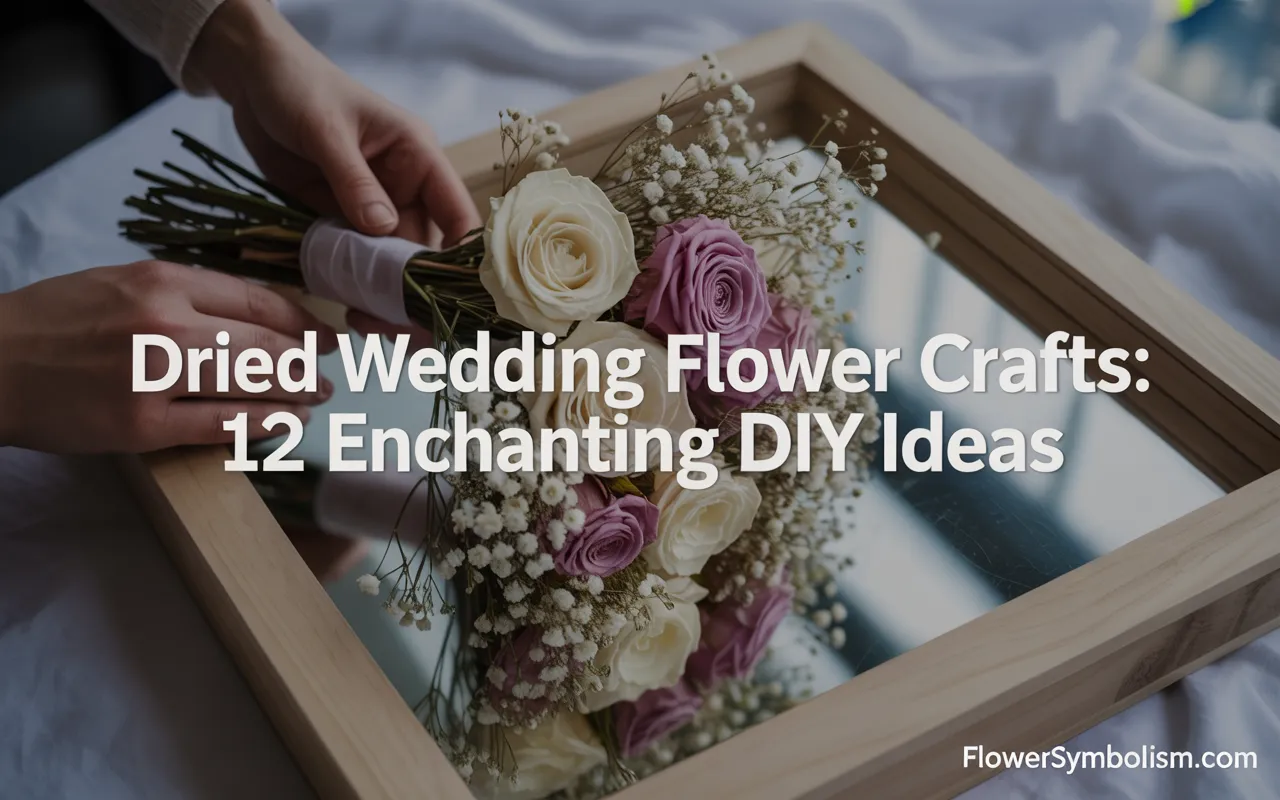
Your wedding day is a whirlwind of beautiful, fleeting moments. The vows, the first dance, the laughter with friends—and of course, the stunning flowers.
Your bouquet, the centerpieces, the boutonnières—they are all such an integral part of the day’s beauty. But what happens when the day is over? It can be heartbreaking to simply toss those precious, memory-filled blooms. This is where the magic of dried wedding flower crafts comes in.
Preserving your wedding flowers allows you to capture a piece of that special day and turn it into a tangible keepsake you can cherish forever.
It’s a beautiful, sustainable way to give your floral arrangements a second life. You don’t need to be an expert crafter to create something truly meaningful.
The emotional connection you have to the flowers will make any project you choose a priceless treasure.
This guide is your personal handbook for transforming those precious wedding flowers into beautiful, lasting mementos.
We will explore 12 enchanting DIY ideas, perfect for every skill level. From simple ornaments to stunning resin art, you’ll find the perfect way to honor your bouquet.
We’ll provide step-by-step instructions and recommend the essential tools to help you succeed in your dried wedding flower crafts journey. Let’s preserve those beautiful memories!
First, A Note on Preserving Your Flowers
Before you can start your dried wedding flower crafts, you need to preserve your bouquet. The sooner you start this process after the wedding, the better the results will be. You have a few options:
- Air-Drying: The classic method. Hang your flowers upside down in a dark, dry, well-ventilated area for 2-3 weeks. This works well for sturdy flowers like roses and lavender but can cause some color loss and shrinkage.
- Pressing: Perfect for creating flat art. Place individual flowers and petals between sheets of absorbent paper inside a heavy book or a flower press. This is ideal for more delicate flowers like pansies, cosmos, and ferns.
- Silica Gel: The best method for preserving the 3D shape and vibrant color of your flowers. Bury your blooms in a container of silica gel for a few days. The gel rapidly absorbs moisture, leaving you with breathtakingly lifelike flowers.
For professional-quality results, a product like {Activa Flower Drying Art Silica Gel} is a must-have. Its fine crystals won’t damage delicate petals, and it has color-indicating crystals that let you know when the gel needs to be “recharged.”
Now that your flowers are preserved, let’s dive into the enchanting craft ideas!
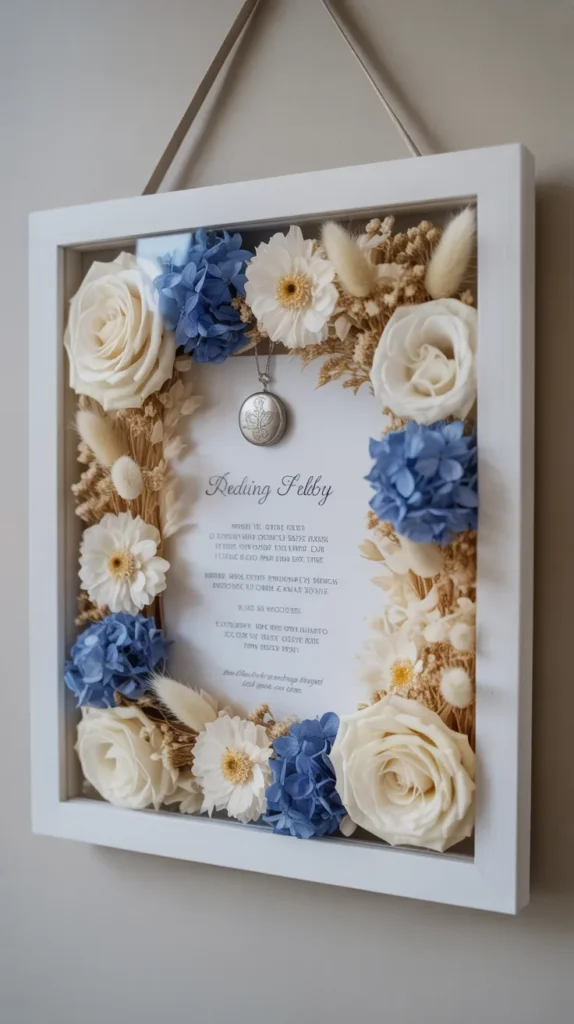
1. The “Bouquet in a Box” Shadow Box
This is one of the most popular dried wedding flower crafts because it allows you to create a beautiful, multi-dimensional display that tells a story.
A shadow box lets you combine your dried flowers with other wedding mementos, like your invitation, a piece of lace from your dress, or the cork from your champagne bottle.
What You’ll Need:
- A shadow box frame of your desired size
- A variety of your dried wedding flowers
- Other wedding keepsakes (invitation, save-the-date, photos, etc.)
- A hot glue gun or straight pins
- A piece of linen or beautiful paper for the background
Step-by-Step:
- Open your shadow box and cover the backing board with your chosen fabric or paper.
- Create a layout. Arrange your largest flowers and your main keepsake (like the invitation) first to create focal points.
- Secure the flat items. Use acid-free scrapbooking tabs or a small amount of glue to attach your invitation and photos.
- Attach your flowers. Use a hot glue gun to carefully glue your 3D silica-dried or air-dried flowers in place. If your shadow box has a foam backing, you can also use pearl-headed pins to secure the flowers for a more delicate look.
- Fill in the gaps with smaller blooms, leaves, and other small mementos until you are happy with the composition. Reassemble the box and hang your beautiful time capsule.
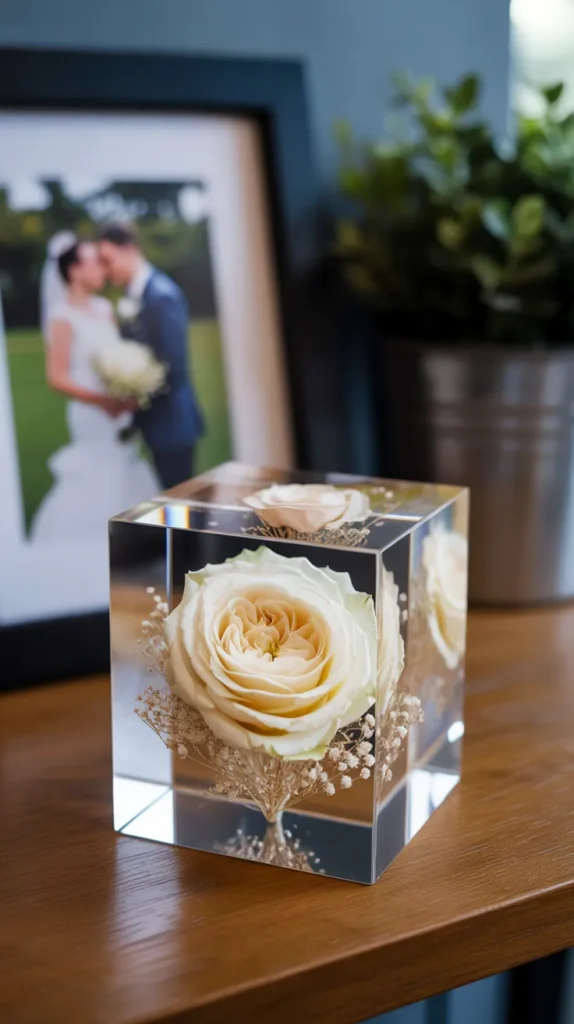
2. A “Frozen in Time” Resin Paperweight
Imagine holding a perfect rose from your bouquet, suspended in crystal-clear resin, looking as if it were frozen in that moment. This is a truly magical way to preserve a single, perfect bloom.
Using a flower preserved with silica gel is essential for this project to maintain its 3D shape.
What You’ll Need:
- One perfect, silica-dried flower (a rose, dahlia, or peony works well)
- A silicone mold (cube, sphere, or heart shapes are popular)
- High-quality epoxy resin
Step-by-Step:
- Make sure your dried flower is completely clean and free of any silica dust.
- To prevent the flower from floating, this project must be done in layers. Mix a small amount of resin and pour a thin layer into the bottom of your mold. Let it cure for a few hours until it’s tacky but not fully hard.
- Gently place your flower face-down onto the tacky layer of resin.
- Slowly pour freshly mixed resin around and over the flower until the mold is full. For a piece this special, using a premium resin is non-negotiable. {ArtResin Epoxy Resin} is renowned for its crystal clarity and advanced UV inhibitors that protect against yellowing, ensuring your precious memory remains pristine for years.
- Let the piece cure for 48-72 hours in a warm, dust-free place before demolding your breathtaking keepsake.
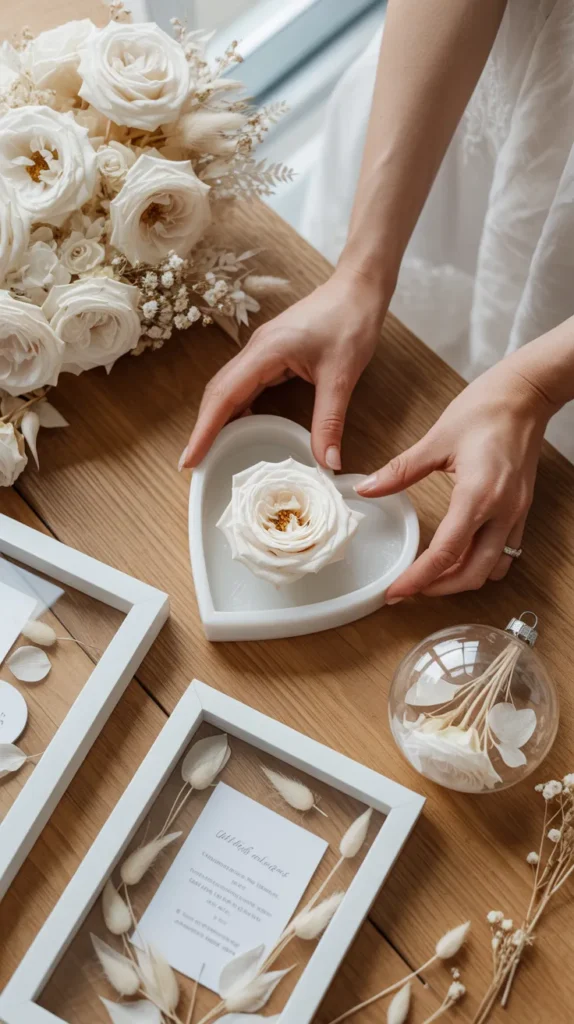
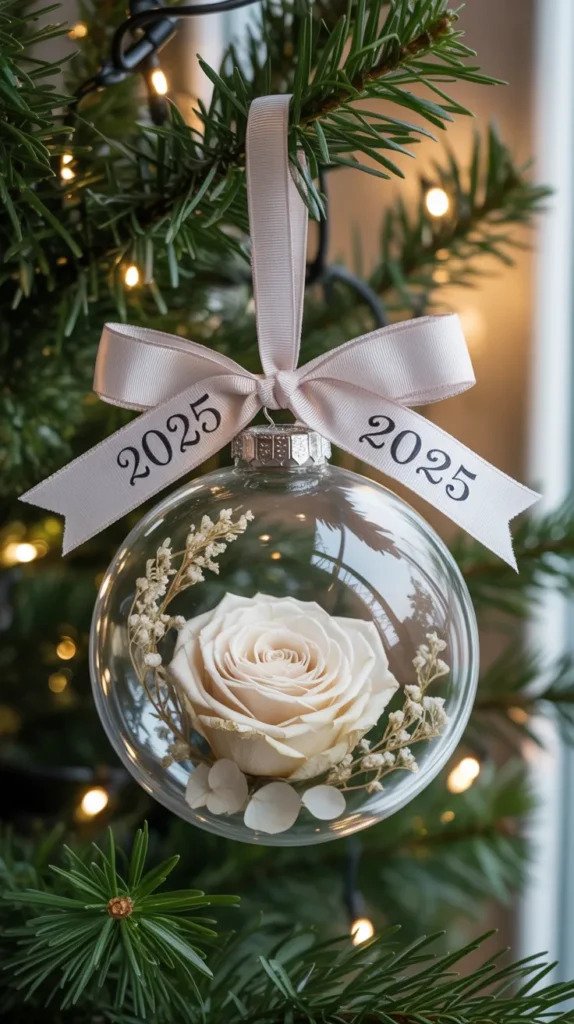
3. Custom Keepsake Christmas Ornaments
Create a beautiful tradition by making a special ornament with your wedding flowers. Every year when you decorate the tree, you’ll be reminded of your first holiday season as a married couple. This is one of the simplest and most heartfelt dried wedding flower crafts.
What You’ll Need:
- A clear, fillable ornament (glass or plastic)
- Small dried flower heads, buds, or petals from your bouquet
- Tweezers
- A beautiful ribbon
Step-by-Step:
- Carefully remove the metal top from the fillable ornament.
- Use tweezers to gently place your tiny dried flower buds (like rosebuds or baby’s breath) or colorful petals inside the ornament.
- You can fill it completely for a dense, colorful look, or place just a few select blooms inside for a more minimalist aesthetic. You can also add a small curl of ribbon with your wedding date written on it.
- Replace the top of the ornament and tie a beautiful satin or velvet ribbon to the loop for hanging. This makes a wonderful gift for parents and in-laws as well.
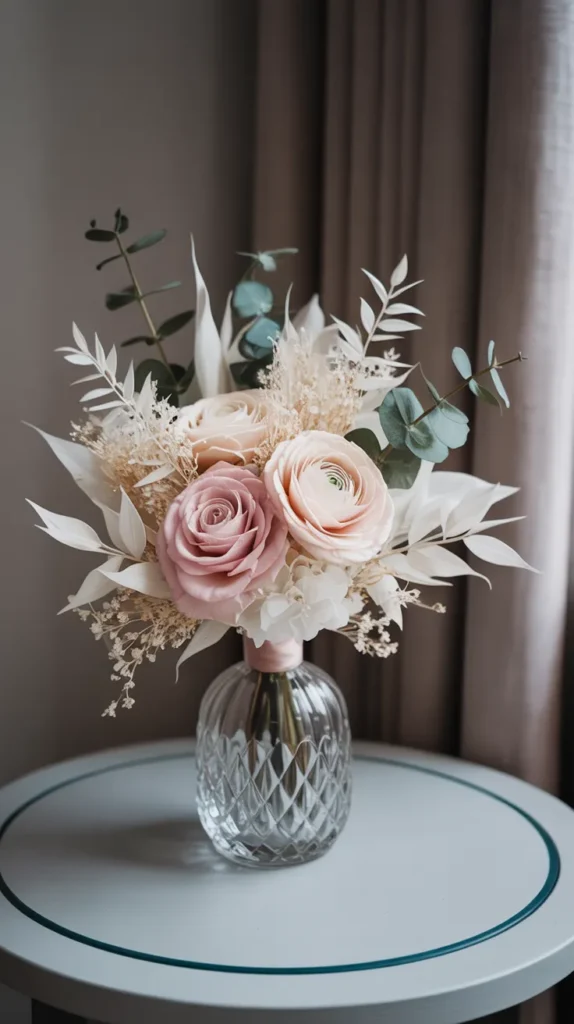
4. An Everlasting Bouquet Replica
If you truly loved your bouquet’s arrangement, why not create a smaller, everlasting version of it? Using your silica-dried flowers, you can create a lifelike replica to display in a vase, reminding you every day of your wedding.
What You’ll Need:
- A variety of your silica-dried wedding flowers
- Floral wire and green floral tape
- A small vase
Step-by-Step:
- The stems of your dried flowers will likely be short. You’ll need to create false stems by pushing a piece of sturdy floral wire through the base of each flower head.
- Wrap the wire and the short natural stem with green floral tape, stretching the tape as you go to activate its adhesive.
- Using a photo of your original bouquet as a guide, start arranging the flowers in a small vase.
- Start with your larger focal flowers and then fill in with smaller blooms and greenery. To hold everything securely in place, especially in a wide-mouthed vase, a {Kenzan Pin Frog} is an invaluable tool. This heavy metal base with sharp pins sits at the bottom of the vase, allowing you to stick stems in at any angle and create a stable, professional-looking arrangement.
- The result is a stunning, realistic bouquet that never needs water and never wilts.
5. Romantic Pressed Flower Floating Frames
If you pressed some of your flowers flat, this modern and elegant project is perfect for you. By sandwiching the delicate, paper-thin flowers between two panes of glass, you create a “floating” effect that is incredibly chic and beautiful.
What You’ll Need:
- A floating frame
- Your pressed wedding flowers and leaves
- Tweezers
Step-by-Step:
- Clean both glass panes of the frame.
- Use tweezers to carefully arrange your pressed flowers on one pane of glass. You can recreate a small cascade from your bouquet or create a new artistic composition.
- Place the second pane of glass on top, secure it in the frame, and your minimalist masterpiece is ready to hang. It looks especially beautiful when hung in a place where natural light can shine through the translucent petals.

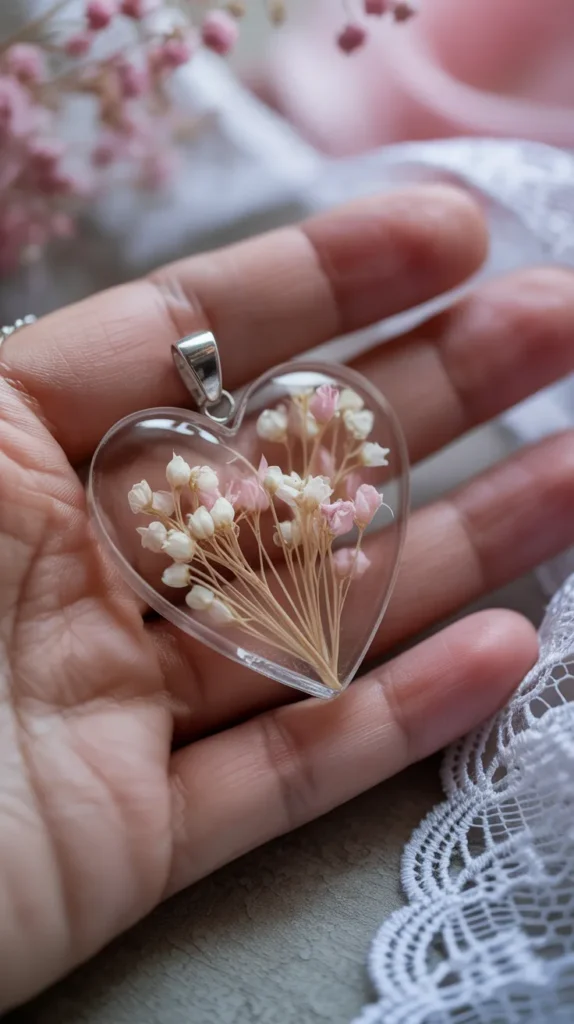
6. Personalized Resin Jewelry
Wear a piece of your wedding day close to your heart. Using small petals or flower fragments, you can create beautiful and deeply personal resin jewelry, like a pendant or a pair of earrings.
What You’ll Need:
- Small pressed petals from your bouquet
- A jewelry-sized silicone mold (e.g., teardrop, heart)
- Epoxy resin
- A necklace chain or earring findings
Step-by-Step:
- Carefully place a few small, perfect petals into the bottom of your jewelry mold. A little sprig of baby’s breath or a single rose petal can be stunning.
- Mix a small amount of resin and carefully pour it into the mold, covering the petals.
- Let the resin cure completely.
- Demold your piece, attach a bail to the top with a strong glue like {E6000 Craft Adhesive}, and thread a chain through it to create a beautiful necklace. This is a subtle, elegant way to carry your wedding memories with you.
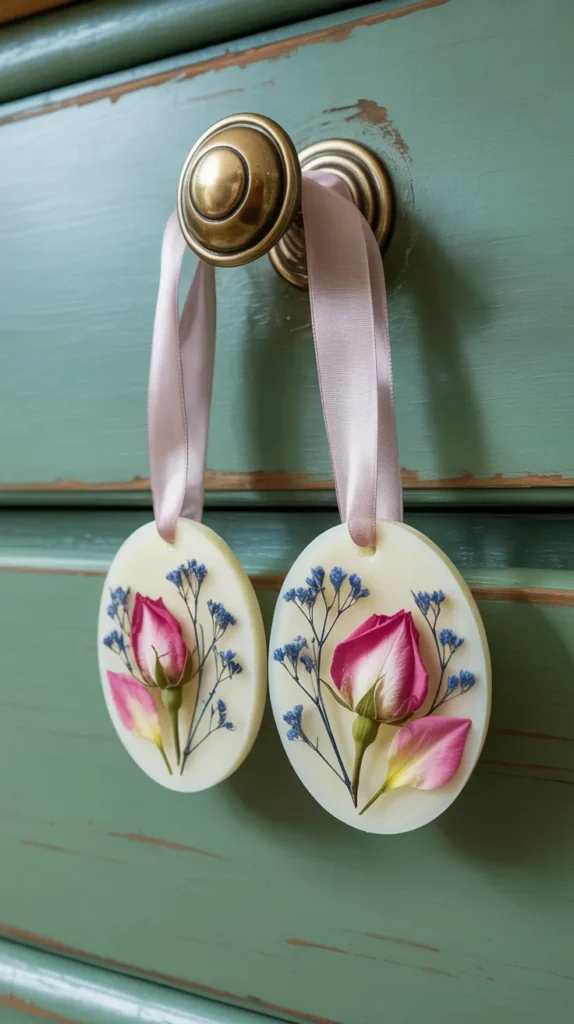
7. Aromatic Wax Sachets
Create beautiful, solid air fresheners to hang in your closet or place in a drawer. Every time you open it, you’ll be greeted with a gentle fragrance that reminds you of your special day. This is a wonderfully sensory addition to our list of dried wedding flower crafts.
What You’ll Need:
- Soy wax flakes and a little beeswax
- Essential oils that complement your flower scents (e.g., rose, lavender)
- Dried petals from your bouquet
- A silicone mold
Step-by-Step:
- Melt your waxes together in a double boiler.
- Remove from the heat and stir in your essential oils.
- Pour the wax into your molds.
- When the wax is partially set but still soft, gently press your wedding petals onto the surface.
- Let them harden completely, then pop them out. You can thread a ribbon through the top for hanging.
8. Custom Ring Holder
Your wedding rings are a powerful symbol of your marriage. Create a beautiful, custom dish to keep them safe when you’re not wearing them.
What You’ll Need:
- Air-dry clay OR a small, shallow silicone dish mold and resin
- Small pressed petals from your bouquet
Step-by-Step (for Clay):
- Roll out air-dry clay and press your wedding flowers into the surface to create an impression.
- Drape the clay over an upside-down bowl to form a dish shape and let it dry.
- Once dry, you can paint the impressions with metallic paint for a touch of elegance. Seal the dish with a clear spray sealer to protect it. A product like {Krylon Crystal Clear Acrylic Spray Finish} provides a durable, non-yellowing finish that is easy to apply.
Step-by-Step (for Resin):
- Arrange your petals in the bottom of the silicone dish mold.
- Pour mixed resin over them and let it cure.
- Demold your beautiful, glossy ring dish.

9. Decoupage Keepsake Box
Create a beautiful box to store other small mementos from your wedding day. By decoupaging the lid with pressed flowers from your bouquet, you turn a simple wooden box into a personalized treasure chest
What you’ll Need:
- A plain wooden box
- Pressed flowers and leaves from your bouquet
- A decoupage medium like {Mod Podge Waterbase Sealer, Glue and Finish}
- A soft paintbrush
Step-by-Step:
- Paint a thin layer of Mod Podge onto the lid of your box.
- Arrange your pressed flowers on the wet medium.
- Carefully paint another layer of Mod Podge over the top of the flowers to seal them in. It will look milky but will dry to a clear, protective finish.
- Let it dry completely. You can now use this box to store your garter, jewelry, or wedding cards.

10. Elegant Wine Stopper
If you shared a special bottle of wine on your wedding day, this is a perfect craft. By topping a wine stopper with a custom resin piece containing your wedding flowers, you create a beautiful and functional memento.
What you’ll Need:
- A wine stopper blank with a flat top
- A small, decorative silicone mold
- Epoxy resin
- Tiny dried petals from your bouquet
- Strong adhesive
Step-by-Step:
- Create a small resin cabochon by filling your mold with petals and resin, then letting it cure.
- Once the resin piece is fully cured, use a strong, permanent adhesive to glue it to the top of the wine stopper blank.
- Every time you open a bottle of wine to celebrate an anniversary, you’ll have a beautiful reminder of your wedding day.

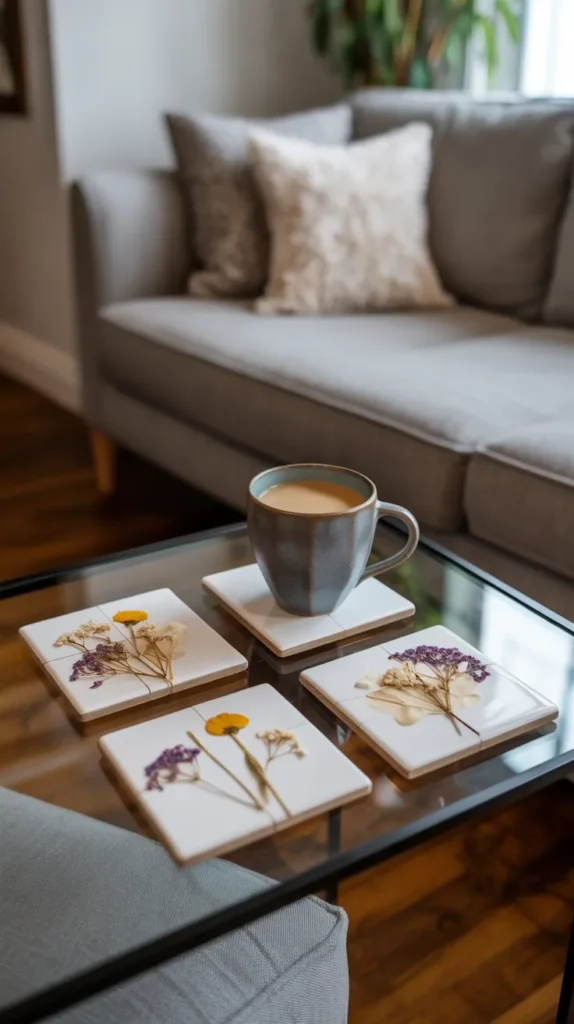
11. Custom Coasters for Your New Home
Start your new life together with a set of handmade coasters that hold a piece of your wedding day. This is a practical and beautiful way to incorporate your memories into your daily life.
What You’ll Need:
- Square ceramic tiles OR a square silicone coaster mold and resin
- Pressed flowers from your bouquet
- Mod Podge (for tiles) or resin
- Felt pads for the bottom
Step-by-Step (for Tiles):
- Decoupage your pressed flowers onto the surface of the ceramic tiles using Mod Podge.
- Apply several top coats of Mod Podge to create a durable, water-resistant surface.
- Attach felt pads to the bottom corners to protect your furniture.
Step-by-Step (for Resin):
- Arrange your pressed flowers in the silicone molds.
- Pour resin over them and let them cure. This method is more durable and fully waterproof.
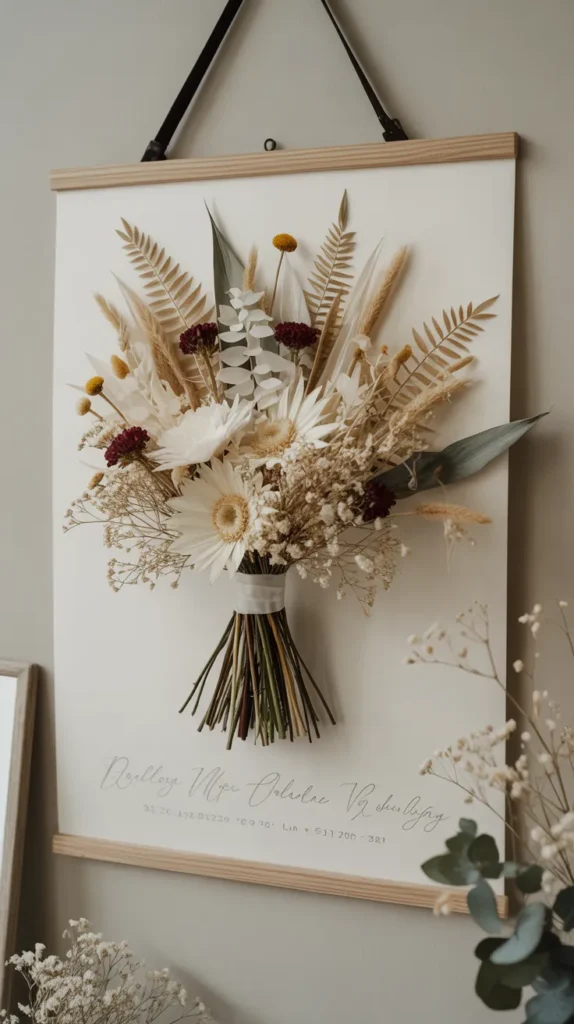
12. Framed Bouquet Art
Sometimes, the simplest approach is the most beautiful. Create a stunning piece of wall art by carefully arranging your pressed wedding flowers on a piece of high-quality art paper and framing it.
What You’ll Need:
- A large piece of archival quality paper
- Your pressed wedding flowers
- A fine-tipped glue applicator
- A beautiful frame
Step-by-Step:
- Use a photo of your original bouquet as a reference.
- Recreate the bouquet’s shape by carefully gluing your pressed flowers onto the art paper. This creates a flat, “deconstructed” version of your bouquet.
- You can use a calligraphy pen to write your names and wedding date at the bottom for a personal touch.
- Frame your creation in a beautiful frame that matches your home decor.
Your Wedding Keepsake Toolkit
To ensure your precious memories are preserved beautifully, using the right supplies is key. Here are some of the essential products mentioned in this guide.
| Product Name | Brand | Use |
|---|---|---|
| Flower Drying Art Silica Gel | Activa | The best method for preserving the 3D shape and vibrant color of your wedding flowers. |
| Epoxy Resin | ArtResin | For creating professional, crystal-clear, non-yellowing keepsakes like paperweights and jewelry. |
| Kenzan Pin Frog | Kenzan | A professional florist’s tool for creating stable, beautiful everlasting bouquet arrangements in a vase. |
| E6000 Craft Adhesive | E6000 | An industrial-strength glue perfect for permanently bonding resin pieces to jewelry and stoppers. |
| Waterbase Sealer, Glue and Finish | Mod Podge | The perfect all-in-one medium for decoupaging flowers onto keepsake boxes and coasters. |
| Crystal Clear Acrylic Spray Finish | Krylon | An easy-to-use spray to seal and protect air-dry clay projects like your custom ring dish. |
Conclusion: Turning Memories into Masterpieces
Your wedding flowers are more than just decorations; they are symbols of the love and joy of your special day.
Through the magic of dried wedding flower crafts, you can transform them from fleeting beauties into everlasting treasures that will continue to bring you joy for years to come.
Don’t let those beautiful blooms go to waste. Choose a project that speaks to you, whether it’s a simple ornament or an elaborate shadow box. The act of creating this keepsake is a beautiful way to reflect on your wedding day and the beginning of your life together.
So, gather your bouquet, choose your project, and start preserving those precious memories. Which of these enchanting ideas will you use to tell your wedding story?