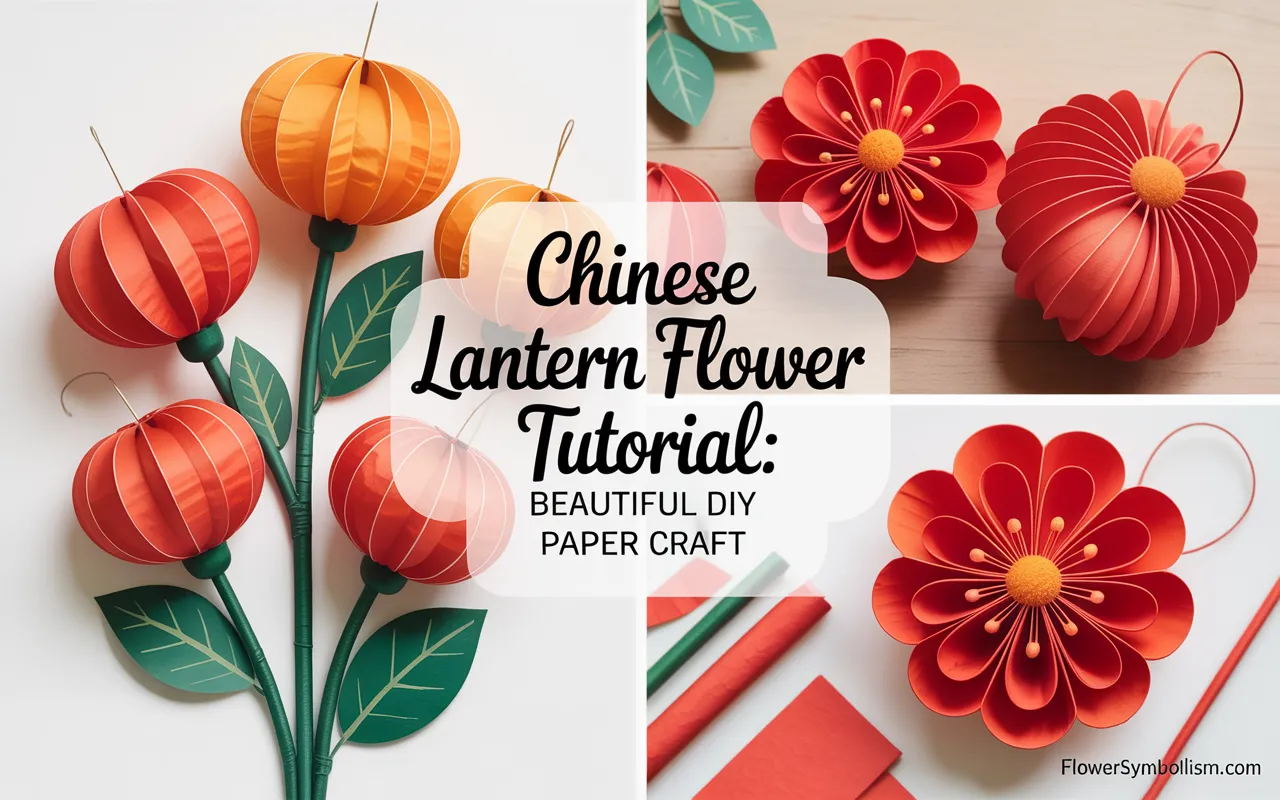
There’s something magical about creating beautiful decor with your own hands. If you love paper crafts, this Chinese lantern flower tutorial is the perfect project to brighten up your space. These delicate, bell-shaped flowers, inspired by the real Chinese lantern plant, are surprisingly easy to make and add a whimsical touch to any room or celebration.
This guide will walk you through every step of the process, from gathering your materials to adding the final touches. You don’t need to be a paper-crafting expert to succeed. With a little patience and our simple instructions, you’ll be creating a whole garden of stunning paper lanterns in no time.
What You’ll Need
Before we start folding, let’s gather our supplies. Having everything ready makes the crafting process smooth and enjoyable. You probably have many of these items at home already!
Materials List:
- Colored paper (orange, red, or yellow works best)
- Green floral tape
- Floral wire (about 20-gauge)
- A small bead for each flower
- Pencil
- Scissors or a craft knife
- Ruler
- Hot glue gun or craft glue
For the paper, a quality set like {Neenah Creative Collection Cardstock} is a great choice. It’s sturdy enough to hold its shape but flexible enough to fold easily, and it comes in vibrant colors perfect for this project.
Step 1: Cut Your Paper Squares
The first step is to prepare your paper. For each flower, you will need one square piece of paper. A good starting size is 4×4 inches (10×10 cm), which will create a flower about 2 inches long. You can experiment with different sizes later to create a variety of flower dimensions.
Using your ruler and pencil, carefully measure and mark your squares. A sharp pair of scissors or a craft knife and cutting mat will give you the cleanest edges. Precision here will make the folding process much easier later on.

Step 2: Fold the Paper into a Triangle Base
This step uses a classic origami fold to create the foundation for our lantern shape. Don’t worry, it’s simpler than it sounds!
Take one of your paper squares. Fold it in half diagonally to form a triangle, making sure the corners line up perfectly. Unfold it, then fold it in half diagonally the other way and unfold again. You should now have an “X” crease on your square.
Next, flip the paper over and fold it in half horizontally, crease it, and unfold. Your paper now has three intersecting crease lines. This prepares the paper for the next fold.
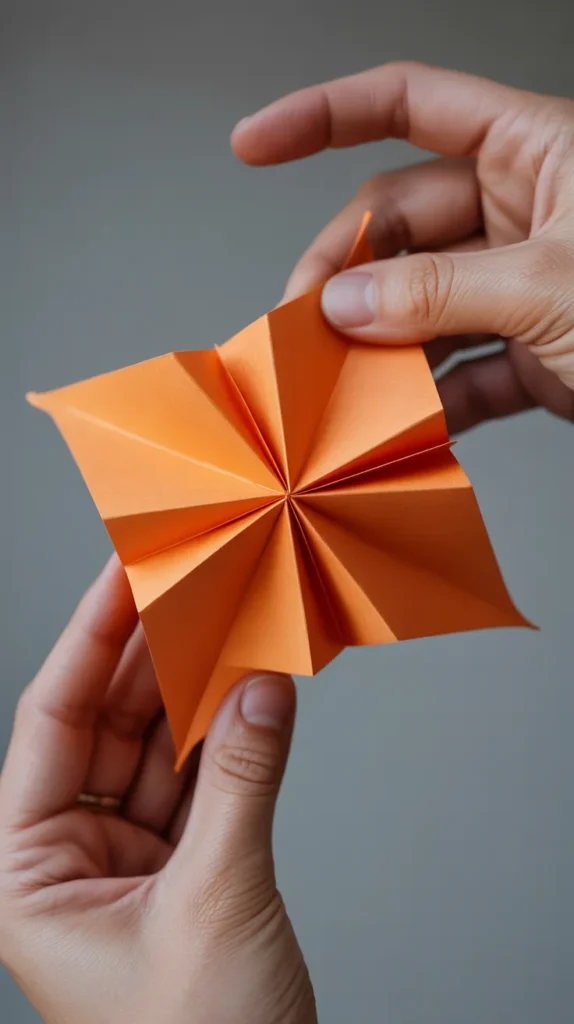
Step 3: Create the Waterbomb Base
Now we’ll turn those creases into a three-dimensional base. This is a common origami technique called a “waterbomb base” or “double triangle.”
Hold the paper with the horizontal crease facing up like a tent. Gently push the left and right sides inward along their diagonal creases. The paper should naturally collapse down into a smaller, layered triangle shape. Press it flat to secure the folds.
This is the foundational shape for your Chinese lantern flower. Make sure all your corners are sharp and the edges are aligned.
Step 4: Shape the Lantern Petals
With your triangle base ready, it’s time to shape the “petals” of the lantern. Your triangle has four flaps, two on each side.
Take the top flap on the right side and fold its outer edge to meet the center line. Crease it firmly. Repeat this with the top flap on the left side. Your shape should now look like a kite.
Flip the entire piece over and repeat the same folds on the other side. Now all four flaps are folded into the center, creating a diamond or kite shape.
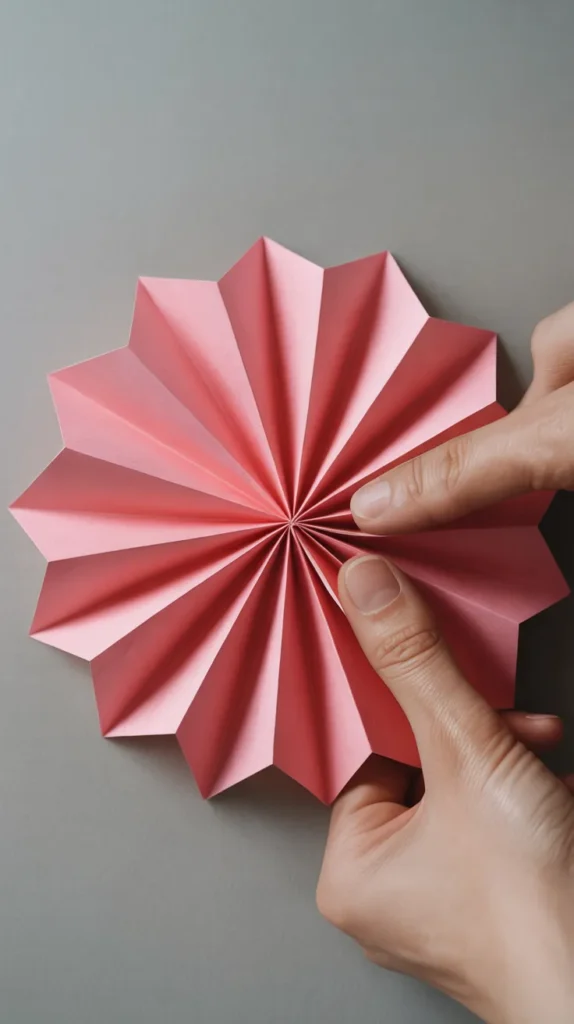
Step 5: Tuck and Secure the Flaps
This step will start to give our flat paper some dimension. Look at your kite-shaped paper. You’ll see small triangular flaps at the top.
Unfold the last folds you just made. Now, take the outer corner of one flap and fold it inward to the first crease line you see. Next, use your finger to open up the pocket on the side and tuck this smaller folded section inside. This locks the petal shape in place.
Repeat this tucking process for all four flaps. This can be a bit tricky, so take your time. Using a tool like a {Cricut Weeder and Scraper Tool Set}, which has a pointed end, can help guide the paper into the pockets without tearing it.
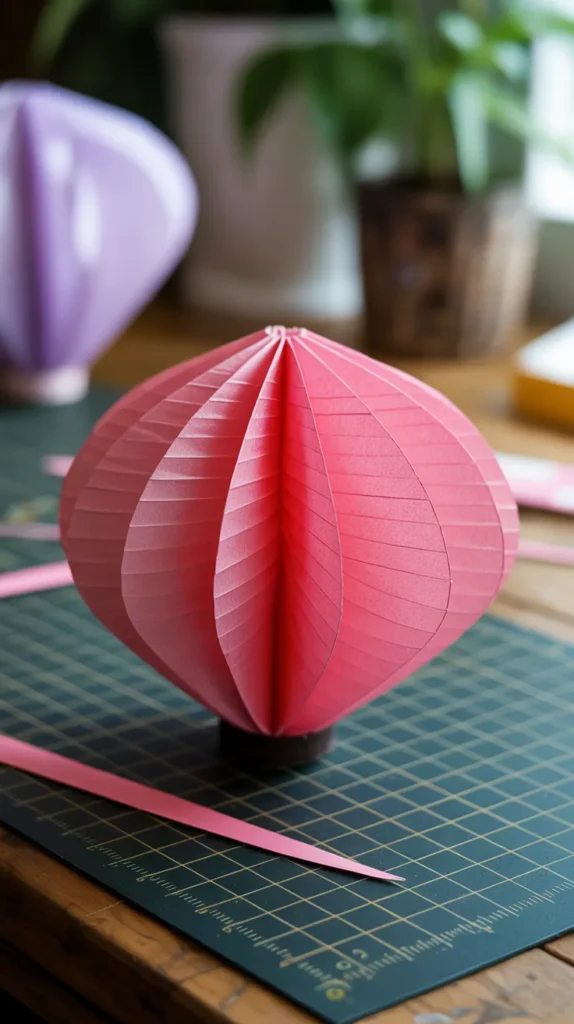
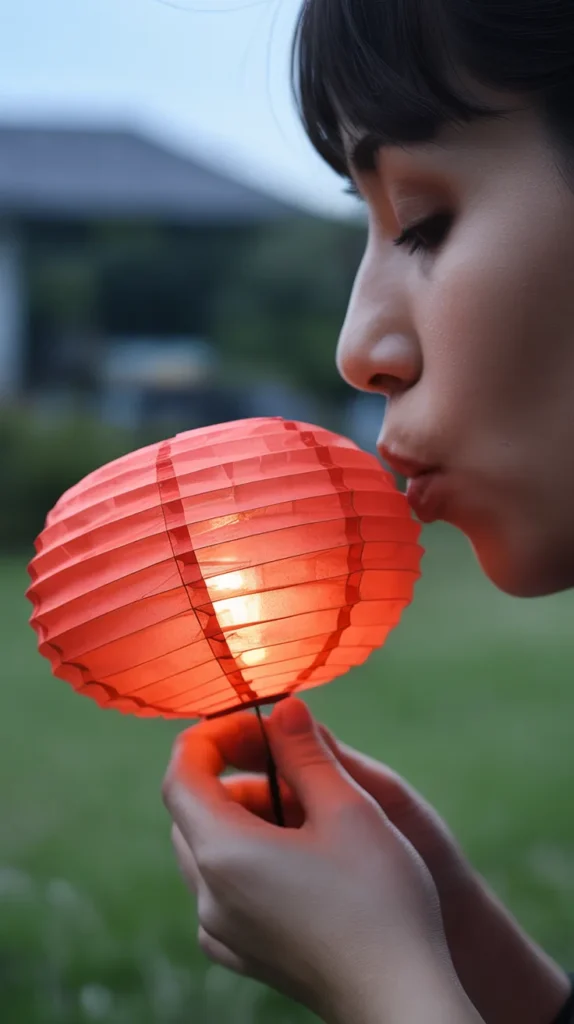
Step 6: Inflate Your Lantern
This is the most magical part of the whole Chinese lantern flower tutorial! Your folded paper now has a tiny hole at one end.
Hold the lantern gently with the pointed tip facing you. Bring the shape to your lips and blow a soft, steady puff of air into the hole. The paper will inflate into a beautiful, puffy lantern shape, just like a little balloon!
If it doesn’t inflate easily, gently pull the sides apart with your fingers to help it open up. Don’t blow too hard, or you might undo your folds.
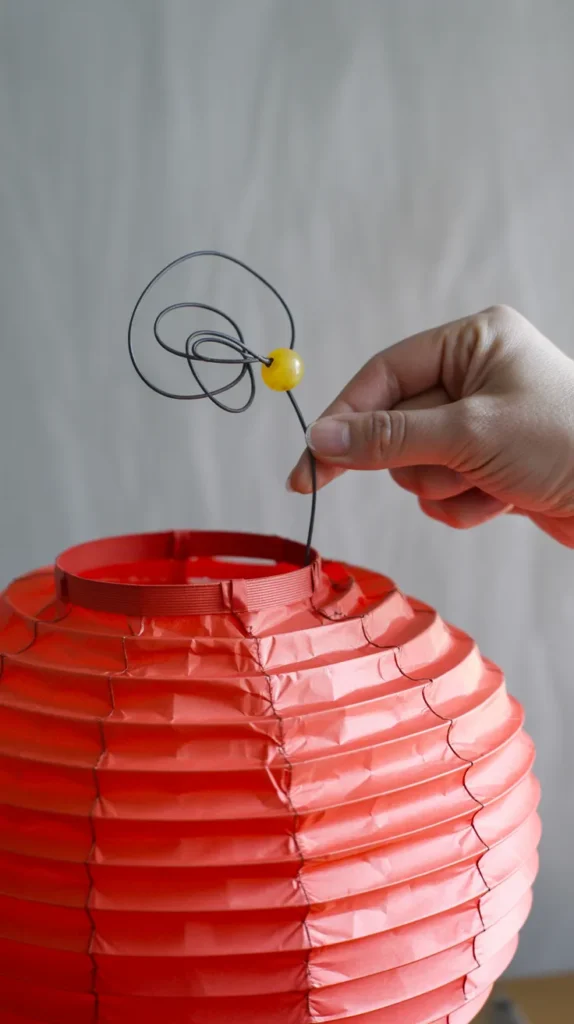
Step 7: Prepare the Stem and Stamen
Now let’s give our flower a stem. Cut a piece of floral wire about 6 inches long. A good pair of {IRWIN VISE-GRIP Wire Cutters} makes this easy and safe.
Take a small bead and thread it onto one end of the wire. Fold the tip of the wire over and twist it to secure the bead, creating the stamen. This little bead will hang just below the lantern, adding a lovely finishing touch.
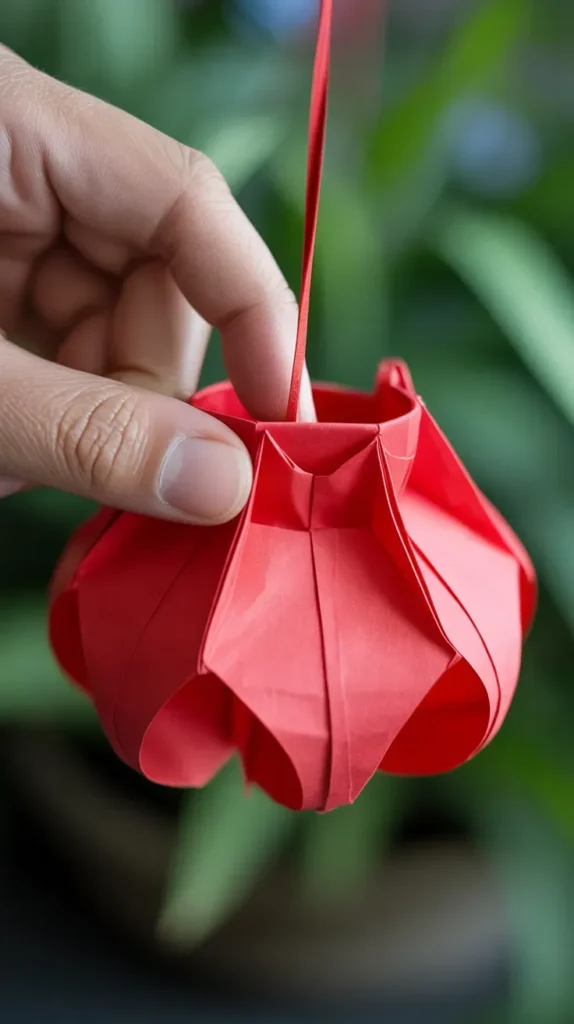
Next, carefully insert the straight end of the wire through the top opening of your inflated paper lantern and pull it down through the small hole at the bottom where you blew into it. The bead should be hidden inside the lantern, with the wire stem coming out the bottom.
Step 8: Finishing Touches with Floral Tape
The final step is to secure everything and give your stem a realistic finish. Green floral tape is perfect for this.
Starting at the base of your paper lantern, begin wrapping the {TECFLOWER Green Floral Tape} around the wire. This tape is not sticky until you stretch it; as you wrap, stretch the tape slightly and it will adhere to itself.
Wrap the tape tightly all the way down the wire stem. The tape will secure the lantern to the stem and give it a clean, professional look. You can then gently curl the paper “petals” at the bottom of the lantern outward with your finger for a more organic, bloomed appearance.
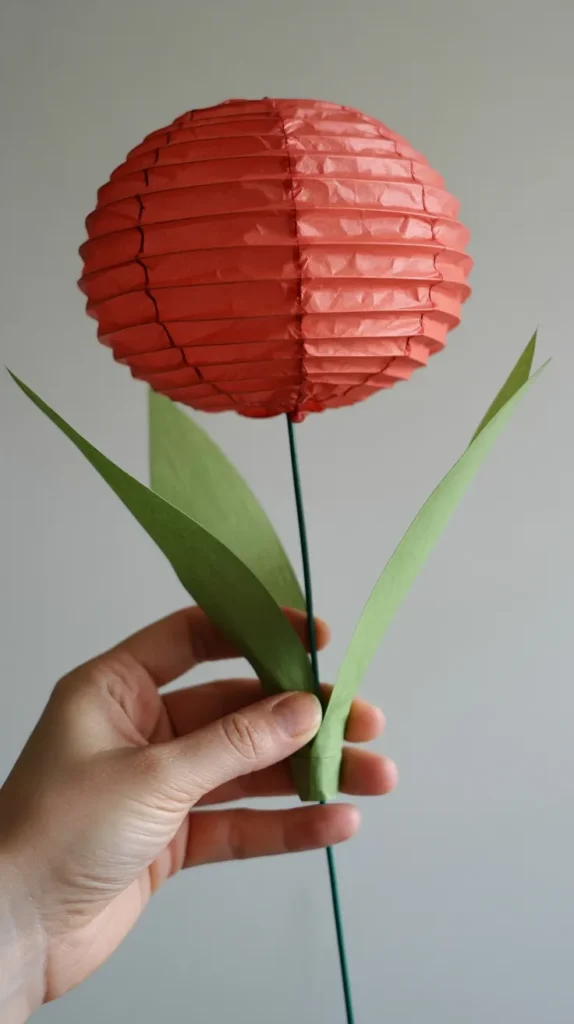
Conclusion
Congratulations, you’ve completed your first paper Chinese lantern flower! This simple and rewarding Chinese lantern flower tutorial shows how a few folds can turn a flat piece of paper into a stunning three-dimensional object.
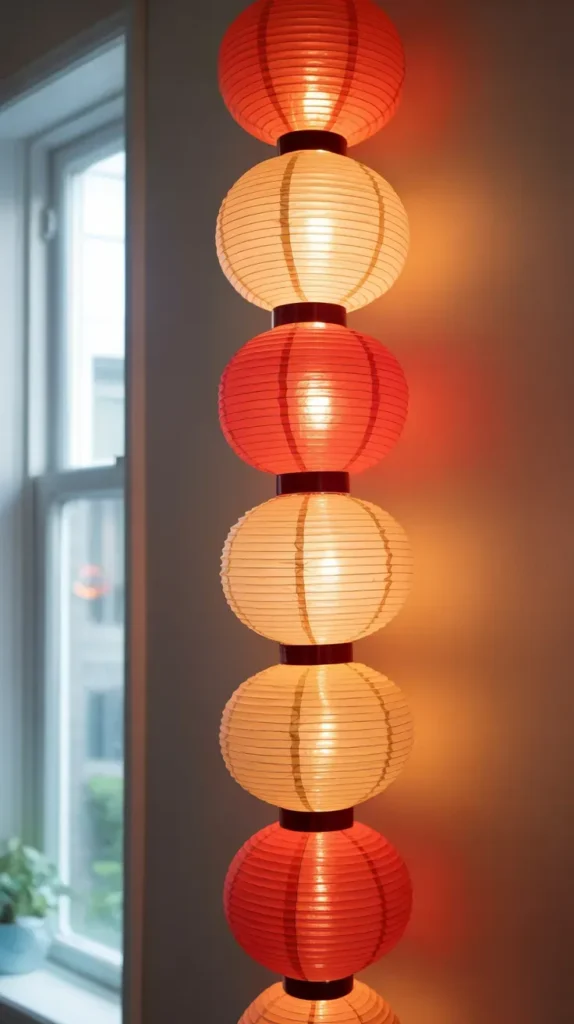
Now that you know the technique, you can create a whole string of them to hang as a garland, make a bouquet for a vase, or use them as gift toppers. Experiment with different paper colors and sizes to make this beautiful DIY paper craft uniquely your own.
Recommended Products Summary
| Product Name | How It Helps |
|---|---|
| {Neenah Creative Collection Cardstock} | Provides sturdy, vibrant paper that holds its shape well. |
| {Cricut Weeder and Scraper Tool Set} | The pointed tool helps tuck paper flaps into tight pockets neatly. |
| {IRWIN VISE-GRIP Wire Cutters} | Safely and cleanly cuts floral wire to the perfect length for stems. |
| {TECFLOWER Green Floral Tape} | Secures the lantern to the stem and provides a realistic finish. |