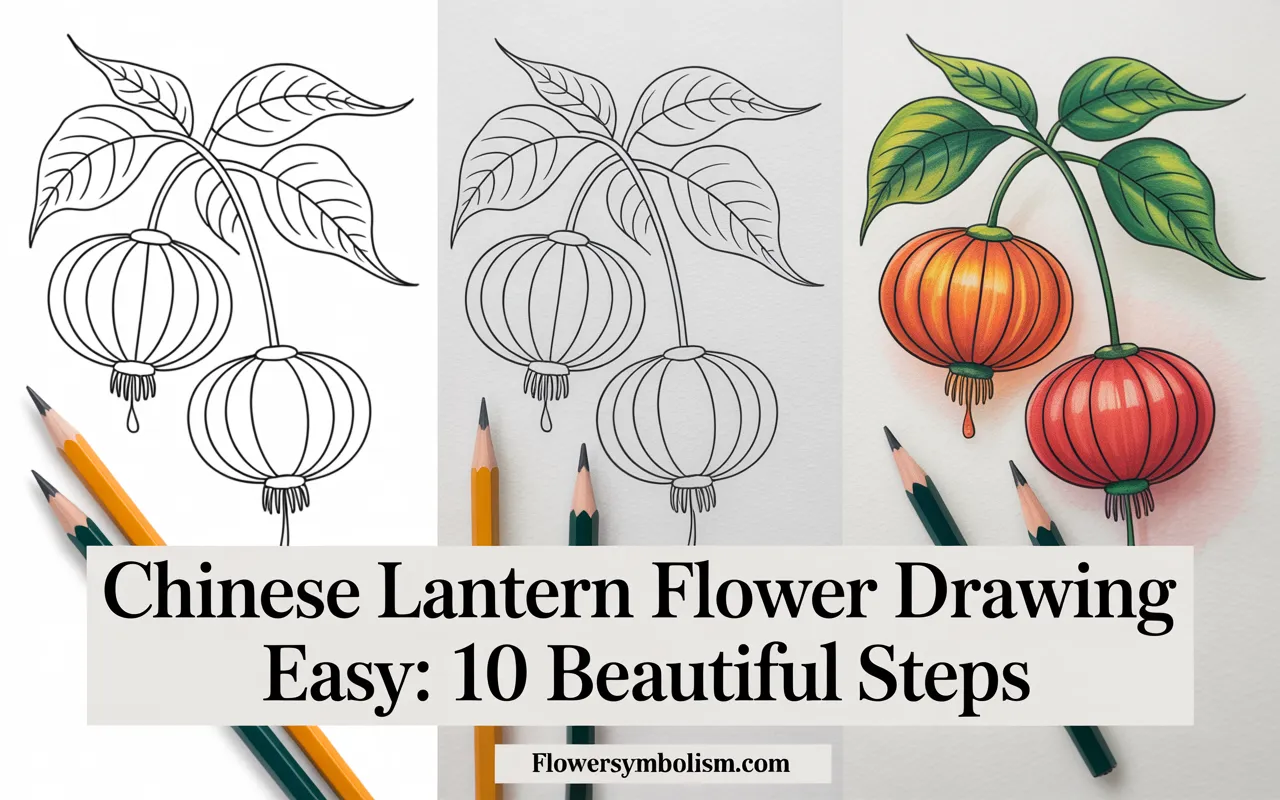
Have you ever wanted to capture the delicate, papery beauty of a Chinese lantern flower on paper? You are in the right place! This Chinese lantern flower drawing easy tutorial is designed specifically for beginners who want to create stunning botanical art without feeling overwhelmed. These unique flowers, with their bright orange husks and berry-like centers, are a joy to sketch and color.
Whether you are looking to relax with a creative hobby or want to design a handmade card, this guide will walk you through the process one simple line at a time. Grab your pencils, and let’s get ready to make something beautiful together!
What You Need to Get Started
Before we dive into the steps, let’s gather our tools. You don’t need a professional studio to create great art, but having the right supplies makes a huge difference.
- Pencils: A standard HB pencil is great for sketching, but a quality set like {Staedtler Mars Lumograph Drawing Pencils} offers different grades for shading and fine lines.
- Paper: Smooth drawing paper works best for botanical illustration.
- Eraser: A kneaded eraser is essential for lifting graphite without damaging the paper.
- Coloring Tools: Colored pencils, markers, or watercolors to bring your drawing to life.
- Fine Liner: For outlining your final sketch.
Step 1: Draw the Main Stem Line
Start by drawing a gentle, curving line to represent the main stem. This doesn’t need to be perfectly straight; in nature, stems often have a slight wave or bend to them.
Keep your pencil pressure light so you can easily erase later if needed. Imagine how the branch hangs naturally under the weight of the lanterns. This line will act as the “spine” for your entire drawing.
Step 2: Add Smaller Branch Offshoots
Now, add small, short lines branching off from your main stem. These will be the connectors where the lantern flowers attach.
Vary the angles slightly to make it look organic. Some might point downwards, while others might stick out to the side. Remember, we are aiming for a natural look, so imperfection is perfect here!
Step 3: Sketch the Basic Lantern Shapes
At the end of each small branch, lightly sketch a simple oval or egg shape. This is the rough outline of the Chinese lantern husk.
Don’t worry about the details yet; just focus on getting the size and placement right. If you are having trouble keeping your shapes consistent, using a {Helix Angle and Circle Maker} can help you draw light guide circles to build upon.
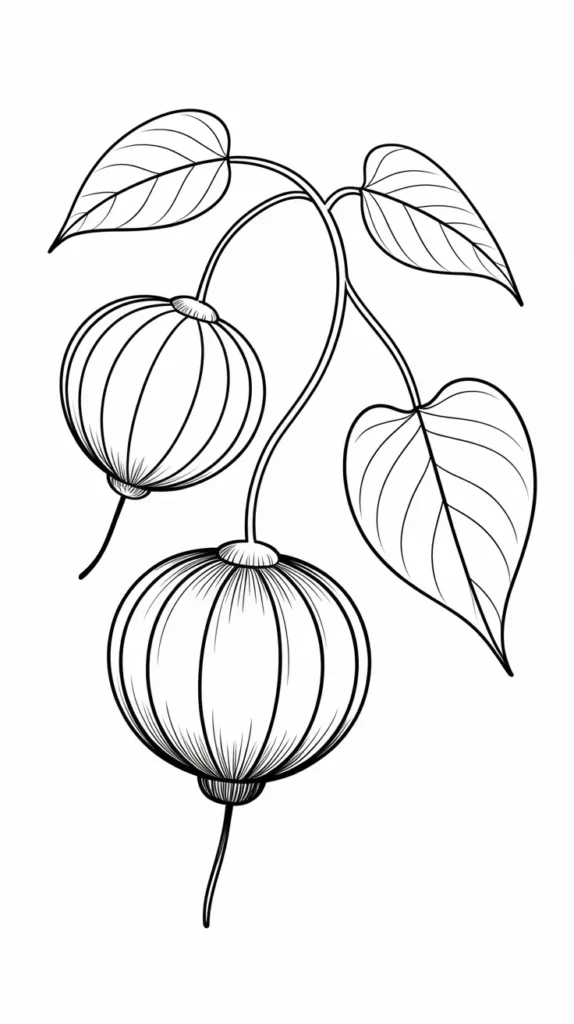
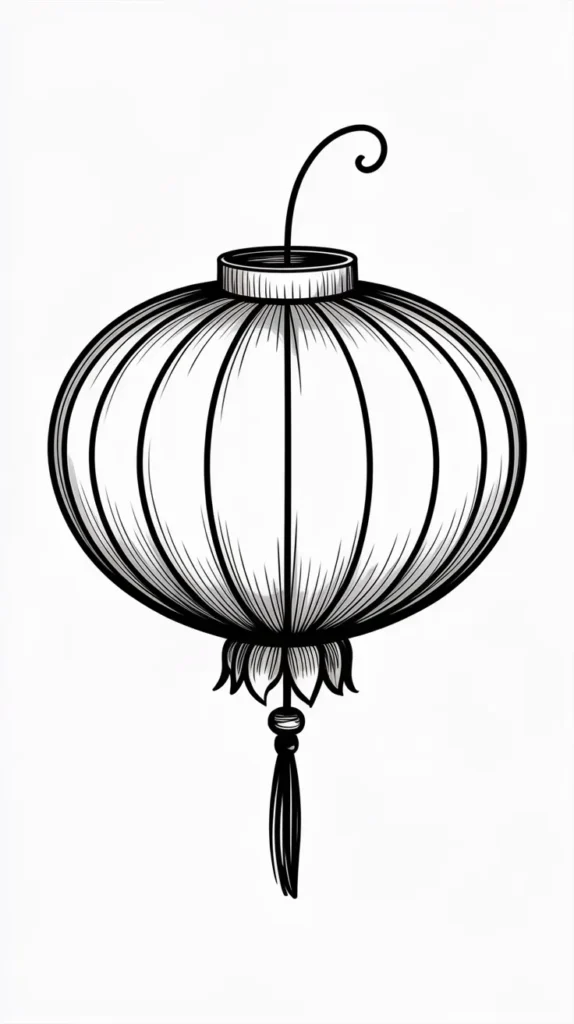
Step 4: Define the Lantern Point
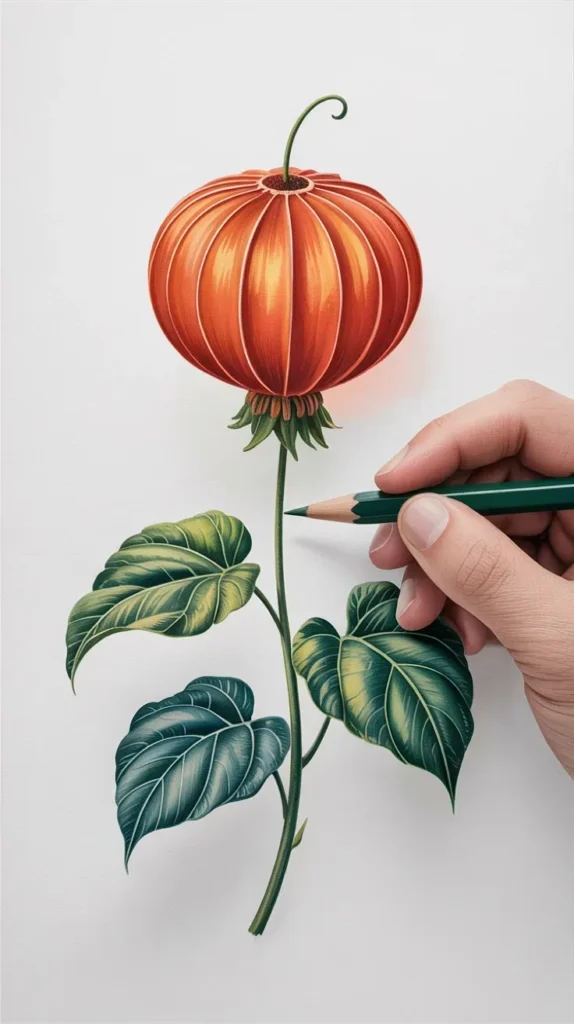
Chinese lantern flowers (Physalis) have a distinctive pointed bottom, almost like a heart shape that has been elongated.
Refine your oval shapes by bringing the bottom curve to a soft point. It should look a bit like a paper lantern or a suspended balloon that tapers at the end. Erase the original rounded bottom lines as you go.
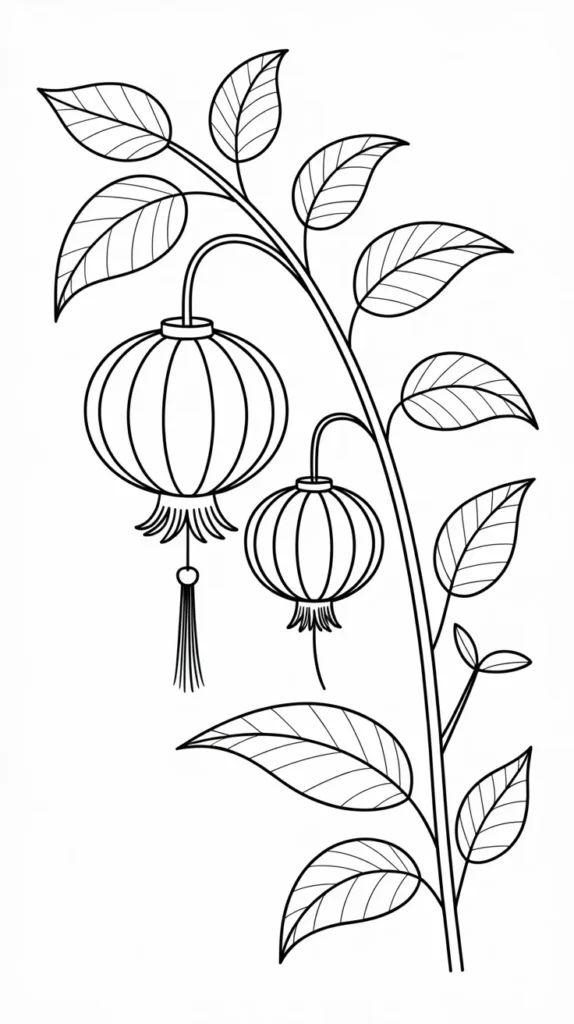
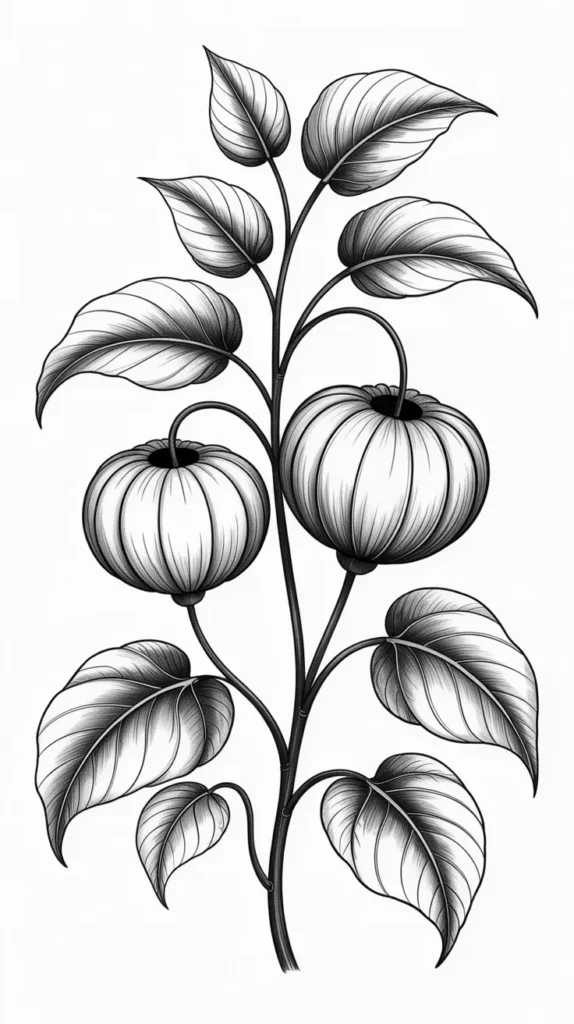
Step 5: Draw the Vertical Veins
To give the flower its signature papery texture, we need to add veins. Draw curved vertical lines running from the top of the lantern (where it meets the stem) down to the bottom point.
Imagine the lantern is a beach ball or a pumpkin; the lines should curve with the shape of the fruit. Usually, three or four visible lines are enough to suggest the form without making it look cluttered.
Step 6: Add Leaves to the Stem
A bare stem can look a little lonely. Let’s add some leaves to fill out the composition. Draw simple almond or tear-drop shapes attaching to the main stem, in between the lanterns.
Draw a central vein down the middle of each leaf. If you want to keep your sketchbook tidy while erasing stray marks, a {Mr. Pen Eraser Shield} is a fantastic little tool that protects the lines you want to keep while letting you erase the ones you don’t.
Step 7: Refine the Stem Connection
Now, let’s look closely at where the lantern meets the stem. This area, called the calyx, often looks like a small cap.
Draw a tiny, jagged or star-shaped zigzag right where the stem touches the top of the lantern. This small detail adds a lot of realism to your Chinese lantern flower drawing easy project.
Step 8: Ink Your Outline
Once you are happy with your pencil sketch, it’s time to make it permanent. Use a fine liner pen to trace over your pencil lines.
Go slowly and use smooth strokes. For the outline of the lantern husk, try making the line slightly shaky or broken in places to mimic the delicate, papery texture of a dried lantern. {Sakura Pigma Micron Pens} are the industry standard for this because their archival ink won’t bleed when you add color later.

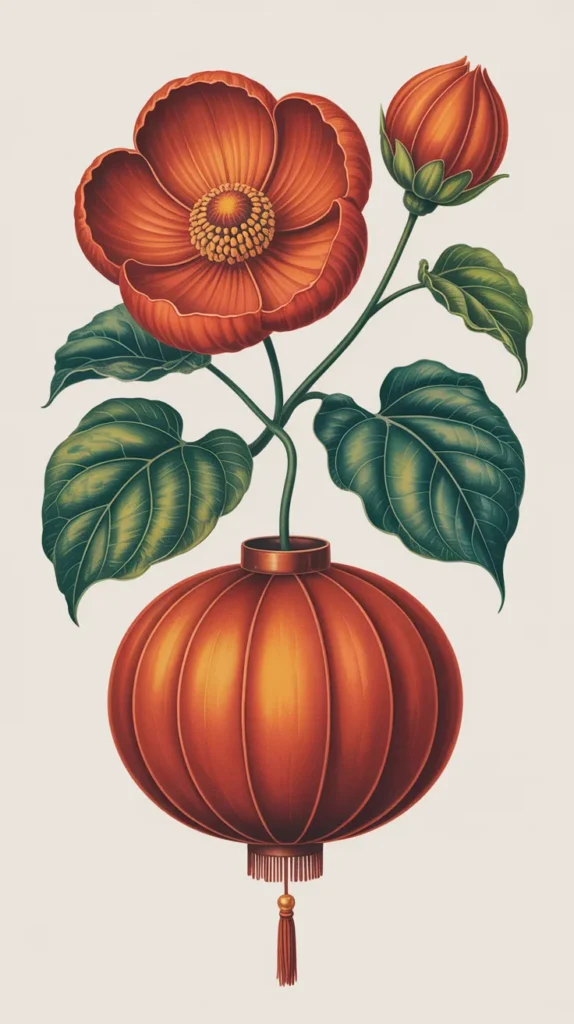
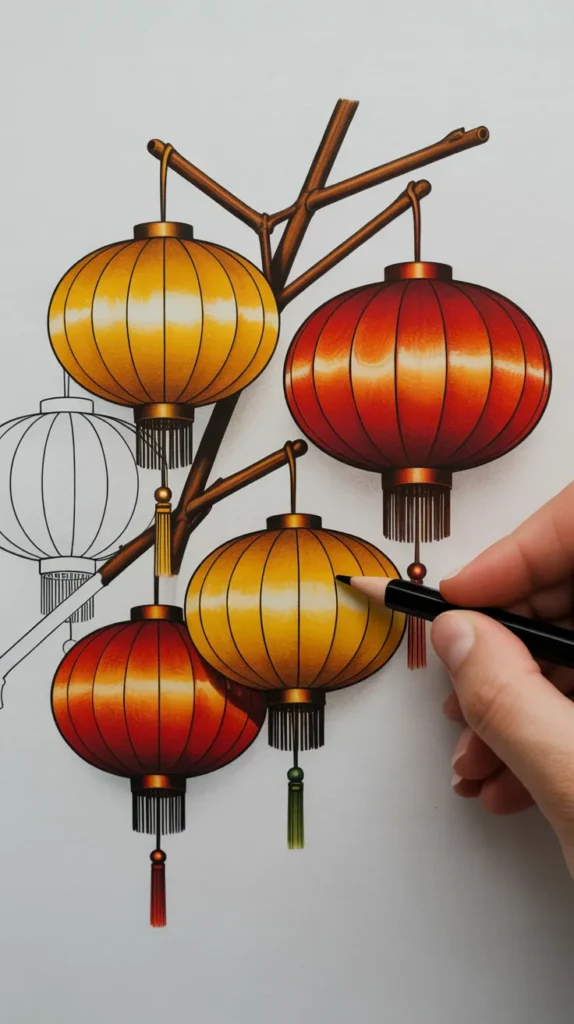
Step 9: Erase Pencil Lines and Add Color
Wait a minute for the ink to dry completely, then gently erase all the underlying pencil marks. Now comes the fun part: color!
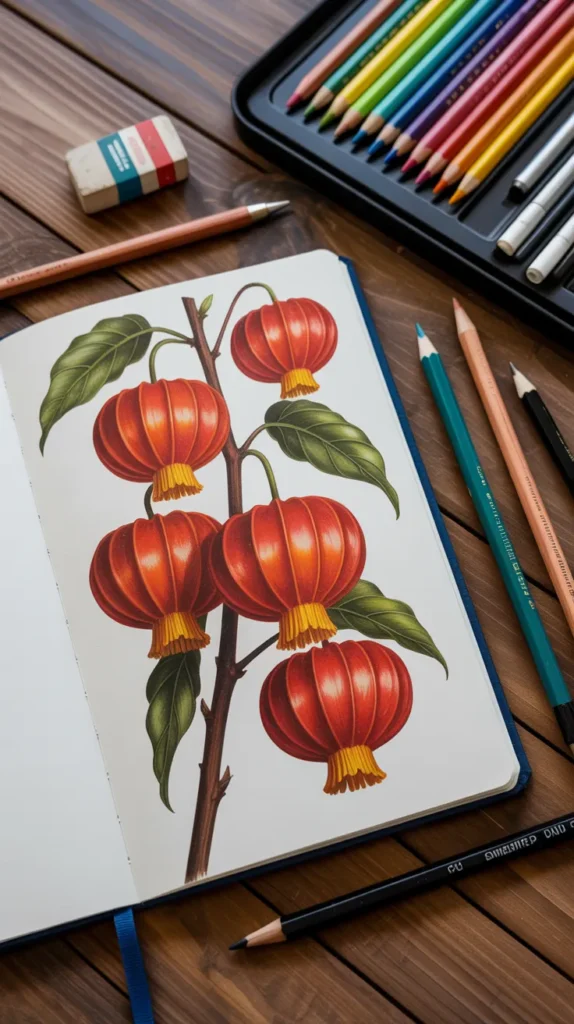
Chinese lanterns are famous for their brilliant orange and red hues. Start with a base layer of yellow, then layer orange on top, concentrating the darker orange or red near the veins and the bottom point to create shadows and depth.
For vibrant, blendable color, I highly recommend {Prismacolor Premier Colored Pencils}. Their soft cores make blending that beautiful sunset orange incredibly satisfying.
Step 10: Highlights and Final Touches
To make your drawing pop, leave a small area on the curved part of the lantern lighter or even white to act as a highlight. This makes it look 3D and shiny.
Finally, color the stem and leaves a deep green. If you want to add a magical touch, use a {Uni-Ball Signo Broad White Gel Pen} to add tiny white dots or lines on the brightest part of the lantern for an extra crisp highlight.

Conclusion
Congratulations! You have successfully learned how to create a Chinese lantern flower drawing easy and stress-free. By breaking complex shapes down into simple lines and curves, you can draw just about anything from nature.
We hope this tutorial inspires you to fill your sketchbook with more botanical wonders. Remember, practice makes progress, so don’t be afraid to try this again with different arrangements or colors!
Recommended Products Summary
| Product Name | How It Helps |
|---|---|
| {Staedtler Mars Lumograph Drawing Pencils} | Provides a range of graphite grades for sketching and shading. |
| {Helix Angle and Circle Maker} | Helps beginners draw accurate guide circles for the lantern shapes. |
| {Mr. Pen Eraser Shield} | Allows for precise erasing without smudging your main drawing lines. |
| {Sakura Pigma Micron Pens} | Creates crisp, waterproof outlines that won’t bleed during coloring. |
| {Prismacolor Premier Colored Pencils} | Offers soft, blendable cores perfect for achieving vibrant orange gradients. |
| {Uni-Ball Signo Broad White Gel Pen} | Adds bright, crisp highlights to finish the drawing with a professional touch. |