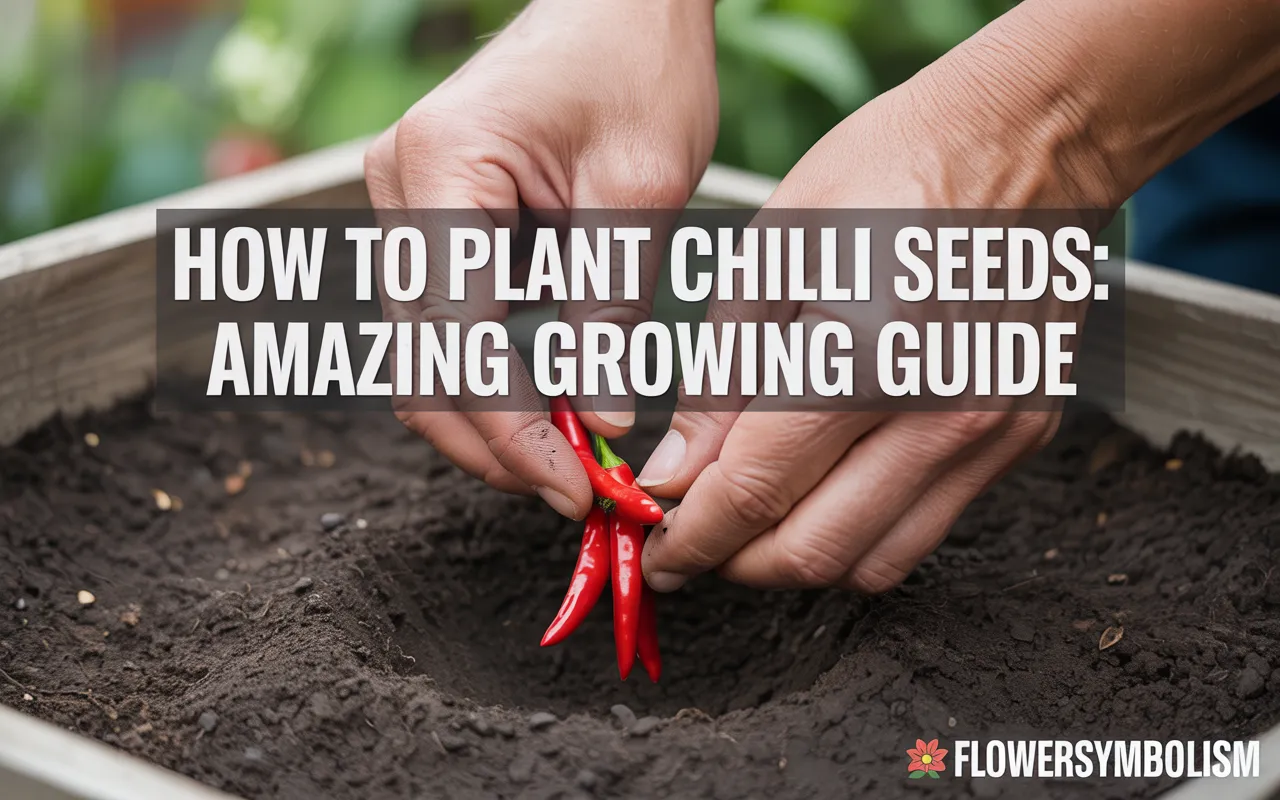
There’s a special kind of magic in growing your own food, and it gets even more exciting when that food has a kick. Growing chillies from scratch is a deeply rewarding journey that takes you from a tiny seed to a fiery, flavorful harvest.
This guide is here to demystify the process and show you exactly how to plant chilli seeds for amazing success.
Don’t be intimidated if you’re new to gardening. Chilli plants are surprisingly generous and, with a few key secrets, anyone can grow them.
We’ll cover everything from waking up your seeds and giving them the perfect start to caring for your plants until they are loaded with vibrant peppers. Get ready to turn up the heat and add a personal, homegrown spice to your kitchen!
The World of Chillies: Choosing Your Seeds
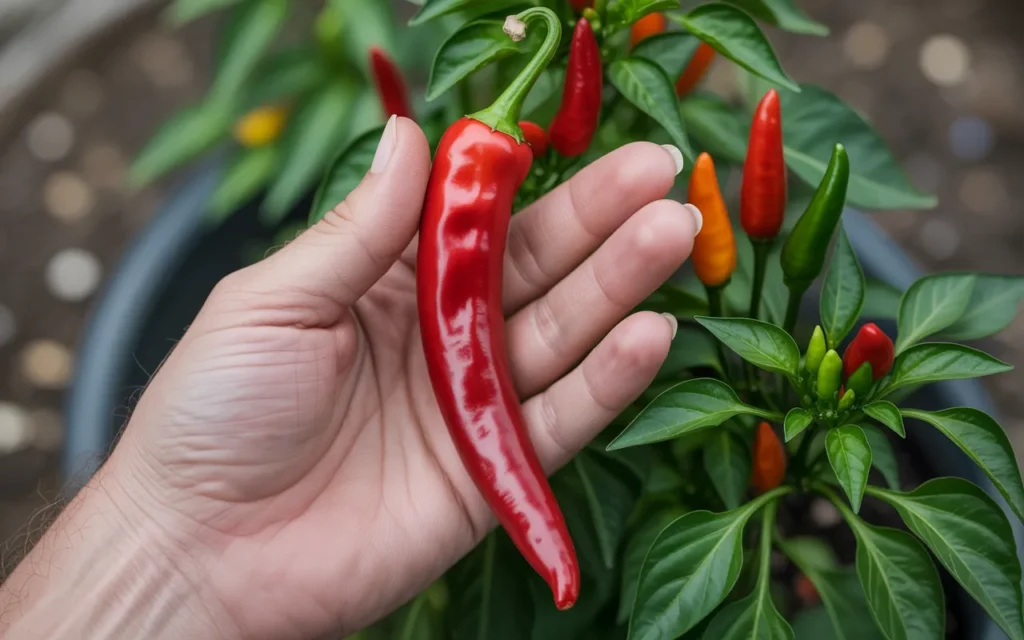
Before you can plant anything, you need to choose what to grow. The world of chilli peppers is vast and exciting, ranging from mildly warm to volcanically hot. The heat of a chilli is measured in Scoville Heat Units (SHU).
A Chilli for Every Palate
- Mild (0 – 5,000 SHU): These are great for flavor without overwhelming heat.
- Poblano (Ancho): Mildly spicy, perfect for stuffing.
- Jalapeño: The classic, versatile chilli. Great for everything from salsa to poppers.
- Anaheim: A gentle, large pepper ideal for roasting.
- Medium (5,000 – 30,000 SHU): Now we’re turning up the heat a bit.
- Serrano: Hotter than a jalapeño, with a crisp flavor.
- Cayenne: The classic pepper for drying and making chilli flakes.
- Hot (30,000 – 100,000+ SHU): For those who like a serious kick.
- Tabasco: Famous for the sauce made from it.
- Thai Chilli: Small but mighty, essential for many Asian cuisines.
- Superhots (1,000,000+ SHU): Enter at your own risk!
- Habanero/Scotch Bonnet: Fruity, fiery, and intensely hot.
- Ghost Pepper (Bhut Jolokia): One of the original superhots with a smoky, building heat.
- Carolina Reaper: Currently one of the world’s hottest peppers. Handle with extreme care!
When you’re starting, it’s fun to choose a couple of different varieties—one you know you’ll use a lot, and maybe one that’s a bit more adventurous.
[Amazon Product: 10-Variety Hot & Sweet Pepper Seed Collection]
The Secret to Germination: Heat!
Chilli peppers are native to warm, tropical climates. The single most important factor for getting your seeds to sprout is heat. They will not germinate in cold soil. This is why for most gardeners outside of very hot climates, it’s best to start chilli seeds indoors.
When to Start Your Seeds
- The ideal time to start your chilli seeds indoors is about 8 to 10 weeks before your last expected spring frost date.
- This gives the seedlings plenty of time to grow into strong, sturdy little plants before they are ready to be moved outside into the garden.
Waking Up Your Seeds (Optional but Recommended)
Chilli seeds, especially from hotter varieties, can have tough seed coats and be slow to germinate. Giving them a pre-soak can speed things up considerably.
- About 12-24 hours before planting, place your seeds in a small bowl.
- Cover them with warm (not hot) water. Some gardeners like to use weak chamomile tea, as it has anti-fungal properties.
- Let them soak. This softens the seed coat and signals to the seed that it’s time to grow.
How to Plant Chilli Seeds Indoors
Starting your seeds indoors gives you complete control over their environment, providing the warmth and stability they need to thrive.
Step 1: Gather Your Supplies
- Chilli seeds
- Seed starting trays or small pots (about 2-3 inches wide)
- A good quality seed starting mix
- A spray bottle for watering
- Plant labels (don’t forget this!)
- A plastic dome or cling film to cover the tray
- A heat mat (highly recommended)
Step 2: Prepare Your Containers and Soil
- Choose the Right Soil: Do not use heavy garden soil. You need a seed starting mix. This type of soil is very fine, lightweight, and sterilized to be free of diseases. It provides the perfect texture for delicate new roots.
- Moisten the Soil: Before you fill your trays, pour your seed starting mix into a bucket or a large bowl. Slowly add warm water and mix it with your hands until the soil is evenly moist, like a wrung-out sponge. It should hold together when you squeeze it but not drip water.
- Fill Your Trays: Fill your seed trays or pots with the moistened soil, tapping them gently to settle the soil. Don’t pack it down too tightly.
[Amazon Product : Premium Seed Starting Potting Mix]
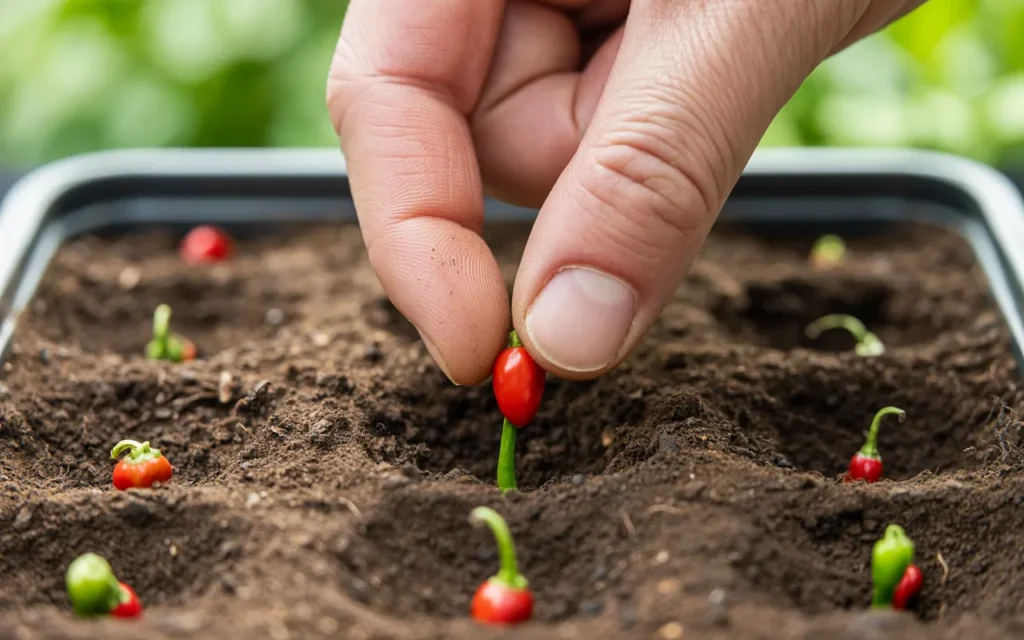
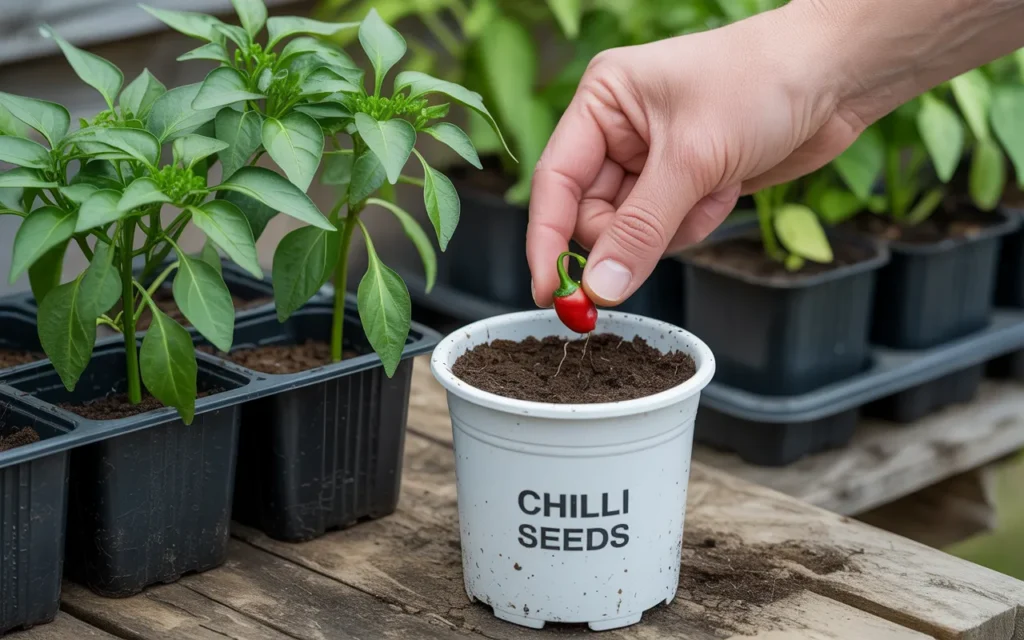
Step 3: Sowing the Seeds
- Using your finger or a pencil, make a small hole in the center of each cell or pot. The hole should be about 1/4 inch (0.5 cm) deep.
- Place one or two seeds into each hole. Planting two gives you a backup in case one doesn’t germinate.
- Gently cover the seeds with a light sprinkling of the seed starting mix.
- Use your spray bottle to give the surface a final misting of water.
- Label Everything! Use your plant labels to write down the variety of chilli you planted in each row or pot. You will be glad you did this later.
Step 4: Create a Warm, Humid Environment
Now you need to create a mini-greenhouse to provide the warmth and humidity the seeds need.
- Cover your seed tray with a plastic dome. If you don’t have one, you can use plastic cling film.
- This is the game-changer: Place your covered seed tray on a seedling heat mat. A heat mat gently warms the soil from below, keeping it at the perfect temperature for germination (around 80-85°F or 27-29°C). This will dramatically speed up germination and increase your success rate.
- Place the entire setup in a spot out of direct sunlight for now. The seeds don’t need light until they sprout.
[Amazon Product : Seedling Heat Mat with Digital Thermostat]
Caring for Your Chilli Seedlings
Once your seeds have sprouted, your job changes. Now you need to provide them with light, water, and air.
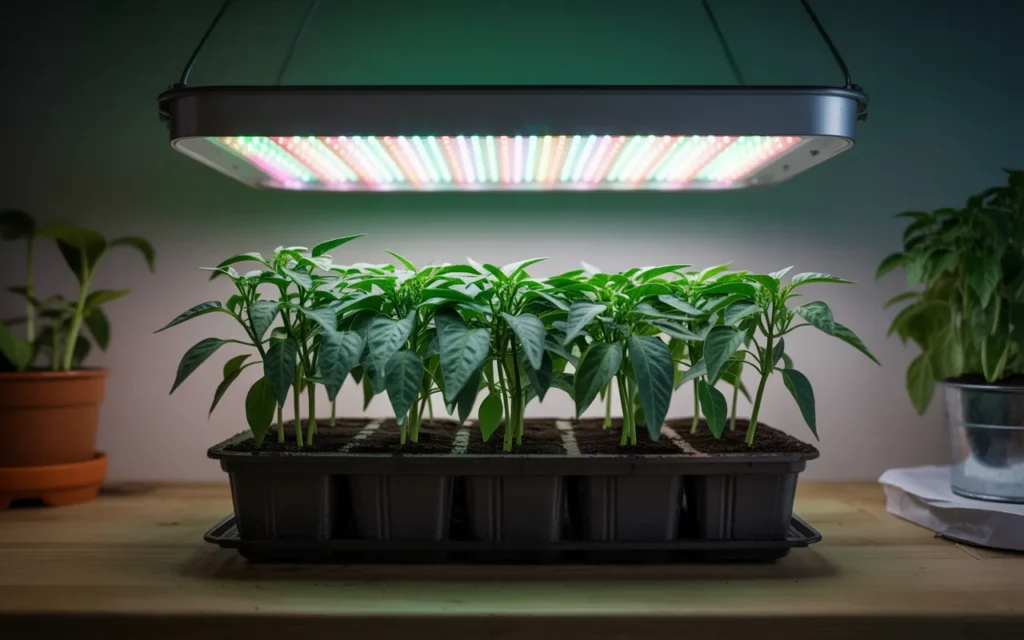
Light, Light, and More Light
As soon as you see the first green shoots emerge, they need intense light immediately.
- Remove the plastic cover and turn off the heat mat.
- A sunny windowsill is often not enough light for strong seedlings. Without enough light, they will become very tall, “leggy,” and weak as they stretch for the sun.
- The Best Solution: Use a grow light. A simple fluorescent shop light or a dedicated LED grow light is perfect. Position the light so it is just 2 to 3 inches above the tops of the seedlings.
- Keep the light on for 14 to 16 hours per day. An automatic timer can make this effortless.
Watering Your Seedlings
- Bottom Watering is Best: To avoid disturbing the delicate seedlings and to prevent fungal diseases, it’s best to water from the bottom.
- Simply place your seed tray or pots into a larger tray of water for about 20-30 minutes. The soil will soak up the water it needs through the drainage holes.
- Let the soil surface become slightly dry to the touch before you water again. Don’t keep them constantly soggy.
Potting Up: Giving Them More Room
After a few weeks, your seedlings will have grown their first set of “true leaves” (the second set of leaves that look like actual chilli leaves). When they are about 3-4 inches tall, they will need to be moved into slightly larger pots.
- Choose pots that are about 4-5 inches in diameter.
- Fill the new pots with a high-quality all-purpose potting mix.
- Carefully transplant each seedling into its new pot, burying it a little deeper than it was before, up to the base of the first leaves. This encourages a stronger root system.
Moving Your Plants Outdoors
The final step is to move your strong young plants into their final home in the garden or a large container.
Hardening Off: A Crucial Step
You cannot take your plants directly from your cozy indoor setup and put them outside. The shock of the sun, wind, and temperature changes will kill them. You must acclimate them gradually over a period of 7 to 10 days. This is called “hardening off.”
- Day 1: Place the plants outside in a shady, protected spot for just 1 hour, then bring them back in.
- Day 2: Give them 2 hours of shade.
- Day 3-4: Give them 3-4 hours of shade, including a little bit of gentle morning sun.
- Day 5-7+: Gradually increase the amount of time outside and the amount of direct sun they receive each day, until they are able to stay outside overnight.
Planting in the Garden
- Wait for Warm Weather: Do not plant your chillies outside until all danger of frost has passed and nighttime temperatures are consistently above 55°F (13°C).
- Choose a Sunny Spot: Pick the sunniest spot in your garden. Chillies need at least 6-8 hours of direct sun.
- Prepare the Soil: Amend your garden soil with plenty of compost or aged manure to create a rich, fertile environment.
- Spacing: Space your chilli plants about 18 to 24 inches apart.
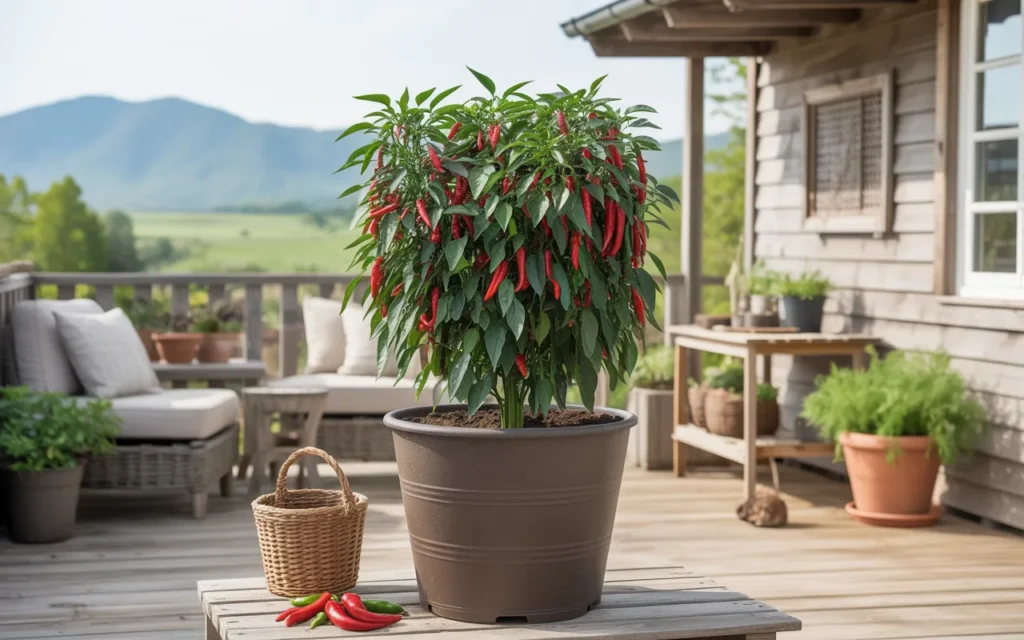
Growing in Pots
- Chillies do fantastically well in containers! This is a great option for those with limited space.
- Pot Size: Choose a large pot. A 5-gallon pot (about 12 inches in diameter) is the minimum size for a healthy, productive chilli plant. Bigger is even better.
- Use Potting Mix: Use a high-quality potting mix, not garden soil.
Ongoing Care for a Bountiful Harvest
- Watering: Water deeply and regularly, especially during hot, dry weather. Let the top inch of soil dry out between waterings.
- Fertilizing: Once the plants start to produce flowers, you can feed them every 2-3 weeks with a fertilizer that is high in potassium and lower in nitrogen (like a tomato feed). Too much nitrogen will give you lots of leaves but fewer fruits.
- Pests: Keep an eye out for aphids. A strong spray of water or insecticidal soap can manage them.
Conclusion
You have now learned the essential secrets of how to plant chilli seeds and nurture them into productive, fruit-bearing plants.
The key to it all is providing warmth and light from the very beginning. By starting your seeds indoors, giving them a strong start under grow lights, and hardening them off properly, you set the stage for a summer filled with a fiery, fresh, and flavorful harvest that you grew yourself.

Frequently Asked Questions (FAQs)
1. How do you prepare chilli seeds for planting?
The best preparation is to soak the seeds in warm water for 12-24 hours before planting. This softens the seed coat and significantly speeds up germination.
2. How long do chilli seeds take to germinate?
With proper warmth (ideally from a heat mat), chilli seeds can germinate in as little as 7-10 days. However, some superhot varieties can be very slow and may take up to a month, so be patient.
3. Do chilli seeds need light to germinate?
No, the seeds themselves do not need light to sprout. They only need warmth and moisture. However, the moment you see the first green shoot, you must provide intense light immediately.
4. What is the best month to plant chilli seeds?
The best time is to start them indoors about 8-10 weeks before your last frost date. This means for most people in the Northern Hemisphere, starting seeds in February or March is ideal.
5. How deep should I plant chilli seeds?
Chilli seeds should be planted very shallow, only about 1/4 inch (0.5 cm) deep. Planting them too deep is a common mistake that can prevent them from sprouting.
6. Can I plant chilli seeds directly in the garden?
You can, but only if you live in a climate with a very long, hot growing season. For most gardeners, starting seeds indoors is much more reliable and gives the plants the head start they need to produce a good harvest before the season ends.
7. Why are my chilli seedlings so tall and thin?
This condition is called “legginess,” and it’s caused by a lack of light. The seedlings are desperately stretching to find a stronger light source. To fix this, you need to provide more intense light, ideally from a grow light placed just a few inches above the plants.