There is a unique kind of magic in watching a flower grow from a tiny, dust-like seed into a vibrant, beautiful bloom. Starting flowers from seed is one of the most rewarding and budget-friendly ways to fill your garden with color. This guide is here to show you exactly how to plant flower seeds, even if you’ve never gardened a day in your life.
Forget the idea that you need a “green thumb.” The truth is, seeds want to grow. All you need is a little bit of knowledge and a few simple steps.
We will cover everything from reading a seed packet to giving your baby seedlings the care they need to thrive. Let’s get ready to transform those tiny seeds into a breathtaking garden display!
Decoding the Seed Packet: Your Treasure Map to Success
Before you even think about dirt, the most important tool you have is the seed packet itself. This little envelope is packed with crucial information. Learning to read it is the first step to success.
Here’s what to look for:
- Flower Name and Variety: It will tell you the common name (e.g., Zinnia) and the specific variety (e.g., ‘California Giant’).
- Planting Depth: This tells you how deep to plant the seed. This is very important! Some seeds need to be barely covered, while others need darkness to germinate.
- Seed Spacing: This tells you how far apart to plant the seeds so they don’t overcrowd each other when they grow.
- Days to Germination: This gives you an estimate of how long it will take for the seed to sprout. It can range from a few days to a few weeks.
- Sunlight Needs: This will say “Full Sun,” “Partial Shade,” or “Full Shade.”
- Full Sun: 6 or more hours of direct sunlight per day.
- Partial Shade: 4 to 6 hours of sun, preferably gentle morning sun.
- Full Shade: Less than 4 hours of direct sun.
- Planting Instructions: This is the most vital section. It will tell you whether to “start indoors” or “direct sow” outside. We’ll cover what this means next.
- “Packed For” Date: Try to buy seeds packed for the current year. While many seeds last for years, your germination rate will be highest with fresh seeds.
[Amazon Product : Wildflower Seed Mix for Full Sun]
Method 1 vs. Method 2: Starting Indoors vs. Direct Sowing
There are two main ways to plant flower seeds. The seed packet will tell you which method is best for your specific flower.
Method 1: Direct Sowing (The Easy Way)
“Direct sowing” simply means planting the seeds directly into the garden soil where you want them to grow.
- Best for: Hardy annuals that grow quickly and don’t like their roots disturbed. This includes many wildflowers and favorites like zinnias, marigolds, cosmos, sunflowers, and poppies.
- When to Do It: The seed packet will tell you to plant “after the last danger of frost has passed.” This is when the soil has warmed up and there’s no risk of a cold snap killing your tender seedlings.
Method 2: Starting Seeds Indoors (The Head Start)
This method involves planting seeds in small containers indoors several weeks before your last frost date. This gives the plants a head start on the season.
- Best for: Flowers that have a long growing season or are very tender. This is common for perennials or annuals that need a long time to bloom, like petunias, impatiens, and some varieties of salvia.
- When to Do It: The packet will say something like, “Start indoors 6-8 weeks before the last frost.” You’ll need to count backward from your region’s average last frost date to know when to begin.
How to Plant Flower Seeds Directly in the Garden
This is the most straightforward method and a great way for beginners to start.
Step 1: Prepare Your Garden Bed
You can’t just toss seeds onto hard, weedy ground and expect them to grow. A little preparation makes all the difference.
- Choose the Right Spot: Select a location that gets the amount of sunlight your seed packet recommends.
- Clear the Area: Completely remove all weeds, grass, and rocks from your chosen planting area. Weeds will steal water and nutrients from your flower seedlings.
- Loosen the Soil: Use a garden fork or a hand trowel to loosen the top 6 to 8 inches of soil. Hard, compacted soil is difficult for tiny roots to penetrate.
- Enrich the Soil: Mix in a 2- to 3-inch layer of compost or good quality garden soil. This provides gentle nutrients and helps the soil hold moisture.
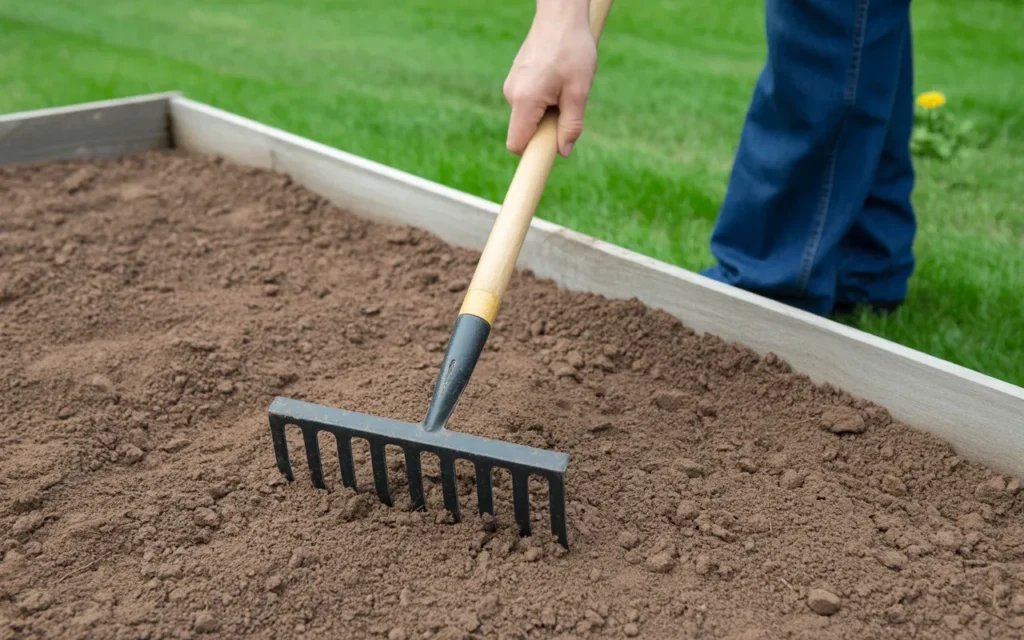
- Rake it Smooth: Use a rake or your hands to create a smooth, level, and crumbly surface for your seeds.
Step 2: Sowing the Seeds
It’s time for the fun part!
- For Large Seeds (like Sunflowers or Nasturtiums): You can plant these individually. Use your finger or a stick to poke holes in the soil at the depth and spacing recommended on the packet. Drop one or two seeds in each hole and cover with soil.
- For Small Seeds (like Poppies or Alyssum): These seeds are tiny and hard to space perfectly. The best method is “broadcast sowing.”
- Trick for Even Spacing: Mix the tiny seeds with a cup of dry sand in a small bowl. This helps you see where you are scattering the seeds and spreads them out more evenly.
- Gently scatter the sand-seed mixture over your prepared soil, trying to be as even as possible.
Step 3: Cover and Press
- Check your seed packet for the planting depth. Many small seeds only need a very light dusting of soil over them, or no soil at all as they need light to germinate.
- After scattering your seeds, you can sprinkle a very thin layer of fine soil or compost over the area if required.
- This step is key: Gently press down on the entire area with your hands or the back of a rake. This ensures “good seed-to-soil contact,” which is vital for germination.
Step 4: Water Gently
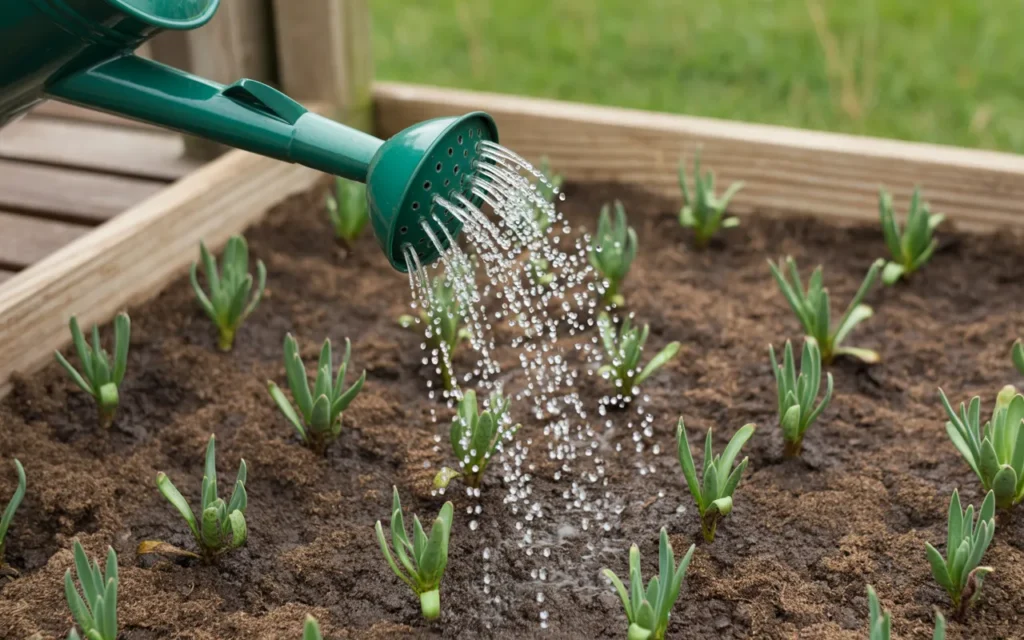
- Use a watering can with a gentle “rose” sprinkler head or a hose on a very fine “mist” setting.
- Water the area thoroughly but gently. A strong blast of water can wash all your carefully sown seeds away.
- Keep the soil consistently moist (like a damp sponge) until you see the seeds start to sprout. Don’t let the seedbed dry out.
How to Start Flower Seeds Indoors
This method requires a few more supplies, but it’s incredibly satisfying to watch your own little nursery grow.
Your Indoor Sowing Toolkit:
- Seed starting trays or small pots with drainage holes
- A plastic dome lid or plastic wrap
- Seed starting mix (this is special soil, not garden soil)
- A spray bottle
- Plant labels
- A sunny window or a grow light [Amazon Product: Seed Starting Kit with Dome and Trays]
Step 1: Prepare Your Containers and Soil
- Use Seed Starting Mix: Do not use soil from your garden. Seed starting mix is sterile (to prevent disease), lightweight, and fine-textured, which is perfect for delicate seedlings. [Amazon Product: Organic Seed Starting Potting Mix]
- Moisten the Mix: Put your seed starting mix in a bucket or bowl and slowly add warm water, mixing with your hands until it’s evenly moist, like a damp sponge.
- Fill your trays or pots with the moistened mix, tapping them to settle the soil.
Step 2: Plant the Seeds
- Read your packet for the correct planting depth. A good rule of thumb is to plant a seed about twice as deep as it is wide.
- Make a small indentation in the soil with a pencil tip or your finger.
- Place 1 to 2 seeds in each cell or pot.
- Gently cover the seeds with the seed starting mix.
Step 3: Label Everything!
- Use plant labels to write down the name of the flower and the date you planted it.
- Trust us, you will not remember what you planted where. This step is not optional!
Step 4: Create a Mini Greenhouse
- Use your spray bottle to gently mist the surface of the soil.
- Cover the tray with a clear plastic dome or a loose sheet of plastic wrap. This creates a humid environment that helps the seeds germinate.
- Place the tray in a warm location. Most seeds do not need light to germinate, but they do need warmth. The top of a refrigerator is often a good spot.
Step 5: The First Sprouts Appear!
- Check your trays daily. As soon as you see the first green sprouts emerging, immediately remove the plastic cover.
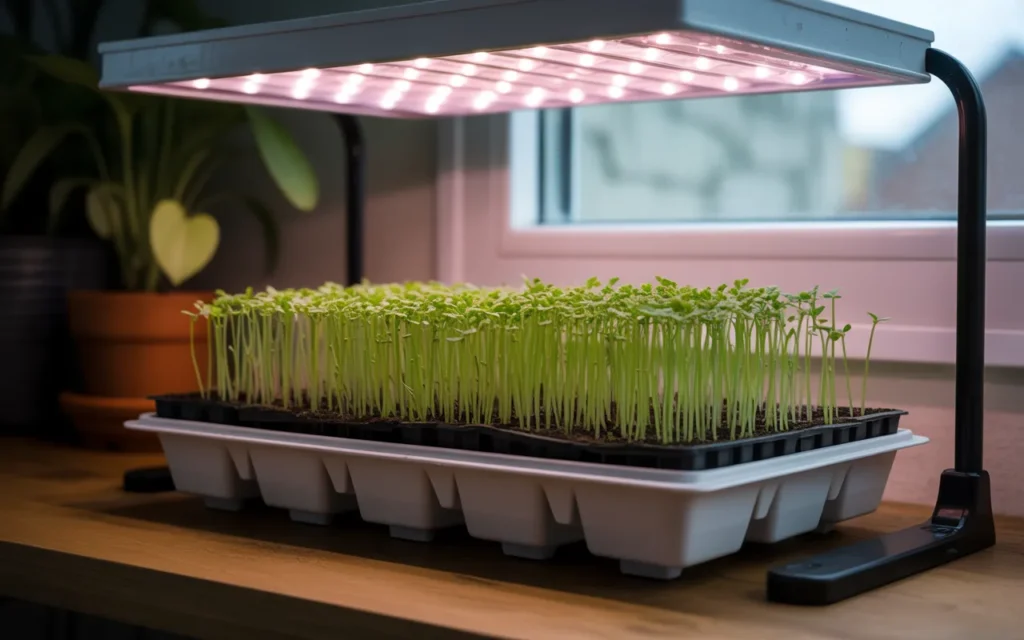
- Move the tray to a location where it will get lots of light. A bright, south-facing window is good, but a simple fluorescent shop light or a grow light placed just a few inches above the seedlings is even better. Seedlings need 14-16 hours of light per day.
- If seedlings don’t get enough light, they will become long, weak, and “leggy.”
Caring for Your Baby Seedlings
Whether your seedlings are indoors or outdoors, they need some special care.
- Watering: Keep the soil consistently moist but not soggy. For indoor seedlings, it’s best to “bottom water.” Place the tray in a basin of water for 30 minutes and let the soil soak up moisture from the bottom. This prevents disease and doesn’t disturb the delicate plants.
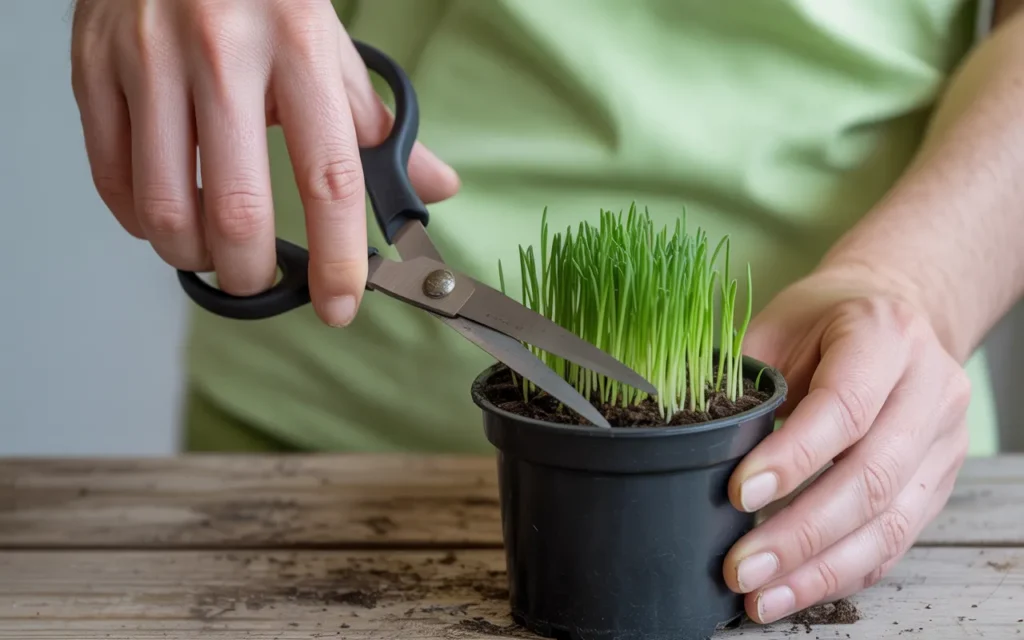
- Thinning: This can feel cruel, but it’s necessary for healthy plants. If you planted multiple seeds in one spot, you need to choose the strongest-looking seedling and remove the others.
- Do not pull them out! This can damage the roots of the seedling you want to keep.
- Use a tiny pair of scissors to snip the unwanted seedlings off at the soil level.
- Hardening Off (for Indoor Seedlings): Before you can move your indoor-grown plants into the garden, you must acclimate them. Follow the “hardening off” process described in the tomato guide: gradually introduce them to outdoor sun and wind over 7-10 days.
Conclusion
You now have all the knowledge you need on how to plant flower seeds and start your own beautiful garden from scratch. The process teaches patience and rewards you with the profound satisfaction of nurturing life from a tiny speck into a glorious bloom. Don’t be afraid to experiment with different flowers and have fun with it. Every seed holds the promise of beauty, and you are the gardener who can bring it to life.

Frequently Asked Questions (FAQs)
1. What is the easiest way to plant flower seeds?
The easiest way is “direct sowing”—planting the seeds straight into a well-prepared garden bed after the last frost has passed. This works wonderfully for easy-to-grow annuals like zinnias, cosmos, sunflowers, and marigolds.
2. How do you prepare soil for planting flower seeds?
Choose a sunny spot, completely clear all weeds, and loosen the top 6-8 inches of soil. Then, mix in a 2-3 inch layer of compost to add nutrients and improve the soil structure. Finally, rake the surface so it’s smooth and level.
3. What is the best month to plant flower seeds?
For direct sowing outdoors, the best time is in the spring, a week or two after your region’s average last frost date, when the soil has warmed up. For starting seeds indoors, you’ll need to count back 6-8 weeks from your last frost date, which often means starting in March or April.
4. How deep should I plant flower seeds?
Always check the seed packet. A general rule is to plant a seed twice as deep as it is wide. Very tiny seeds often need to be just pressed onto the surface of the soil, as they require light to germinate.
5. Do you need to soak flower seeds before planting?
For most flower seeds, soaking is not necessary. However, for seeds with very hard outer shells, like nasturtiums or morning glories, soaking them in warm water overnight can help speed up germination. The seed packet will usually recommend this if it’s needed.
6. How do you plant tiny flower seeds evenly?
The best trick is to mix the tiny seeds with a cup of dry sand before you sow them. This bulks up the volume, making it much easier to scatter them thinly and evenly over your prepared soil.
7. Why aren’t my flower seeds sprouting?
The most common reasons are: 1) The soil is too dry, 2) The seeds were planted too deep, 3) The soil is too cold, or 4) The seeds are old. Ensure the seedbed stays consistently moist and that you follow the depth and temperature guidance on the seed packet.