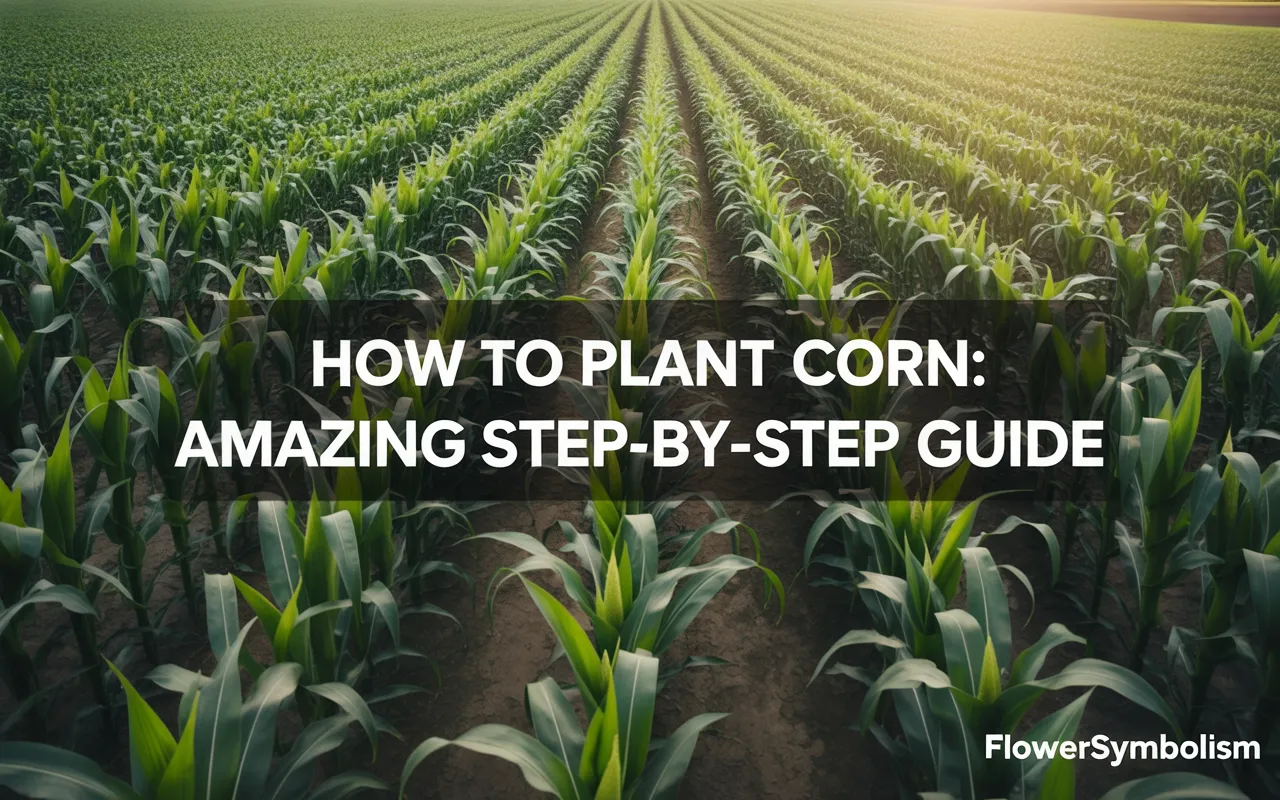
There’s something uniquely satisfying about growing your own food, and few crops are as iconic or rewarding as sweet, juicy corn. If you’ve ever dreamt of walking into your backyard to pick a fresh ear for dinner, you’re in the right place.
This guide will walk you through everything you need to know about how to plant corn, from choosing the right seeds to harvesting your golden bounty. Growing corn is easier than you might think, and with a little planning, you can enjoy the incredible taste of homegrown corn on the cob.
Whether you have a large garden plot or just a few sunny containers, this comprehensive guide will provide you with a step-by-step process.
We will cover soil preparation, planting techniques, care throughout the growing season, and finally, how to harvest and store your delicious crop. Let’s get started on your journey to a successful corn harvest!
Understanding Corn: More Than Just a Vegetable
Before we dig into the soil, it’s helpful to understand a few basics about corn. Corn (Zea mays) is technically a type of grass that produces a large grain, which we eat as a vegetable. It’s a warm-season crop that thrives in the summer sun and requires a bit of space to grow properly.
One of the most important things to know about corn is that it is wind-pollinated. This means that pollen from the tassels (the feathery tops of the stalks) must fall onto the silks (the fine threads emerging from the ear) of neighboring plants for kernels to form.
This is why planting corn in a block or grid pattern is much more effective than planting in a single long row. A block formation significantly increases the chances of successful pollination, leading to full, juicy ears.
When Is the Best Time to Plant Corn?
Timing is everything when it comes to planting corn. Corn seeds need warm soil to germinate and grow.
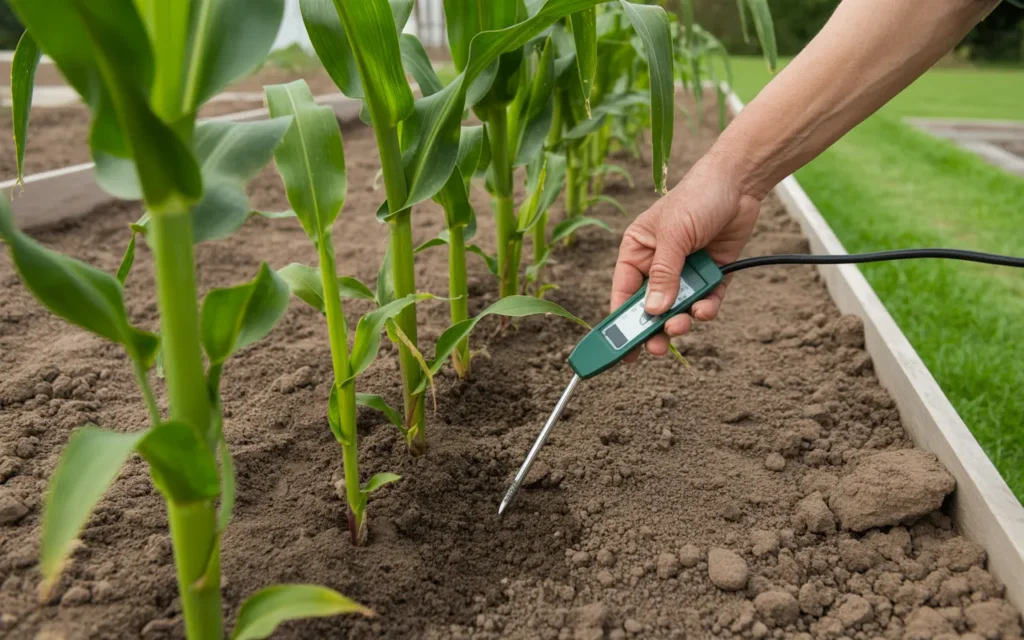
- Ideal Soil Temperature: The soil should be at least 60°F (15°C) for standard corn varieties. For supersweet varieties, it’s even better to wait until the soil reaches 65°F (18°C). Planting in soil that’s too cold can cause the seeds to rot before they have a chance to sprout. You can use a soil thermometer to get an accurate reading.
- Last Frost Date: A good rule of thumb is to plant your corn about two weeks after the last expected spring frost date for your region. This ensures the soil has had plenty of time to warm up and eliminates the risk of a late frost damaging your young seedlings.
- Succession Planting: To enjoy a continuous harvest throughout the summer, you can practice succession planting. This involves planting a new block of corn every two weeks. Just be sure to check the “days to maturity” on your seed packet to ensure your last planting has enough time to mature before the first frost of autumn.
Corn thrives in climates with long, warm, sunny summers. It requires a growing season of at least 60 to 100 frost-free days, depending on the variety.
Choosing the Right Corn Variety
Walking down the seed aisle can be overwhelming, with dozens of corn varieties to choose from. They generally fall into a few main categories, each with its own unique flavor and sweetness.
| Variety Type | Characteristics & Sweetness | Best For | Popular Cultivars |
|---|---|---|---|
| Standard (su) | Classic, old-fashioned corn flavor. Sugars convert to starch quickly after picking, so it must be eaten soon after harvest. | Eating fresh immediately, canning, freezing. | Silver Queen, Golden Bantam |
| Sugar-Enhanced (se) | Sweeter and more tender than standard types. Holds its sweetness for a few days after picking. | Eating fresh, grilling. Less ideal for long-term freezing. | Bodacious, Ambrosia, Peaches and Cream |
| Supersweet (sh2) | Extremely sweet with a crisp texture. The kernels contain a gene that slows the conversion of sugar to starch, so it has a very long shelf life. | Eating fresh, shipping, market sales. | Honey ‘N Pearl, Incredible, Illini Xtra-Sweet |
| Synergistic & TripleSweet (sy) | Combines the qualities of other types on a single ear, offering a mix of tenderness, classic corn flavor, and enhanced sweetness. | A balanced eating experience, fresh consumption. | Serendipity, Montauk, Providence |
Important Note on Cross-Pollination: Supersweet (sh2) varieties should be isolated from all other types of corn. If they cross-pollinate, the kernels on both types of plants can become tough and starchy.
You can isolate them by either time (planting them at least two weeks apart) or distance (planting them at least 250 feet away from each other).
Preparing Your Garden for Corn
Corn is a heavy feeder, meaning it requires rich, fertile soil to produce well. Proper soil preparation is a critical step for a successful harvest.
Step 1: Choose the Right Location
Select a spot in your garden that receives at least 6-8 hours of direct sunlight per day. Corn loves the sun and will not produce well in shady conditions. Also, remember that corn stalks can grow quite tall (6-8 feet or more!), so plant them on the north side of your garden where they won’t cast a shadow on shorter, sun-loving plants like tomatoes or peppers.
Step 2: Test and Amend the Soil
Corn prefers a well-drained loamy soil with a pH between 6.0 and 6.8.
- Improve Soil Structure: Before planting, work a generous amount of organic matter into your soil. Add a 2-4 inch layer of well-rotted compost or aged manure to the top 6-8 inches of your garden bed. This improves drainage, adds vital nutrients, and creates a healthy environment for roots.
Check this On AMAZON : Organic Compost for Vegetable Gardens
- Fertilize: Corn has high nitrogen requirements. A few weeks before planting, it’s a great idea to incorporate a balanced, slow-release granular fertilizer into the soil. Choose a fertilizer formulated for vegetables, such as a 10-10-10 or 12-12-12 blend. Follow the package instructions for application rates.
How to Plant Corn: A Step-by-Step Guide
Once your soil is prepped and warm, it’s time for the fun part: planting!
Method 1: Planting Directly in the Garden
This is the most common and recommended method for growing corn.
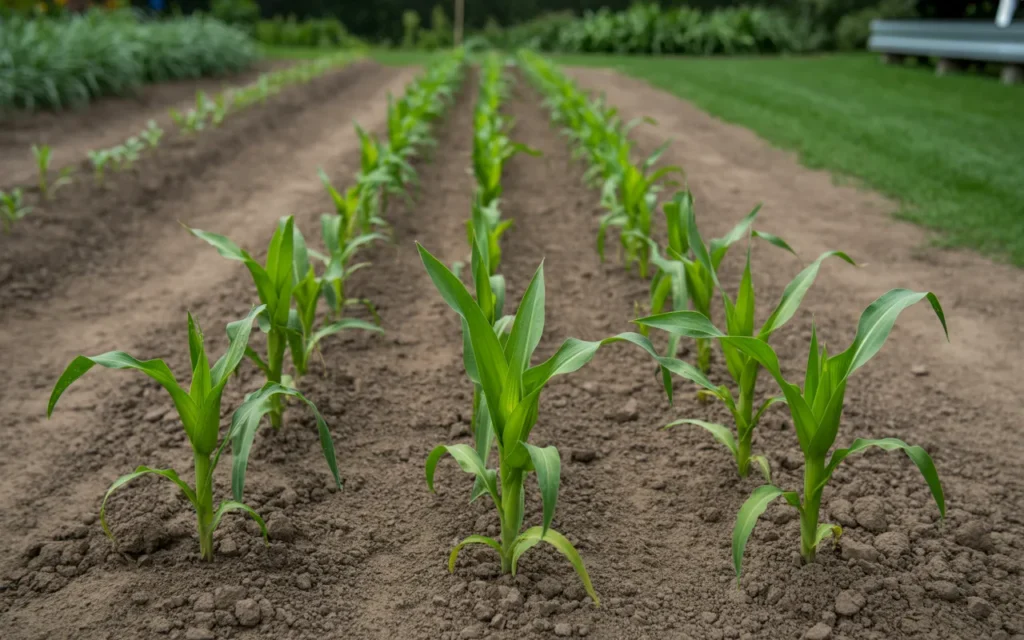
Step 1: Create Your Planting Block
Instead of a single long row, plan to plant your corn in a block of at least 4 rows by 4 rows. A 4×4 grid is a good minimum for ensuring good pollination.
Step 2: Dig Your Furrows
Using a hoe or a garden trowel, dig shallow furrows about 1 to 1.5 inches deep. If you are planting in a particularly dry or sandy soil, you can plant a little deeper, up to 2 inches.
Step 3: Space Your Seeds
Place the corn seeds in the furrows, spacing them about 4 to 6 inches apart within the row. Planting them a bit closer together initially allows you to select the strongest seedlings later. Shop on Amazon : Non-GMO Sweet Corn Seeds
Step 4: Cover and Water
Gently cover the seeds with soil, patting it down lightly with your hand or the back of a hoe. After planting, water the area thoroughly but gently to settle the soil and provide moisture for germination. Keep the soil consistently moist until the seedlings emerge, which typically takes 7-10 days.
Method 2: Starting Seeds Indoors
While not as common, you can start corn seeds indoors, especially if you have a short growing season. This can give you a two to three-week head start.
- Use Biodegradable Pots: Corn has a sensitive root system and does not like to be transplanted. Use peat pots or soil blocks that can be planted directly into the ground to minimize root disturbance.
- Timing: Start seeds indoors about 2-3 weeks before you plan to move them outside.
- Planting: Plant two seeds per pot, about 1 inch deep. Keep them in a warm, sunny location.
- Transplanting: Once the seedlings are a few inches tall and the outdoor soil is warm enough, harden them off for a week by gradually exposing them to outdoor conditions. Then, plant the entire biodegradable pot into your prepared garden bed, following the block planting and spacing guidelines below.
Essential Care: Spacing, Watering, and Weeding
Once your corn has sprouted, your job is to provide the best environment for it to thrive.
Thinning and Spacing
Once your seedlings are about 4-6 inches tall, it’s time to thin them. Thinning is the process of removing weaker seedlings to give the strongest ones enough space to grow.
- Final Spacing: Thin the seedlings so they are spaced 8 to 12 inches apart within each row.
- Row Spacing: Rows should be spaced about 30 to 36 inches apart. This gives you room to walk between the rows for weeding and harvesting and ensures the plants have enough air circulation.
- How to Thin: Don’t pull the unwanted seedlings out, as this can disturb the roots of the ones you want to keep. Instead, use a small pair of scissors to snip the unwanted seedlings off at the soil line.
Watering Needs
Corn requires consistent moisture, especially during two critical growth stages: when the tassels first appear and when the silks emerge.
- General Rule: Provide your corn with about 1 inch of water per week. If you don’t receive enough rain, you will need to water manually.
- Water Deeply: Deep, infrequent watering is better than shallow, frequent watering. This encourages the roots to grow deep into the soil. A soaker hose or drip irrigation system is an excellent way to deliver water directly to the root zone and conserve moisture. [Amazon Shop : Garden Soaker Hose System
- Check the Soil: The best way to know if it’s time to water is to check the soil. Stick your finger about 2 inches deep. If the soil is dry, it’s time to water.
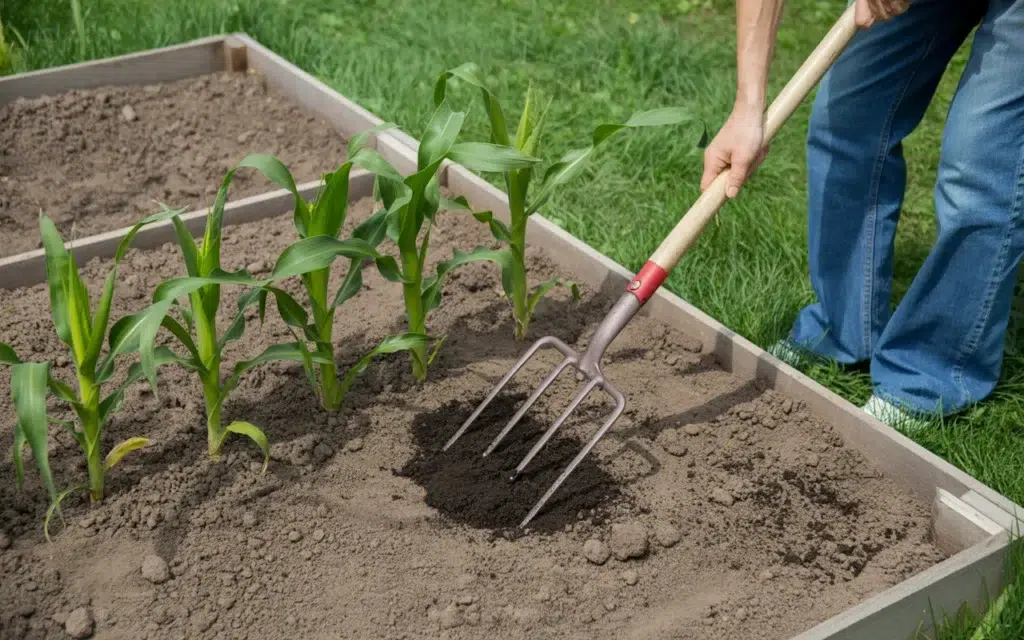
Weeding and Mulching
Weeds compete with your corn for water, nutrients, and sunlight.
- Weed Carefully: Be very careful when weeding around corn, as it has shallow roots that are easily damaged. Hand-pulling weeds is best. Avoid using a deep hoe close to the base of the stalks.
- Apply Mulch: Once the corn plants are about a foot tall, apply a 2-3 inch layer of organic mulch, such as straw or shredded leaves, around the plants. Mulch is fantastic for suppressing weeds, conserving soil moisture, and keeping the soil cool.
Fertilizing Your Growing Corn
As heavy feeders, corn plants benefit from a supplemental feeding of nitrogen during their active growth phase.
- When to Fertilize: The best time to side-dress your corn with fertilizer is when the stalks are about 12 to 18 inches tall (often described as “knee-high”).
- How to Side-Dress: “Side-dressing” simply means applying fertilizer alongside the growing plants. Create a shallow trench about 6 inches away from the base of the stalks. Sprinkle a nitrogen-rich fertilizer, like blood meal or a balanced granular fertilizer, into the trench. Available on Amazon : High-Nitrogen Vegetable Fertilizer
- Water It In: Cover the trench with soil and water the area well. This helps the nutrients absorb into the soil and become available to the plant’s roots.
Common Pests and Diseases
Being proactive is the best way to manage pests and diseases in your corn patch.
Pests
- Corn Earworms: These are the most common and frustrating pests. The moth lays eggs on the corn silks, and the resulting caterpillars crawl down into the tip of the ear to feed on the developing kernels.
- Prevention: You can apply a few drops of mineral oil to the silks of each ear about 3-5 days after the silks first appear. This creates a barrier that smothers the young worms.
- Raccoons and Birds: These critters love sweet corn as much as we do. Raccoons are notorious for raiding a patch just before it’s ready to harvest.
- Prevention: The best defense is a good fence. An electric fence is often the most effective deterrent for raccoons. To deter birds, you can use flashy scare tape or netting placed over the patch as the ears begin to ripen.
Diseases
- Corn Smut: This fungal disease causes large, silvery-grey, tumor-like galls to form on the ears, tassels, or stalks. While considered a delicacy (huitlacoche) in Mexican cuisine, most gardeners see it as a nuisance.
- Prevention: Remove and destroy any galls before they burst and release spores. Avoid injuring the plants when weeding, as the fungus enters through wounds.
- Rust: This appears as small, reddish-brown pustules on the leaves.
- Prevention: Ensure good air circulation by following proper spacing guidelines. Water at the base of the plant to keep the leaves dry. Remove and destroy heavily infected leaves.
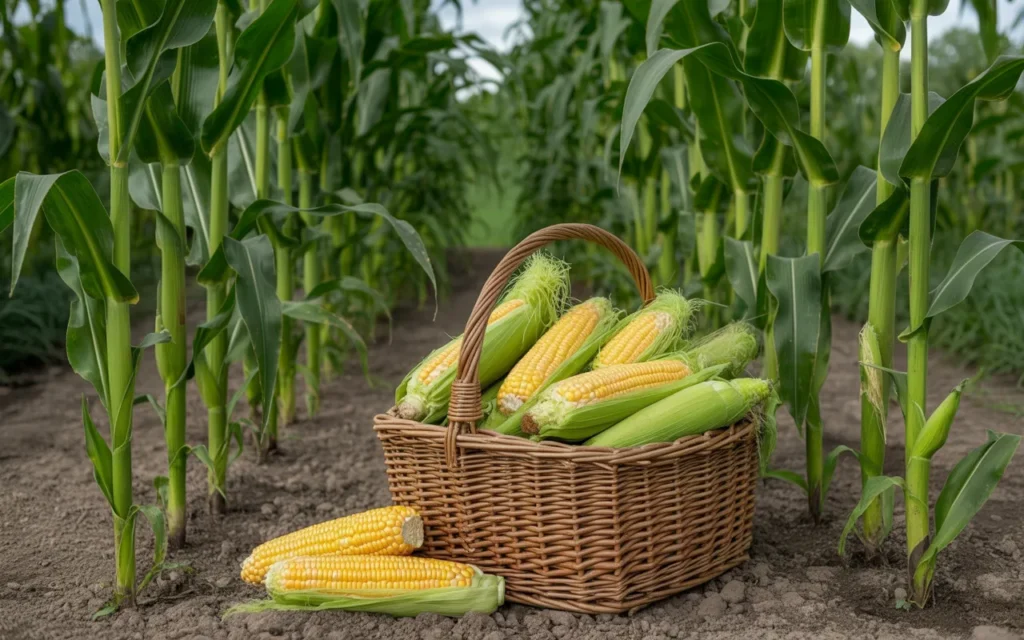
Harvesting and Storing Your Corn
The moment you’ve been waiting for! Knowing exactly when to harvest is key to getting the sweetest, juiciest corn.
How to Know When Corn Is Ready
- Check the Silks: The silks will turn brown and dry. This is usually the first sign that the ear is maturing. Harvesting typically occurs about 20 days after the silks first appear.
- Feel the Ear: The ear should feel full and rounded all the way to the tip. The tip should be blunt, not pointed.
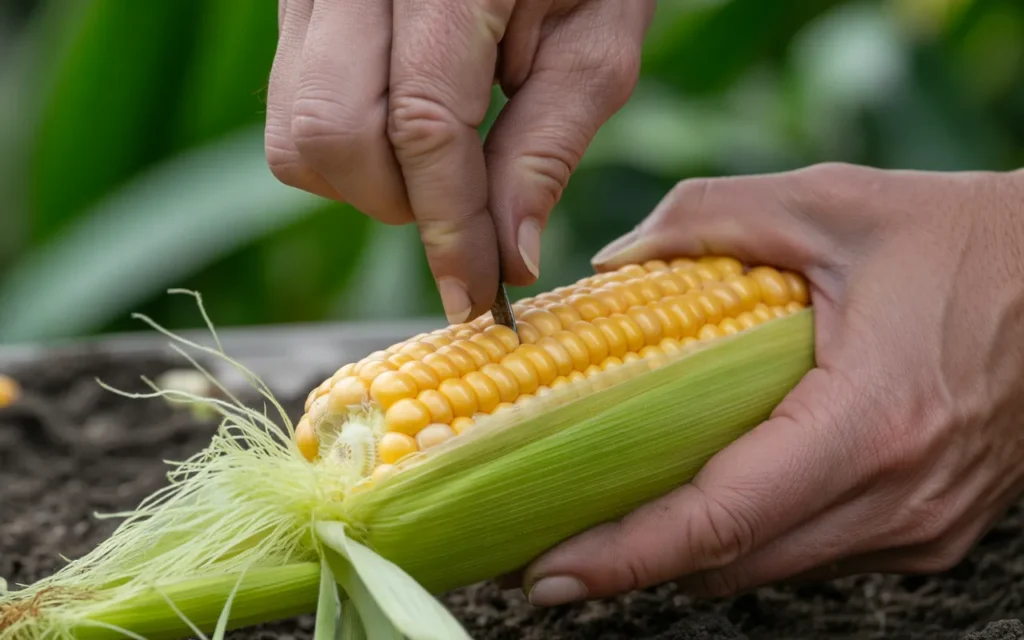
- The Puncture Test: This is the most reliable method. Carefully peel back a small section of the husk and pierce a kernel with your thumbnail.
- Milky White Liquid: Perfect! The corn is in its “milk stage” and is at peak sweetness. Harvest immediately.
- Clear Liquid: Not ready yet. The sugars haven’t fully developed. Close the husk and check again in a few days.
- Thick, Pasty Liquid: You’ve waited too long. The sugars have started to convert to starch. The corn will be doughy and less sweet.
How to Harvest
To harvest, hold the stalk steady with one hand and grasp the ear firmly with the other. Twist the ear downward and pull sharply. It should snap off easily.
Storing Your Harvest
The flavor of sweet corn is best right after it’s picked. The sugars begin converting to starch the moment you harvest it.
- Short-Term: If you’re not eating it immediately, place the unhusked ears in the refrigerator. This will slow the sugar-to-starch conversion. They will keep for a few days.
- Long-Term (Freezing): Freezing is the best way to preserve the sweet flavor of corn for months.
- Husk and clean the ears.
- Blanch the corn by boiling it for 3-5 minutes, then immediately plunging it into an ice water bath to stop the cooking process.
- You can either freeze the corn on the cob or cut the kernels off the cob.
- Pack it into freezer bags, remove as much air as possible, and store it in the freezer.
Conclusion
Growing your own corn is an incredibly rewarding experience that connects you to your food in a special way. From the moment you push a seed into the warm soil to the day you pull a sweet, juicy ear from the stalk, you are participating in a timeless agricultural tradition.
By choosing the right variety, preparing your soil well, and providing consistent care, you can successfully learn how to plant corn and enjoy a bountiful harvest. There’s nothing quite like the taste of a sun-ripened ear of corn you grew yourself, and with this guide, you have all the knowledge you need to make it happen.
Frequently Asked Questions (FAQs)
1. How many ears of corn do you get from one plant?
Most modern hybrid corn varieties will produce one or two ears per stalk. The first ear, located higher up on the stalk, is typically larger and better developed than the second one.
2. Is it hard to grow corn for beginners?
Growing corn is relatively easy for beginners, provided you can meet its basic needs: full sun, warm soil, rich nutrients, and consistent water. The most important concept for a beginner to grasp is the need for block planting to ensure good pollination.
3. What can I plant next to corn?
Good companion plants for corn include pole beans and squash—the classic “Three Sisters” combination. The beans climb the corn stalks, and the large squash leaves shade the ground, acting as a living mulch. Other good companions include cucumbers, peas, and potatoes. Avoid planting tomatoes nearby, as they are both susceptible to the corn earworm.
4. Why are my corn ears not filling out?
Ears of corn that are only partially filled with kernels are almost always a result of poor pollination. Each potential kernel has a corresponding silk that must be pollinated. If some silks don’t receive pollen, those kernels won’t develop. This is why planting in a block instead of a single row is so crucial. High heat, drought, and lack of wind during the pollination phase can also contribute to this problem.
5. How do you start a corn patch from seed?
To start a corn patch, select a sunny spot and prepare the soil by adding plenty of compost and a balanced fertilizer. Wait until the soil temperature is at least 60°F. Plant seeds 1-1.5 inches deep and 4-6 inches apart in a block formation of at least four short rows. Water well and thin the seedlings to 8-12 inches apart once they are a few inches tall.
6. Can you grow corn in a container?
Yes, you can grow corn in containers, but you’ll need a large one. Choose a container that is at least 12 inches deep and 12 inches wide, and ideally something larger like a 5-10 gallon pot. You will also need to plant several pots and group them together to facilitate wind pollination. Hand-pollination is often necessary for container-grown corn. Remember that containers dry out quickly, so you will need to water frequently.