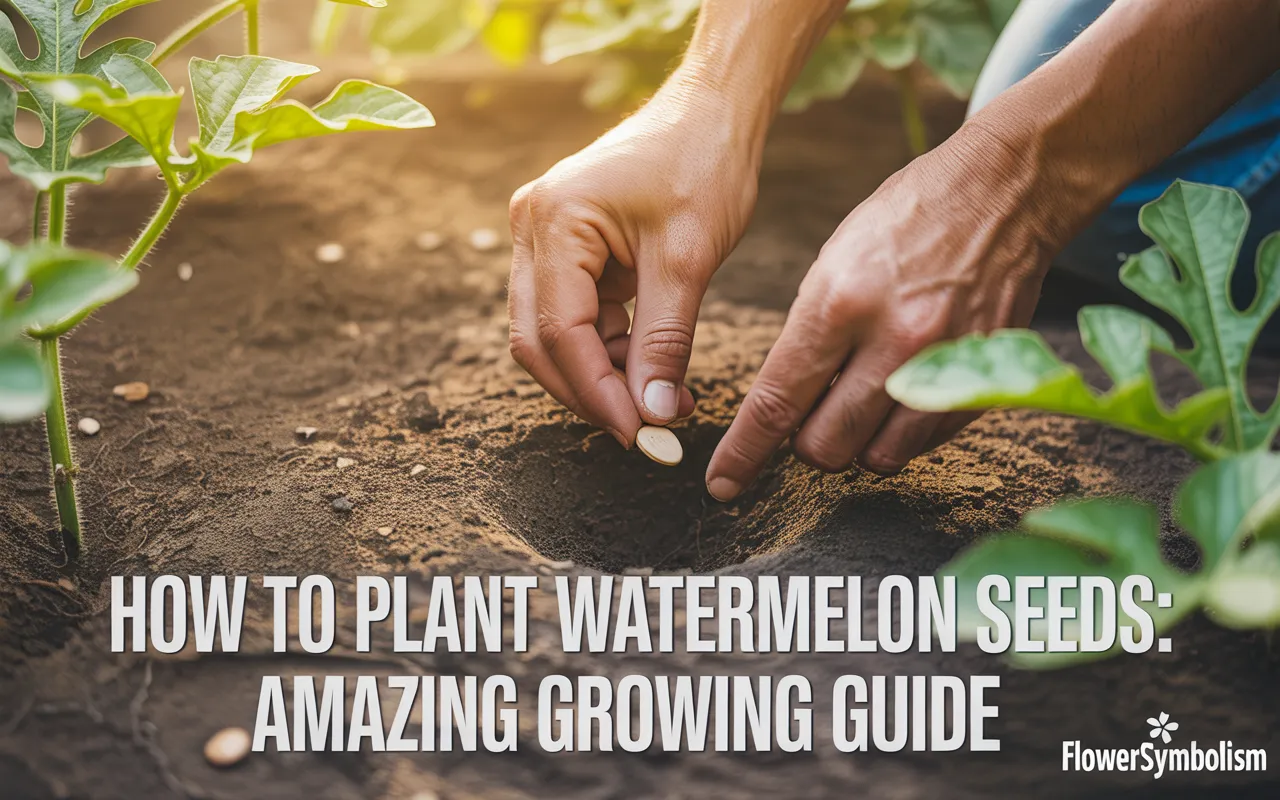
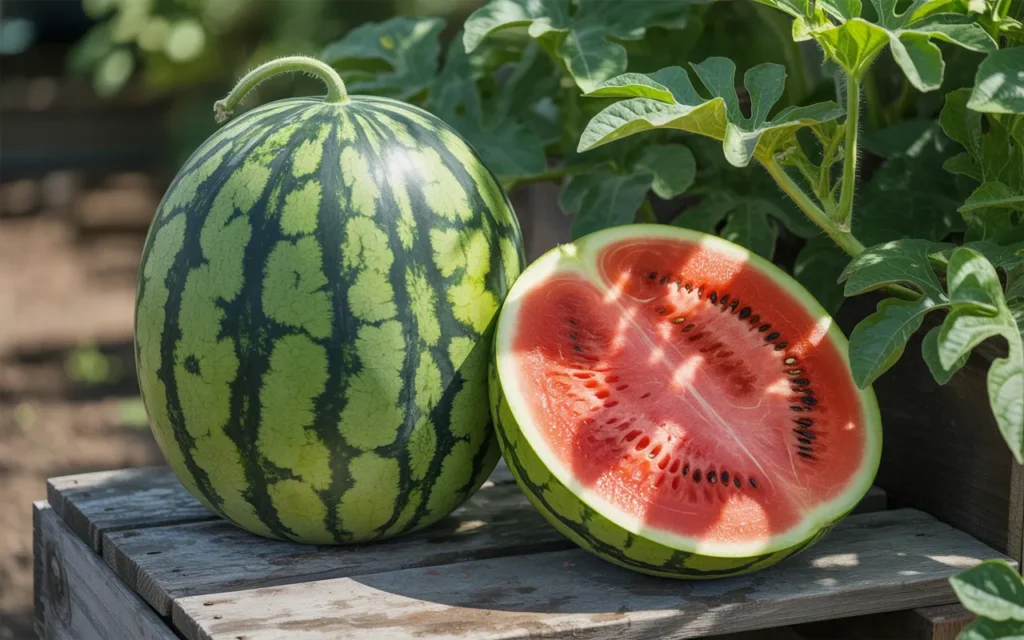
There’s nothing that tastes more like summer than a slice of sweet, juicy, homegrown watermelon. The vibrant color, the refreshing crunch, and the unparalleled flavor are a world away from store-bought melons.
This guide will show you exactly how to plant watermelon seeds and cultivate your own patch of sunshine, no matter the size of your garden.
Growing watermelons is a fun and incredibly rewarding process that ends with the ultimate summer treat.
While they might seem like a crop for expert gardeners with huge plots of land, the truth is that with the right variety and a few key tips, anyone can learn how to grow watermelons.
We’ll cover everything from choosing the perfect seeds and preparing the soil to caring for the sprawling vines and knowing the secret signs of a perfectly ripe melon. Let’s get started on your journey to an amazing harvest.
Understanding Watermelons: More Than Just a Picnic Staple
Before you start planting, it helps to know a little about the plant you’re growing. Watermelon (Citrullus lanatus) is a warm-season vine in the same family as cucumbers, squash, and pumpkins. It’s a true sun-worshipper and heat-lover, requiring a long, warm growing season to produce its famously large and heavy fruit.
Choosing the Best Watermelon Seeds
The first step in your growing watermelon from seeds adventure is selecting the right variety. Modern breeding has given us an incredible range of options that go far beyond the classic giant, striped melon.
- Classic Picnic Melons: These are the large, oblong, or round varieties, often weighing 20-30 pounds or more. They need a lot of space for their long vines.
- Examples: ‘Crimson Sweet’ (a classic for sweetness and disease resistance), ‘Sugar Baby’ (smaller, round, “icebox” size), ‘Jubilee’.
- Best for: Gardeners with ample space and a love for traditional watermelon.
- Icebox Varieties: As the name suggests, these are smaller, personal-sized melons (6-12 pounds) that can easily fit in the refrigerator. Their vines are often more compact, making them a better choice for smaller gardens.
- Examples: ‘Sugar Baby’, ‘Blacktail Mountain’ (an early producer for shorter seasons).
- Best for: Smaller families, limited garden space, and shorter growing seasons.
- Yellow and Orange-Fleshed Varieties: For something different, try varieties with surprising interior colors. Their flavor is often described as slightly sweeter and more honey-like than red-fleshed types.
- Examples: ‘Yellow Doll’, ‘Orange Tendersweet’.
- Best for: Adventurous gardeners and a beautiful fruit platter presentation.
- Seedless Varieties: These are a popular choice but are slightly more challenging to grow. They require a pollinator variety (which usually comes in the seed packet) to be planted nearby and need very warm soil to germinate.
For a reliable and delicious starting point, you can’t go wrong with a classic like ‘Sugar Baby’ Watermelon Seeds
When and Where to Plant Watermelon Seeds
Timing and location are the two pillars of watermelon success. Getting these right will set you up for a healthy and productive patch.
Timing Your Planting
Watermelons are not frost-tolerant and crave heat. Planting too early is a common mistake that leads to poor germination and stunted plants.
- The Right Time: Plant your seeds directly in the garden 1-2 weeks after your last expected frost date, once the soil temperature has reliably reached at least 70°F (21°C).
- Starting Indoors (for shorter seasons): If you have a short growing season (less than 90 days), you can get a head start by sowing seeds indoors in biodegradable peat pots about 2-4 weeks before your last frost date. Watermelons dislike having their roots disturbed, so using pots you can plant directly in the ground is crucial.
- Soil Temperature is Key: A Soil Thermometer is an invaluable and inexpensive tool. Trying to guess the soil temperature can lead to disappointment, as seeds planted in soil below 65°F will rot before they sprout.
Finding the Perfect Location: The Three “S”s
Watermelons need three things above all else: Sun, Soil, and Space.
- Full Sun: Find the sunniest spot in your yard. Watermelons need at least 8-10 hours of direct sunlight per day. Sun is what fuels the growth of the vines and, most importantly, produces the sugar in the fruit.
- Rich, Well-Draining Soil: The best soil for watermelon is a sandy loam that is rich in organic matter. They are heavy feeders. Before planting, amend your soil by working in a generous 3-4 inch layer of well-rotted compost or manure. This improves soil structure, fertility, and drainage.
- Plenty of Space: Watermelon vines are energetic sprawlers. A single plant can send out vines that are 10-20 feet long. Plan to give each plant a significant amount of room to roam. If space is tight, consider growing smaller “icebox” varieties or training the vines up a very sturdy trellis.
How to Plant Watermelon Seeds: Step-by-Step
The traditional and most effective method for planting watermelons is the “hill” method. This isn’t a steep hill, but rather a small, raised mound of enriched soil that warms up faster in the spring and provides excellent drainage.
Step 1: Prepare the Planting Hills
- After amending your entire patch with compost, create small, flat-topped mounds of soil. Make each hill about 1-2 feet in diameter and a few inches high.
- Space the hills according to the variety you are growing. A good general rule is:
- Large Varieties: Space hills 8-10 feet apart.
- Icebox Varieties: Space hills 4-6 feet apart.
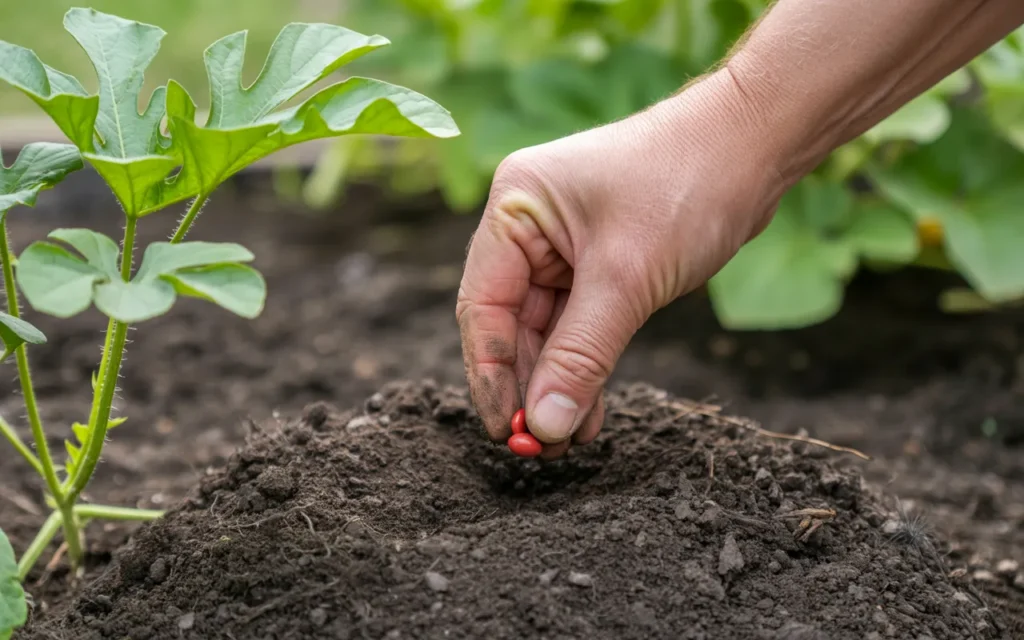
Step 2: Sow the Seeds
- In the center of each prepared hill, use your finger to poke 4-6 holes, each about 1 inch deep.
- Drop one seed into each hole. Planting multiple seeds per hill is insurance against failed germination. You will thin them out later.
- Cover the seeds with soil and gently pat it down.
- Water the hills thoroughly with a gentle spray to settle the soil and moisten the seeds.
Step 3: The Waiting Game and Thinning
- Keep the soil consistently moist until germination, which should occur in 7-10 days in warm soil.
- Once the seedlings have emerged and developed their first set of true leaves (the second set of leaves), it’s time to thin them.
- Choose the 2-3 strongest, most vigorous seedlings in each hill and remove the others. To avoid disturbing the roots of the remaining plants, simply snip the unwanted seedlings off at the soil line with a pair of scissors.
Watermelon Care Guide: From Vine to Fruit
Once your plants are established, your main jobs are watering, feeding, and managing the vines. These watermelon care guide tips will ensure your plants stay healthy and productive.
Watermelon Care and Maintenance Table
| Care Factor | Guideline | Why It’s Important |
|---|---|---|
| Watering | Provide deep, consistent watering. 1-2 inches of water per week. Water at the base of the plant. | Crucial for vine health and fruit development. Inconsistent watering can cause growth cracks and blossom end rot. |
| Fertilizing | Feed with a balanced fertilizer early, then switch to a low-nitrogen, high-potassium fertilizer. | Nitrogen fuels vine growth; potassium and phosphorus fuel fruit development and sweetness. |
| Mulching | Apply a layer of straw or plastic mulch around the plants. | Suppresses weeds, conserves soil moisture, and keeps the developing fruit clean and off the bare soil. |
| Vine Management | Allow vines to sprawl. Gently turn them if they head in the wrong direction. | The leaves are the “factory” that produces sugars for the fruit. More healthy leaves equals sweeter melons. |
| Pollination | Encourage pollinators like bees by planting flowers nearby. | Watermelons require pollination to set fruit. A lack of bees can result in flowers that drop without fruiting. |
Watering: The Key to Juicy Melons
Consistent moisture is critical. The plants need about 1-2 inches of water per week. Water deeply to encourage deep root growth. It’s best to water in the morning at the base of the plant, avoiding the leaves to help prevent fungal diseases. A Soaker Hose is an excellent tool for efficient watering.
Important: Reduce watering significantly as the fruits begin to ripen (about a week before harvest). Withholding water concentrates the sugars in the fruit, resulting in a much sweeter and more flavorful melon.
Fertilizing for Sweet Success
- Early Growth: When vines start to run, feed them with a balanced liquid fertilizer that contains nitrogen to encourage healthy vine and leaf development.
- After Fruit Appears: Once flowers appear and small fruits begin to form, switch to a fertilizer that is lower in nitrogen and higher in potassium and phosphorus. An Organic Tomato & Vegetable Fertilizer is perfect for this stage. Too much nitrogen now will give you lots of vines but small, tasteless fruit.
Knowing When to Harvest: The Secret Signs of Ripeness
This is the trickiest part of growing watermelons, but with these three signs, you can harvest with confidence.
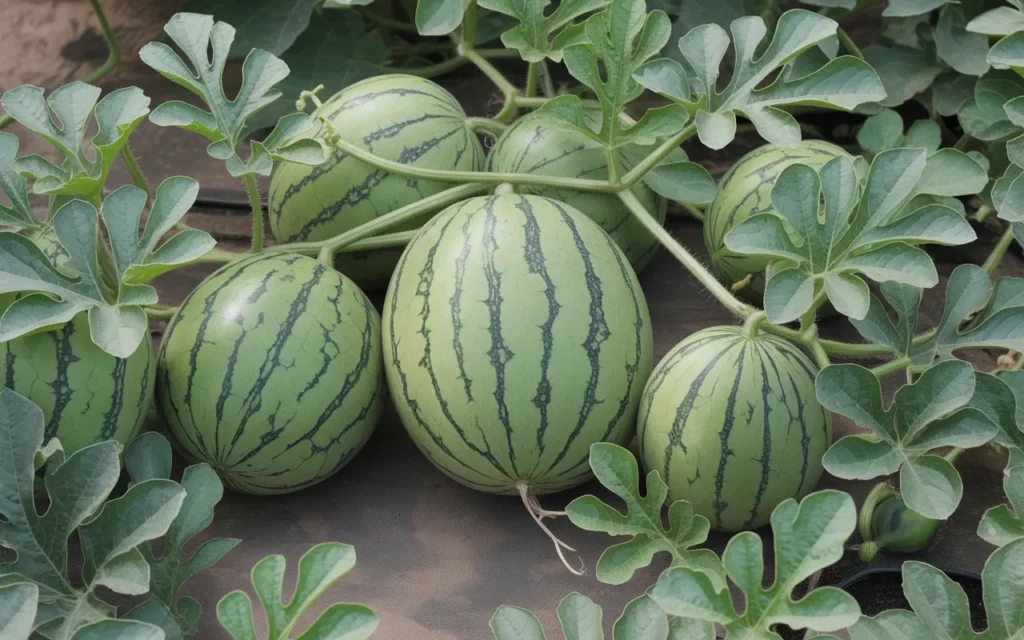
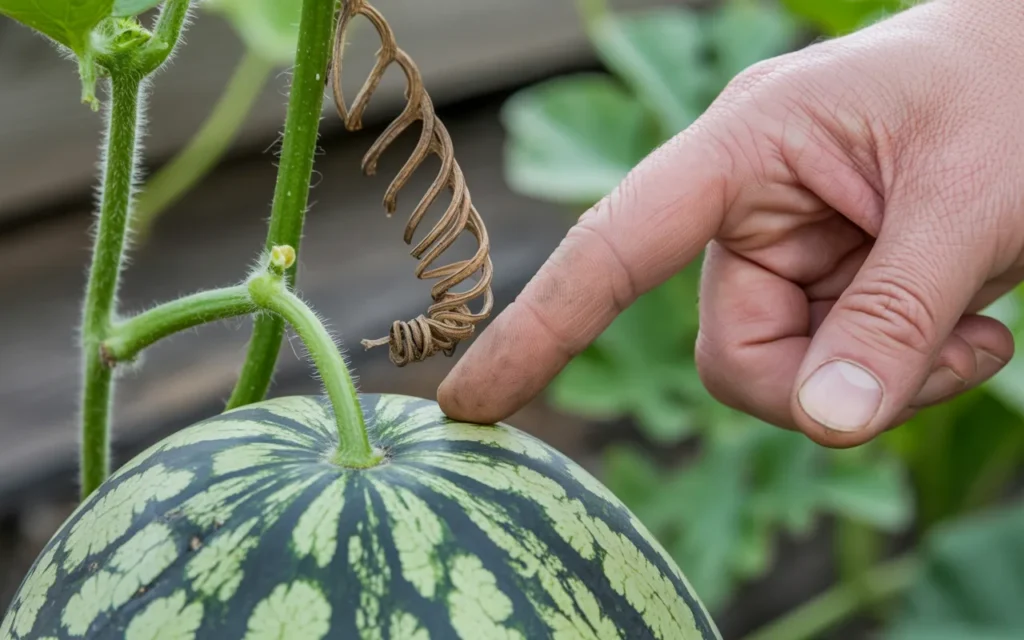
- Check the Tendril: This is the most reliable indicator. Locate the small, curly tendril on the vine right where the fruit’s stem attaches to the main vine. When this tendril turns brown and dries up, the watermelon is ripe. If the tendril is still green, the melon is not ready.
- Look at the Ground Spot: The spot on the underside of the melon where it rests on the ground is called the “ground spot.” On an unripe melon, this spot is a greenish-white. On a ripe melon, it will turn a creamy, buttery yellow.
- The “Thump” Test: A ripe watermelon will produce a deep, hollow sound when you give it a firm thump with your knuckles. An unripe melon will have a higher-pitched, dull thud. This method takes some practice but is a good final check.
When you’re confident it’s ripe, use a sharp knife or pruning shears to cut the melon from the vine, leaving an inch or two of stem attached.
Amazon Product Reference Table
For your convenience, here is a list of the recommended products mentioned in this guide.
| Must Have Products | Description |
|---|---|
| Sugar Baby’ Watermelon Seeds | A popular and reliable “icebox” variety known for its sweet flavor and compact size. |
| Soil Thermometer | An essential tool to ensure your soil is warm enough for seeds to germinate successfully. |
| Soaker Hose | Provides deep, efficient watering to the plant’s roots while keeping the leaves dry to prevent fungal diseases. |
| Organic Tomato & Vegetable Fertilizer | A fertilizer low in nitrogen and high in potassium, perfect for promoting sweet fruit development. |
Frequently Asked Questions (FAQ)
Q1: My watermelon plant is flowering, but not producing any fruit. What’s wrong?
This is almost always a pollination problem. Watermelon plants produce separate male and female flowers, and pollen must be transferred from a male flower to a female flower to produce a fruit. If you have a lack of bee activity, you may need to hand-pollinate. Use a small paintbrush to transfer pollen from the male flowers (plain stems) to the female flowers (which have a tiny, unfertilized melon at their base).
Q2: Can I grow watermelons in a container?
It’s challenging due to their size, but possible. You must choose a very small “icebox” or bush variety. You will need a very large container (at least 15-20 gallons) with excellent drainage and you will need to be extremely diligent about watering and feeding.
Q3: How many watermelons will I get per plant?
This depends on the variety. Large picnic-type melons may only produce 2-3 fruits per plant. Smaller icebox varieties can produce 4-6 or more. For the largest possible melons, some gardeners will prune their plants to allow only 1-2 fruits to develop.
Q4: My melons are misshapen. Why?
Oddly shaped fruit is usually the result of incomplete pollination or inconsistent watering during fruit development. Ensure good bee activity and maintain a regular watering schedule.
Q5: Can I save seeds from my watermelon to plant next year?
You can, but the results may be unpredictable. If you grew a hybrid variety, the seeds will not grow true-to-type, and you may get a strange or inferior melon. If you grew an open-pollinated or heirloom variety, you can save the seeds. Rinse them clean of all sugar and pulp and let them dry completely before storing them in a cool, dark place.
There is no greater reward for a summer gardener than cracking open a perfectly ripe watermelon that you grew yourself. By following these steps on how to plant watermelon seeds, you are well on your way to enjoying that sweet, sweet success. Happy growing