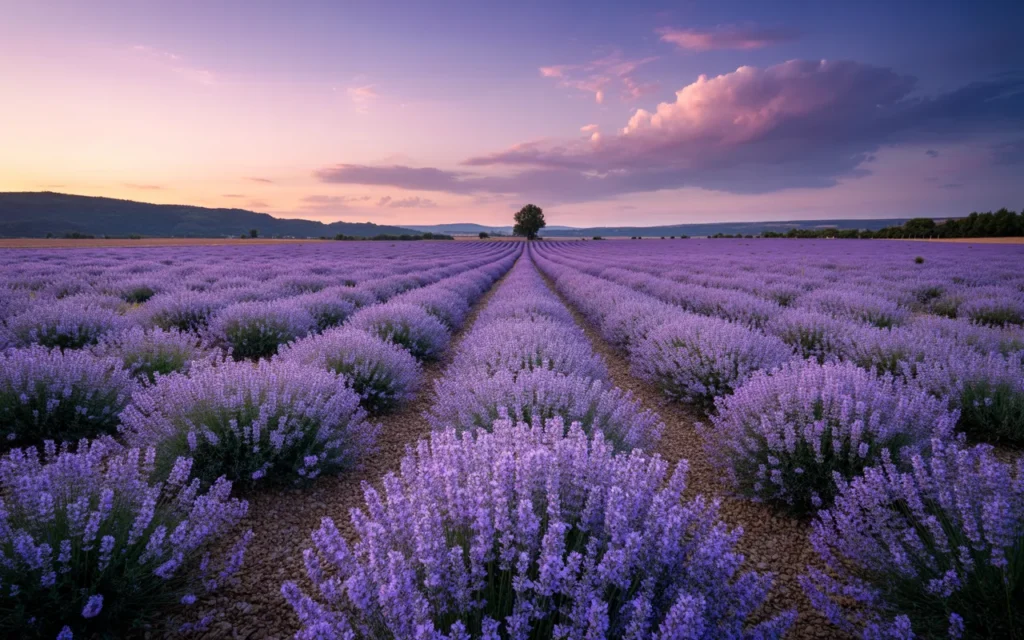
Imagine stepping into your garden and being greeted by the calming scent and stunning purple spikes of lavender swaying in the breeze.
This iconic, drought-tolerant herb is more than just a pretty plant; it’s a sensory experience.
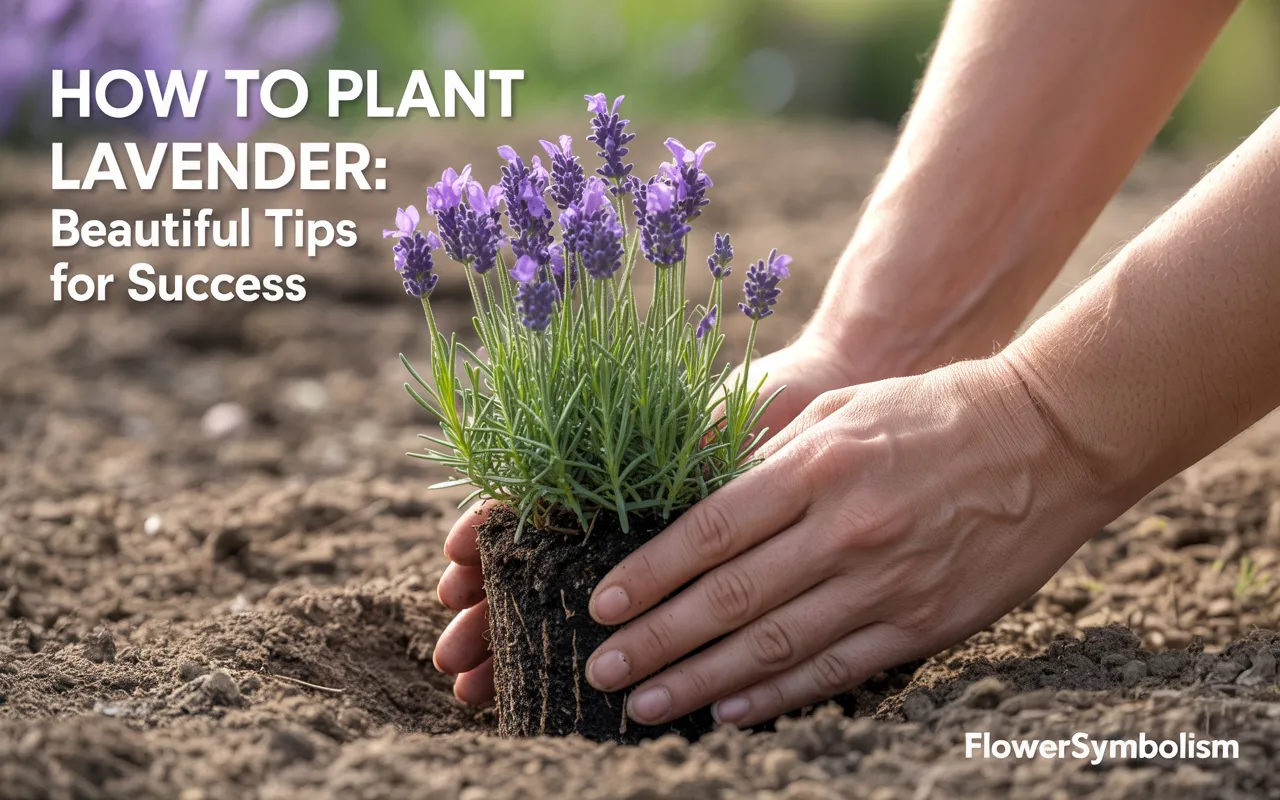
This guide will provide everything you need to know about how to plant lavender, transforming your garden into a fragrant, Mediterranean-inspired oasis.
From selecting the perfect variety to ensuring the right growing conditions, you’ll learn the secrets to cultivating beautiful, healthy lavender plants that will thrive for years.
Many gardeners are intimidated by lavender, believing it’s difficult to grow.
The truth is, with a little knowledge about its specific needs, lavender is a surprisingly low-maintenance and rewarding plant. Let’s dive into the simple steps for successful lavender planting and care.
Understanding Lavender: More Than Just a Color
Before you plant, it’s helpful to understand the plant itself. Lavender (Lavandula) is a perennial herb native to the rocky, sun-drenched hills of the Mediterranean region.
This origin story is the key to its happiness: it loves sun, heat, and dry, well-draining soil. Trying to grow it in heavy, wet, or shady conditions is the most common reason gardeners fail.
Choosing the Right Lavender Variety for Your Garden
There are dozens of lavender species and hundreds of cultivars, but they generally fall into a few main categories. Choosing the right one depends on your climate and what you want to use it for.
- English Lavender (Lavandula angustifolia): This is the classic, most popular type of lavender. It’s known for its sweet fragrance and is the variety most often used for culinary purposes and essential oils. It forms compact mounds and produces slender, elegant flower spikes. It is also the most cold-hardy type.
- Examples: ‘Hidcote’, ‘Munstead’.
- Best for: Colder climates (Zones 5-8), culinary use, classic English garden look.
- Try these: ‘Munstead’ English Lavender Seeds
- French Lavender (Lavandula dentata): Recognized by its toothed-edge leaves and slightly more sprawling habit, French lavender blooms almost continuously in warmer climates. Its fragrance is more piney and less sweet than English lavender.
- Examples: ‘Goodwin Creek Grey’.
- Best for: Warmer climates (Zones 8-11), year-round foliage, decorative use.
- Spanish Lavender (Lavandula stoechas): This variety is unmistakable, with its large, pineapple-shaped flower heads topped with prominent, petal-like bracts (often called “bunny ears”). It’s a showstopper in the garden but is less cold-hardy.
- Examples: ‘Otto Quast’, ‘Anouk’.
- Best for: Hot, dry climates (Zones 7-10), container gardening, unique visual appeal.
- Lavandin (Lavandula x intermedia): These are hybrids of English and Spike Lavender. They are larger, more robust plants that produce long flower stems with a strong, camphor-like scent. They are often grown commercially for their high oil content.
- Examples: ‘Provence’, ‘Grosso’.
- Best for: Larger garden spaces, hedges, crafting (sachets, wands), high fragrance.
For most beginners in a temperate climate, starting with a hardy English lavender variety like ‘Munstead‘ or ‘Hidcote‘ is a surefire way to achieve success.
The Golden Rule: Location, Sun, and Soil
If you remember nothing else from this guide, remember this trinity of lavender care: full sun, excellent drainage, and alkaline soil. Replicating these conditions is the most important part of learning how to plant lavender.
1. Find the Sunniest, Driest Spot
Lavender demands a minimum of 6-8 hours of direct, unfiltered sunlight per day. The more sun it gets, the more flowers it will produce and the more intense its fragrance will be. Look for a location that gets blasted by the sun, especially in the afternoon.
2. Create “Lean” and Well-Draining Soil
This is where many gardeners go wrong. Lavender hates “wet feet” and will quickly develop root rot in heavy, clay soil that holds water. It thrives in “lean” soil, meaning soil that is not overly rich in organic matter.
- The Drainage Test: Dig a hole about 12 inches deep and fill it with water. If the water is still standing there after an hour, your drainage is poor.
- How to Improve Drainage: If you have heavy clay soil, you have two great options:
- Amend Heavily: Excavate the planting area and mix the native soil with a generous amount of inorganic material. A good mix is 50% native soil and 50% small gravel, sand, or perlite.
- Plant on a Mound or Raised Bed: This is often the easiest solution. Creating a raised bed or simply mounding the soil 12-18 inches high creates the elevated, quick-draining environment that lavender loves.
- Amend Heavily: Excavate the planting area and mix the native soil with a generous amount of inorganic material. A good mix is 50% native soil and 50% small gravel, sand, or perlite.
- The Best Soil for Lavender: The ideal soil is sandy or gravelly. Do not add rich compost or manure to the planting hole. This can make the soil too rich and hold too much moisture, leading to a leggy plant with fewer flowers.
3. Check Soil pH
Lavender prefers a neutral to slightly alkaline soil pH, between 6.5 and 7.5. Most garden soils are slightly acidic. You can test your soil with a simple Soil pH Test Kit. If your soil is too acidic, you can “sweeten” it by adding a small amount of garden lime to the planting area.
How to Plant Lavender: Step-by-Step Instructions
The best time to plant lavender is in the spring after the danger of frost has passed. This gives the plant a full season to establish its roots before winter. In warmer climates (Zone 7+), you can also plant in the early fall.
Step 1: Prepare the Young Plant
Most people buy lavender as small plants from a nursery. Water the plant well in its pot about an hour before you plan to plant it.
Step 2: Dig the Right-Sized Hole
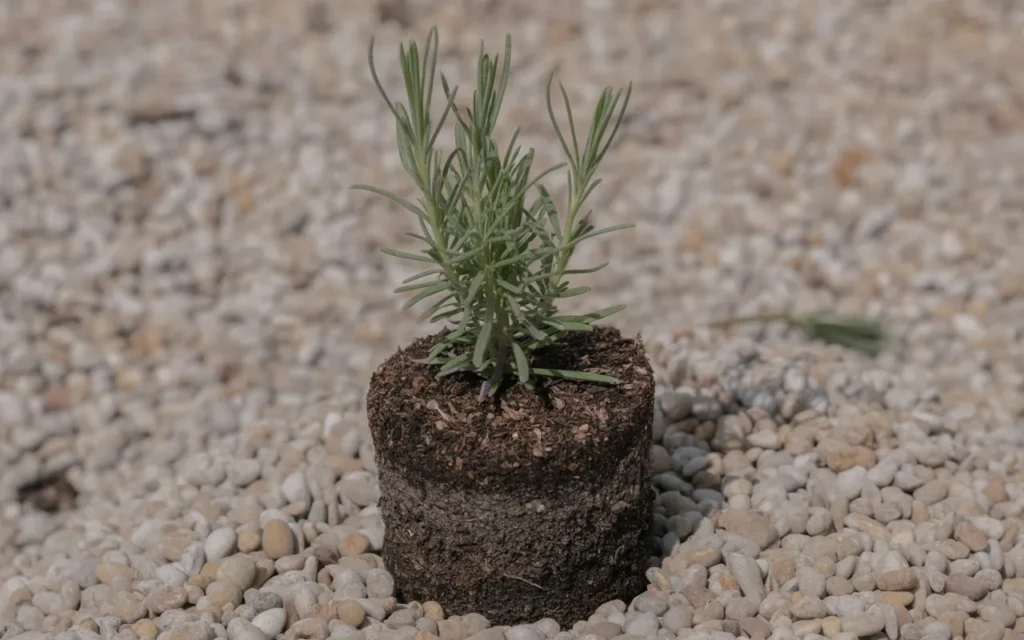
Dig a hole that is twice as wide as the plant’s root ball but only as deep as the root ball itself. You want the top of the root ball to be level with, or even slightly above, the surrounding soil line.
Step 3: Loosen the Roots
Gently remove the lavender plant from its pot. If the roots are tightly packed or circling the bottom (root-bound), use your fingers or a small trowel to gently tease them apart. This encourages the roots to grow outward into the new soil instead of continuing to circle.
Step 4: Position the Plant
Place the plant in the center of the hole. Check the depth again. Ensure the base of the plant’s stem is level with the ground. Planting too deep can lead to stem rot.
Step 5: Backfill and Water
Backfill the hole with the native soil (or your amended gritty mix). Gently firm the soil around the root ball to remove any large air pockets. Water the plant thoroughly to help the soil settle.
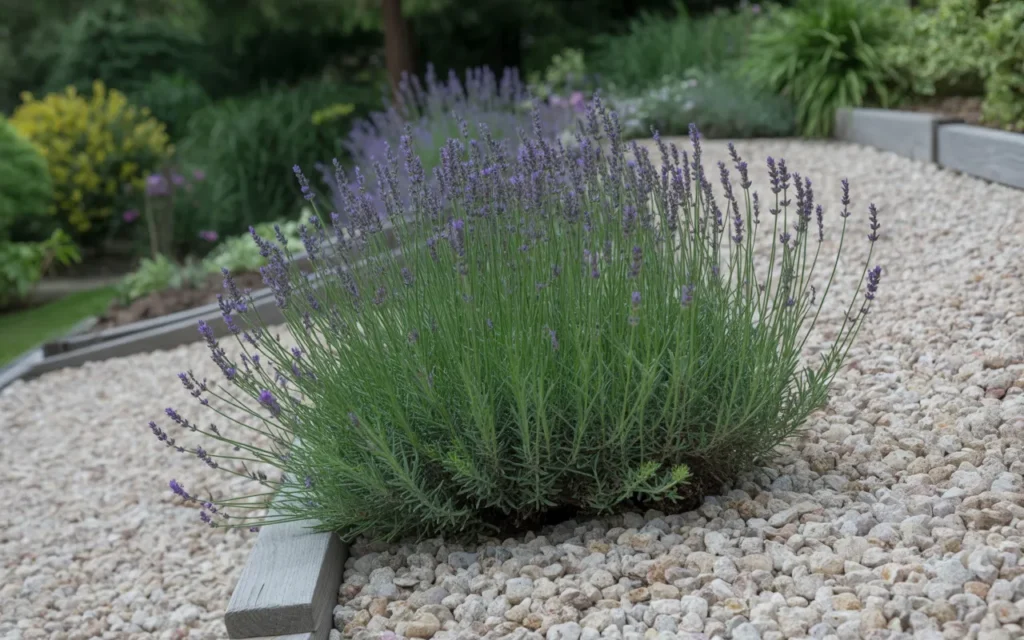
Step 6: Mulch with Gravel, Not Wood
This is a key difference from other perennials. Do not use organic mulch like wood chips or bark around lavender. This type of mulch traps moisture against the stem, which can cause rot. Instead, use a “stone mulch” of pea gravel, small rocks, or coarse sand. This inorganic mulch keeps the soil dry around the crown of the plant, suppresses weeds, and reflects heat up into the plant—all things lavender loves.
Essential Lavender Care for Abundant Blooms
Once established, lavender is incredibly low-maintenance. Follow these simple lavender care tips to keep your plants happy and healthy.
Lavender Care and Maintenance Chart
| Care Factor | Guideline | Why It’s Important |
|---|---|---|
| Watering | Water deeply but infrequently. Allow soil to dry out completely between waterings. | Mimics its native Mediterranean climate and prevents root rot. Once established, it’s very drought-tolerant. |
| Fertilizing | Avoid it. Lavender thrives in poor soil. | Rich soil and fertilizer lead to excessive leaf growth and fewer, less fragrant flowers. |
| Pruning | Prune once or twice a year. The most important prune is after flowering. | Pruning prevents the plant from becoming woody and encourages bushy growth and more flowers. |
| Spacing | Space plants 2-3 feet apart, depending on the variety’s mature size. | Good spacing ensures excellent air circulation, which is crucial for preventing fungal diseases. |
| Humidity | Lavender hates high humidity. | Good air circulation is the best defense against fungal issues in humid climates. |
The Art of Pruning Lavender
Pruning is the most important annual task for lavender care. An unpruned lavender plant will quickly become a woody, leggy, and unattractive clump with sparse flowers.
- When to Prune: The main pruning should happen in late summer, just after the plant has finished its main flush of blooms. You can also do a light shaping in the spring after new growth appears.
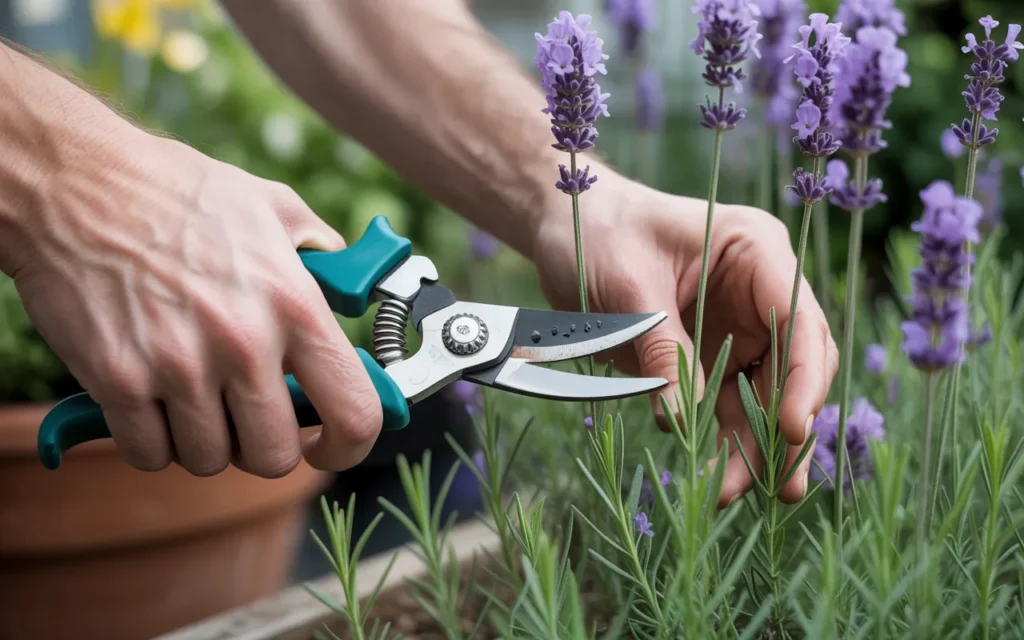
- How to Prune: Using a sharp pair of Gardening Pruning Shears, gather the stems in one hand and cut back the entire plant by about one-third to one-half. You should be cutting the soft, green growth, leaving at least a few inches of green above the woody base.
- The Golden Rule of Pruning: Never cut back into the old, brown, woody part of the stem. Lavender will not regrow from old wood. If you cut the plant back to the woody base, you will likely kill it. Always make sure you are cutting above a set of green leaves.
Troubleshooting Common Lavender Problems
- Plant is Yellowing or Flopping Open in the Center: This is almost always a sign of too much water or poor drainage. The center of the plant is staying too wet and beginning to rot. Unfortunately, this is often irreversible. The best cure is prevention: ensure perfect drainage from the start.
- Plant is Woody and Has Few Flowers: This is a result of lack of pruning. Start a regular pruning regimen to encourage new, flower-producing growth. If the plant is already a large, woody mess, you may be better off replacing it and starting fresh.
- No Flowers: This can be caused by a few things: not enough sun, too much fertilizer/rich soil, or improper pruning (cutting off the flower buds in the spring). Assess the plant’s location and your care routine.
- Fungal Disease: In humid climates, lavender can be susceptible to fungal issues. The best defense is to provide wide spacing for good air circulation and to use stone mulch.
Frequently Asked Questions (FAQ)
Q1: Can I grow lavender from seed?
Yes, but it requires patience. Lavender seeds can be slow and erratic to germinate. They often need a period of cold stratification (a cool, damp period) to sprout. For quicker, more reliable results, it’s much easier for beginners to start with young plants from a nursery.
Q2: Can I grow lavender in a pot?
Absolutely! Lavender does wonderfully in containers, which is a great way to control soil conditions. Choose a pot that is only 1-2 inches larger than the root ball, use a gritty, fast-draining cactus or succulent potting mix, and make sure the pot has plenty of drainage holes. Spanish lavender is particularly well-suited for containers. For best results, use a classic Terracotta Clay Pot, as the porous clay helps the soil dry out quickly.
Q3: When should I harvest lavender flowers?
For the most intense fragrance and color, harvest the flower stems when the bottom third of the buds on the spike have opened, but before the flowers are in full bloom. Harvest in the morning after the dew has dried. Simply snip the stems at the desired length.
Q4: Is lavender deer-resistant?
Yes! Due to its strong fragrance and oils, deer and rabbits almost always avoid lavender. It’s an excellent choice for gardens where these animals are a problem.
Q5: How do I dry lavender?
To dry lavender, gather the cut stems into small bundles and secure them with a rubber band. Hang the bundles upside down in a dark, dry, well-ventilated area for 2-4 weeks. Keeping them out of direct sunlight will help them retain their deep purple color.
Learning how to plant lavender is a simple process that rewards you with years of beauty, fragrance, and joy. By respecting its Mediterranean roots and providing the sun, drainage, and lean soil it craves, you’ll create a stunning, low-maintenance feature in your garden. Happy planting