Ginger is a true kitchen superstar. Its warm, spicy flavor adds a wonderful kick to everything from stir-fries and soups to refreshing teas and baked goods.
While many of us are used to buying it from the grocery store, there’s a special satisfaction that comes from harvesting your own.
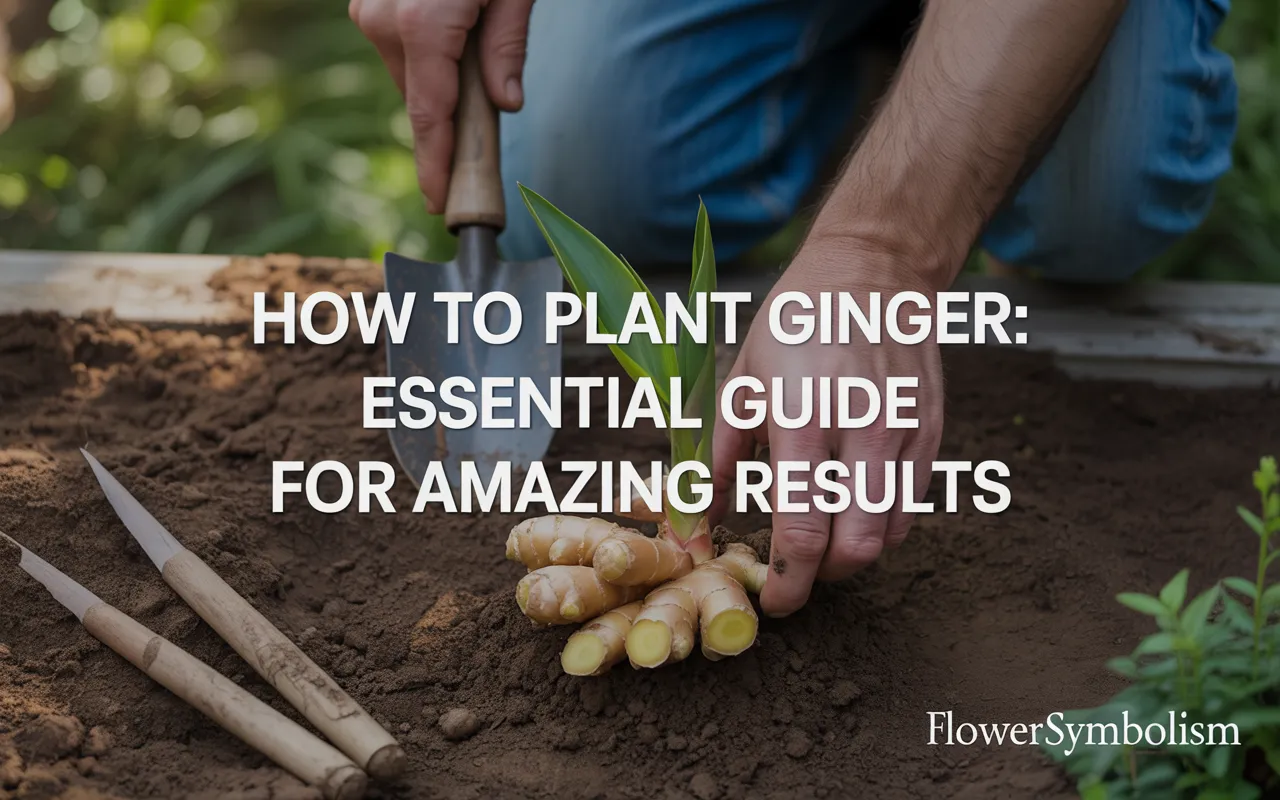
This guide will show you exactly how to plant ginger right at home. It’s an incredibly rewarding and surprisingly simple process, allowing you to have a fresh supply of this amazing rhizome whenever you need it.
This essential guide is perfect for beginners and is packed with tips for amazing results. We’ll cover everything from selecting the right piece of ginger at the store to planting it, caring for it, and harvesting your homegrown treasure. Get ready to add this amazing plant to your indoor or outdoor garden.
What is Ginger and How Does It Grow?
Before we learn how to plant ginger, it helps to understand what it is. The part of the ginger we use for cooking is not actually a root; it’s a rhizome. A rhizome is a modified subterranean plant stem that grows horizontally underground, sending out both roots from its bottom and shoots from its top.
When you plant a piece of this rhizome, it will sprout green, leafy stalks that can grow several feet tall, resembling bamboo. Meanwhile, under the soil, the original piece of ginger will expand and send out new “hands” of fresh, tender ginger, which is what you will eventually harvest.
Step 1: Choosing the Right Ginger Rhizome
Your journey to homegrown ginger begins at the grocery store. You don’t need to buy special seeds or plants from a nursery; a fresh piece of ginger from the produce aisle is all you need.
What to look for when selecting a ginger rhizome:
- Plump and Firm: Choose a piece that feels heavy for its size and is firm to the touch. Avoid any pieces that are shriveled, soft, or moldy.
- Smooth Skin: Look for ginger with thin, relatively smooth skin. Wrinkled skin is a sign that the ginger is old and dehydrated.
- Visible “Eyes” or Buds: This is the most important feature! Look for small, horn-like points on the ginger “fingers.” These are the growth buds, similar to the eyes on a potato. The more prominent and slightly greenish these buds are, the more ready the ginger is to sprout.
- Go Organic if Possible: Non-organic ginger is often treated with a growth inhibitor to prevent it from sprouting on the store shelf. While you can still grow it, organic ginger has a much higher success rate because it hasn’t been treated and is eager to grow.
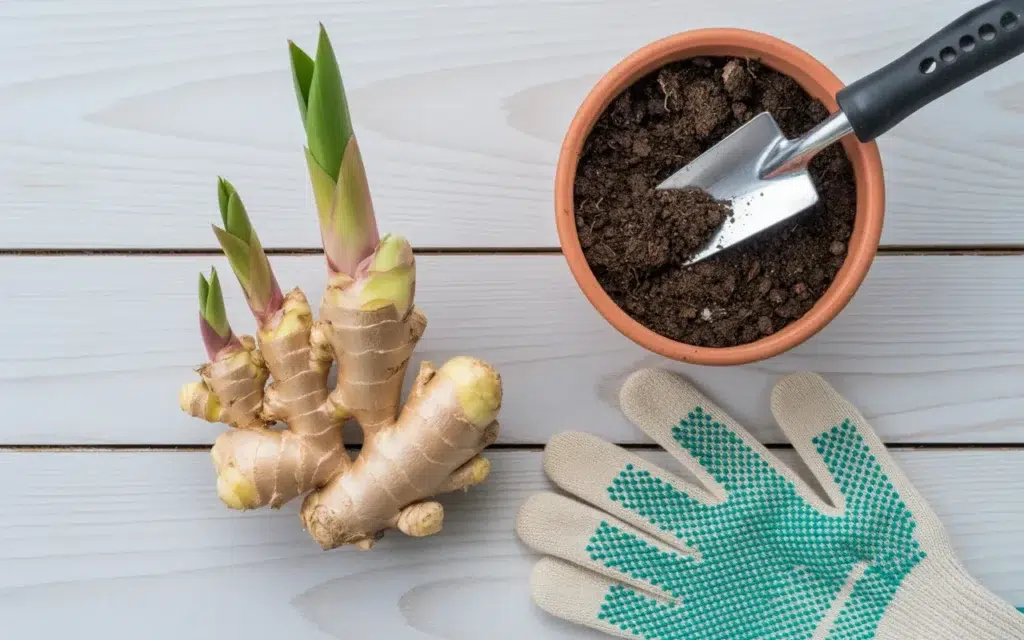
Step 2: Preparing Your Ginger for Planting
Once you have your perfect piece of ginger, you need to prepare it for planting.
- Cut the Rhizome (Optional): If your piece of ginger is large, you can cut it into smaller sections to create multiple plants. Make sure each section is at least 1-2 inches wide and has at least one or two healthy growth buds.
- Let it Callus: After cutting, you must let the pieces sit out on a counter in a dry place for 24-48 hours. This allows the cut surface to dry and form a protective callus. This step is crucial for preventing the ginger from rotting when you plant it in moist soil.
- Soak the Ginger: After the callus has formed, soak the ginger pieces in room-temperature water for several hours, or even overnight. This helps to wash off any potential growth inhibitors and fully hydrate the rhizome, waking it up from dormancy and signaling that it’s time to grow.

Step 3: How to Plant Ginger in a Pot or Garden
Ginger is a tropical plant, so it loves warmth, humidity, and rich soil. It’s an excellent candidate for container gardening, which allows you to control its environment easily.
Choosing a Pot and Soil
- Select a Wide, Shallow Pot: Ginger rhizomes grow horizontally, so the width of your pot is more important than the depth. A pot that is at least 12 inches wide and about 8-10 inches deep is a great starting point. A Wide Fabric Grow Bag is an excellent choice as it provides great drainage and aeration.
- Ensure Good Drainage: Your pot must have drainage holes. Ginger needs consistent moisture but will rot if it sits in waterlogged soil.
- Use High-Quality Potting Mix: Ginger thrives in rich, well-draining soil. A high-quality, [Organic Potting Mix] is perfect. You can improve it even further by mixing in some compost or worm castings for extra nutrients.
The Planting Process
The best time to plant ginger is in the early spring.
- Fill Your Pot: Fill your chosen container with your moist potting mix, leaving a few inches of space at the top.
- Position the Ginger: Take your pre-soaked ginger piece and place it on top of the soil with the growth buds pointing up. If you have multiple pieces, space them about 6-8 inches apart.
- Cover Lightly: Cover the ginger rhizome with about 1-2 inches of soil. Don’t plant it too deep.
- Water Thoroughly: Water the pot well until you see water run out of the drainage holes. This settles the soil around the rhizome.
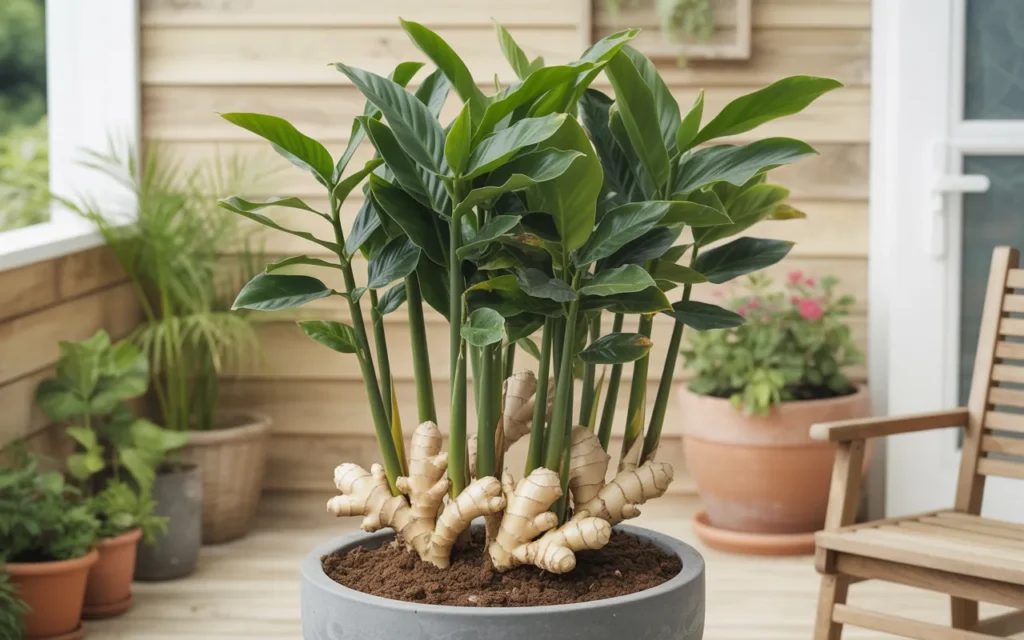
Step 4: Caring for Your Growing Ginger Plant
Now comes the patient part. Ginger can be slow to start, but once it gets going, it’s quite low-maintenance.
Light, Water, and Temperature
- Light: Place your pot in a location that receives several hours of indirect morning sun but is shaded from the hot, direct afternoon sun. A spot with dappled sunlight under a tree or on a covered patio is ideal. Direct, intense sun can scorch the leaves.
- Water: Keep the soil consistently moist, but not soggy. Think of a well-wrung-out sponge. Check the soil regularly and water whenever the top inch feels dry.
- Temperature: Ginger loves warmth. It grows best in temperatures between 70-85°F (21-29°C). If you live in a cooler climate, growing it in a pot allows you to bring it indoors if temperatures drop.
Sprouting and Growth
Be patient! It can take anywhere from 2 to 6 weeks for the first green shoot to emerge from the soil. Once it sprouts, it will grow into a tall, reed-like stalk.
Fertilizing
Ginger is a moderate feeder. About a month after you see the first growth, you can start feeding it every 3-4 weeks with a balanced liquid fertilizer, such as a Liquid Seaweed or Fish Emulsion Fertilizer, diluted to half-strength.
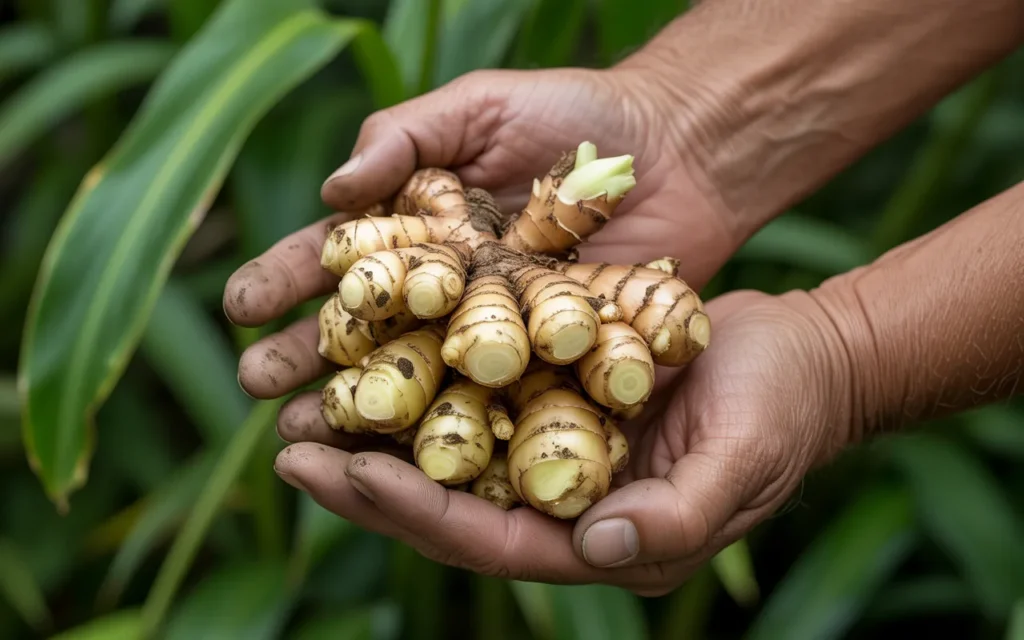
Step 5: Harvesting Your Homegrown Ginger
This is the most exciting part! You have a couple of options when it comes to harvesting.
- “Baby” Ginger: About 3-4 months after planting, you can start “robbing” the plant. Gently dig around the side of the pot and you will find tender, young rhizomes with a milder flavor and pinkish tips. You can snap off a small piece and then cover the rest back up with soil to continue growing. This baby ginger is incredibly tender and doesn’t need to be peeled.
- Mature Ginger: For a larger harvest of mature ginger with that classic spicy kick, you need to wait until the plant tells you it’s ready. This will be about 8-10 months after planting. The green stalks will begin to turn yellow and die back in the fall. This is the signal that the rhizomes underneath are mature.
How to Harvest the Full Plant
- Stop watering the plant for about a week to let the soil dry out a bit.
- Gently tip the pot over onto a tarp or newspaper.
- Carefully pull the entire plant out and shake off the soil.
- You will see a large clump of interconnected rhizomes. Break them apart with your hands.
- Wash the ginger thoroughly and let it air dry.
- Don’t forget to save a few of the best pieces with healthy buds to replant for next year’s crop!
Frequently Asked Questions (FAQ)
Q1: How long does it take to grow ginger?
It takes about 8-10 months to grow a fully mature ginger plant from a rhizome. However, you can start harvesting small amounts of “baby” ginger in as little as 3-4 months.
Q2: Can I grow ginger indoors?
Absolutely! Ginger is an excellent indoor plant as long as you can provide it with a few hours of indirect light each day. A pot near a bright window is a great spot. Growing indoors is a perfect solution for those in colder climates.
Q3: My ginger isn’t sprouting. What did I do wrong?
Patience is key, as it can take over a month to see growth. The most common reasons for failure are a rhizome without viable buds, soil that is too cold, or overwatering which leads to rot. Also, ensure you used organic ginger if possible, as non-organic varieties may be treated with growth inhibitors.
Q4: How do I store my harvested ginger?
Fresh, unpeeled ginger can be stored in a zip-top bag in the crisper drawer of your refrigerator for several weeks. For long-term storage, you can peel and chop or grate the ginger and freeze it in an airtight container or in ice cube trays with a little water.