Bringing plants into your home adds a wonderful touch of nature and life, but finding floor or shelf space for all your green friends can be a challenge. That’s where the magic of hanging planters comes in.
This guide is here to show you how to make a macrame plant hanger, a simple and beautiful DIY project that will elevate your home decor.
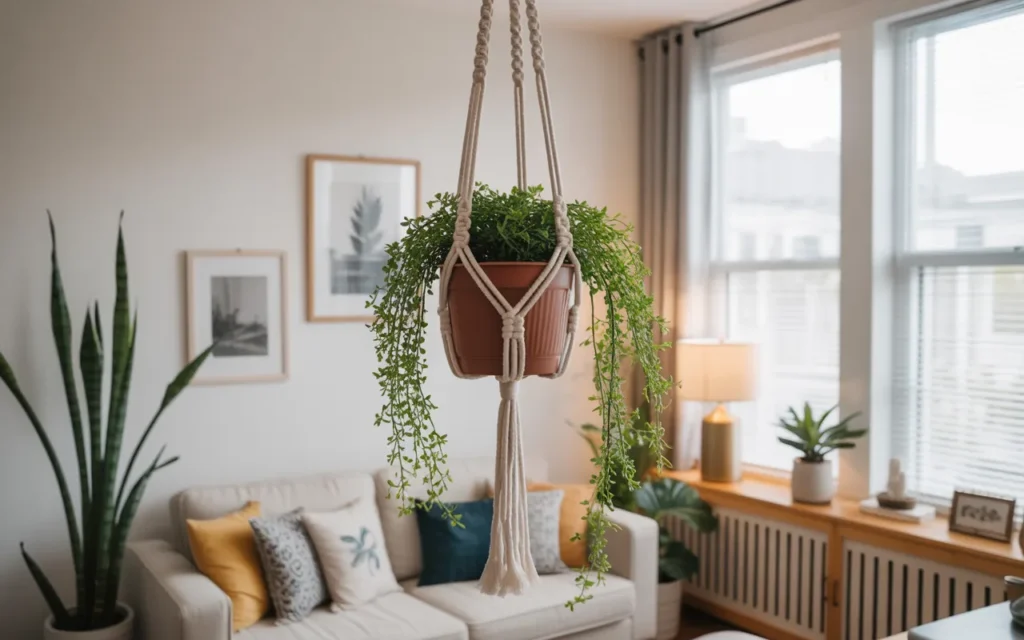
You can create stunning, custom-fit hangers for your favorite plants, adding a touch of bohemian chic to any room, all with just a few basic knots.
This DIY guide is designed specifically for beginners. We’ll break down the process into easy-to-follow steps, from gathering your supplies to tying the final knot.
You’ll be amazed at how quickly you can turn a simple cord into a beautiful and functional piece of art for your home.
Why Make Your Own Macrame Plant Hanger?
Beyond just being a fun weekend project, learning how to make a macrame plant hanger has some fantastic benefits.
- It’s Incredibly Affordable: A few basic supplies are all you need, and a single roll of cord can often make multiple hangers for a fraction of the cost of one boutique-bought piece.
- Fully Customizable: You are the artist. You choose the color, the length, the style of the knots, and the size. You can make a hanger that is the perfect fit for your specific pot and your home’s unique style.
- A Relaxing and Mindful Activity: The repetitive nature of tying knots can be very therapeutic. It’s a great way to de-stress, focus your mind, and create something beautiful with your hands.
- Makes a Wonderful Handmade Gift: A plant hanger you’ve made yourself, especially when paired with a lovely plant, is a heartfelt and personal gift that friends and family will cherish.
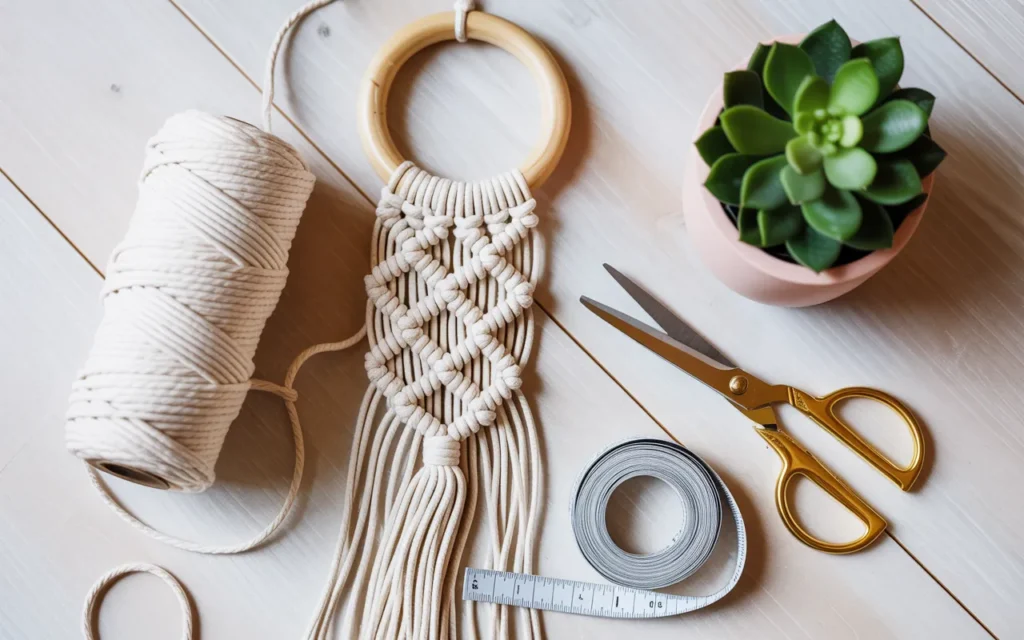
Gathering Your Simple Supplies
One of the best parts about starting your macrame journey is how simple and inexpensive the initial setup is. You don’t need any complex machinery or tools.
- Macrame Cord: This is your primary material. For a beginner, a 3mm or 4mm Single Strand Cotton Macrame Cord is the perfect choice. It’s soft, easy to work with, and knots beautifully. You will need about 60 feet for a standard-sized hanger.
- A Support Ring: This is what your hanger will be suspended from. A 2-inch Natural Wooden Craft Ring is a classic and sturdy choice. You could also use a metal hoop or a decorative carabiner.
- Sharp Scissors: A good pair of scissors is essential for getting clean cuts on your cord.
- Measuring Tape: Crucial for making sure all your cords are the correct length before you start.
- A Place to Work: You will need a hook, doorknob, or clothing rack to hang your project on while you are knotting.
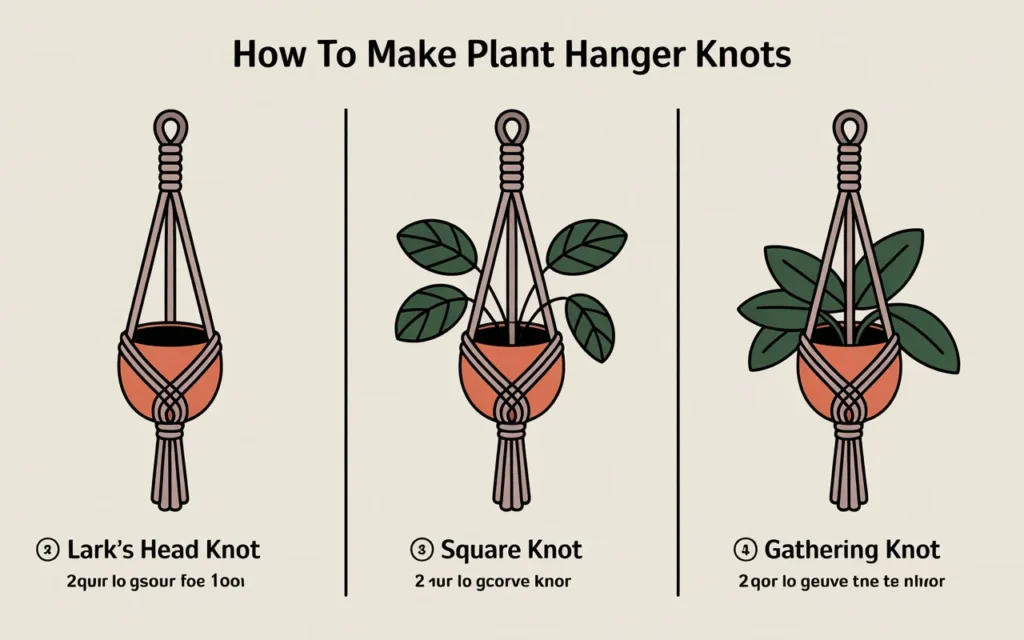
The 3 Essential Knots You Need to Know
While macrame can look very complex, most plant hanger designs are built from just three fundamental knots. Once you master these, you can unlock endless creative possibilities. Let’s practice them.
1. The Lark’s Head Knot
This is the knot you will use to attach your cords to the ring. It’s the foundation of your project.
- Take one of your long cords and fold it in half, creating a loop.
- Place the loop over the top of your ring, then bring it down and behind the ring.
- Pull the two loose ends of the cord through the loop.
- Pull down firmly to secure the cord.
2. The Square Knot
This is the most common knot in macrame and will form the main body of your plant hanger. It is always made with a group of four cords.
- First Half: Take the leftmost cord (cord 1) and cross it over the two middle cords and under the rightmost cord (cord 4). This forms a “4” shape.
- Now, take cord 4, bring it behind the two middle cords, and pull it forward through the “4” shaped loop.
- Pull the outer cords to tighten the knot.
- Second Half: Now do the reverse. Take the rightmost cord (cord 4) and cross it over the two middle cords and under the leftmost cord (cord 1).
- Take cord 1, bring it behind the two middle cords, and pull it forward through the new loop.
- Pull to tighten. You have now completed one full square knot.
3. The Gathering Knot
Also called a wrapping knot, this is what creates the clean, tightly bound sections at the top and bottom of your hanger.
- Take a separate, shorter piece of cord (about 3 feet). Form a “U” shape and lay it on top of your main bundle of cords, with the loop pointing down.
- Holding it in place, take the long end of your wrapping cord and begin wrapping it tightly and neatly around the bundle, working from top to bottom.
- After about an inch of wraps, thread the end of your cord through the loop at the bottom.
- Pull the short end of the cord that is sticking out at the top of the wrap. This will pull the bottom loop up inside the wraps, hiding and securing the end.
- Trim the excess ends at the top and bottom closely.
How to Make Macrame Plant Hanger: A Step-by-Step Guide
Now, let’s put these knots into action and create a classic, beautiful plant hanger. This design is perfect for a 4- to 6-inch pot.
Step 1: Cut and Attach Your Cords
- Measure and cut four pieces of macrame cord, each one 15 feet long. This length may seem excessive, but knotting consumes a lot of cord. It’s always better to have too much than not enough.
- Gather all four cords together and fold the entire bundle in half.
- Attach the bundle to your wooden ring using a Lark’s Head Knot. You should now have eight cords hanging from your ring, each 7.5 feet long.
- Hang your ring on your hook to begin working.
Step 2: Create the Top Gathering Knot
- Cut an extra piece of cord about 3 feet long.
- Directly below the ring, tie a secure Gathering Knot around all eight hanging cords. This creates a professional and sturdy starting point.
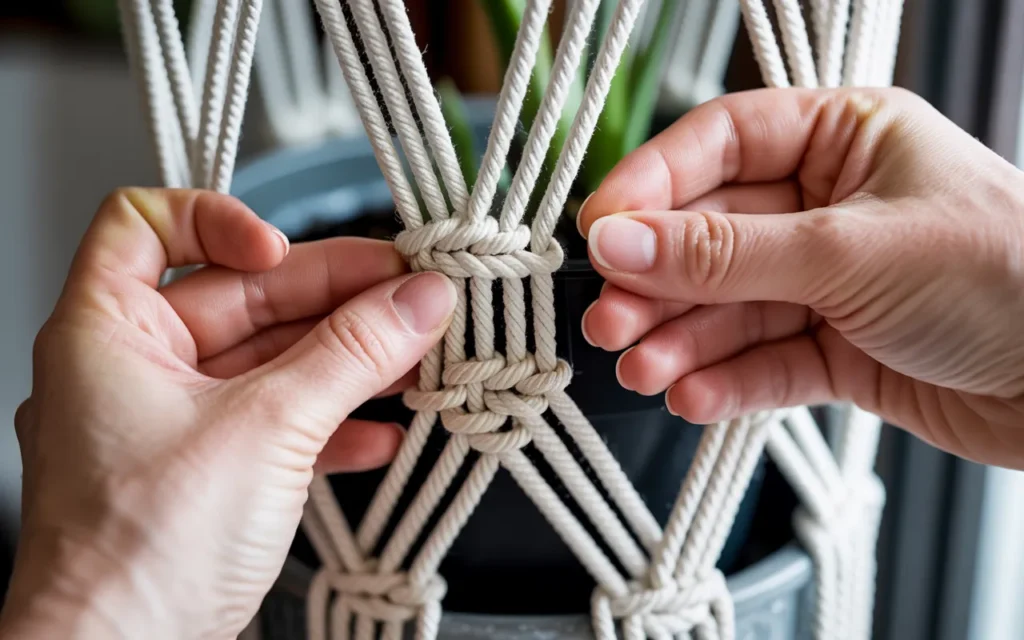
Step 3: Knot the Hanger’s Arms
- Separate your eight cords into two groups of four.
- Working with the first group of four: Tie a series of five full Square Knots one after another to create a flat, woven section.
- Repeat this on the second group of four cords. You should now have two identical, decorative arms for your hanger.
Step 4: Form the Basket to Hold the Pot
This is where you will create the net that cradles your plant pot. It involves creating a new group of cords.
- Measure about 8-10 inches down from the bottom of your last square knots. This large gap is what will form the sides of the basket.
- Now, create a new working group of four cords by taking the two rightmost cords from the left arm and the two leftmost cords from the right arm.
- Using this new group of four cords in the center, tie one single Square Knot at the 8-10 inch mark. This is called an alternating square knot, and it connects your two arms together.
Step 5: Secure the Base
- About 4-5 inches below the alternating square knot you just made, gather all eight cords together evenly.
- Cut one final 3-foot piece of cord.
- Tie one last, very tight Gathering Knot around all the cords. This forms the solid base that your pot will sit on. Make sure this knot is very secure.
Step 6: Trim the Tassel
- Your plant hanger is now fully functional! The last step is to give the tassel at the bottom a nice trim.
- Using your sharp scissors, cut the ends of the cords. You can cut them straight across for a clean, blunt look, or at an angle for a more dynamic style.
- For an extra fluffy and soft tassel, you can use a Macrame Fringe Comb to unravel the individual strands of each cord.
That’s it! Place your plant in its new hanging home and find the perfect spot to admire your handiwork.
Frequently Asked Questions (FAQ)
Q1: How do I know how long to make my cords?
A good general guideline is to cut your starting cords about four to five times the desired final length of your hanger. For example, for a 3-foot long hanger, you would start with cords that are 12-15 feet long. It’s always best to err on the side of making them too long.
Q2: My knots are twisting into a spiral. What am I doing wrong?
This is a classic beginner’s mistake! It means you are only tying the first half of the square knot repeatedly. A square knot requires two distinct halves to lay flat. If you only repeat the first half, you will create a beautiful pattern called a half-knot spiral, which is a great design element to learn later!
Q3: What are the best plants for a macrame hanger?
Plants that have a vining or trailing habit look especially stunning because they will cascade down the sides. Fantastic choices include Pothos, Philodendron, String of Pearls, English Ivy, and Spider Plants.
Q4: How do I hang my plant hanger safely from the ceiling?
Safety is very important, especially with heavy ceramic pots. Always use a proper Ceiling Hook with Toggle Bolt Anchor designed for this purpose. Whenever possible, screw the hook directly into a ceiling joist for maximum support. Do not rely on adhesive hooks for heavy plants.